译:3.消费一个RESTful Web Service
这节课我们根据官网教程学习如何去消费(调用)一个 RESTful Web Service 。 原文链接 https://spring.io/guides/gs/consuming-rest/
本指南将引导您完成创建使用RESTful Web服务的应用程序的过程。
我们将会创建什么?
您将构建一个使用Spring RestTemplate的应用程序来检索http://gturnquist-quoters.cfapps.io/api/random中的随机Spring Boot引用。
你需要准备什么?
JDK1.8 或者更高
你也可以直接导入Code 到你的IDE中
如何完成这个指南?
方法有很多种,这里我们仅通过STS来完成这个操作。
参考链接 https://spring.io/guides/gs/sts/
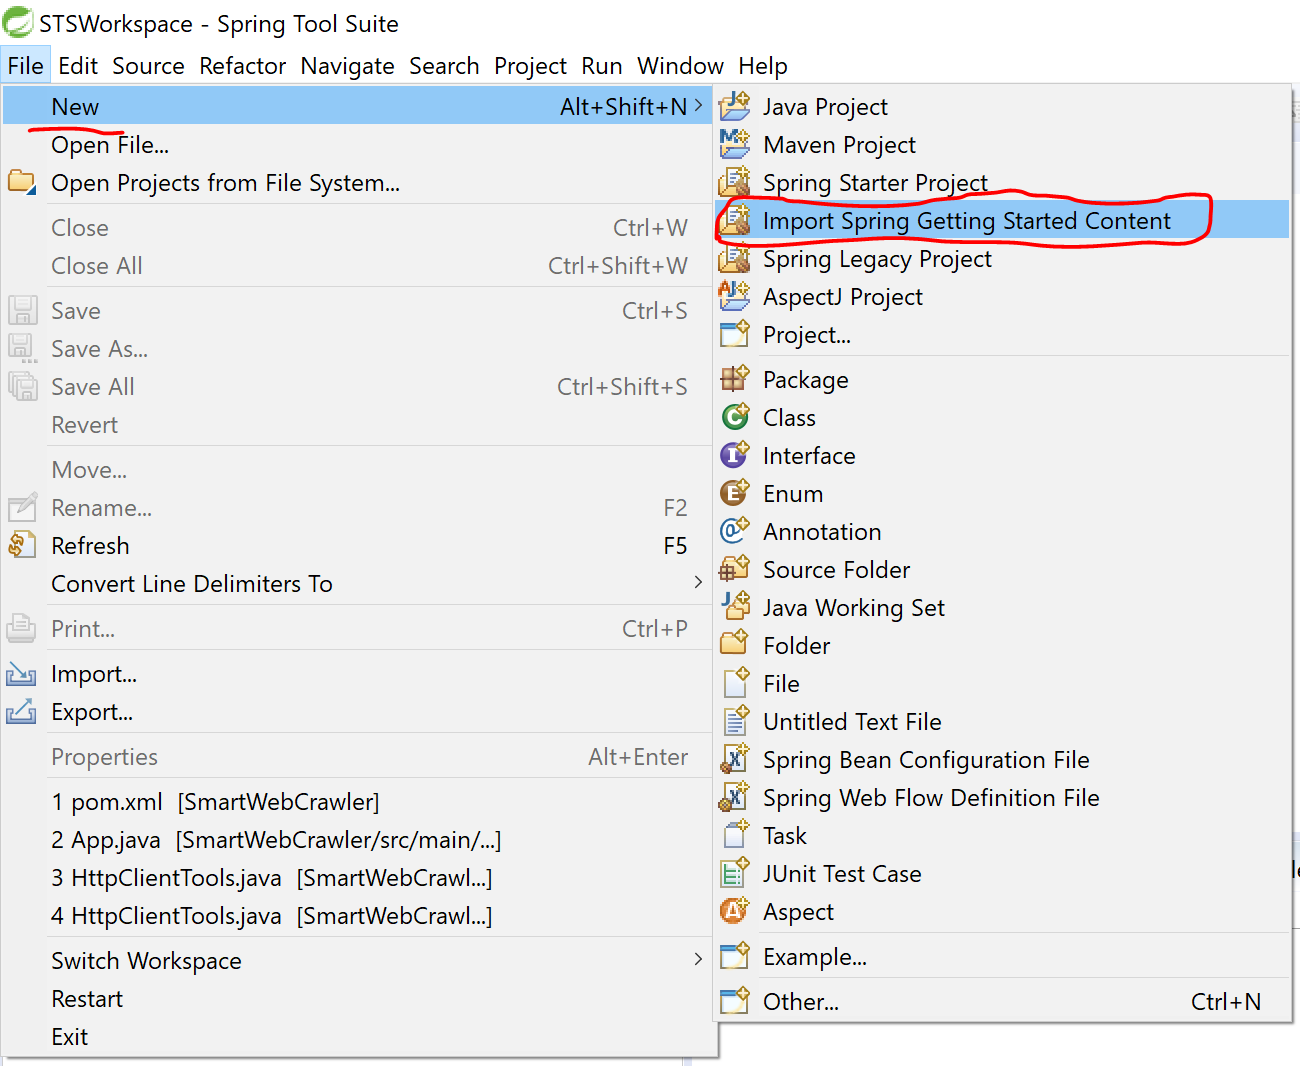
1. 打开我们的STS,点击左上角的File————> New ————> Import Spring Getting Started Content
2. 我们这里输入 rest 来搜索出“Consuming Rest”
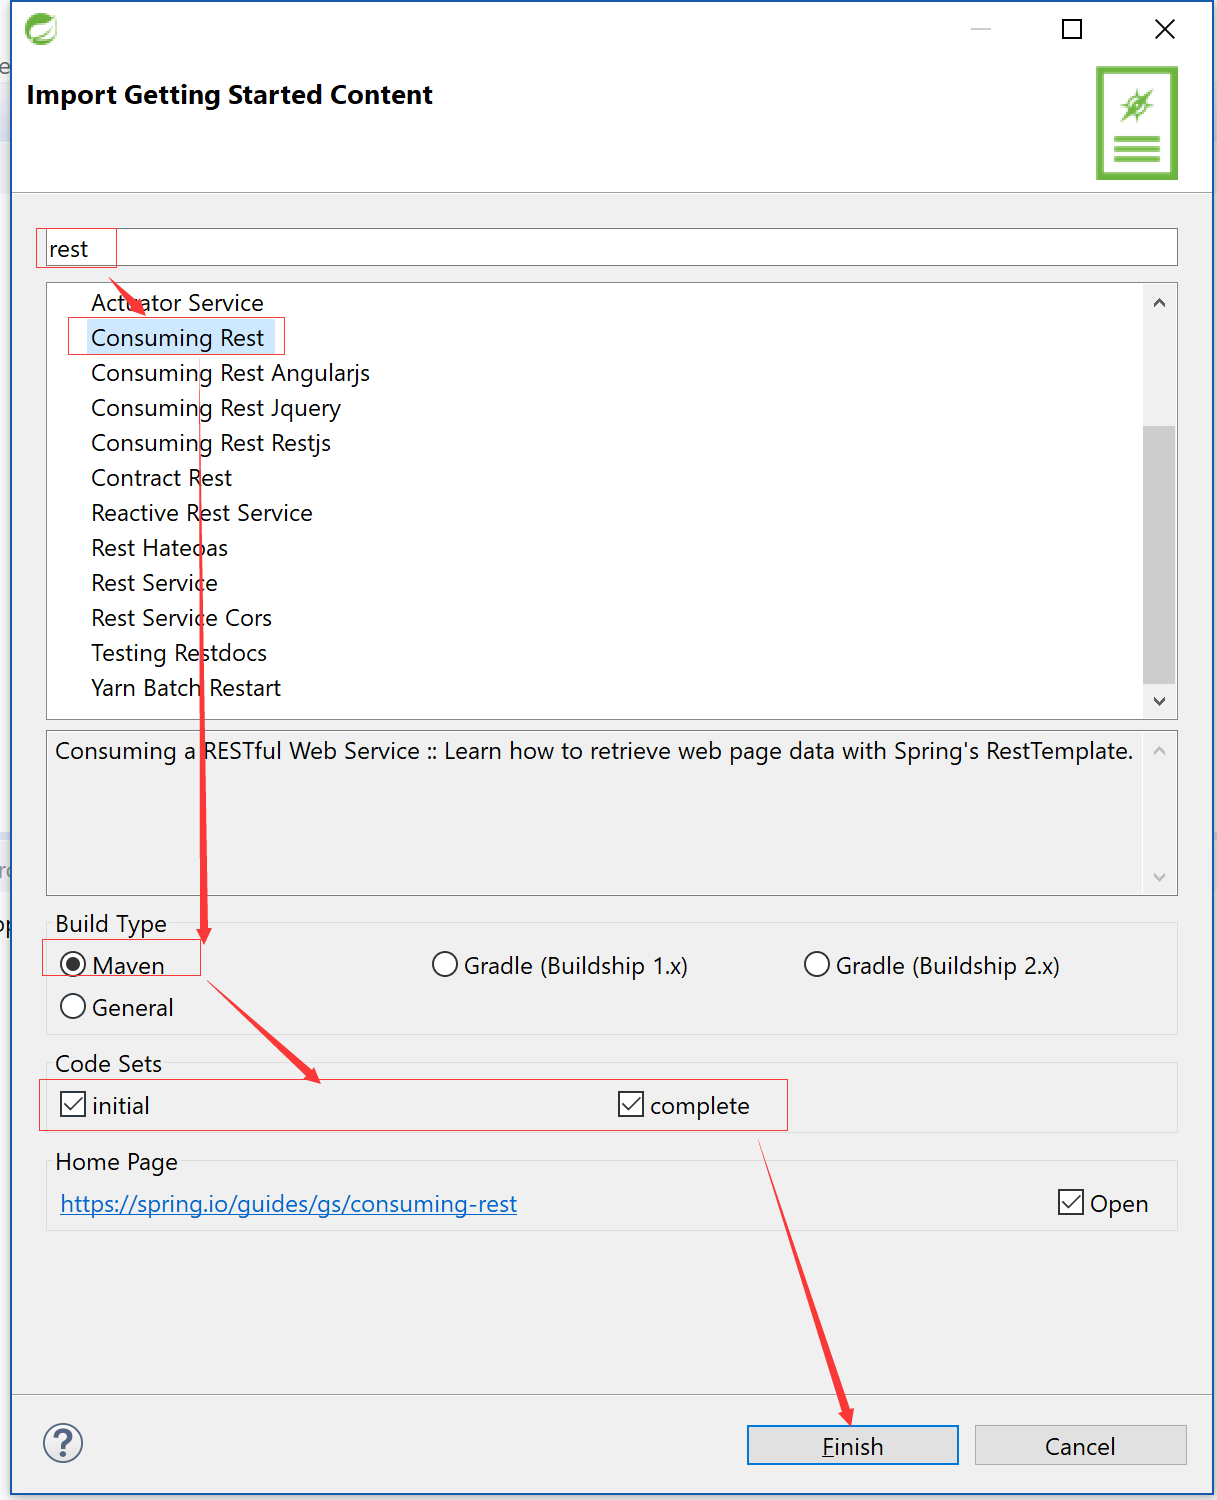
Tips:这里勾选构建的类型是Maven项目,Code Sets 两个都勾选,这样会生成两个Project.
complete 是表示已经写好的code,initial是初始化空的项目,我们待会就在这个空的项目中进行修改和尝试。
3. 通过完成项目设置,您可以创建一个使用RESTful服务的简单应用程序。
一个RESTful服务已经在http://gturnquist-quoters.cfapps.io/api/random 站起来了。 它随机提取有关Spring Boot的引用,并将它们作为JSON文档返回。
如果您通过网络浏览器或curl请求该URL,您将收到一个如下所示的JSON文档:
{"type":"success","value":{"id":2,"quote":"With Boot you deploy everywhere you can find a JVM basically."}}
很简单,但通过浏览器获取时不会非常有用。以编程方式更有用的方式来使用REST Web服务。
为了帮助你完成这个任务,Spring提供了一个名为RestTemplate的方便的模板类。 RestTemplate使大多数RESTful服务与单行咒语交互。 它甚至可以将该数据绑定到自定义域类型。
4. 首先我们需要创建一个Domain 实体类
package hello;

import com.fasterxml.jackson.annotation.JsonIgnoreProperties;

@JsonIgnoreProperties(ignoreUnknown = true)

public class Quote {

    private String type;

    private Value value;

    public Quote() {

    }

    public String getType() {

        return type;

    }

    public void setType(String type) {

        this.type = type;

    }

    public Value getValue() {

        return value;

    }

    public void setValue(Value value) {

        this.value = value;

    }

    @Override

    public String toString() {

        return "Quote{" +

                "type='" + type + '\'' +

                ", value=" + value +

                '}';

    }

}
正如你所看到的,这是一个简单的Java类,它有一些属性和匹配的getter方法。 它使用Jackson JSON处理库中的@JsonIgnoreProperties进行了注释,以指示任何未绑定在此类型的属性都应该被忽略。
为了直接将数据绑定到自定义类型,您需要指定变量的名称与从API返回的JSON文档中的键完全相同。 如果JSON文档中的变量名和键不匹配,则需要使用@JsonProperty 注解来指定JSON文档的确切键。
Tips: 注意上面返回的JSON中字段名称是type和value 所以这里我们定义的也是type和value.
5. 需要额外的类来嵌入内部报价本身。
package hello;

import com.fasterxml.jackson.annotation.JsonIgnoreProperties;

@JsonIgnoreProperties(ignoreUnknown = true)

public class Value {

    private Long id;

    private String quote;

    public Value() {

    }

    public Long getId() {

        return this.id;

    }

    public String getQuote() {

        return this.quote;

    }

    public void setId(Long id) {

        this.id = id;

    }

    public void setQuote(String quote) {

        this.quote = quote;

    }

    @Override

    public String toString() {

        return "Value{" +

                "id=" + id +

                ", quote='" + quote + '\'' +

                '}';

    }

}
Tips: 由于上面返回的JSON 中value 是一个对象,包含id和quote,所以这里我们需要一个额外的类来定义它。
6.使这个应用程序变得可执行
虽然可以将此服务作为传统WAR文件打包以部署到外部应用程序服务器,但下面演示的更简单的方法会创建独立应用程序。 您将所有内容打包到一个单独的,可执行的JAR文件中,由一个良好的旧Java main()方法驱动。 一路上,您使用Spring的支持将Tomcat servlet容器作为HTTP运行时嵌入,而不是部署到外部实例。
现在您可以编写使用RestTemplate的Application类来从Spring Boot报价服务中获取数据。
package hello;

import org.slf4j.Logger;

import org.slf4j.LoggerFactory;

import org.springframework.web.client.RestTemplate;

public class Application {

    private static final Logger log = LoggerFactory.getLogger(Application.class);

    public static void main(String[] args) {

        // TODO Auto-generated method stub

         RestTemplate restTemplate = new RestTemplate();

         Quote quote = restTemplate.getForObject("http://gturnquist-quoters.cfapps.io/api/random", Quote.class);

         log.info(quote.toString());

    }

}
Tips: 这里我们可以看到通过一个RestTemplate 对象的方法,我们消费(调用)了另外一个Restfule web service 的数据。有了这种调用方式,我们便将不再需要编写Httpclient方法来处理调用。
由于Jackson JSON处理库位于类路径中,RestTemplate将使用它(通过消息转换器)将传入的JSON数据转换为Quote对象。 从那里,Quote对象的内容将被记录到控制台。
在这里,您只使用RestTemplate进行HTTP GET请求。 但RestTemplate还支持其他HTTP动词,例如POST,PUT和DELETE。
打印控制台如图所示:

7. 使用Spring Boot管理应用程序生命周期
到目前为止,我们还没有在我们的应用程序中使用过Spring Boot,但这样做有一些优点,而且这并不难。 其中一个优点是我们可能希望让Spring Boot管理RestTemplate中的消息转换器,以便自定义很容易以声明方式添加。 为此,我们在主类上使用@SpringBootApplication并转换主要方法来启动它,就像在任何Spring Boot应用程序中一样。 最后,我们将RestTemplate移动到一个CommandLineRunner回调函数中,以便在启动时由Spring Boot执行:
src/main/java/hello/Application.java
package hello;

import org.slf4j.Logger;

import org.slf4j.LoggerFactory;

import org.springframework.boot.CommandLineRunner;

import org.springframework.boot.SpringApplication;

import org.springframework.boot.autoconfigure.SpringBootApplication;

import org.springframework.boot.web.client.RestTemplateBuilder;

import org.springframework.context.annotation.Bean;

import org.springframework.web.client.RestTemplate;

@SpringBootApplication

public class Application {

    private static final Logger log = LoggerFactory.getLogger(Application.class);

    public static void main(String[] args) {

        // TODO Auto-generated method stub

        SpringApplication.run(Application.class);

//         RestTemplate restTemplate = new RestTemplate();

//         Quote quote = restTemplate.getForObject("http://gturnquist-quoters.cfapps.io/api/random", Quote.class);

//         log.info(quote.toString());

    }

    @Bean

    public RestTemplate restTemplate(RestTemplateBuilder builder) {

        return builder.build();

    }

    @Bean

    public CommandLineRunner run(RestTemplate restTemplate) throws Exception {

        return args -> {

            Quote quote = restTemplate.getForObject("http://gturnquist-quoters.cfapps.io/api/random", Quote.class);

            log.info(quote.toString());

        };

    }

}
Tips: 刚才那种方式显然并不优雅,我们注释掉刚才的内容更换成使用Spring Boot 的code 来看下。通过这种方式显然更优雅地调用了 其他Restful Web service.
RestTemplateBuilder由Spring注入,如果您使用它创建RestTemplate,那么您将受益于Spring Boot中使用消息转换器和请求工厂进行的所有自动配置。
我们还将RestTemplate提取到@Bean中以使其更易于测试(这样可以更轻松地进行模拟)。
8.编译生一个可执行的Jar
您可以使用Gradle或Maven从命令行运行应用程序。 或者您可以构建一个包含所有必需的依赖项,类和资源的可执行JAR文件,并运行该文件。 这使得在整个开发生命周期内跨越不同环境等,将服务作为应用程序发布,版本化和部署变得非常容易。
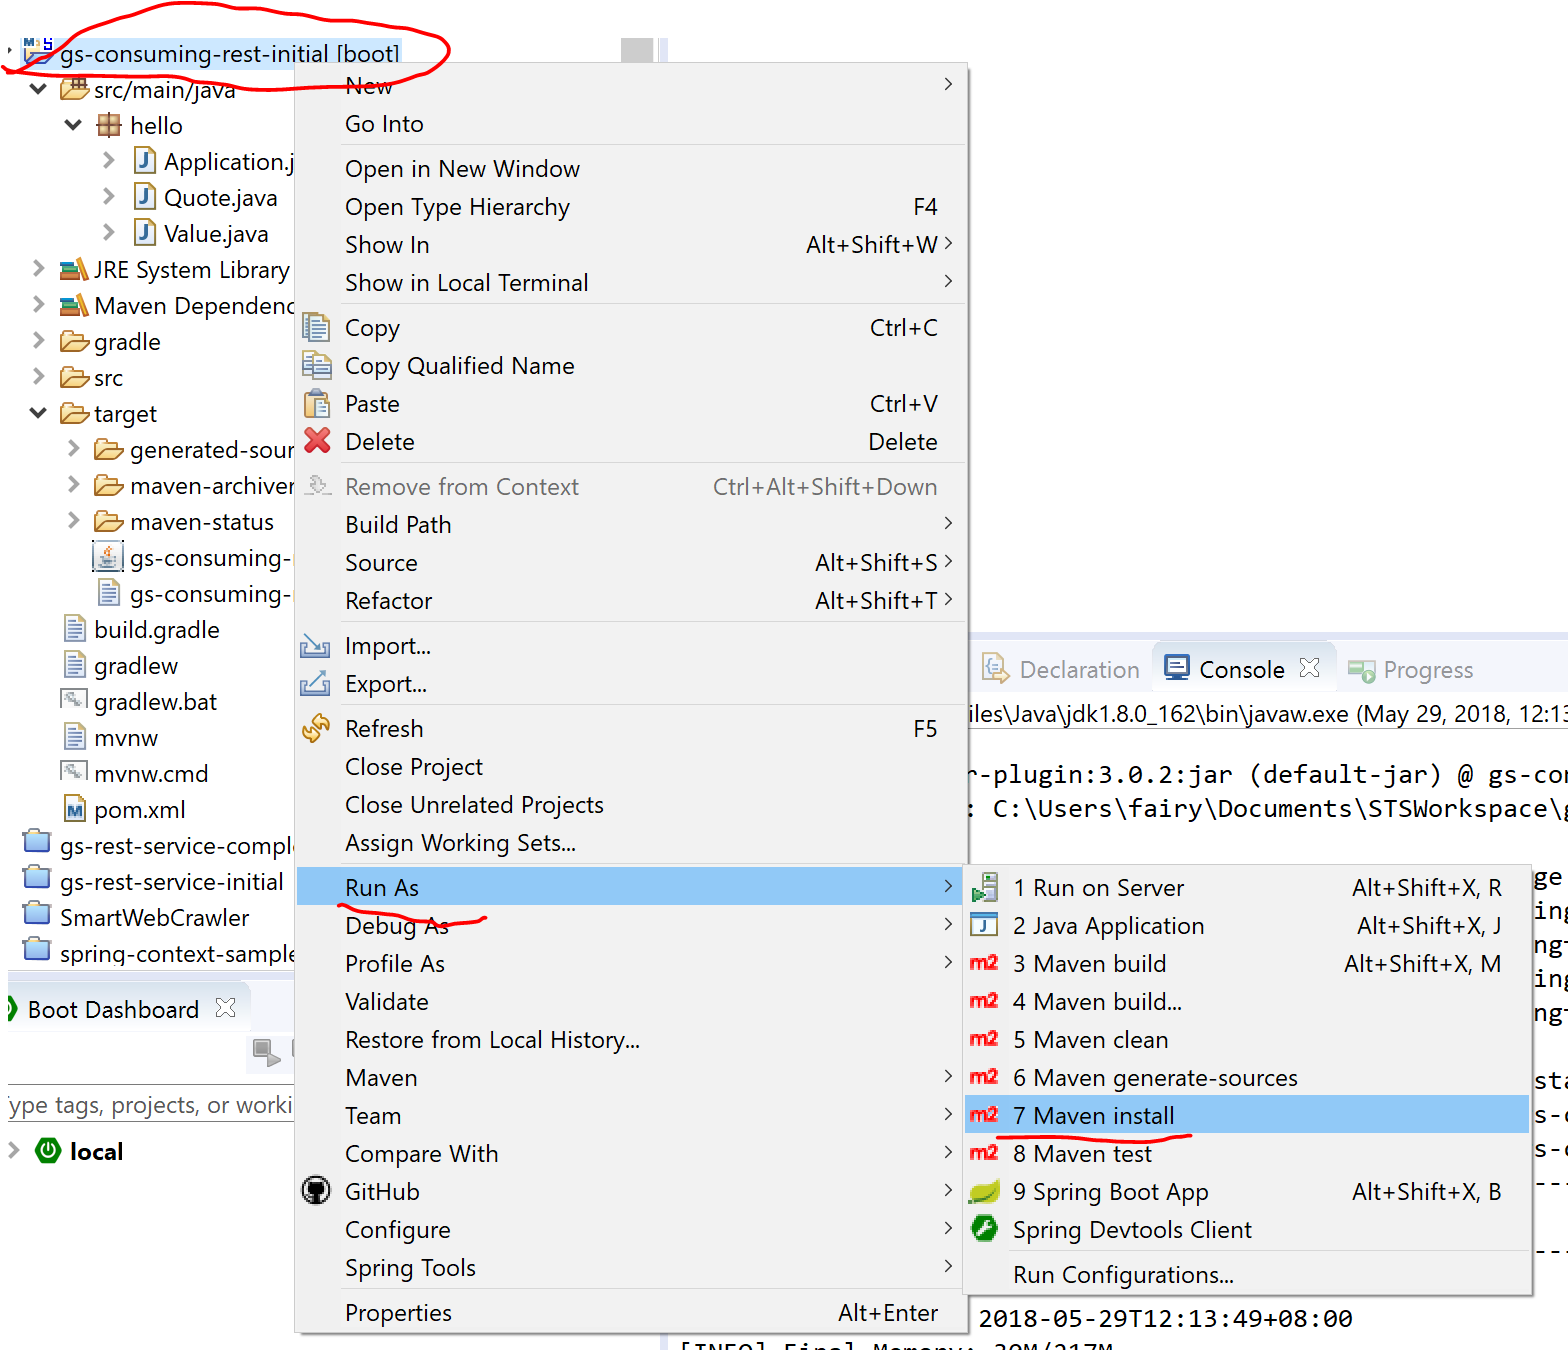
这一步我们使用STS中集成的工具来操作生成一个可执行的Jar,如图所示:
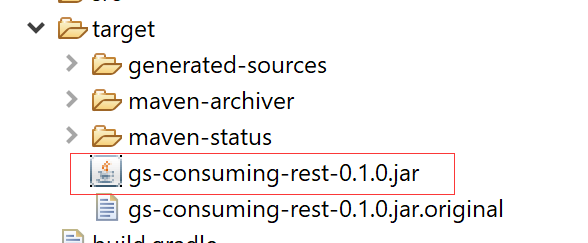
之后我们应该能看到target 文件夹下多了一个文件
如果您正在使用Gradle,则可以使用./gradlew bootRun运行该应用程序。 或者您可以使用./gradlew构建构建JAR文件。 然后你可以运行JAR文件:
java -jar build/libs/gs-consuming-rest-0.1.0.jar
如果您使用的是Maven,则可以使用./mvnw spring-boot:run来运行该应用程序。 或者,您可以使用./mvnw clean包构建JAR文件。 然后你可以运行JAR文件:
java -jar target/gs-consuming-rest-0.1.0.jar
上述过程将创建一个可运行的JAR。 您也可以选择构建经典的WAR文件。
您应该看到如下所示的输出,并随机引用:

如果你看到错误无法提取响应:没有找到合适的HttpMessageConverter用于响应类型[class hello.Quote],那么你有可能处于一个无法连接到后端服务的环境中(如果可以的话,它会发送JSON)。 也许你背后是一个公司代理? 尝试将标准系统属性http.proxyHost和http.proxyPort设置为适合您的环境的值。
好了本节课到这里就结束了,通过本节课我们发现Spring Boot 中服务之间相互调用时最原生的其实是通过这种方式调用的。
译:3.消费一个RESTful Web Service的更多相关文章
- 用Spring Tools Suite(STS)开始一个RESTful Web Service
spring.io官方提供的例子Building a RESTful Web Service提供了用Maven.Gradle.STS构建一个RESTFul Web Service,实际上采用STS构建 ...
- 在GlassFish应用服务器上创建并运行你的第一个Restful Web Service【翻译】
前言 本人一直开发Android应用,目前Android就业形势恶劣,甚至会一路下滑,因此决定学习服务器开发.采用的语言是java,IDE是Intellij,在下载Intellij的同时看到官网很多优 ...
- Spring Boot 构建一个 RESTful Web Service
1 项目目标: 构建一个 web service,接收get 请求 http://localhost:8080/greeting 响应一个json 结果: {"id":1,&qu ...
- Apache CXF实现Web Service(2)——不借助重量级Web容器和Spring实现一个纯的JAX-RS(RESTful) web service
实现目标 http://localhost:9000/rs/roomservice 为入口, http://localhost:9000/rs/roomservice/room为房间列表, http: ...
- JAX-RS 方式的 RESTful Web Service 开发
JAX-RS 方式的 RESTful Web Service 开发 ——基于 CXF+Spring 的实现 Web Service 目前在风格上有两大类,一个是基于 SOAP 协议,一个是完全遵循 H ...
- 【转】Spring 4.x实现Restful web service
http://my.oschina.net/yuyidi/blog/352909 首先我们还是跟之前一样,创建一个maven项目,不过因为Spring Restful web service是基于Sp ...
- 如何使用 JMeter 调用你的 Restful Web Service?进行简单的压力测试和自动化测试
表述性状态传输(REST)作为对基于 SOAP 和 Web 服务描述语言(WSDL)的 Web 服务的简单替代,在 Web 开发上得到了广泛的接受.能够充分证明这点的是主流 Web 2.0 服务提供商 ...
- RESTful Web Service实战 小结1
1 REST的基本实现形式HTTP+URI+XML,但不是唯一形式.XML后来被Json格式替代.REST是一中架构风格(Representational State Transfer,表述性状态转移 ...
- 构建一个基于 Spring 的 RESTful Web Service
本文详细介绍了基于Spring创建一个“hello world” RESTful web service工程的步骤. 目标 构建一个service,接收如下HTTP GET请求: http://loc ...
随机推荐
- 044 HIVE中的几种排序
1.order by:全局排序 select * from emp order by sal; 对于一个reduce才有用. 2.sort by:对于每个reduce进行排序 set mapreduc ...
- UVA 624 CD[【01背包】(输出路径)
<题目链接> 题目大意: 你要录制时间为N的带子,给你一张CD的不同时长的轨道,求总和不大于N的录制顺序 解题分析: 01背包问题,需要注意的是如何将路径输出. 由于dp时是会不断的将前面 ...
- Loogn.OrmLite文档
Getting Started 一. 引入Loogn.OrmLite PM> Install-Package Loogn.OrmLite 二.引入名称空间 using Loogn.OrmLite ...
- json Map JsonObject JsonArray
json字符串是不应包含 "\"转义字符的,json不能通过js json工具转换或者java json工具 包转换那么一定程度上json字符串已被在一次处理不在能转成json了. ...
- activate-power-mode 插件 安装 设置 IDEA
作者:韩梦飞沙 Author:han_meng_fei_sha 邮箱:313134555@qq.com E-mail: 313134555 @qq.com 可用 摇 shake 粒子 particle ...
- struts2中的session、request 、和action往页面中传值的方法
ActionContext.getContext().put("list", list); ActionContext.getContext().getValueStack().p ...
- window + php + memcached 安装
第一步:安装windows版memcached 下载地址:http://download.csdn.net/detail/zhaotengfei36520/8182503#comment 下载之后将文 ...
- 【转载】实用VC++6.0插件
[转自]http://www.cnblogs.com/witxjp/archive/2011/04/03/2004556.html Visual Assist(强烈推荐)网址:http://www.w ...
- Codeforces Round #519 by Botan Investments
Codeforces Round #519 by Botan Investments #include<bits/stdc++.h> #include<iostream> #i ...
- ClassLoader加载资源时的搜索路径
先来个例子: /** * 测试classloader加载路径在哪里<p> * main3 */ public static void main3(String[] args) { Prop ...