
【水滴石穿】rn_statusbar
先放项目地址https://github.com/hezhii/rn_statusbar
来看一下效果
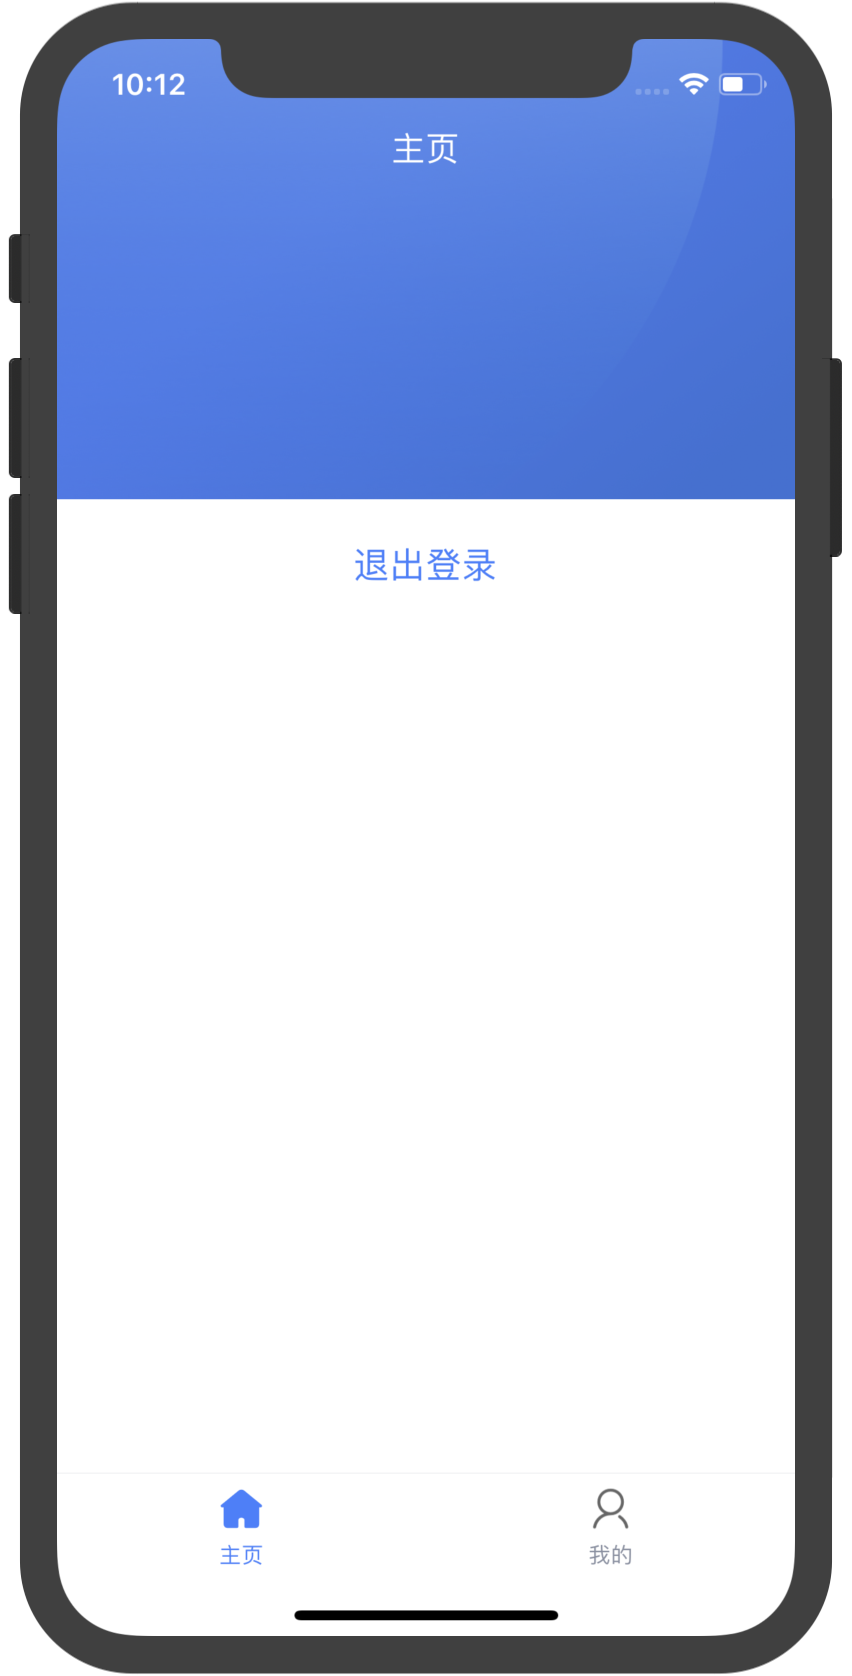
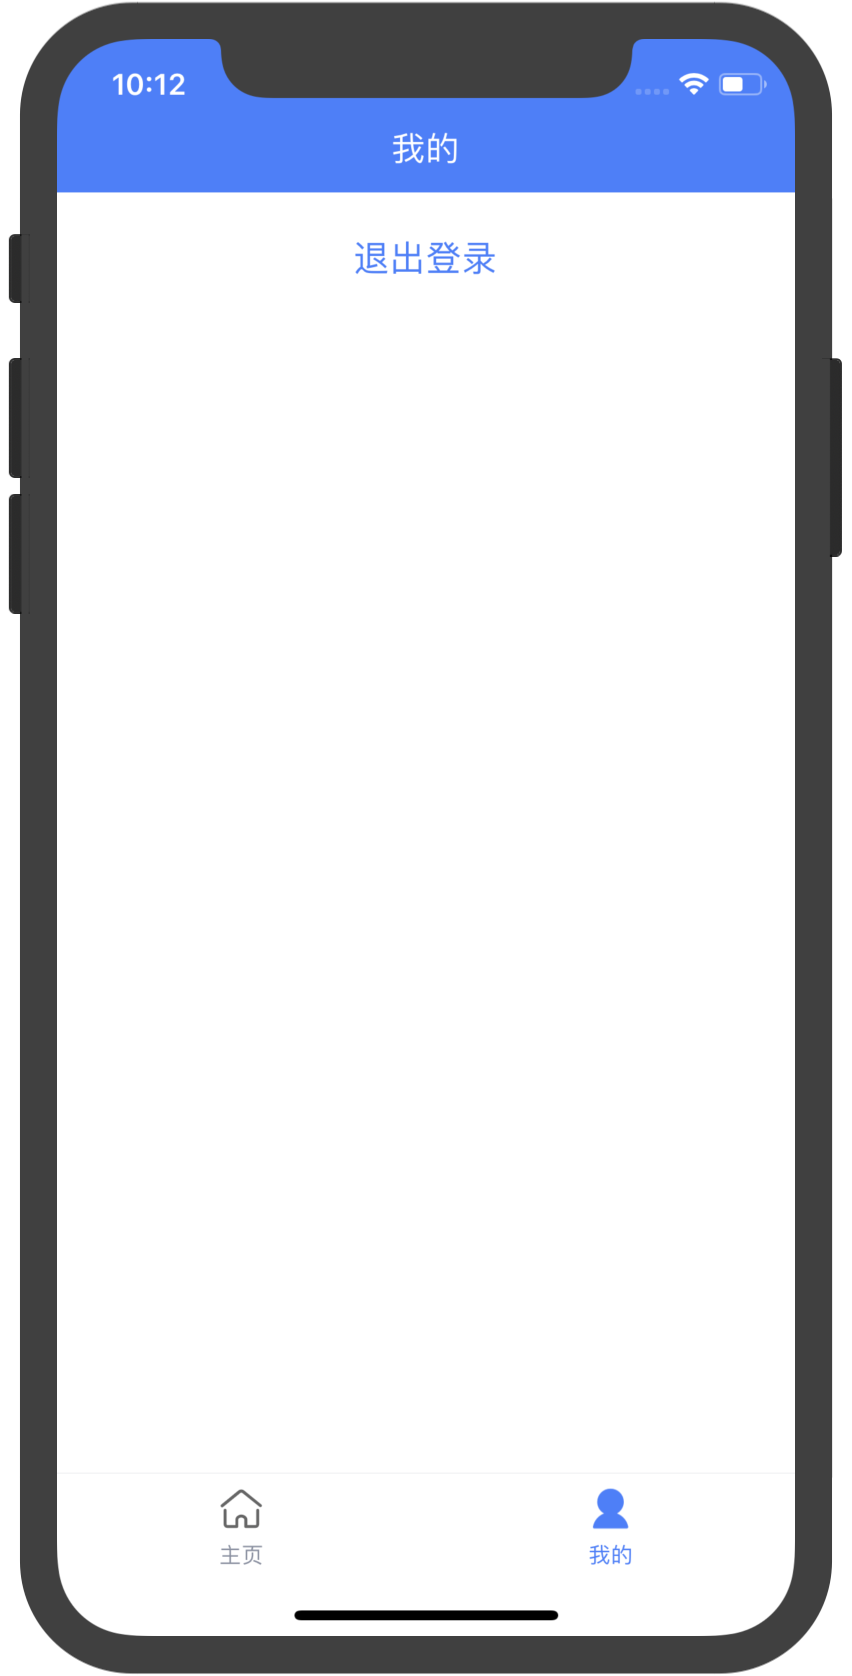
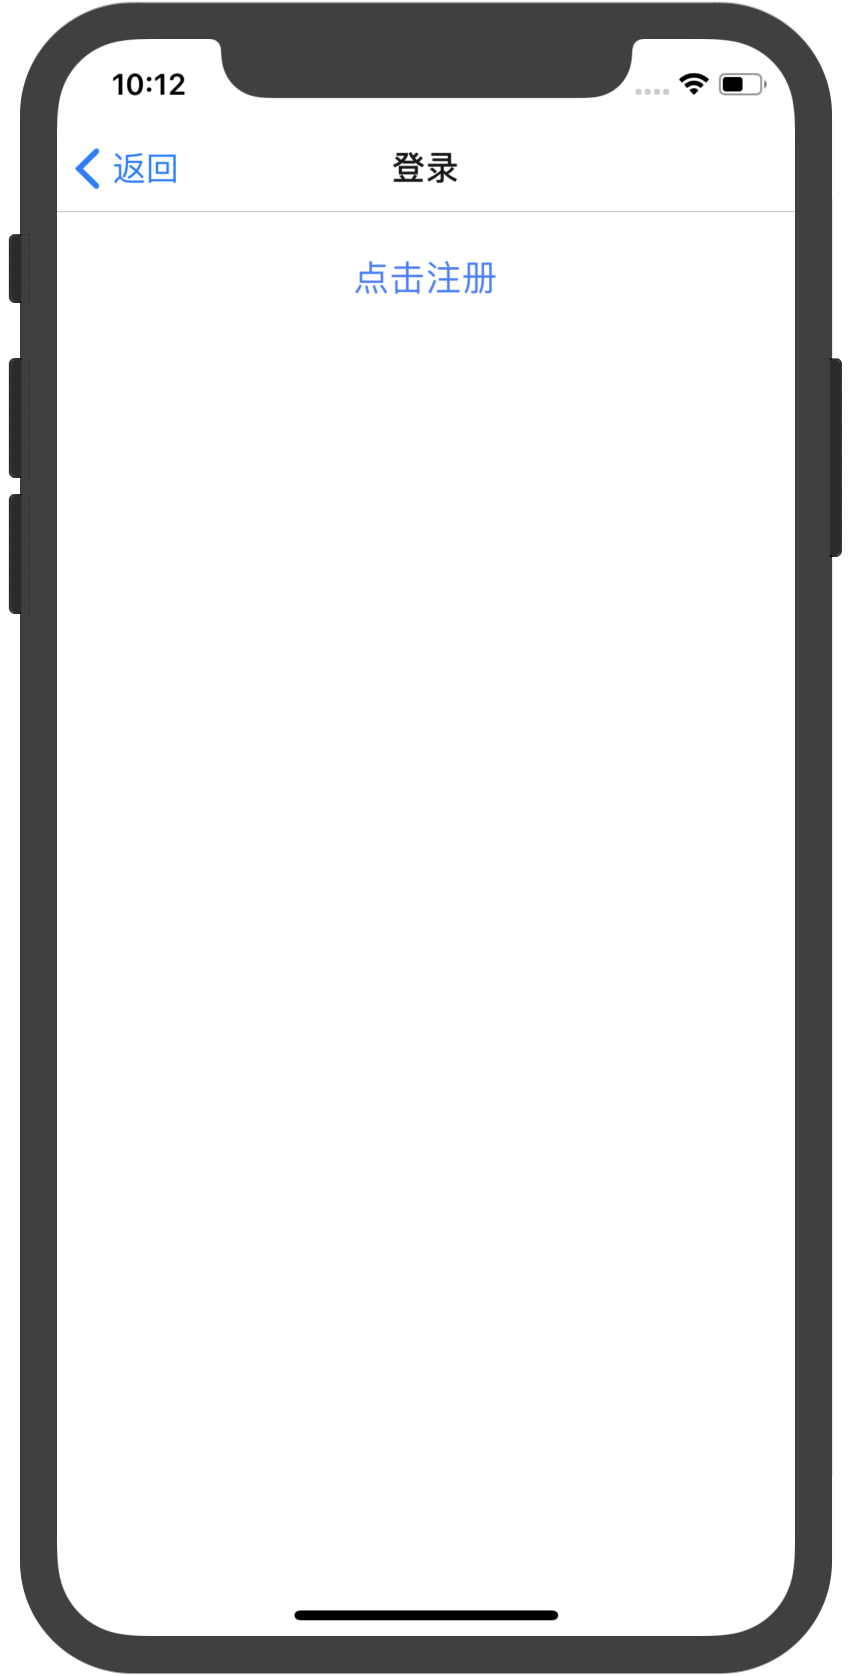

咩有感觉很怎么样,看代码
根入口文件
//index.js

//看代码我们知道入口是app.js

import { AppRegistry } from 'react-native';

import App from './src/App';

import { name as appName } from './app.json';

AppRegistry.registerComponent(appName, () => App);
app.js
//src/App.js

//里面主要是引用了navigator.js

import React, { PureComponent } from 'react';

import Navigator from './Navigator'

export default class App extends PureComponent {

  render() {

    return <Navigator />

  }

}
//src/Navigator.js

import React from 'react'

import { createAppContainer, createStackNavigator, createBottomTabNavigator } from 'react-navigation'

import TabBarIcon from './components/TabBarIcon'

import Home from './pages/Home'

import My from './pages/My'

import Login from './pages/Login'

import Register from './pages/Register'

const Main = createBottomTabNavigator(

  {

    Home,

    My

  },

  {

    defaultNavigationOptions: ({ navigation }) => {

      const { routeName } = navigation.state;

      return {

        tabBarIcon: ({ focused }) => <TabBarIcon focused={focused} routeName={routeName} />,

      };

    },

    tabBarOptions: {

      activeTintColor: '#437dff',

      inactiveTintColor: '#888FA1',

      style: {

        borderTopColor: '#E6E8EB',

      },

    },

  }

)

export default createAppContainer(createStackNavigator(

  {

    Main: {

      screen: Main,

      navigationOptions: {

        header: null,

      },

    },

    Login,

    Register

  },

  {

    defaultNavigationOptions: {

      headerBackTitle: '返回'

    }

  }

))
//src/pages/Home.js

import React from 'react'

import { StyleSheet, View, ImageBackground, Button, StatusBar } from 'react-native'

import Header from '../components/Header'

import { setStatusBar } from '../components/HOC/StatusBar'

@setStatusBar({

  barStyle: 'light-content',

  translucent: true,

  backgroundColor: 'transparent'

})

export default class Home extends React.PureComponent {

  static navigationOptions = {

    title: '主页'

  }

  render() {

    return (

      <View style={styles.fill}>

        <ImageBackground style={styles.bg} source={require('../assets/imgs/bg.png')}>

          <Header title="主页" fullScreen />

        </ImageBackground>

        <View style={styles.buttonWrapper}>

          <Button

            title="退出登录"

            onPress={() => this.props.navigation.push('Login')}

            color="#437dff"

          />

        </View>

      </View>

    )

  }

}

const styles = StyleSheet.create({

  fill: {

    flex: 1

  },

  bg: {

    height: 234,

  },

  text: {

    fontSize: 20,

    fontWeight: '500',

    color: '#437dff',

    textAlign: 'center'

  },

  buttonWrapper: {

    padding: 16

  }

})
//src/pages/Login.js

import React from 'react'

import { StyleSheet, View, Button } from 'react-native'

import { setStatusBar } from '../components/HOC/StatusBar'

@setStatusBar()

export default class Login extends React.PureComponent {

  static navigationOptions = {

    title: '登录',

  }

  render() {

    return (

      <View style={styles.fill}>

        <View style={styles.buttonWrapper}>

          <Button

            title="点击注册"

            onPress={() => this.props.navigation.push('Register')}

            color="#437dff"

          />

        </View>

      </View>

    )

  }

}

const styles = StyleSheet.create({

  fill: {

    flex: 1

  },

  buttonWrapper: {

    padding: 16

  }

})
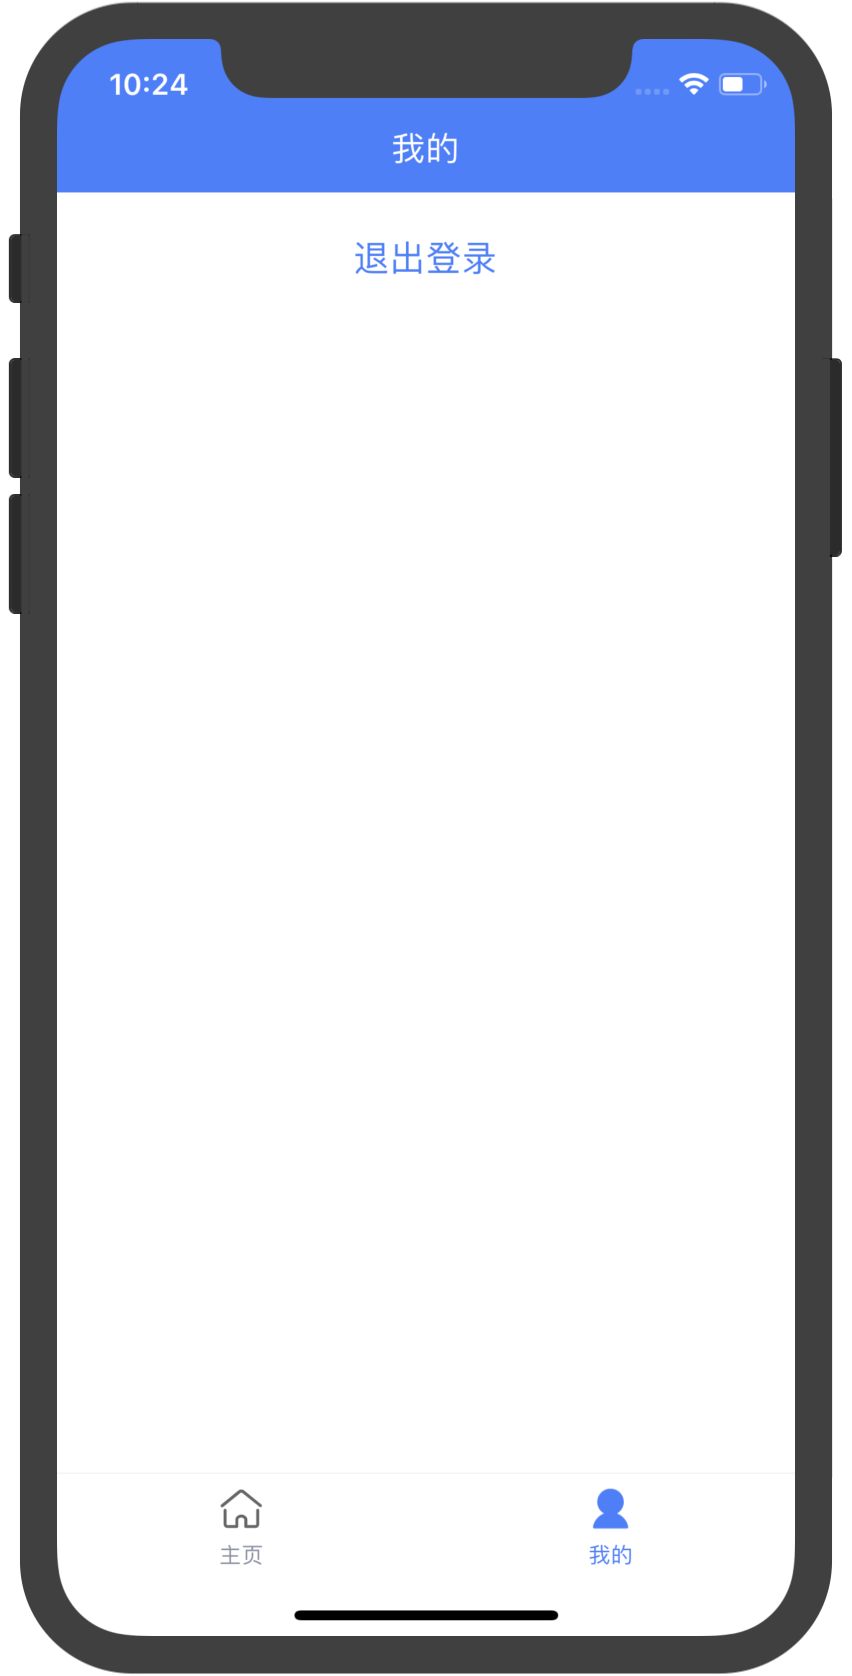
//src/pages/My.js

import React from 'react'

import { StyleSheet, View, Button } from 'react-native'

import Header from '../components/Header'

import { setStatusBar } from '../components/HOC/StatusBar'

@setStatusBar({

  barStyle: 'light-content',

  translucent: true,

  backgroundColor: 'transparent'

})

export default class My extends React.PureComponent {

  static navigationOptions = {

    title: '我的',

  }

  render() {

    return (

      <View style={styles.fill}>

        <Header title="我的" style={styles.header} fullScreen />

        <View style={styles.buttonWrapper}>

          <Button

            title="退出登录"

            onPress={() => this.props.navigation.push('Login')}

            color="#437dff"

          />

        </View>

      </View>

    )

  }

}

const styles = StyleSheet.create({

  fill: {

    flex: 1

  },

  text: {

    fontSize: 20,

    fontWeight: '500',

    color: '#437dff',

    textAlign: 'center'

  },

  header: {

    backgroundColor: '#437dff',

  },

  buttonWrapper: {

    padding: 16

  }

})
//src/pages/Register.js

import React from 'react'

import { StyleSheet, View, Text, StatusBar } from 'react-native'

export default class Login extends React.PureComponent {

  static navigationOptions = {

    title: '注册',

    headerStyle: {

      backgroundColor: '#437dff',

    },

    headerTintColor: '#fff'

  }

  render() {

    return (

      <View style={styles.fill}>

        <StatusBar translucent={false} backgroundColor='red' barStyle="light-content" />

        <Text style={styles.text}>注册页面</Text>

      </View>

    )

  }

}

const styles = StyleSheet.create({

  fill: {

    flex: 1

  },

  text: {

    marginTop: 32,

    fontSize: 20,

    fontWeight: '500',

    color: '#437dff',

    textAlign: 'center'

  }

})
工具函数里面是做的适配
//src/utils/device.js

import { Platform, Dimensions } from 'react-native';

// iPhone X、iPhone XS

const X_WIDTH = 375;

const X_HEIGHT = 812;

// iPhone XR、iPhone XS Max

const XSMAX_WIDTH = 414;

const XSMAX_HEIGHT = 896;

const DEVICE_SIZE = Dimensions.get('window');

const { height: D_HEIGHT, width: D_WIDTH } = DEVICE_SIZE;

export { DEVICE_SIZE };

export const isiOS = () => Platform.OS === 'ios'

export const isAndroid = () => Platform.OS === 'android'

export const isiPhoneX = () => {

  return (

    isiOS() &&

    ((D_HEIGHT === X_HEIGHT && D_WIDTH === X_WIDTH) ||

      (D_HEIGHT === X_WIDTH && D_WIDTH === X_HEIGHT)) ||

    ((D_HEIGHT === XSMAX_HEIGHT && D_WIDTH === XSMAX_WIDTH) ||

      (D_HEIGHT === XSMAX_WIDTH && D_WIDTH === XSMAX_HEIGHT))

  );

};

export const ifiPhoneX = (iPhoneXStyle, regularStyle) => isiPhoneX() ? iPhoneXStyle : regularStyle
封装的header
//src/components/Header/index.js

/**

 * 全屏页面中使用的 Header 组件。非全屏页面使用 react-nativetion 的 Header 即可。

 *

 * 组件会根据当前运行的环境调整高度,考虑了状态栏。

 */

import React from 'react';

import { StyleSheet, View, Text, StatusBar } from 'react-native';

import { isiOS, isiPhoneX } from '../../utils/device'

const STATUS_BAR_HEIGHT = isiOS() ? (isiPhoneX() ? 34 : 20) : StatusBar.currentHeight

const HEADER_HEIGHT = 44

const Header = ({ title, left, right, color = '#fff', style, fullScreen }) => {

  const headerStyle = [

    styles.header,

    (fullScreen || isiOS()) && {

      height: STATUS_BAR_HEIGHT + HEADER_HEIGHT,

      paddingTop: STATUS_BAR_HEIGHT

    },

    style

  ]

  return (

    <View style={headerStyle}>

      <View style={styles.left}>

        {left}

      </View>

      <Text style={[styles.title, { color }]}>{title}</Text>

      <View style={styles.right}>

        {right}

      </View>

    </View>

  );

};

const styles = StyleSheet.create({

  header: {

    height: HEADER_HEIGHT,

    flexDirection: 'row',

    alignItems: 'center',

    paddingHorizontal: 15,

  },

  title: {

    flex: 2,

    fontSize: 17,

    textAlign: 'center',

  },

  left: {

    flex: 1,

    flexDirection: 'row',

  },

  right: {

    flex: 1,

    flexDirection: 'row',

    justifyContent: 'flex-end',

  },

});

export default Header;
//src/components/TabBarIcon/index.js

import React from 'react';

import { StyleSheet, Image } from 'react-native';

const styles = StyleSheet.create({

  image: {

    height: 24,

  },

});

export default ({ routeName, focused }) => {

  const images = {

    Home: focused

      ? require('../../assets/icons/home_fill.png')

      : require('../../assets/icons/home.png'),

    My: focused

      ? require('../../assets/icons/my_fill.png')

      : require('../../assets/icons/my.png'),

  };

  return (

    <Image style={styles.image} source={images[routeName]} resizeMode="contain" />

  );

}
//src/components/HOC/StatusBar.js

//这个是定义的高阶函数

import React from 'react'

import hoistNonReactStatics from 'hoist-non-react-statics'

import { StatusBar } from 'react-native'

import { isAndroid } from '../../utils/device'

export const setStatusBar = (statusbarProps = {}) => WrappedComponent => {

  class Component extends React.PureComponent {

    constructor(props) {

      super(props)

      this._navListener = props.navigation.addListener('willFocus', this._setStatusBar)

    }

    componentWillUnmount() {

      this._navListener.remove();

    }

    _setStatusBar = () => {

      const {

        barStyle = "dark-content",

        backgroundColor = '#fff',

        translucent = false

      } = statusbarProps

      StatusBar.setBarStyle(barStyle)

      if (isAndroid()) {

        StatusBar.setTranslucent(translucent)

        StatusBar.setBackgroundColor(backgroundColor);

      }

    }

    render() {

      return <WrappedComponent {...this.props} />

    }

  }

  return hoistNonReactStatics(Component, WrappedComponent);

}
just soso
【水滴石穿】rn_statusbar的更多相关文章
- iOS 开发笔记 -- 各种细枝末节的知识(水滴石穿)
在此总结整理,遇到的各种的小问题: 1.通过从字典(数组)中取出的NSString的length==0 作为if的判断条件导致的carsh: 由于在字典中通过Key取出值之后直接做了length相关操 ...
- 【水滴石穿】react-native-book
先推荐一个学习的地址:https://ke.qq.com/webcourse/index.html#cid=203313&term_id=100240778&taid=12778558 ...
- 【水滴石穿】rnTest
其实就是一个小的demo,不过代码分的挺精巧的 先放地址:https://github.com/linchengzzz/rnTest 来看看效果 确实没有什么可以说的,不过代码部分还行 先入口文件 / ...
- 【水滴石穿】react-native-ble-demo
项目的话,是想打开蓝牙,然后连接设备 点击已经连接的设备,我们会看到一些设备 不过我这边在开启蓝牙的时候报错了 先放作者的项目地址: https://github.com/hezhii/react-n ...
- 【水滴石穿】ReactNative-Redux-Thunk
老实说,运行出来的项目让人失望,毕竟我想看各种有趣的demo啊- 先放上源码地址:https://github.com/ludejun/ReactNative-Redux-Thunk 我们来一起看看代 ...
- 【水滴石穿】mobx-todos
我觉得代码在有些程序员手里,就好像是画笔,可以创造很多东西 不要觉得创意少就叫没有创意,每天进步一点点,世界更美好 首先源码地址为:https://github.com/byk04712/mobx-t ...
- 【水滴石穿】ReactNativeMobxFrame
项目地址如下:https://github.com/FTD-ZF/ReactNativeMobxFrame 应该可以说的是,项目也只是一个花架子,不过底部的tab稍微改变了 我们一起来看代码 //in ...
- 【水滴石穿】react-native-aze
说个题外话,早上打开电脑的时候,电脑变成彩色的了,锅是我曾经安装的一个chrome扩展,没有经过我的同意开启了 (也许是昨天迷迷糊糊开启了) 上午运行项目都不成功,还以为被黑客攻击了---然后下午就排 ...
- 【水滴石穿】douban-movies-react-native
这个项目的话,倒是可以做一个支架页面,就是你需要什么东西,你就可以在里面加,不过也是比较难的地方 就是数据流,数据处理的部分.react可以处理数据的方式很多,没有见过类似于古老的vue时候可以使用的 ...
随机推荐
- Django中间件初始化过程
def load_middleware(self): """ Populate middleware lists from settings.MIDDLEWARE. Mu ...
- 探索SpringBoot中的SpringMVC
spring boot就是一个大框架里面包含了许许多多的东西,其中spring就是最核心的内容之一,当然就包含spring mvc.spring mvc 是只是spring 处理web层请求的一个模块 ...
- 901. Online Stock Span [短于线性的时间统计单个元素的Span ]
Span 指这个元素之前连续的小于这个元素的值有多少个 原理: 维护递减栈 这个栈内的元素是递减的序列 新到一个元素x 依次出栈比x小的(也就是这个元素的Span) 这种问题的关键在于 新来的元素如果 ...
- storm的安装
一. 安装storm要先本机搭建好zookeeper集群(手动目录安装或者CDH安装) 二. Java 6 Python 2.6.6 unzip(针对使用语言要安装好相应环境 比如java 要JDK和 ...
- tensorflow使用CPU可以跑(运行),但是使用GPU却不能用的情况
在跑的时候可以让加些选项: with tf.Session(config=tf.ConfigProto(allow_soft_placement=True, log_device_placement= ...
- service network restart 报错重启失败
Job for network.service failed because the control process exited with error code. See “systemctl st ...
- Java TimeUnit使用
TimeUnit是java.util.concurrent包下面的一个类,表示给定单元粒度的时间段. 常用的颗粒度 TimeUnit.DAYS //天 TimeUnit.HOURS //小时 Time ...
- 2019-8-31-HttpRepl-互操作的-RESTful-HTTP-服务调试命令行工具
title author date CreateTime categories HttpRepl 互操作的 RESTful HTTP 服务调试命令行工具 lindexi 2019-08-31 16:5 ...
- Leetcode264. Ugly Number II丑数2
编写一个程序,找出第 n 个丑数. 丑数就是只包含质因数 2, 3, 5 的正整数. 示例: 输入: n = 10 输出: 12 解释: 1, 2, 3, 4, 5, 6, 8, 9, 10, 12 ...
- LeetCode412Fizz Buzz
写一个程序,输出从 1 到 n 数字的字符串表示. 1. 如果 n 是3的倍数,输出"Fizz": 2. 如果 n 是5的倍数,输出"Buzz": 3.如果 n ...