vue 富文本编辑器 项目实战用法
1.挑个富文本编辑器
首先针对自己项目的类型,确定自己要用啥编辑器。
1.1 wangeditor
如果一般类似博客这种项目不需要花里胡哨的,功能也不要求贼多的,推荐一下wangeditor(点击跳转)。能覆盖基本上所有的常见操作,轻量化,开源,有中文文档。
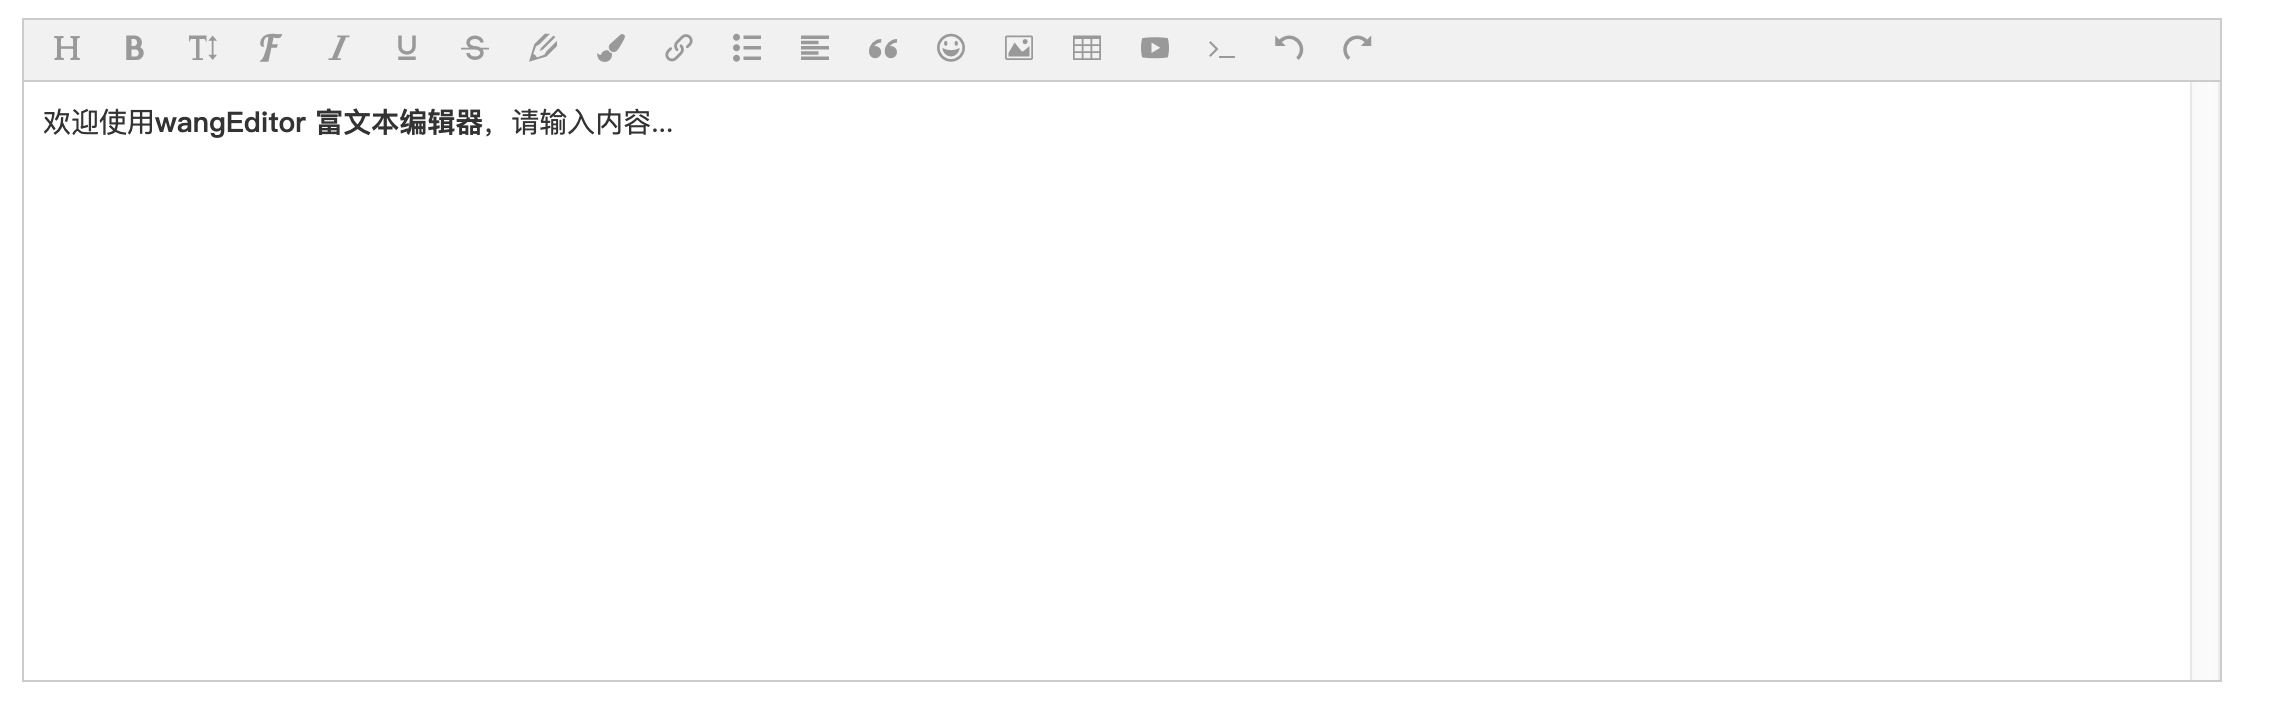
▽wangeditor效果图
1.2 tinyMCE
如果需要复杂的编辑器,推荐tinyMCE(点击跳转),同样也非常简单和优雅,但是文档是英文的,配合chrome的翻译,基本上能看懂,而且tinyMCE有另外一个好处,word上的东西基本上都可以保存格式复制到编辑器里,可以比较方便的转移。
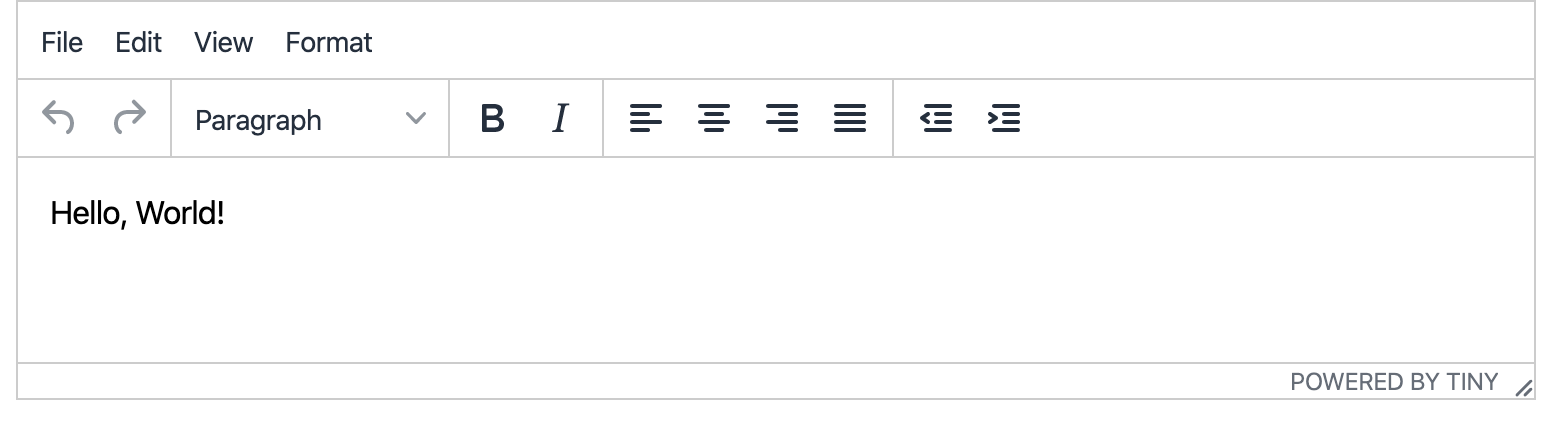
▽tinyMCE效果图
剩下的很多编辑器,但是大多没接触过,推荐的这两个,一个简洁够用,一个功能齐全,能覆盖90%以上的场景了,所以就不推荐别的了。另外本文主要讲wangeditor。
2.项目准备(wangeditor)
本文选用框架的是nuxt.js,和vue-cli基本一致。都0202年了,如果不是模块化的项目请参考下wangeditor的文档。
既然谈到模块化项目,那么将编辑器设为组件那就是非常必要的了。
但是有一个问题,vue自带的数据双向绑定是不支持组件内外之间的双向传递的(其实支持的,就是我不知道),也就是说,如果你将富文本编辑器封装在组件B中,你在A页面用组件B去写入数据C,这个C数据只能在B的组件页面中获取,无法直接在A页面中取到。但是项目逻辑不可能在组件的B页面上去执行,一定是在A页面去完成逻辑,所以一定要在A中获取到数据。
为了解决这个问题,我们需要回顾一下vue的v-model和父子组件的传值方式。如果你了解组件数据的双向绑定和它的原理,可以忽略下面,直接到最后的代码处就行了。
2.1 v-model
这个很基础了,就简单放个例子好了。
 <input type="text" v-model="message">

 <p>{{message}}</p>
这个例子其实等价于
<input type="text" :value="message" @input="message = $event.target.value">
挺好理解的,① v-bind:"message" 等于给input赋值,② @input="message = $event.target.value" 等于给message赋值,所以这样才实现了双向绑定,也就是修改message时会触发v-bind让Input变换值,在Input输入时能触发input事件来改变message的值。
2.2实现组件v-model
那现在我搞一个组件,给他设上v-bind ,然后顺便监听他的input,这两步可以化为一步v-model="price",也可以看非组件时候的"② @input="message = $event.target.value" 等于给message赋值,"。因为监听了input会将数据赋给price,然后通过v-bind会将price的值赋给组件内部的props中的value属性。
 <div id="app">

     <price-input :value="price" @input="onInput"></price-input>

 </div>
 var app = new Vue({

     el: '#app',

     data(){

         price: ''

     },

     methods: {

         onInput(val){

             this.price = val;

         }

     }

 })
我们现在已经完成第二步,现在只需要完成第一步就行了,第一步体现在组件上就是接收第二步传进来的信息,然后通过$emit再将它传出去。即完成了组件上的数据双向绑定。组件内部代码如下:
 Vue.component('custom-input',{

     template: `<input :value='value' @input='updateVal($event.target.value)' type='text'></input>`,

     props: ['value'],

     methods: {

         updateVal(val){

             this.$emit('input', val);

         }

     }

 });
ps:现在$emit('input',val)中的input方法是指组件外的@input="oninput"而不是指组件内部的@input='updateVal($event.target.value)'
2.3 model
但是现在还有一个问题,默认情况下,组件上的 v-model 会把 value 用作 prop 且把 input 用作 event。所以当我们在一个自定义组件上使用v-model并不能实现双向绑定,因为自定的组件并没有默认的value和input事件,在使用时,我们需要按照上面那样显式的去声明定义这些东西。这时,model选项就派上用场了,在定义组件的时候,指定prop的值和监听的事件。
 Vue.component('my-input',{
    template: `<input type="text" :value="uname" @input="updateVal($event.target.value)">`,

     props: {

     // 如果你想在组件上使用v-model的话,此处的uname应该叫value

         uname: {

             type: String,

             default: 'tom'

         }

     },

     methods: {

         updateVal(val){

     // 如果你想在组件上使用v-model的话,此处的changeXXX应该叫input

             this.$emit('changeXXX',val)

         }

     }

 })
<my-input v-model="name" value='some value'></my-input>
△ 在这种情况下,v-model的绑定是失效的,所以只能改成拆解写法:
<my-input :uname='name' @changeXXX='val => {foo = val}' value='some value'></my-input>
要想使用v-model这时候只能在vue.component的参数对象里加一个Model对象,指出你想要value叫uname, input叫changeXXX。然后快乐的使用v-model就可以了,代码如下:
 Vue.component('my-input',{

     model: {

         prop: 'uname',

         event: 'changeXXX'

     },

     props: {

         uname: {

             type: String,

             default: 'tom'

         }

     },

     methods: {

         updateVal(val){

             this.$emit('changeXXX',val)

         }

     }

 })
这样v-model 就可以生效了。另外如果你用v-model的话,event的名字没有什么特殊要求,你填什么都可以。
3.实战
3.1 安装和导入
直接npm安装, $ npm install wangeditor
安装好了在components/public下新建editor.vue文件下导入文件,如果直接require会出现navigator is not defined 的错误,搜了一下可能是因为nuxt.js服务端渲染的问题,那时候还没有navigator这个对象,所以导致出现这个错误。所以引用时要加个判断。 const E = process.browser ? require("wangeditor") : undefined;
3.2 项目代码
代码整体如下:
 <template lang="html">

   <div class="editor">

     <div ref="toolbar" class="toolbar"></div>

     <div ref="editor" class="text"></div>

   </div>

 </template>

 <script>

 // import E from "wangeditor";

 const E = process.browser ? require("wangeditor") : undefined;

 export default {

   data() {

     return {

       // uploadPath,

       editor: null,

       info_: null

     };

   },

   model: {

     prop: "value",

     event: "change"

   },

   props: {

     value: {

       type: String,

       default: ""

     },

     isClear: {

       type: Boolean,

       default: false

     }

   },

   watch: {

     isClear(val) {

       // 触发清除文本域内容

       if (val) {

         this.editor.txt.clear();

         this.info_ = null;

       }

     },

     value: function(value) {

       if (value !== this.editor.txt.html()) {

         this.editor.txt.html(this.value);

       }

     }

   },

   mounted() {

     this.seteditor();

     this.editor.txt.html(this.value);

   },

   methods: {

     seteditor() {

       // http://192.168.2.125:8080/admin/storage/create

       this.editor = new E(this.$refs.toolbar, this.$refs.editor);

       this.editor.customConfig.uploadImgShowBase64 = true; // base 64 存储图片

       // this.editor.customConfig.uploadImgServer =

       //   ""; // 配置服务器端地址

       // this.editor.customConfig.uploadImgHeaders = {}; // 自定义 header

       // this.editor.customConfig.uploadFileName = "file"; // 后端接受上传文件的参数名

       // this.editor.customConfig.uploadImgMaxSize = 2 * 1024 * 1024; // 将图片大小限制为 2M

       // this.editor.customConfig.uploadImgMaxLength = 6; // 限制一次最多上传 3 张图片

       // this.editor.customConfig.uploadImgTimeout = 3 * 60 * 1000; // 设置超时时间

       // 配置菜单

       this.editor.customConfig.menus = [

         "head", // 标题

         "bold", // 粗体

         "fontSize", // 字号

         "fontName", // 字体

         "italic", // 斜体

         "underline", // 下划线

         "strikeThrough", // 删除线

         "foreColor", // 文字颜色

         "backColor", // 背景颜色

         "link", // 插入链接

         "list", // 列表

         "justify", // 对齐方式

         "quote", // 引用

         "emoticon", // 表情

         "image", // 插入图片

         "table", // 表格

         "video", // 插入视频

         "code", // 插入代码

         "undo", // 撤销

         "redo", // 重复

         "fullscreen" // 全屏

       ];

       this.editor.customConfig.uploadImgHooks = {

         fail: (xhr, editor, result) => {

           // 插入图片失败回调

         },

         success: (xhr, editor, result) => {

           // 图片上传成功回调

         },

         timeout: (xhr, editor) => {

           // 网络超时的回调

         },

         error: (xhr, editor) => {

           // 图片上传错误的回调

         },

         customInsert: (insertImg, result, editor) => {

           // 图片上传成功,插入图片的回调

         }

       };

       this.editor.customConfig.onchange = html => {

         this.info_ = html; // 绑定当前逐渐地值

         this.$emit("change", this.info_); // 将内容同步到父组件中

       };

       // 创建富文本编辑器

       this.editor.create();

     }

   }

 };

 </script>

 <style lang="css">

 .editor {

   width: 100%;

   margin: 0 auto;

   position: relative;

   z-index: 0;

 }

 .toolbar {

   border: 1px solid #ccc;

 }

 .text {

   border: 1px solid #ccc;

   min-height: 500px;

 }

 </style>
页面代码 :
 <template>

   <div>

     <editor-bar

       v-model="detail"

       :isClear="isClear"

       @change="change"

     ></editor-bar>

     <button @click="send">点我!</button>

   </div>

 </template>

 <script>

 import EditorBar from "../components/public/editor";

 export default {

   components: { EditorBar },

   data() {

     return {

       isClear: false,

       detail: ""

     };

   },

   methods: {

     change(val) {

       console.log(val);

     },

     send() {

       alert(this.detail);

     }

   }

 };

 </script>

 <style></style>
直接复制就可以用了,更多功能可以参考文档(点我!)。
vue 富文本编辑器 项目实战用法的更多相关文章
- vue+富文本编辑器UEditor
vue+富文本编辑器UEditor 昨天的需求是把textarea换成富文本编辑器的形式, 网上找了几种富文本编辑器ueditor.tinymce等, 觉得ueditor实现双向绑定还挺有意思, 分享 ...
- Django xadmin后台添加富文本编辑器UEditor的用法
效果图: 步骤: 1.利用命令:pip install DjangoUeditor,安装DjangoUeditor,但由于DjangoUeditor没有python3版本的,从的Github上把修改好 ...
- vue富文本编辑器vue-quill-editor使用总结(包含图片上传,拖拽,放大和缩小)
vue-quill-editor是vue很好的富文本编辑器,富文本的功能基本上都支持,样式是黑白色,简洁大方. 第一步下载 vue-quill-editor: npm i vue-quill-edit ...
- Vue富文本编辑器(图片拖拽缩放)
富文本编辑器(图片拖拽缩放) 需求: 根据业务要求,需要能够上传图片,且上传的图片能在移动端中占满屏幕宽度,故需要能等比缩放上传的图片,还需要能拖拽.缩放.改变图片大小.尝试多个第三方富文本编辑器,很 ...
- vue富文本编辑器vue-quill-editor
1.下载Vue-Quill-Editor npm install vue-quill-editor --save 2.下载quill(Vue-Quill-Editor需要依赖) npm install ...
- 百度UEditor(富文本编辑器)的基础用法
百度的这个编辑器挺强大的,这里只是用他的文本功能,没有介绍上传图片视频的. 我用是的SSH来写的项目. 1. 把下载的UEditor(ueditor1_4_3_1-utf8-jsp)解压后全部复制到W ...
- vue富文本编辑器
基于webpack和vue 一.npm 安装 vue-quill-editor 二.在main.js中引入 import VueQuillEditor from 'vue-quill-editor'/ ...
- vue富文本编辑器TinyMec才是最好用的
最近在做一个后台管理系统,系统中需要一个编辑器,没多想,百度查之,找了好些.如下: UEditor CKEditor 4 Vue-html5-editor wangeditor quill .... ...
- vue问题四:富文本编辑器上传图片
vue使用富文本编辑器上传图片: 我是用的是wangEditor 富文本编辑器 demo:http://www.wangeditor.com/ 1).安装依赖:npm install wangedit ...
随机推荐
- Codeforces_723_A
http://codeforces.com/problemset/problem/723/A 取中间那个数就可以了,答案为最大值减最小值. #include<iostream> #incl ...
- CCF_ 201403-3 _命令行选项
不要怀疑,这题跟CCF_201604-3_路径解析一样恶心,很多中情况,要仔细读题,注意细节. 写的比较乱. #include<iostream> #include<cstdio&g ...
- CCF_201503-2_数字排序
自己写个排序的cmp. #include<iostream> #include<cstdio> #include<algorithm> using namespac ...
- Codeforces_496_E_贪心
http://codeforces.com/problemset/problem/496/E 这好像叫序列混合贪心,简单地讲,用歌去匹配最符合条件的人.用了multiset,重载了<,加快寻找最 ...
- StackExchange.Redis 之 hash 类型示例
StackExchange.Redis 的组件封装示例网上有很多,自行百度搜索即可. 这里只演示如何使用Hash类型操作数据: // 在 hash 中存入或修改一个值 并设置order_hashkey ...
- 《Python学习手册 第五版》 -第5章 数值类型
本章是承接第四章整体说明之后,将对”数值类型“展开详细的说明 数值类型这一章主要通过一下几个内容来讲解: 1.数值类型有哪些? 2.表达式运算符:有哪些?有什么规范? 3.数值的显示格式 接下来,从第 ...
- 14-Response
今日知识 1. response 2. ServletContext对象 response * 功能:设置响应消息 1. 设置响应行 1. 格式:HTTP/1.1 200 ok 2. 设置状态码:se ...
- Postman之命令测试
前言 今天我们来学习一下Postman的命令行测试 1.先安装node.js ,https://nodejs.org/en/#home-downloadhead 2.安装cnpm npm instal ...
- 持续集成:jenkins集合
持续集成:jenkins集合 jenkins(一): 持续集成和Jenkins简介 jenkins(二): Jenkins的安装 jenkins(三): Jenkins的应用场景和job ...
- 神奇的 SQL 之 WHERE 条件的提取与应用
开心一刻 小明:为什么中国人结婚非要选一个好日子呢 ? 楼主:嗯 ? 那肯定啊,结完婚之后你还能有好日子吗 ? 小明:那结婚时所说的白头到老是真的吗 ? 楼主:这哪能是真的,你看现在,头发还没白就秃了 ...