
Vue-Router路由 Vue-CLI脚手架和模块化开发 之 路由常用配置与路由嵌套
vue-router路由常用配置
1、mode:配置路由模式,默认为hash,由于URL很丑,可以修改为history,但是需要服务端的支持;
以上一篇的博文为实例:
初始时url的显示:

使用mode之后的显示:

使用mode的代码:
// 3 创建路由对象

        const myRouter = new VueRouter({

            //routes : routes

            routes : myRoutes,

            mode:'history'

        });
但是当复制该链接在新的窗口打开的时候,不能打开该链接,如图:
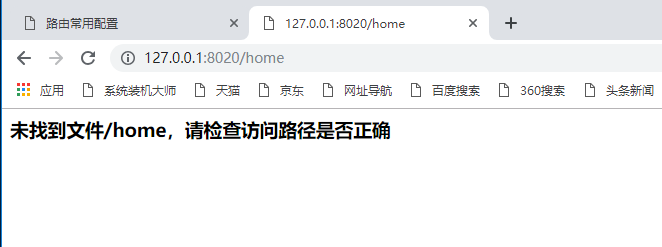
说明需要服务端的支持
2、redirect:重定向,可以设置默认页面;
初始时,默认页面是没有显示的如图:
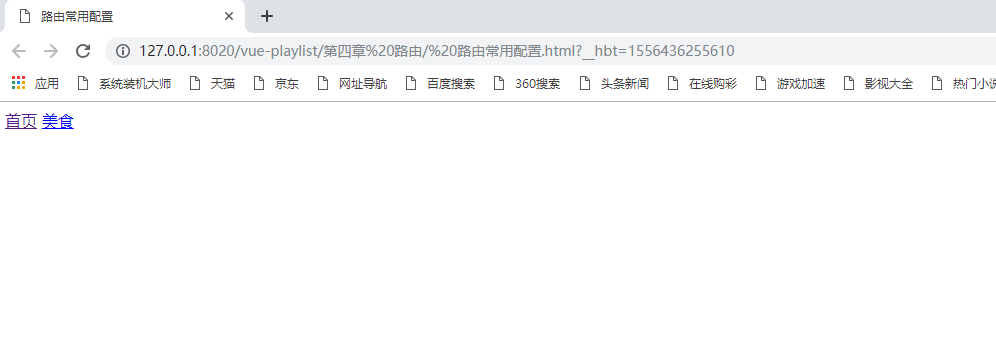
使用 redirect重定向后:
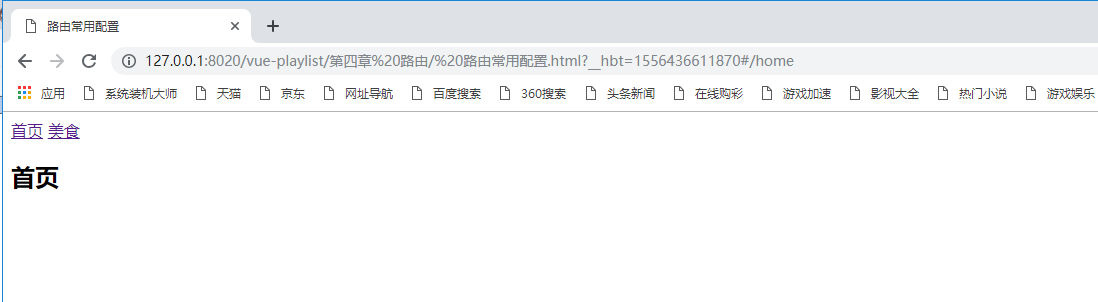
使用redirect的代码:
//2 配置路由 路由可能有多个

        const myRoutes = [

            {

                path : "/home",

                component : Home

            },

            {

                path : "/foods",

                component : Foods

            },

        {

            path:"*",

                redirect:"/home"

            }

        ]
3、linkActiveClass:设置router-link激活样式;
由于router-link被渲染成为a标签:
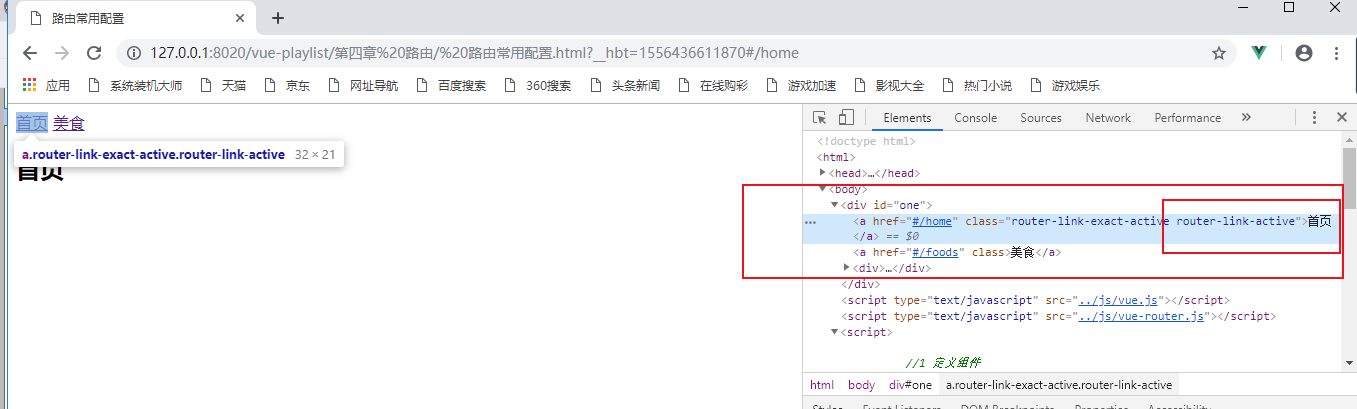
有class,因此可以设置其点击时的样式:
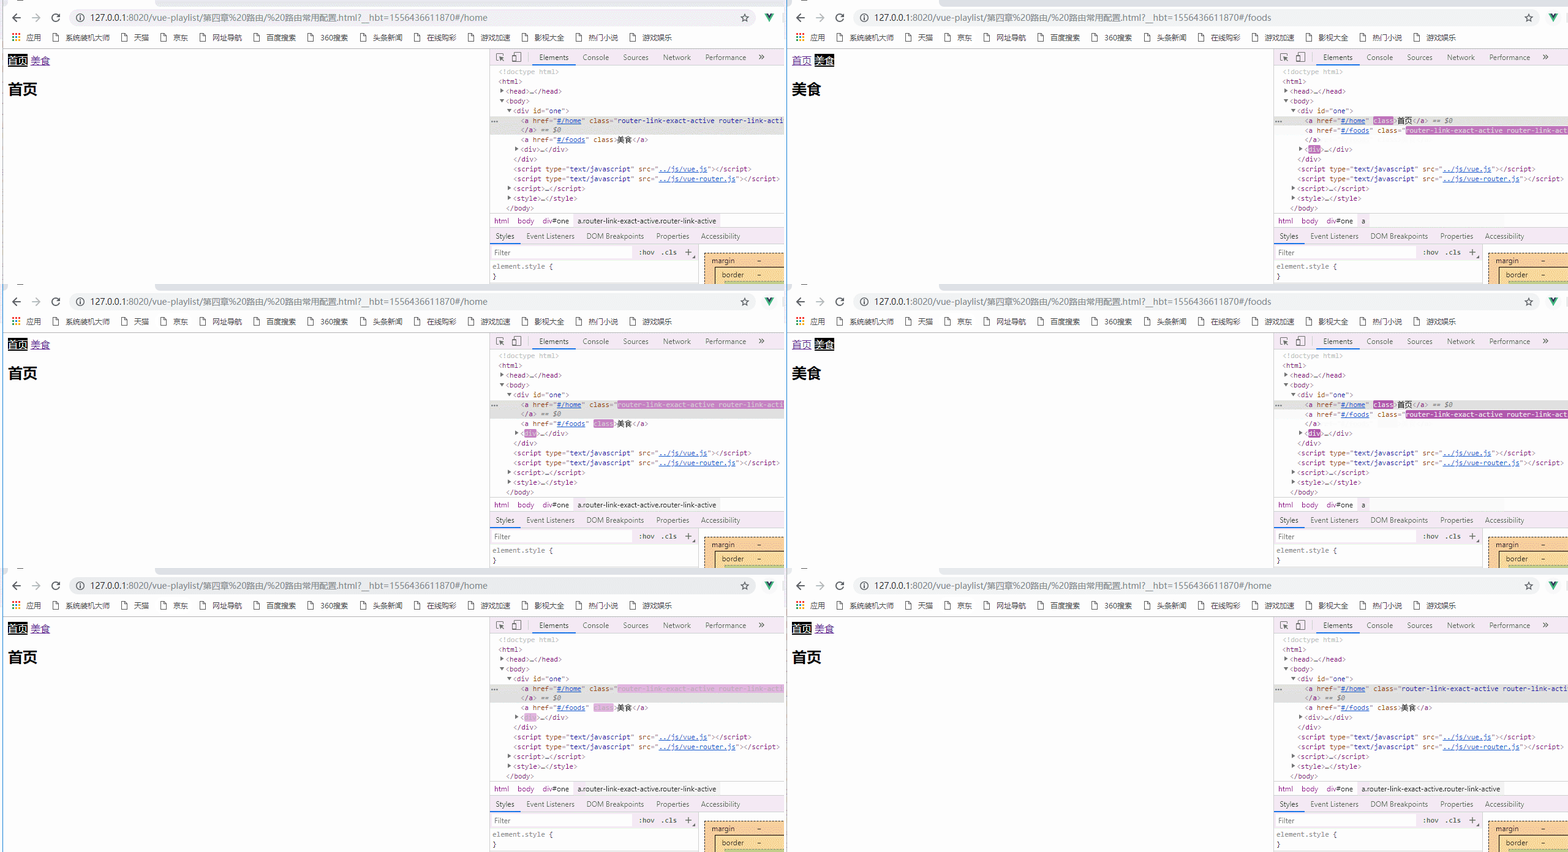
修改该样式的css:
<style>

        .router-link-active{

            color: white;

            background-color: black;

        }

    </style>
也可以通过 linkActiveClass:样式名称 进行设置其样式
代码如下,效果图同上:
// 3 创建路由对象

        const myRouter = new VueRouter({

            //routes : routes

            routes : myRoutes,

            //mode:'history'

             linkActiveClass : "active"

        });

        new Vue({

            //router : router

            router : myRouter //4 注入路由 简写

        }).$mount("#one");

    </script>

    <style>

        .active{

            color: white;

            background-color: black;

        }

    </style>
路由嵌套
路由的嵌套:一个路由中嵌套(包含)其他的路由;
在路由的配置中,使用children可以配置子路由,children也可以配置多个,与routes一致;
在上面的实例中的美食下添加几个路由,添加的路由就是它的子路由:
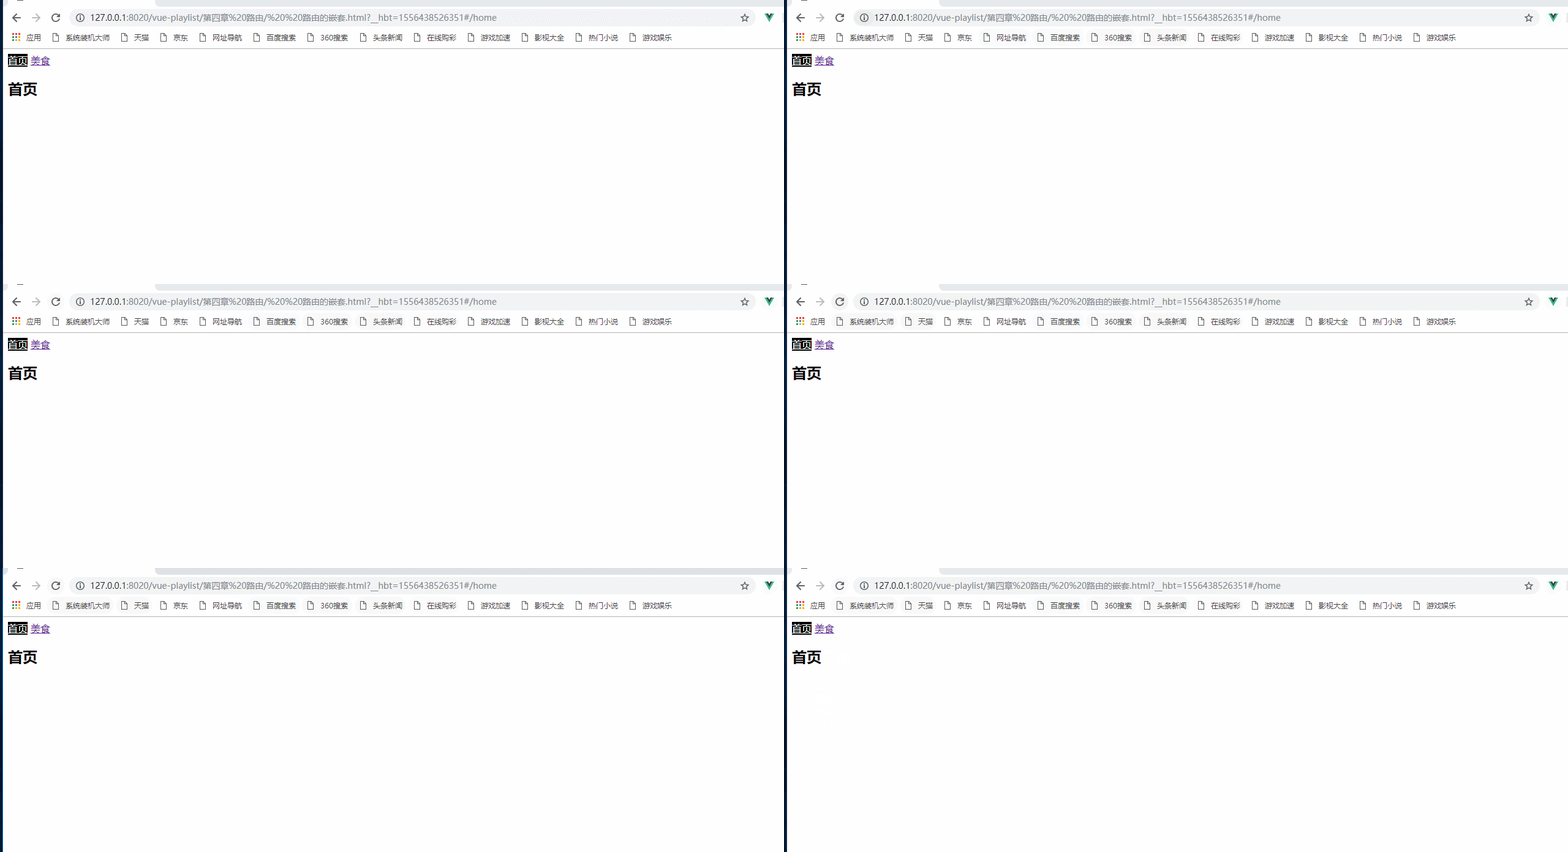
初始只配置了它的跳转,并没有配置它的路由
初始时代码:
<template id="foods">

        <div>

            <h2>美食广场</h2>

            <ul>

                <li><router-link to="/foods/bjc">  北京菜</router-link></li>

                <li><router-link to="/foods/hnc">  湖南菜</router-link></li>

                <li><router-link to="/foods/xc">  湘菜</router-link></li>

                <li><router-link to="/foods/yc">  粤菜</router-link></li>

                <li><router-link to="/foods/scc">  四川菜</router-link></li>

            </ul>

        </div>

    </template>
let Foods = {

            template : "#foods"

        }
定义路由后:
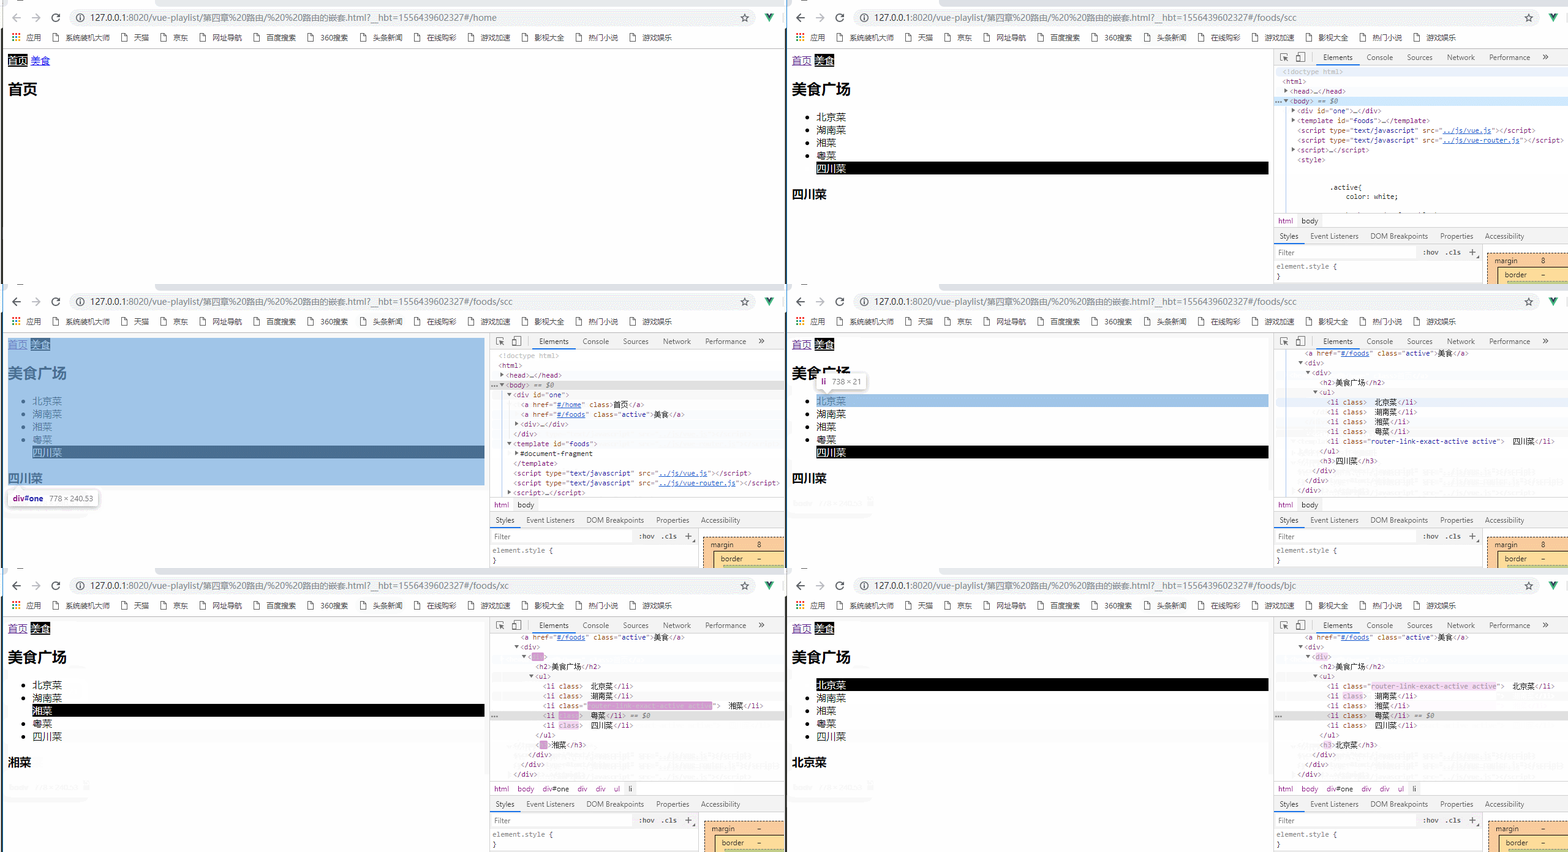
<template id="foods">

        <div>

            <h2>美食广场</h2>

            <ul>

                <router-link to="/foods/bjc" tag="li">  北京菜</router-link>

                <router-link to="/foods/hnc" tag="li">  湖南菜</router-link>

                <router-link to="/foods/xc" tag="li">  湘菜</router-link>

                <router-link to="/foods/yc" tag="li">  粤菜</router-link>

                <router-link to="/foods/scc" tag="li">  四川菜</router-link>

            </ul>

            <router-view></router-view>

        </div>

    </template>

    <script type="text/javascript" src="../js/vue.js" ></script>

    <script type="text/javascript" src="../js/vue-router.js" ></script>

    <script>

        //1 定义组件

        let Home = {

            template : "<h2>首页</h2>"

        }

        let Foods = {

            template : "#foods"

        }

        //定义foods中的子组件

        let Bjc={

            template : "<h3>北京菜</h3>"

        }

        let Hnc={

            template : "<h3>湖南菜</h3>"

        }

        let Xc={

            template : "<h3>湘菜</h3>"

        }

        let Yc={

            template : "<h3>粤菜</h3>"

        }

        let Scc={

            template : "<h3>四川菜</h3>"

        }

        //2 配置路由 路由可能有多个

        const myRoutes = [

            {

                path : "/home",

                component : Home

            },

            {

                path : "/foods",

                component : Foods,

                children:[

                {

                    path:"bjc",

                    component:Bjc

                },

                {

                    path:"hnc",

                    component:Hnc

                },

                {

                    path:"xc",

                    component:Xc

                },

                {

                    path:"yc",

                    component:Yc

                },

                {

                    path:"scc",

                    component:Scc

                }

                ]

            },

        {

            path:"*",

                redirect:"/home"

            }

        ]
使用tag标签可以将router-link渲染成为li标签:
以上实例的所有代码:
 <!DOCTYPE html>

 <html>

     <head>

         <meta charset="UTF-8">

         <title> 路由的嵌套</title>

     </head>

     <body>

         <div id="one">

             <router-link to="/home">首页</router-link>

             <router-link to="/foods">美食</router-link>

             <div>

                 <!--将数据显示在这里-->

                 <router-view></router-view>

             </div>

         </div>

     </body>

     <template id="foods">

         <div>

             <h2>美食广场</h2>

             <ul>

                 <router-link to="/foods/bjc" tag="li">  北京菜</router-link>

                 <router-link to="/foods/hnc" tag="li">  湖南菜</router-link>

                 <router-link to="/foods/xc" tag="li">  湘菜</router-link>

                 <router-link to="/foods/yc" tag="li">  粤菜</router-link>

                 <router-link to="/foods/scc" tag="li">  四川菜</router-link>

             </ul>

             <router-view></router-view>

         </div>

     </template>

     <script type="text/javascript" src="../js/vue.js" ></script>

     <script type="text/javascript" src="../js/vue-router.js" ></script>

     <script>

         //1 定义组件

         let Home = {

             template : "<h2>首页</h2>"

         }

         let Foods = {

             template : "#foods"

         }

         //定义foods中的子组件

         let Bjc={

             template : "<h3>北京菜</h3>"

         }

         let Hnc={

             template : "<h3>湖南菜</h3>"

         }

         let Xc={

             template : "<h3>湘菜</h3>"

         }

         let Yc={

             template : "<h3>粤菜</h3>"

         }

         let Scc={

             template : "<h3>四川菜</h3>"

         }

         //2 配置路由 路由可能有多个

         const myRoutes = [

             {

                 path : "/home",

                 component : Home

             },

             {

                 path : "/foods",

                 component : Foods,

                 children:[

                 {

                     path:"bjc",

                     component:Bjc

                 },

                 {

                     path:"hnc",

                     component:Hnc

                 },

                 {

                     path:"xc",

                     component:Xc

                 },

                 {

                     path:"yc",

                     component:Yc

                 },

                 {

                     path:"scc",

                     component:Scc

                 }

                 ]

             },

         {

             path:"*",

                 redirect:"/home"

             }

         ]

         // 3 创建路由对象

         const myRouter = new VueRouter({

             //routes : routes

             routes : myRoutes,

             //mode:'history'

              linkActiveClass : "active"

         });

         new Vue({

             //router : router

             router : myRouter //4 注入路由 简写

         }).$mount("#one");

     </script>

     <style>

         .active{

             color: white;

             background-color: black;

         }

     </style>

 </html>
路由嵌套
Vue-Router路由 Vue-CLI脚手架和模块化开发 之 路由常用配置与路由嵌套的更多相关文章
- [Vue 牛刀小试]:第十二章 - 使用 Vue Router 实现 Vue 中的前端路由控制
一.前言 前端路由是什么?如果你之前从事的是后端的工作,或者虽然有接触前端,但是并没有使用到单页面应用的话,这个概念对你来说还是会很陌生的.那么,为什么会在单页面应用中存在这么一个概念,以及,前端路由 ...
- Vue-Router路由 Vue-CLI脚手架和模块化开发 之 使用路由对象获取参数
使用路由对象$route获取参数: 1.params: 参数获取:使用$route.params获取参数: 参数传递: URL传参:例 <route-linke to : "/food ...
- Vue-Router路由Vue-CLI脚手架和模块化开发 之 vue-router路由
vue-router路由:Vue.js官网推出的路由管理器,方便的构建单页应用: 单页应用(SPA)只有一个web页面的应用,用户与应用交互时,动态更新该页面的内容:简单来说,根据不同的url与数据, ...
- Vue-Router路由Vue-CLI脚手架和模块化开发 之 使用props替代路由对象的方式获取参数
在上一章博文中使用路由对象$route获取参数时,组件和路由对象耦合,在这篇博文中就可以使用props来进行解耦: 1.在组件中使用props选项定义数据,接收参数: 2.在路由中,使用props选项 ...
- Vue-Router路由Vue-CLI脚手架和模块化开发 之 路由的动态跳转
在上一篇的博文中,实现的跳转是在页面中进行实现的 利用vue-router实例方法,使用js对路由进行动态跳转: 1.router.push:参数为路由对象,跳转到指定路由,跳转后会产生历史记录: & ...
- 模块化开发RequireJS之shim配置
一.shim requirejs使用AMD规范开发,若开发过程中加载非AMD规范js,需要使用requirejs的shim进行配置. shim配置语法为: //配置文件 requirejs.confi ...
- vue 使用cli脚手架手动创建项目 相关的选择配置及真正项目的开始
转载https://www.jianshu.com/p/635bd3ab7383 根据上述连接将基本的环境和命令和装好 使用命令行 vue create 项目名称 出现选项 选择手动(没有截图展 ...
- Javascript模块化开发4——Grunt常用模块
一.copy 用于复制文件与目录. grunt-contrib-copy 二.eslint 检测代码的合理性. grunt-eslint 常见参数: 1.quiet 是否只显示errors.默认值fa ...
- Vue.js 2.x笔记:路由Vue Router(6)
1. Vue Router简介与安装 1.1 Vue Router简介 Vue Router 是 Vue.js 官方的路由管理器.它和 Vue.js 的核心深度集成,构建单页面应用. Vue Rout ...
随机推荐
- discuz 修改亮剑积分商城2.91模板(在常用设置中添加商场首页排序方式的背景颜色)
在应用 -> 积分商城 -> 常用设置 中添加 商场首页排序方式 的背景颜色修改功能 步骤: 1.找到并打开此页面对应的模板source\plugin\aljsc\template\set ...
- eclemma怎么安装 eclemma的安装与简单使用图文教程(附下载)
来自于:https://www.jb51.net/softjc/628026.html 一. 安装 有两种安装方法 1. 下载安装(推荐) 地址: http://sourceforge.net/pro ...
- LightGBM总结
一.LightGBM介绍 LightGBM是一个梯度Boosting框架,使用基于决策树的学习算法.它可以说是分布式的,高效的,有以下优势: 1)更快的训练效率 2)低内存使用 3)更高的准确率 4) ...
- python处理日志文件
python处理日志文件 1 打开日志文件 虽然,日志文件的后缀为.log,但是基本上与文本文件没有区别,按照一般读取文本文件的方式打开即可: fp =open("e:\\data.log& ...
- 团队项目第一篇——NABCD
团队名称: 团队项目名称: 团队口号: N(Need)需求: 现如今数据越来越零碎化,繁杂化,身为在校大学生的我们也因此对于时间的利用率也相应减少,为了时间的充分利用,减少在冗杂的信息中耽误的时间,充 ...
- mysql修改用户密码笔记(转)
方法1: 用SET PASSWORD命令 首先登录MySQL. 格式:mysql> set password for 用户名@localhost = password('新密码'); 例子:my ...
- js超链接锚点定位
<html> <head> <meta charset="UTF-8"> </head> <body> <a on ...
- 让windows10的右键菜单既显示传统cmd又显示powershell
在windows10的资源管理器中,按住shift点击右键,只显示 open powershell window here,却没有传统的cmd 解决方法就是修改注册表: HKEY_LOCAL_MACH ...
- Seq2Seq ---学习笔记
应用场景:机器翻译 与language model 不同 MT model 的a<0> 是由encoder 生成的. language model 的 a<0> 是 初始化的. ...
- 【转】OJ提交时G++与C++的区别
关于G++ 首先更正一个概念,C++是一门计算机编程语言,G++不是语言,是一款编译器中编译C++程序的命令而已.那么他们之间的区别是什么? 在提交题目中的语言选项里,G++和C++都代表编译的方式. ...