
Delphi APP 開發入門(七)通知與雲端推播
Delphi APP 開發入門(七)通知與雲端推播
發表時間:2014/06/18|
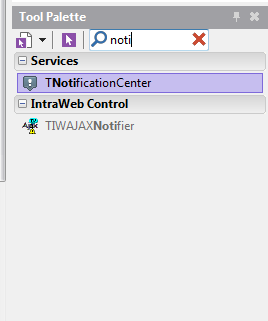
Delphi APP 開發入門(六)Object Pascal 語法初探 << 前情 今天教大家使用的是通知(Notification)功能,在Delphi XE6很貼心的也將通知的功能封裝成元件,只要簡單的設定屬性就可以使用了。我們以簡單的篇幅教大家快速使用程式的通知功能,在後面我們會以比較大的篇幅放在Google Cloud Messaging(GCM)搭配Kinvey的BAAS服務(Backend as a Service)實做出推播通知(Push Notification)功能。 通知Notification在Delphi XE6使用通知功能相當簡單,只要在表單上放置TNotificationCenter(通知中心)元件就可以了!接著顯示通知的方式也相當簡單。
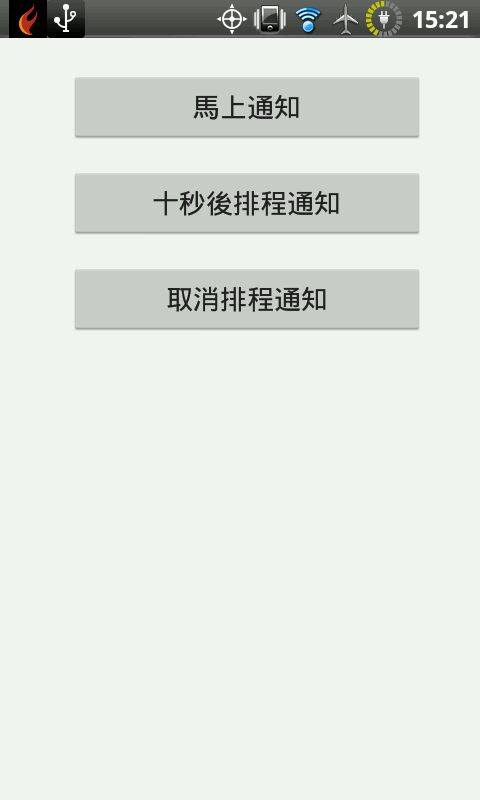
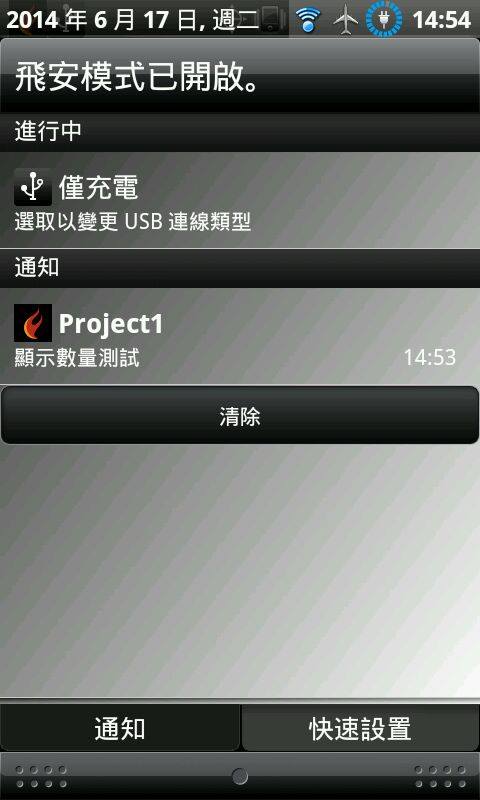
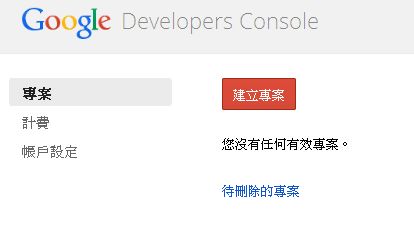
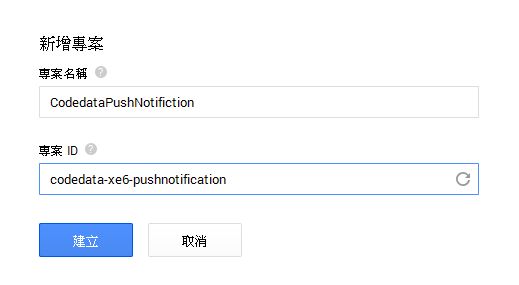
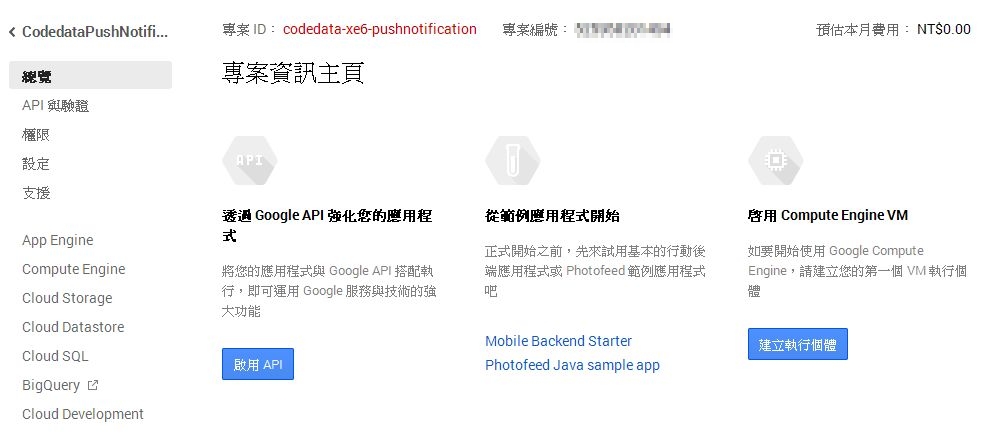
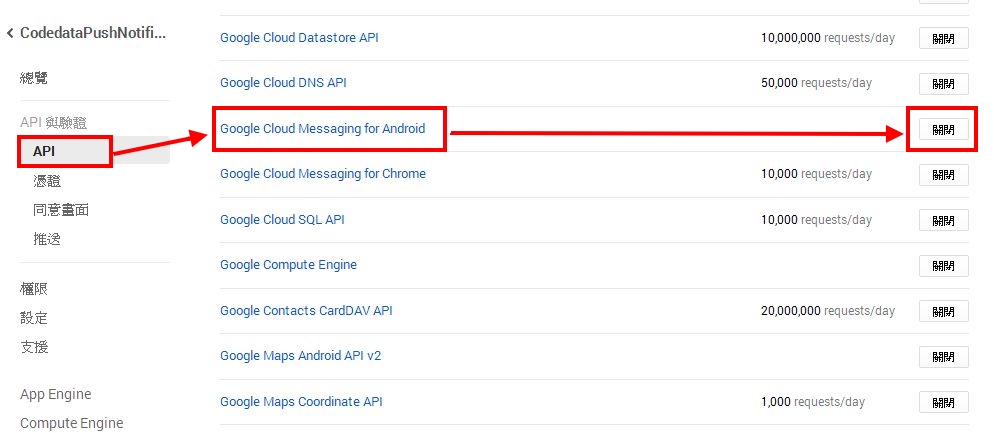
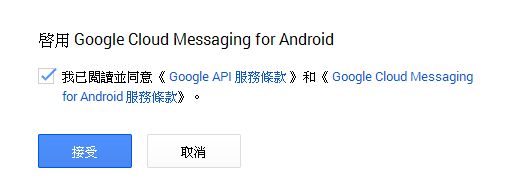
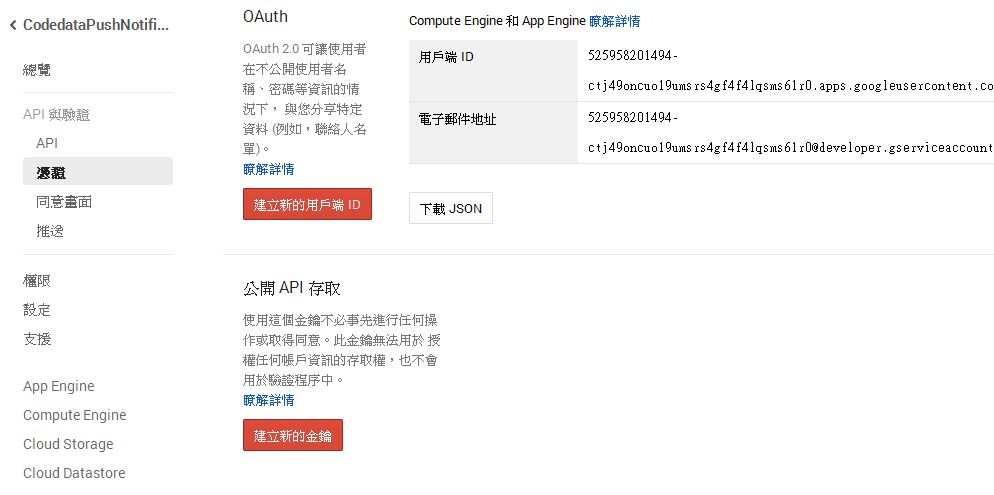
一、馬上出現通知訊息 procedure TForm1.Button1Click(Sender: TObject); 二、排程十秒後顯示通知 procedure TForm1.Button2Click(Sender: TObject); 三、取消排程訊息 procedure TForm1.Button3Click(Sender: TObject); 執行如下 推播通知Push Notification接下來我們要談的是推播通知,當APP不在前景執行時,能夠用自己的平台或伺服器發送通知給行動的一項技術。在iOS平台上有APNS(Apple Push Notification Service),而Android平台上則叫做GCM(Google Cloud Messaging),在今天我們先以Android的GCM搭配BaaS服務Kinvey為例子。 Google Cloud Messaging1.進入網站 https://console.developers.google.com
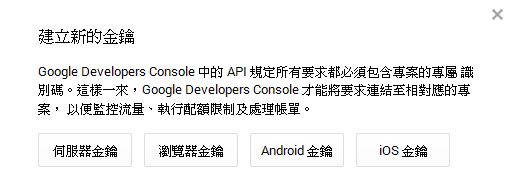
五、點選建立新的金鑰
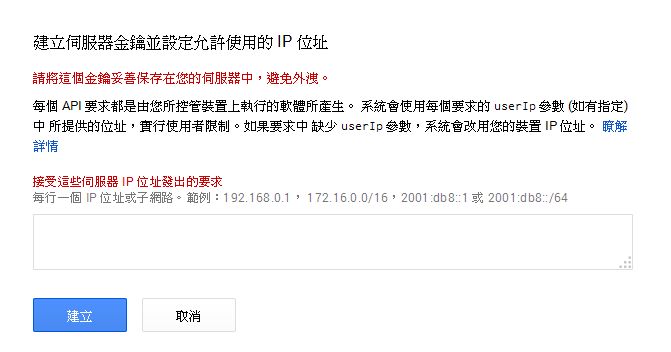
六、點選伺服器金鑰
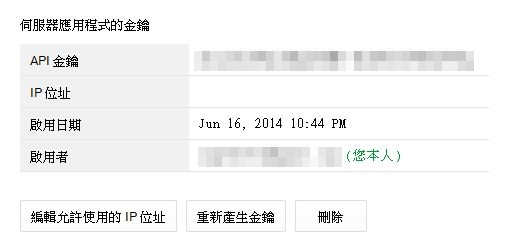
七、如果沒有特別允許使用IP可以略過後按建立就行了
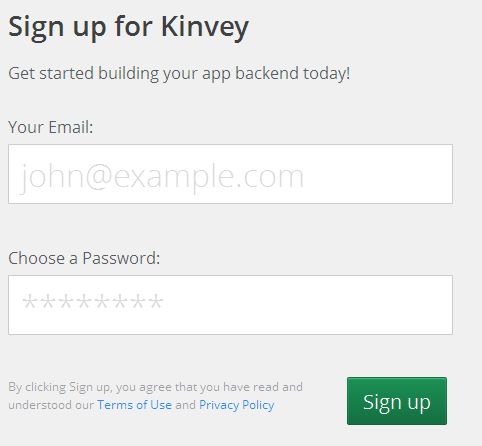
八、一樣要記得API金鑰 kinvey申請在行動裝置的開發領域目前有個BaaS(後端即服務:Backend as a Service)的技術概念。BaaS是指為行動裝置開發者提供整合雲端的基礎服務,像是資料/文件的儲存或是帳號管理、訊息推送、社群網路整合等…. 2.註冊帳號只要電子郵件跟密碼就行了
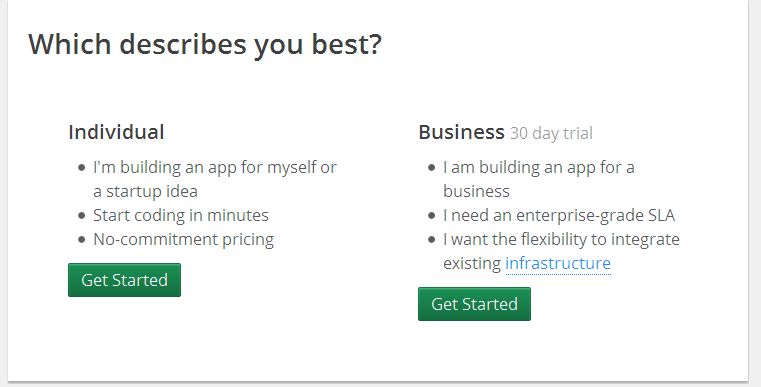
3.點選Individual 個人帳戶的Get Started即可
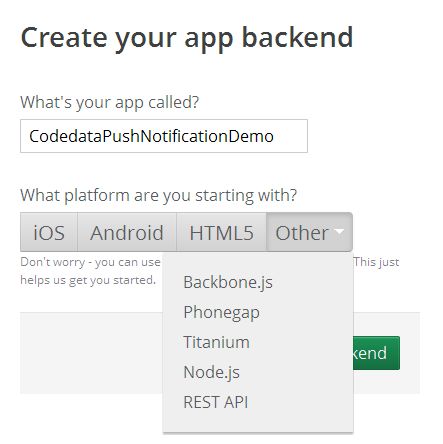
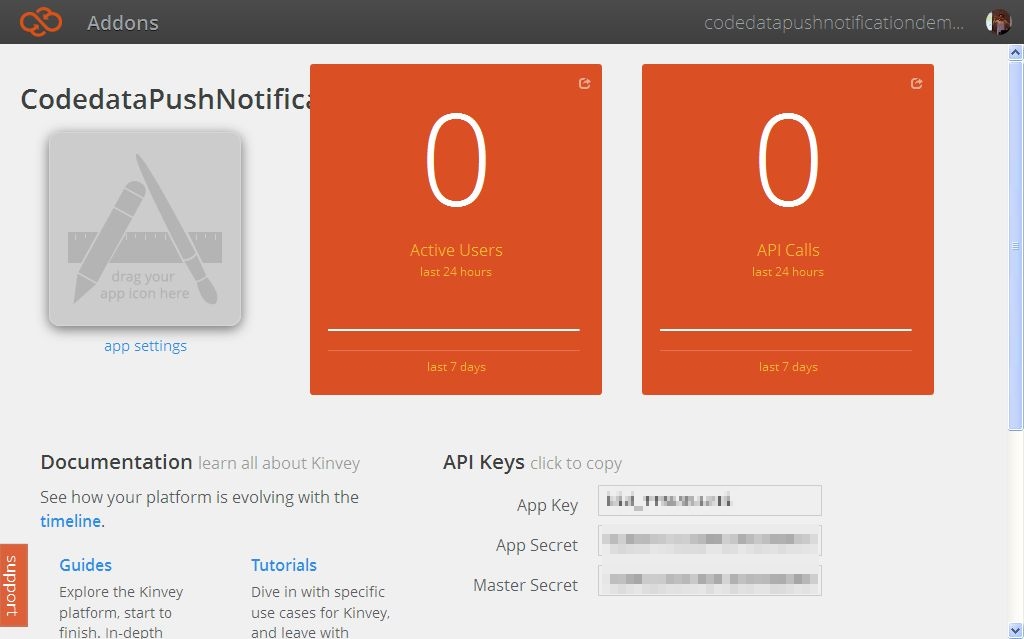
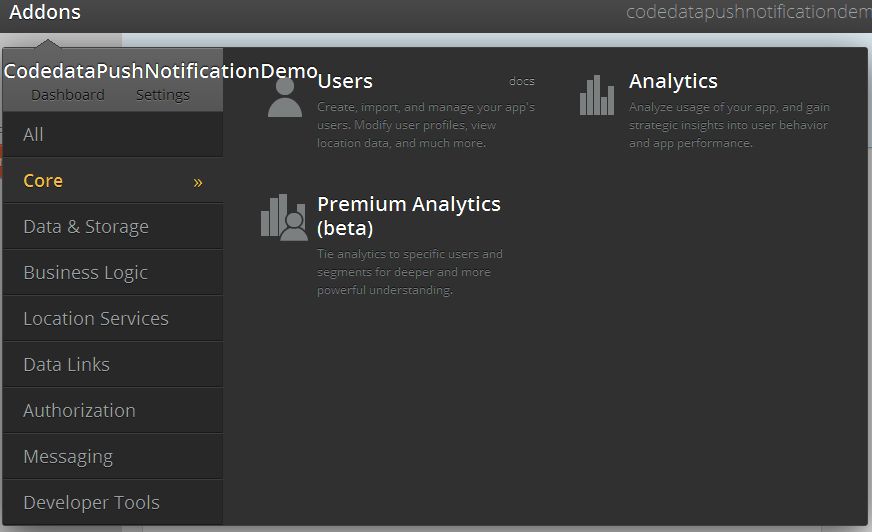
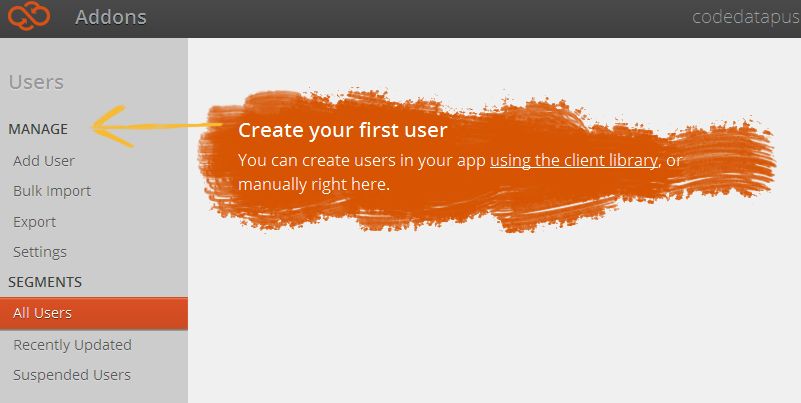
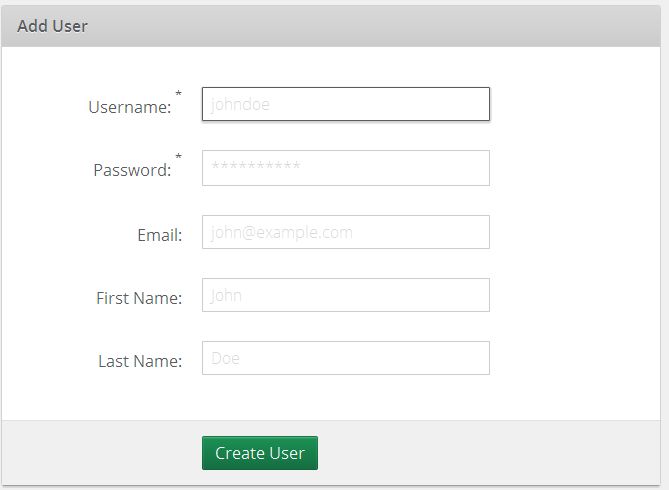
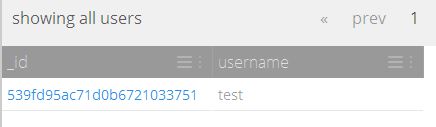
4.接著建立一個新的專案,平台的話選擇Other(其他)的REST API即可 6.接著我們要建立可以存取服務的使用者,點選上面的Addons,在Core內有Users點入 7.接著點選Add User新增使用者 8.只要輸入帳號密碼就可以,我們建立一個test使用者 9. 建立完成後可以看見使用者列表
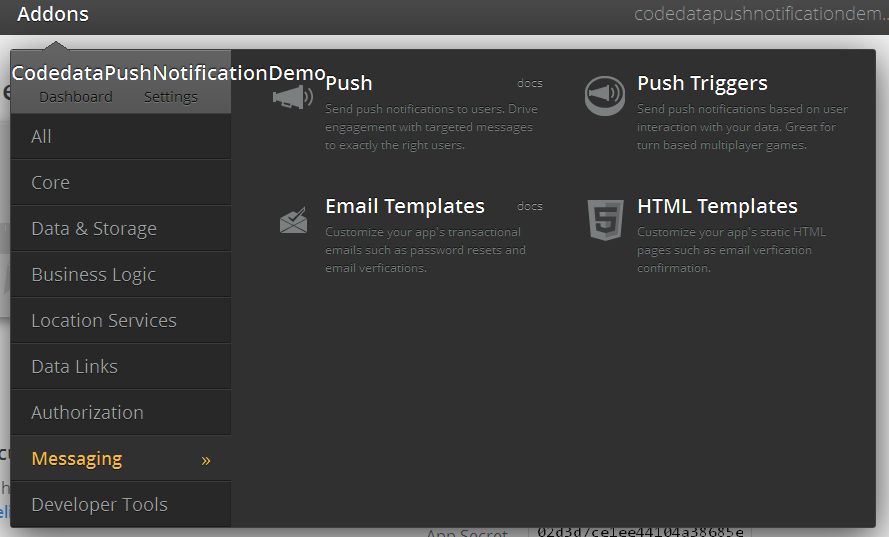
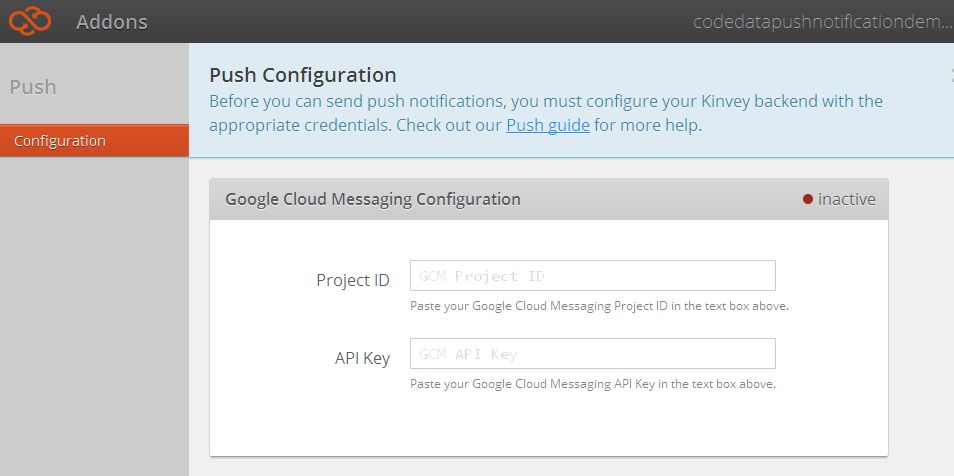
10.接著建立待會使用的 Push Notification,一樣在Addons的目錄下有一個Messaging,裡面有一個Push
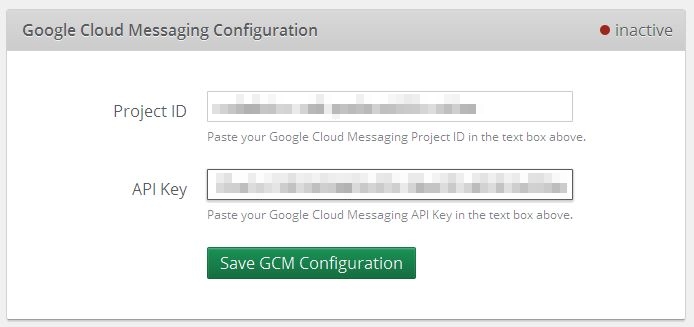
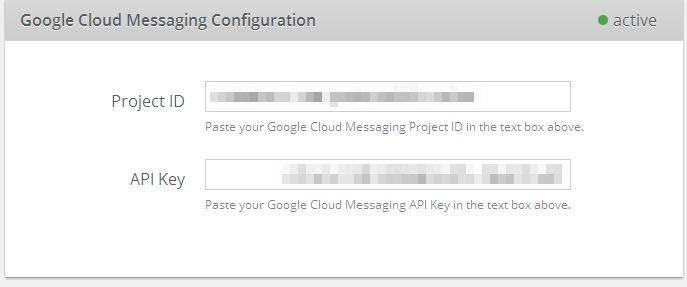
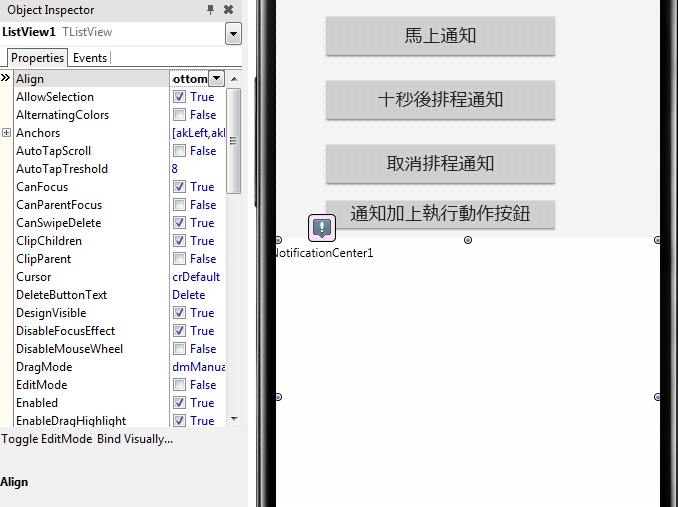
11.接著我們將剛才在Google控制台的專案編號填入Project ID、API金鑰填入API Key,接著按下Save GCM Configuration。右上角會由inactive轉為active。這樣就完成了相關的申請跟設定,不過先別關掉它。等等會再使用到! 程式開發1.我們延續剛才的通知範例,在畫面加上ListView元件,將Align設為Bottom
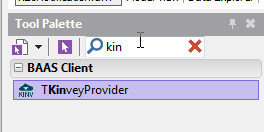
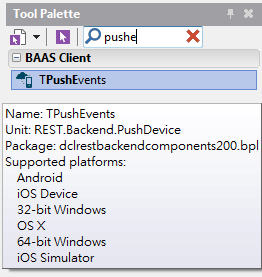
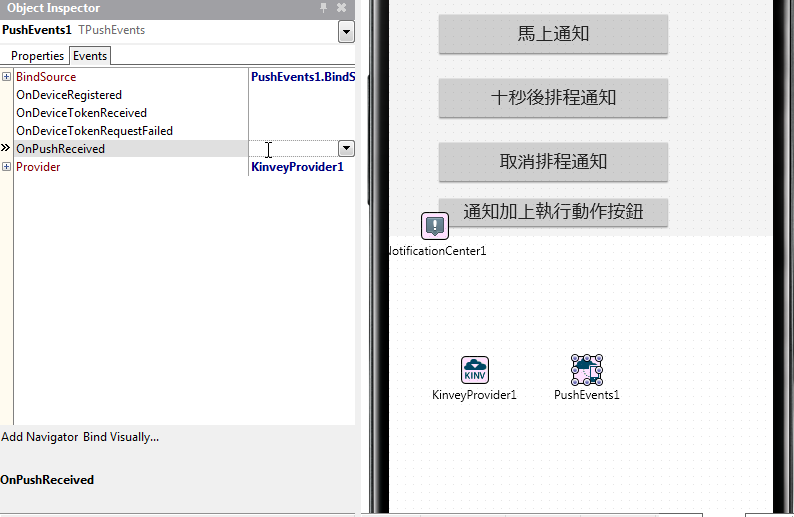
2.接著在畫面上放上二個元件,一個是TKinveyProvider以及TPushEvents
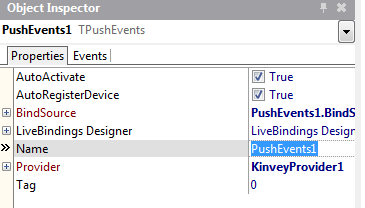
3.PushEvents1中的AutoActivate、AutoRegisterDevice設為True以及Provider指定KinveyProvider1
4.設定 OnPushReceived事件,在裡面的程式寫上
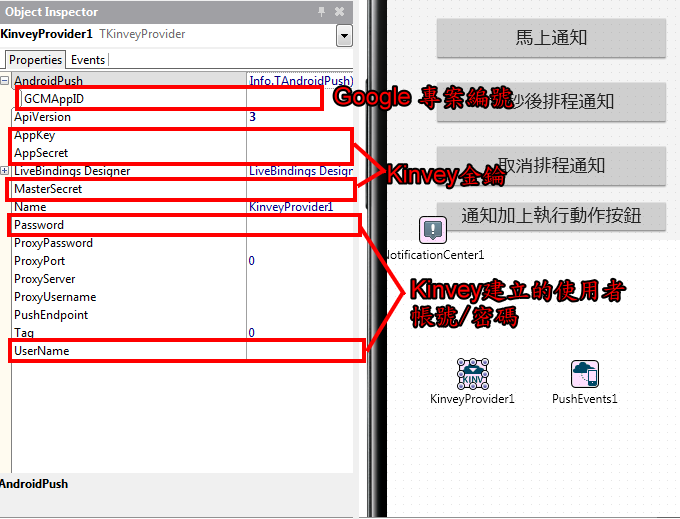
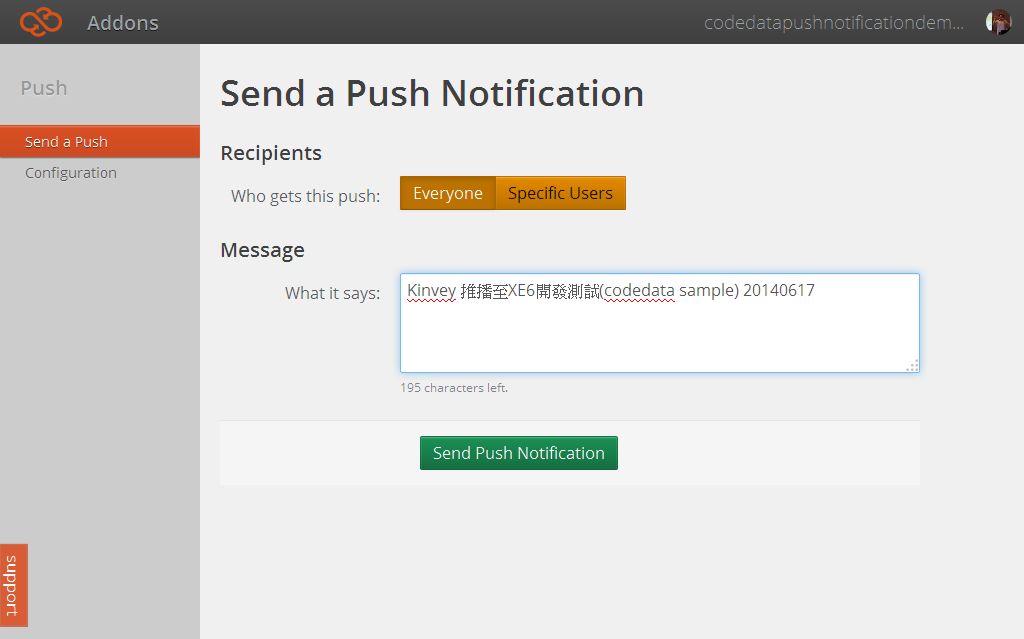
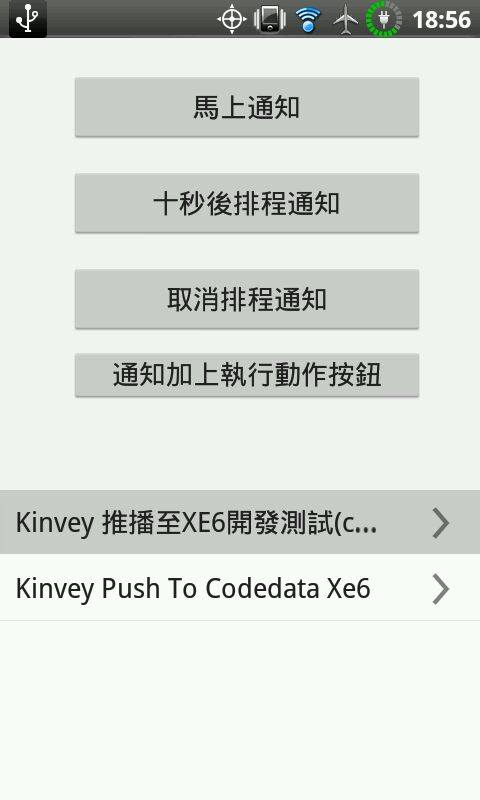
procedure TForm1.PushEvents1PushReceived(Sender: TObject; 5.接著在KinveyProvider1設定相關參數 6.最後開啟專案目錄下的AndroidManifest.template.xml(這個檔案是Delphi編譯過程中產生AndroidManifest.xml的範本檔。 在幾個位置加入設定 <!-- GCM connects to Google Services. --> .</intent-filter></activity> 後面加上 <receiver 接著就可以執行程式了! 可以看到程式的Listview會出現推播的訊息。
最後附上原始碼 |

按讚!加入 CodeData Facebook 粉絲群
Delphi APP 開發入門(七)通知與雲端推播的更多相关文章
- Delphi APP 開發入門(六)Object Pascal 語法初探
Delphi APP 開發入門(六)Object Pascal 語法初探 分享: Share on facebookShare on twitterShare on google_plusone_sh ...
- Delphi APP 開發入門(八)SQLite資料庫
Delphi APP 開發入門(八)SQLite資料庫 分享: Share on facebookShare on twitterShare on google_plusone_share 閲讀次 ...
- Delphi APP 開發入門(五)GPS 定位功能
Delphi APP 開發入門(五)GPS 定位功能 分享: Share on facebookShare on twitterShare on google_plusone_share 閲讀次數 ...
- Delphi APP 開發入門(四)簡易手電筒
Delphi APP 開發入門(四)簡易手電筒 分享: Share on facebookShare on twitterShare on google_plusone_share 閲讀次數:32 ...
- Delphi APP 開發入門(十)REST Client 開發
Delphi APP 開發入門(十)REST Client 開發 分享: Share on facebookShare on twitterShare on google_plusone_share ...
- Delphi APP 開發入門(九)拍照與分享
Delphi APP 開發入門(九)拍照與分享 分享: Share on facebookShare on twitterShare on google_plusone_share 閲讀次數:30 ...
- Delphi APP 開發入門(三)簡易計算機
Delphi APP 開發入門(三)簡易計算機 分享: Share on facebookShare on twitterShare on google_plusone_share 閲讀次數:68 ...
- Delphi APP 開發入門(二)Android/iOS設定,Hello World
Delphi APP 開發入門(二)Android/iOS設定,Hello World 分享: Share on facebookShare on twitterShare on google_plu ...
- Delphi APP 開發入門(一)重生的 Delphi
Delphi APP 開發入門(一)重生的 Delphi 分享: Share on facebookShare on twitterShare on google_plusone_share 閲讀 ...
随机推荐
- openstacksdk resource2 打印__dict__
在一个继承resource2的实体里,打印self.__dict__结果是: {'_body': <openstack.resource2._ComponentManager object at ...
- java中main方法的 (String []args)
java中main方法的 (String []args) String[] args是main函数的形式参数,可以用来获取命令行用户输入进去的参数.java 本身不存在不带String ...
- python3----datetime模块分析
datetime模块用于是date和time模块的合集,datetime有两个常量,MAXYEAR和MINYEAR,分别是9999和1. datetime模块定义了5个类,分别是 1.datetime ...
- mac os x 记录 转载
转载:远景网友(手机锋友t5sd3sf):http://bbs.feng.com/read-htm-tid-10434256.html 一个命令制作 OS X 原版安装U盘 1.要保证下载的原版安装包 ...
- windows性能监视器的使用
https://blog.csdn.net/ab7434588/article/details/53023799 一般在客户端通过LoadRunner对服务器进行压力测试,都需要实时监控服务器端的系统 ...
- 简单脱壳教程笔记(8)---手脱EZIP壳
本笔记是针对ximo早期发的脱壳基础视频教程,整理的笔记.本笔记用到的工具下载地址: http://download.csdn.net/detail/obuyiseng/9466056 EZIP壳 : ...
- 剑指 offer set 16 数字在排序数组中出现的次数
总结 1. Leetcode 上有一道题, 求某一个数字在有序数组中出现的最左位置和最右位置, 而这道题就是那题的变形
- iOS 开发之 -- UDID和UUID的详解
老实说,搞了几年的ios开发了,对基础的概念,还是不牢固,整天都是为了赶进度而码代码,这里记录一下这两者的区别: UDID的全名为 Unique Device Identifier :设备唯一标识符. ...
- Tiled地图编辑软件
Tiled官网: http://www.mapeditor.org/ 一个比较简单好用的地图编辑软件.百度可以找到很多教程. 在Egret中,官网提供了Tiled的工具类,但是教程和文档极少...只能 ...
- 通过AnimationSet 同步或一部播放多个动画 Android 属性动画(Property Animation) 完全解析 (下)
AnimationSet提供了一个把多个动画组合成一个组合的机制,并可设置组中动画的时序关系,如同时播放,顺序播放等. 以下例子同时应用5个动画: 播放anim1: 同时播放anim2,anim3,a ...