吴裕雄 python 神经网络——TensorFlow 训练过程的可视化 TensorBoard的应用
#训练过程的可视化 ,TensorBoard的应用
#导入模块并下载数据集
import tensorflow as tf
from tensorflow.examples.tutorials.mnist import input_data #设置超参数
max_step=1000
learning_rate=0.001
dropout=0.9 # 用logdir明确标明日志文件储存路径
#训练过程中的数据储存在E:\\MNIST_data\\目录中,通过这个路径指定--log_dir
data_dir='E:\\MNIST_data\\'
log_dir='E:\\mnist_with_summaries\\'
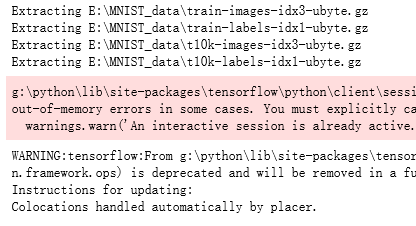
mnist=input_data.read_data_sets(data_dir,one_hot=True)
sess=tf.InteractiveSession() #本句的含义是使图可视化,sess.graph是对图的定义
#使用以上指定的路径创建摘要的文件写入符(FileWrite)
file_write=tf.summary.FileWriter(log_dir,sess.graph) def variable_summaries(var, name):
"""对每一个张量添加多个摘要描述"""
with tf.name_scope('summaries'):
tf.summary.histogram(name, var)
mean = tf.reduce_mean(var)
#均值
tf.summary.scalar('mean/' + name, mean)
stddev = tf.sqrt(tf.reduce_mean(tf.square(var - mean)))
#标准差
tf.summary.scalar('stddev/' + name, stddev)
# 最大值
tf.summary.scalar('max',tf.reduce_max(var))
# 最小值
tf.summary.scalar('min', tf.reduce_min(var))
tf.summary.histogram('histogram', var) def nn_layer(input_tensor, input_dim, output_dim, layer_name, act=tf.nn.relu):
with tf.name_scope(layer_name):
"""为确保计算图中各个层的分组,给每一层添加一个name_scope"""
with tf.name_scope('weights'):
weights = tf.Variable(tf.truncated_normal([input_dim, output_dim], stddev=0.1))
variable_summaries(weights, layer_name + '/weights')
with tf.name_scope('biases'):
biases = tf.Variable(tf.constant(0.0, shape=[output_dim]))
variable_summaries(biases, layer_name + '/biases')
with tf.name_scope('Wx_plus_b'):
preactivate = tf.matmul(input_tensor, weights) + biases
# 激活前的直方图
tf.summary.histogram(layer_name + '/pre_activations', preactivate)
activations = act(preactivate, name='activation')
# 记录神经网络节点输出在经过激活函数之后的分布。
# 激活后的直方图
tf.summary.histogram(layer_name + '/activations', activations)
return activations #构建回归模型,输入原始真实值(group truth),采用sotfmax函数拟合,并定义损失函数和优化器
#定义回归模型
x = tf.placeholder(tf.float32, [None, 784])
activations = nn_layer(x,784,10,"x")
#训练模型
#使用InteractiveSession()创建交互式上下文tf会话,这里的会话是默认
#在tf.Tensor.eval 和tf.Operation.run中都可以使用该会话来运行操作(OP)
sess = tf.InteractiveSession()
#注意:之前的版本中使用的是 tf.initialize_all_variables 作为初始化全局变量,已被弃用,更新后的采用一下命令
tf.global_variables_initializer().run() for _ in range(1000):
batch_xs, batch_ys = mnist.train.next_batch(100)
sess.run(activations, feed_dict={x: batch_xs}) #运行tensorboard命令,打开浏览器,查看模型训练过程中的可视化结果,
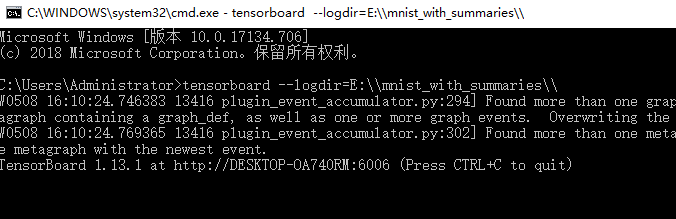
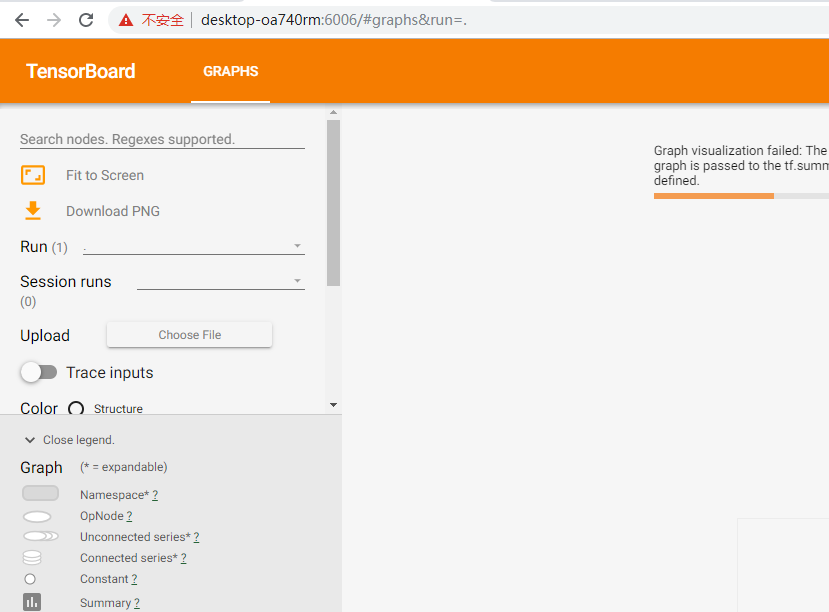
#在终端输入下命令:
#tensorboard --logdir=E:\\mnist_with_summaries\\
吴裕雄 python 神经网络——TensorFlow 训练过程的可视化 TensorBoard的应用的更多相关文章
- 吴裕雄 python 神经网络——TensorFlow训练神经网络:不使用滑动平均
import tensorflow as tf from tensorflow.examples.tutorials.mnist import input_data INPUT_NODE = 784 ...
- 吴裕雄 python 神经网络——TensorFlow训练神经网络:不使用隐藏层
import tensorflow as tf from tensorflow.examples.tutorials.mnist import input_data INPUT_NODE = 784 ...
- 吴裕雄 python 神经网络——TensorFlow训练神经网络:不使用激活函数
import tensorflow as tf from tensorflow.examples.tutorials.mnist import input_data INPUT_NODE = 784 ...
- 吴裕雄 python 神经网络——TensorFlow训练神经网络:不使用指数衰减的学习率
import tensorflow as tf from tensorflow.examples.tutorials.mnist import input_data INPUT_NODE = 784 ...
- 吴裕雄 python 神经网络——TensorFlow训练神经网络:不使用正则化
import tensorflow as tf from tensorflow.examples.tutorials.mnist import input_data INPUT_NODE = 784 ...
- 吴裕雄 python 神经网络——TensorFlow训练神经网络:全模型
import tensorflow as tf from tensorflow.examples.tutorials.mnist import input_data INPUT_NODE = 784 ...
- 吴裕雄 python 神经网络——TensorFlow训练神经网络:MNIST最佳实践
import os import tensorflow as tf from tensorflow.examples.tutorials.mnist import input_data INPUT_N ...
- 吴裕雄 python 神经网络——TensorFlow训练神经网络:花瓣识别
import os import glob import os.path import numpy as np import tensorflow as tf from tensorflow.pyth ...
- 吴裕雄 python 神经网络——TensorFlow训练神经网络:卷积层、池化层样例
import numpy as np import tensorflow as tf M = np.array([ [[1],[-1],[0]], [[-1],[2],[1]], [[0],[2],[ ...
随机推荐
- 深度优先搜索 DFS(Depath First Search, DFS)
深度优先搜索是一种枚举所有完整路径以遍历所有情况的搜索方法.(不撞南墙不回头) DFS一般用递归来实现,其伪代码思路过程一般如下: void DFS(必要的参数){ if (符和遍历到一条完整路 ...
- Linux - Shell - 免密码登录
概述 简述 linux ssh 无密码登录 无能狂怒 最近真是不知道写啥了 环境 os centos7 1. 场景 场景 主机A 需要经常访问 主机B 每次访问, 都要输入一次 密码 问题 每次都输密 ...
- Paper: A novel visibility graph transformation of time series into weighted networks
1. Convert time series into weighted networks. 2. link prediction is used to evaluate the performanc ...
- java基础(四)之this的使用
作用: 1.使用this调用成员变量和成员函数2.使用this调用构造函数 Person.java: class Person{ String name; //成员变量 void talk(Strin ...
- django 自定义url转换器
django内置的url转换器,包括有int.str.uuid等等.但是有时候他们不能满足我们的需求,因此就需要使用自定义url转换器.自定义url转换器的五步:1.定义一个类,直接继承自object ...
- 查看ie版本
window10系统还好说,一般都是IE11版本,其他系统或服务器看=查看ie版本就很烦 方法一:按组合键 ALT+H 打开“帮助”,再按 A 选择“关于Internet Explorer” 方法二 ...
- 题解【洛谷P1938】 [USACO09NOV]找工就业Job Hunt
题面 题解 将路径连边\((x, y, d)\) ,将航线连边\((x, y, d - w)\).其中线路是从\(x\)到\(y\),航线的费用为\(w\),\(d\)的含义如题面. 跑一遍\(SPF ...
- Django_后台管理
1. 站点管理 2. 创建超级管理员 3. 添加自己的数据模型 默认是打印字符串的 4. 个性化站点管理的定制 4.1 个性化规则 admin.py 4.2 布尔值定制显示 4.3 插入班级的时候同时 ...
- Java实现JSONObject对象与Json字符串互相转换
Java实现JSONObject对象与Json字符串互相转换 JSONObject 转 JSON 字符串 Java代码: JSONObject jsonObject = new JSONObject( ...
- Unity手机端手势基本操作
主要有单指移动3D物体.单指旋转3D物体.双指缩放3D物体. 基类 using UnityEngine; using System.Collections; /// <summary> / ...