音视频入门-13-使用开源库生成PNG图片
RGB-to-PNG 回顾
上一篇 【手动生成一张PNG图片】 根据 【PNG文件格式详解】 一步一步地手动实现了将 RGB 数据生成了一张 PNG 图片。
有许多开源的 PNG 相关的库可以简化开发:
使用开源库的方式
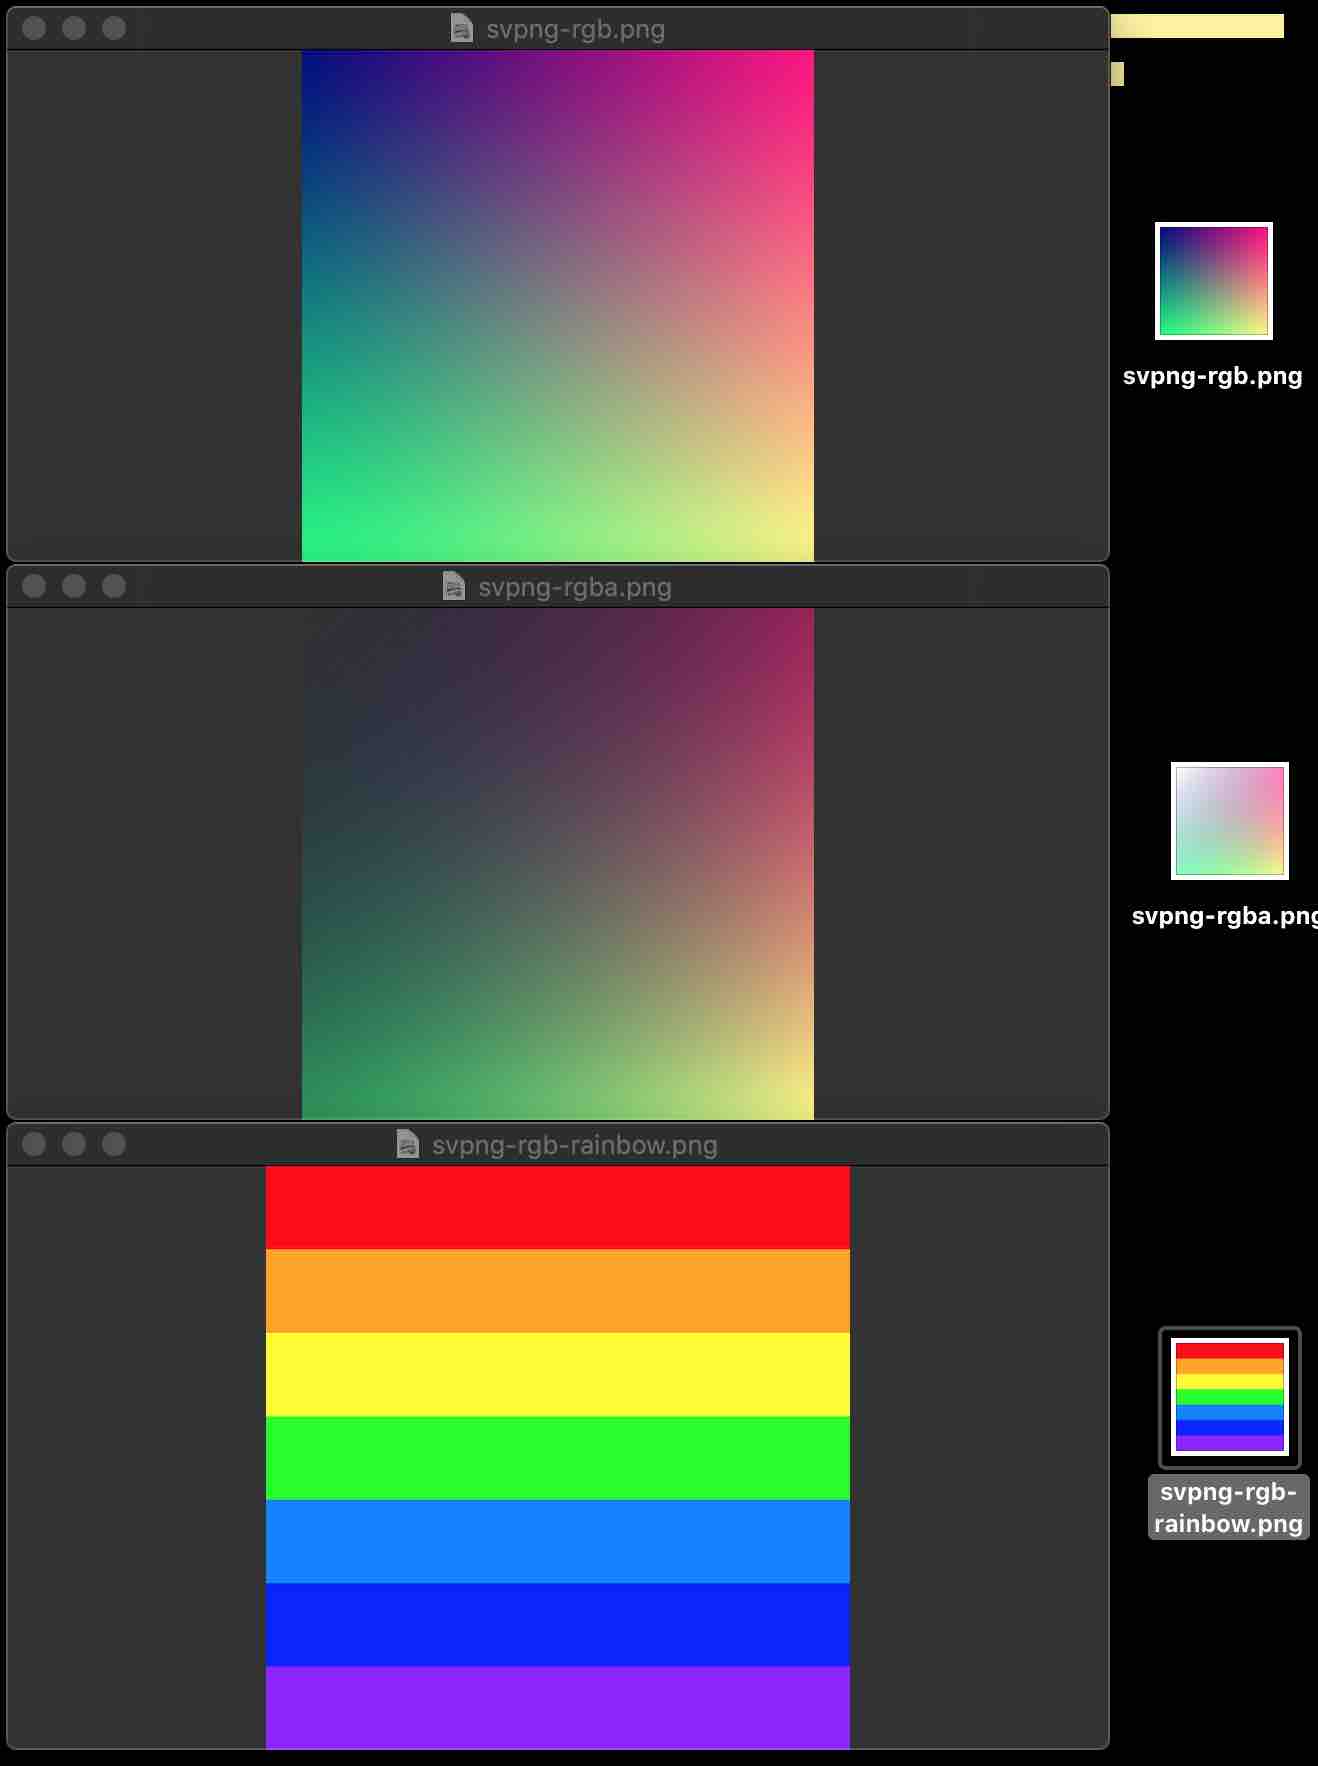
svpng
Demo 例子:
void test_rgb(void) {

    unsigned char rgb[256 * 256 * 3], *p = rgb;

    unsigned x, y;

    FILE *file = fopen("/Users/staff/Desktop/svpng-rgb.png", "wb");

    // FILE *file = fopen("C:\\Users\\Administrator\\Desktop\\svpng-rgb.png", "wb+");

    for (y = 0; y < 256; y++)

        for (x = 0; x < 256; x++) {

            *p++ = (unsigned char)x;    /* R */

            *p++ = (unsigned char)y;    /* G */

            *p++ = 128;                 /* B */

        }

    svpng(file, 256, 256, rgb, 0);

    fclose(file);

}
Demo 例子:
void test_rgba(void) {

    unsigned char rgba[256 * 256 * 4], *p = rgba;

    unsigned x, y;

    FILE *file = fopen("/Users/staff/Desktop/svpng-rgba.png", "wb");

    // FILE *file = fopen("C:\\Users\\Administrator\\Desktop\\svpng-rgba.png", "wb+");

    for (y = 0; y < 256; y++)

        for (x = 0; x < 256; x++) {

            *p++ = (unsigned char)x;                /* R */

            *p++ = (unsigned char)y;                /* G */

            *p++ = 128;                             /* B */

            *p++ = (unsigned char)((x + y) / 2);    /* A */

        }

    svpng(file, 256, 256, rgba, 1);

    fclose(file);

}
自定义 rainbow -> PNG:
// 彩虹的七种颜色

uint32_t rainbowColors[] = {

        0XFF0000, // 红

        0XFFA500, // 橙

        0XFFFF00, // 黄

        0X00FF00, // 绿

        0X007FFF, // 青

        0X0000FF, // 蓝

        0X8B00FF  // 紫

};

uint8_t* getRainbowRGB24Data(uint8_t *rgb24Data, int width, int height) {

    for (int i = 0; i < width; ++i) {

        // 当前颜色

        uint32_t currentColor = rainbowColors[0];

        if(i < 100) {

            currentColor = rainbowColors[0];

        } else if(i < 200) {

            currentColor = rainbowColors[1];

        } else if(i < 300) {

            currentColor = rainbowColors[2];

        } else if(i < 400) {

            currentColor = rainbowColors[3];

        } else if(i < 500) {

            currentColor = rainbowColors[4];

        } else if(i < 600) {

            currentColor = rainbowColors[5];

        } else if(i < 700) {

            currentColor = rainbowColors[6];

        }

        // 当前颜色 R 分量

        uint8_t R = (currentColor & 0xFF0000) >> 16;

        // 当前颜色 G 分量

        uint8_t G = (currentColor & 0x00FF00) >> 8;

        // 当前颜色 B 分量

        uint8_t B = currentColor & 0x0000FF;

        for (int j = 0; j < height; ++j) {

            int currentPixelIndex = 3*(i*height + j);

            // 按 BGR 顺序写入一个像素 RGB24 到文件中

            rgb24Data[currentPixelIndex] = R;

            rgb24Data[currentPixelIndex+1] = G;

            rgb24Data[currentPixelIndex+2] = B;

        }

    }

    return rgb24Data;

}

void rainbow_rgb() {

    int width = 700, height = 700;

    uint8_t rgb24Data[width*height*3];

    FILE *file = fopen("/Users/staff/Desktop/svpng-rgb-rainbow.png", "wb");

    // FILE *file = fopen("C:\\Users\\Administrator\\Desktop\\svpng-rgb-rainbow.png", "wb+");

    getRainbowRGB24Data(rgb24Data, width, height);

    svpng(file, width, height, rgb24Data, 0);

    fclose(file);

}
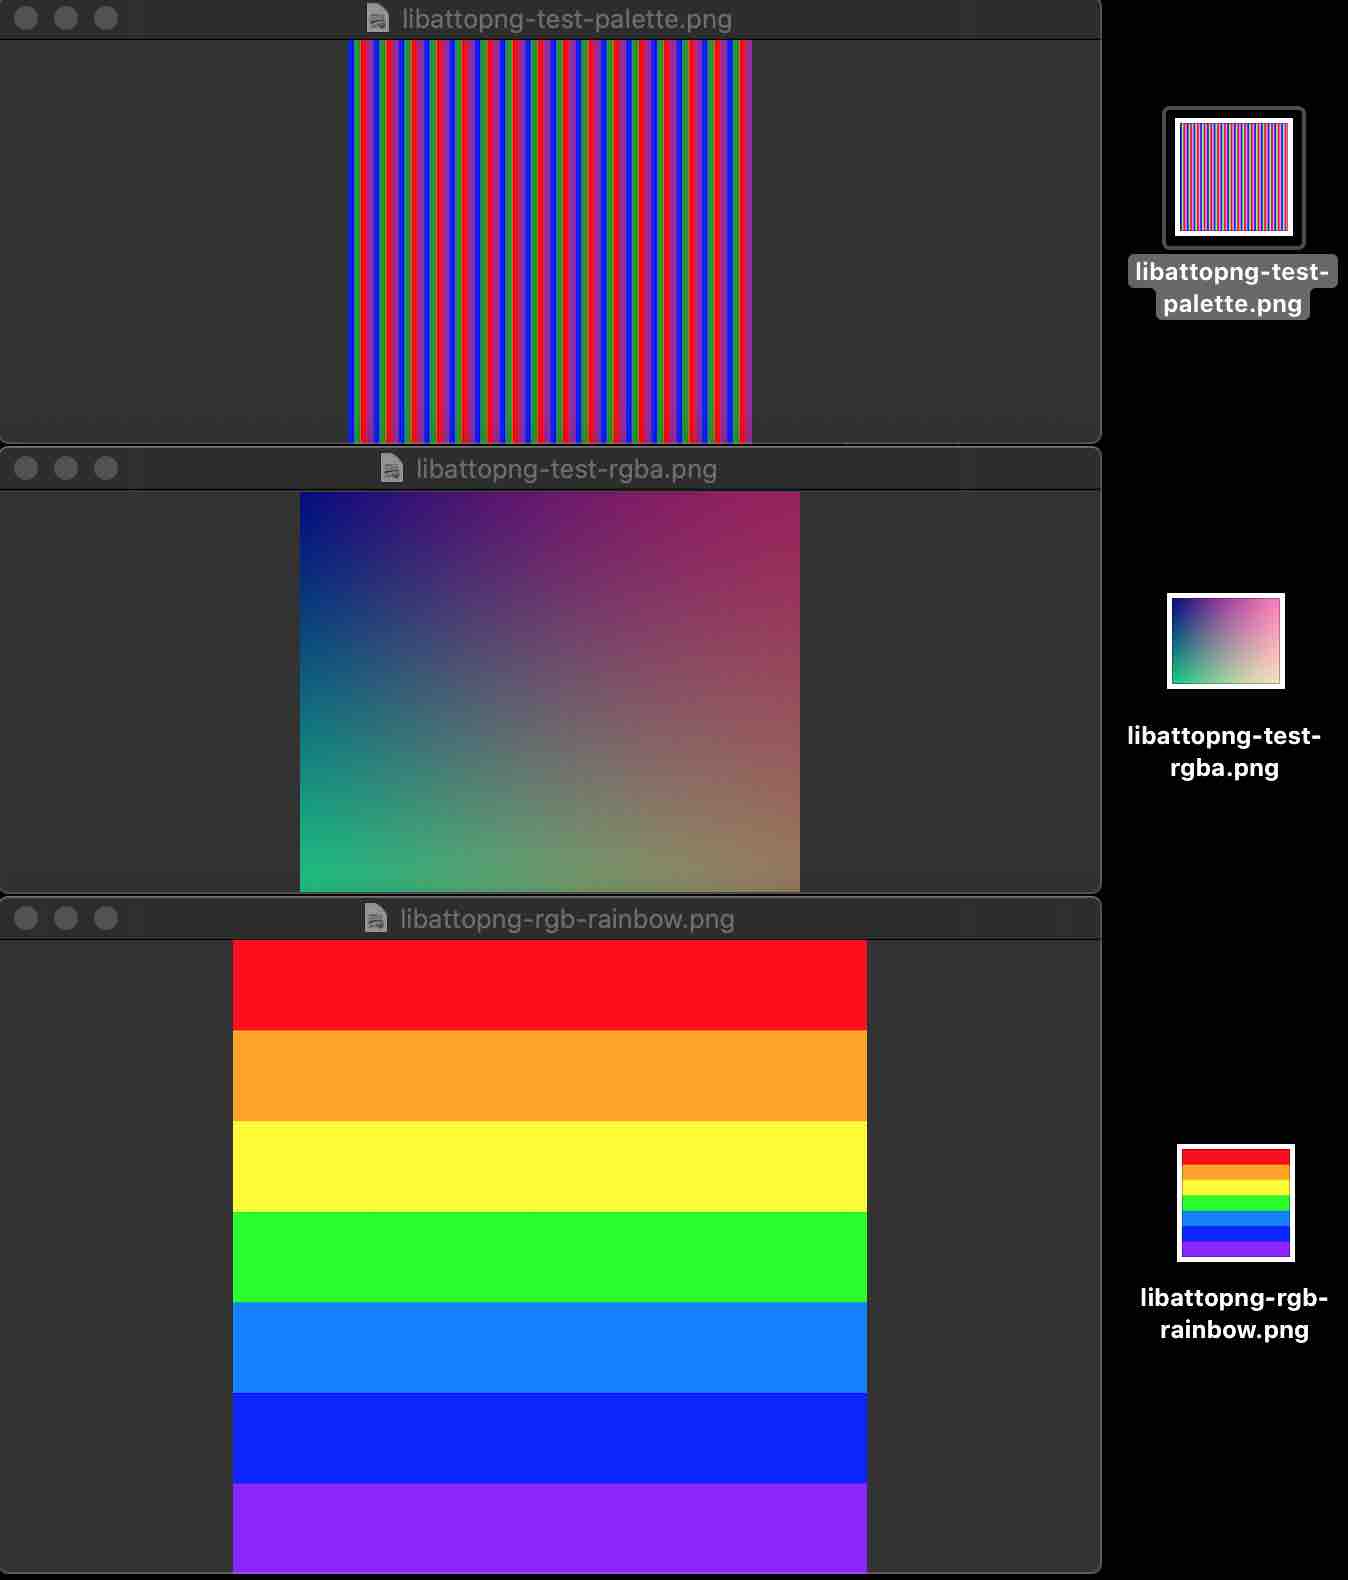
libattopng
Demo 例子:
void test01() {

    #define RGBA(r, g, b, a) ((r) | ((g) << 8) | ((b) << 16) | ((a) << 24))

    libattopng_t* png = libattopng_new(250, 200, PNG_RGBA);

    int x, y;

    for (y = 0; y < 200; y++) {

        for (x = 0; x < 250; x++) {

            libattopng_set_pixel(png, x, y, RGBA(x & 255, y & 255, 128, (255 - ((x / 2) & 255))));

        }

    }

    // FILE *file = fopen("/Users/staff/Desktop/libattopng-test-rgba.png", "wb");

    // FILE *file = fopen("C:\\Users\\Administrator\\Desktop\\libattopng-test-rgba", "wb+");

    libattopng_save(png, "/Users/staff/Desktop/libattopng-test-rgba.png");

    libattopng_destroy(png);

}
Demo 例子:
void test02() {

    #define RGBA(r, g, b, a) ((r) | ((g) << 8) | ((b) << 16) | ((a) << 24))

    // ceate palette image

    libattopng_t *png = libattopng_new(256, 256, PNG_PALETTE);

    uint32_t palette[] = {RGBA(0, 0, 0xff, 0xff), RGBA(0, 0xff, 0, 0x80), RGBA(0xff, 0, 0, 0xff), RGBA(0xff, 0, 0xff, 0x80)};

    // 4 colors: blue, green (50% alpha), red, cyan (50% alpha)

    libattopng_set_palette(png, palette, 4);

    int x, y;

    for (y = 0; y < 256; y++) {

        for (x = 0; x < 256; x++) {

            libattopng_set_pixel(png, x, y, (x % 16) / 4);

        }

    }

    // FILE *file = fopen("/Users/staff/Desktop/libattopng-test-rgba.png", "wb");

    // FILE *file = fopen("C:\\Users\\Administrator\\Desktop\\libattopng-test-rgba", "wb+");

    libattopng_save(png, "/Users/staff/Desktop/libattopng-test-palette.png");

    libattopng_destroy(png);

}
自定义 rainbow -> PNG:
// 彩虹的七种颜色

uint32_t rainbowColors[] = {

        0XFF0000, // 红

        0XFFA500, // 橙

        0XFFFF00, // 黄

        0X00FF00, // 绿

        0X007FFF, // 青

        0X0000FF, // 蓝

        0X8B00FF  // 紫

};

void testRainbow() {

    #define RGB(r, g, b) ((r) | ((g) << 8) | ((b) << 16))

    int width = 700, height = 700;

    // uint8_t rgb24Data[width*height*3];

    libattopng_t* png = libattopng_new(width, height, PNG_RGB);

    for (int i = 0; i < width; ++i) {

        // 当前颜色

        uint32_t currentColor = rainbowColors[0];

        if(i < 100) {

            currentColor = rainbowColors[0];

        } else if(i < 200) {

            currentColor = rainbowColors[1];

        } else if(i < 300) {

            currentColor = rainbowColors[2];

        } else if(i < 400) {

            currentColor = rainbowColors[3];

        } else if(i < 500) {

            currentColor = rainbowColors[4];

        } else if(i < 600) {

            currentColor = rainbowColors[5];

        } else if(i < 700) {

            currentColor = rainbowColors[6];

        }

        // 当前颜色 R 分量

        uint8_t R = (currentColor & 0xFF0000) >> 16;

        // 当前颜色 G 分量

        uint8_t G = (currentColor & 0x00FF00) >> 8;

        // 当前颜色 B 分量

        uint8_t B = currentColor & 0x0000FF;

        for (int j = 0; j < height; ++j) {

            int currentPixelIndex = 3*(i*height + j);

            // 按 BGR 顺序写入一个像素 RGB24 到文件中

            // rgb24Data[currentPixelIndex] = R;

            // rgb24Data[currentPixelIndex+1] = G;

            // rgb24Data[currentPixelIndex+2] = B;

            libattopng_set_pixel(png, j, i, RGB(R, G, B));

        }

    }

    // FILE *file = fopen("/Users/staff/Desktop/libattopng-rgb-rainbow.png", "wb");

    // FILE *file = fopen("C:\\Users\\Administrator\\Desktop\\libattopng-rgb-rainbow.png", "wb+");

    libattopng_save(png, "/Users/staff/Desktop/libattopng-rgb-rainbow.png");

    libattopng_destroy(png);

}
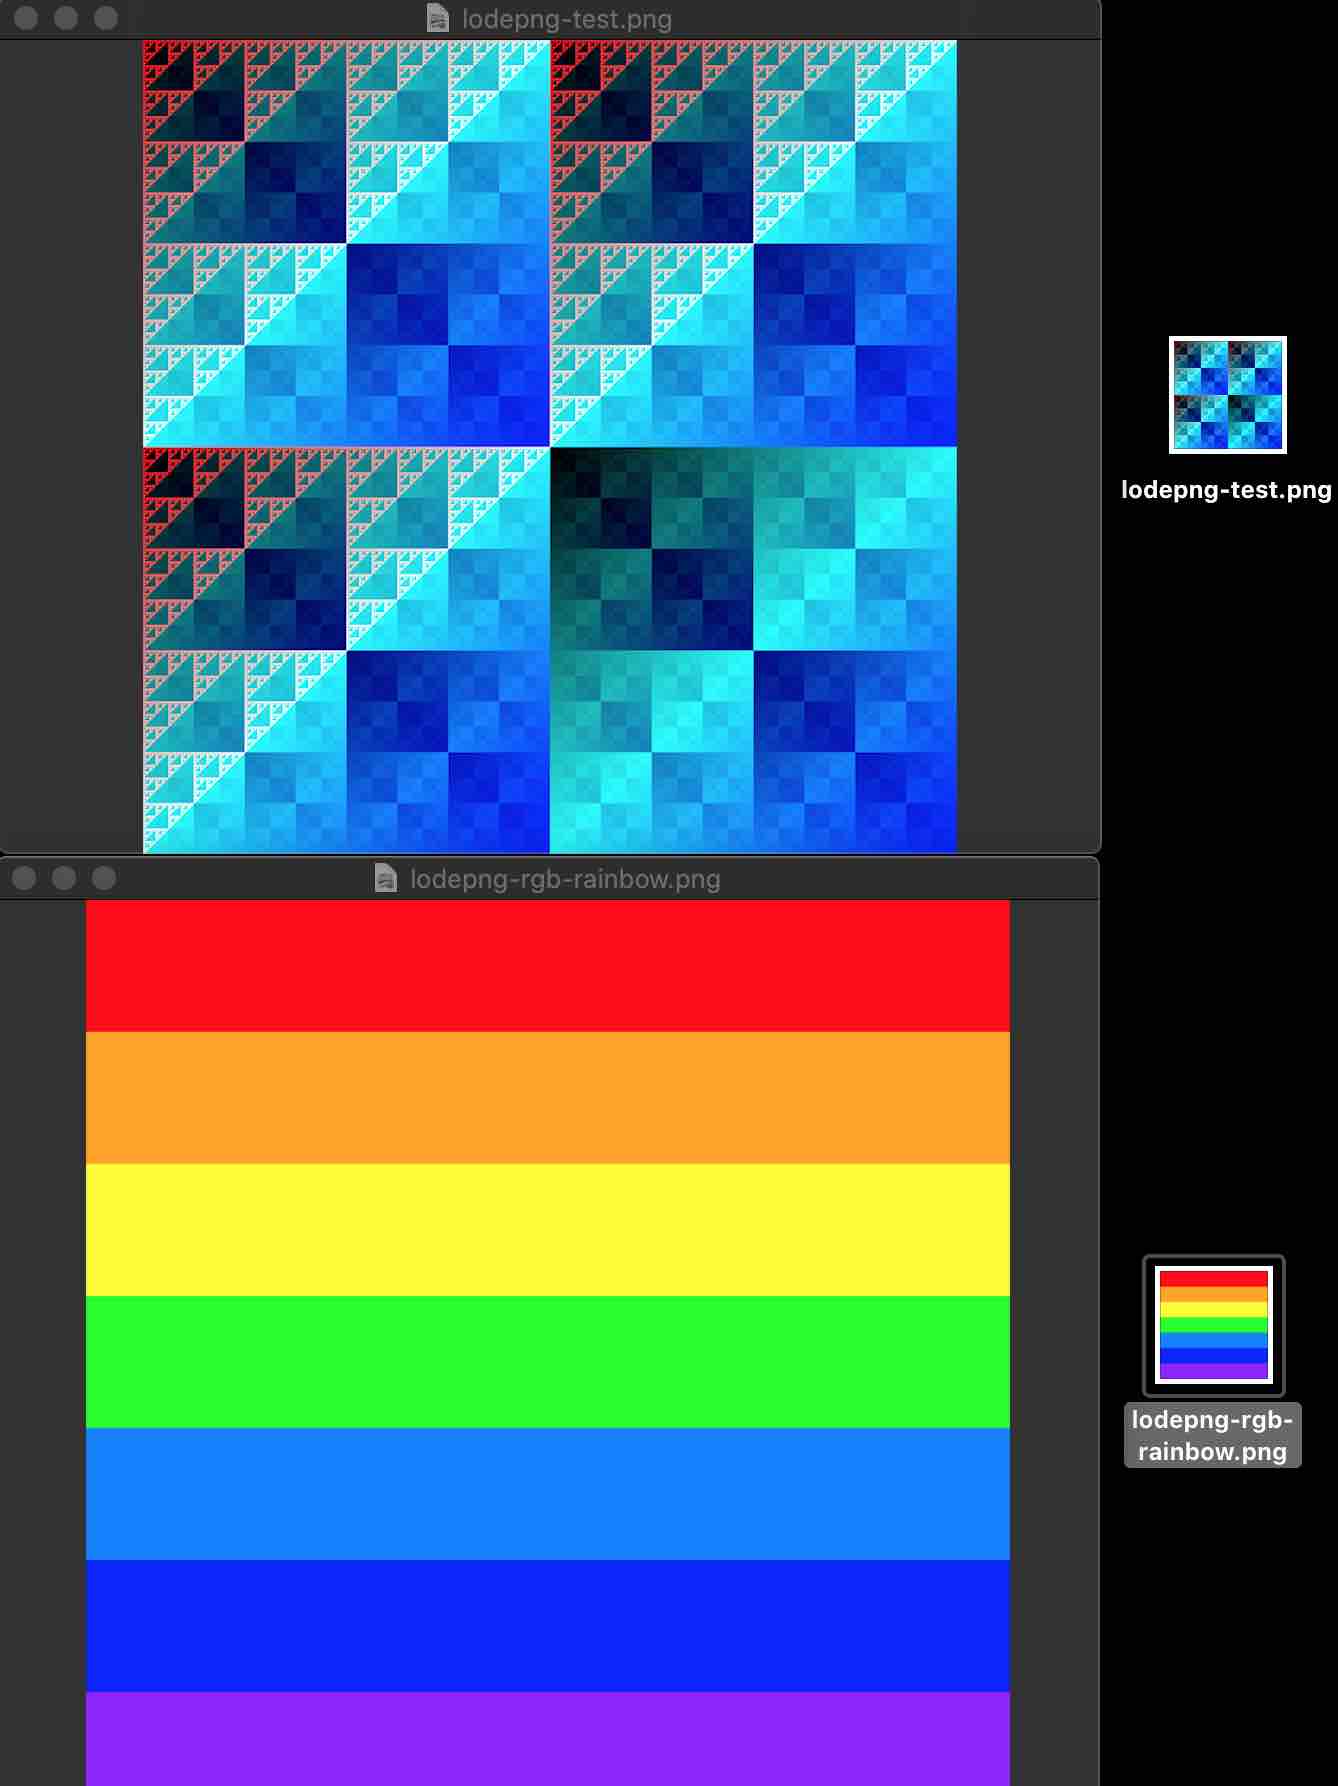
lodepng
Demo 例子:
void test01() {

    /*generate some image*/

    unsigned width = 512, height = 512;

    unsigned char* image = malloc(width * height * 4);

    unsigned x, y;

    for(y = 0; y < height; y++)

        for(x = 0; x < width; x++) {

            image[4 * width * y + 4 * x + 0] = 255 * !(x & y);

            image[4 * width * y + 4 * x + 1] = x ^ y;

            image[4 * width * y + 4 * x + 2] = x | y;

            image[4 * width * y + 4 * x + 3] = 255;

        }

    /*Encode the image*/

    // FILE *file = fopen("/Users/staff/Desktop/lodepng-test.png", "wb");

    // FILE *file = fopen("C:\\Users\\Administrator\\Desktop\\lodepng-test.png", "wb+");

    unsigned error = lodepng_encode32_file("/Users/staff/Desktop/lodepng-test.png", image, width, height);

    /*if there's an error, display it*/

    if(error) printf("error %u: %s\n", error, lodepng_error_text(error));

    free(image);

}
自定义 rainbow -> PNG:
// 彩虹的七种颜色

uint32_t rainbowColors[] = {

        0XFF0000, // 红

        0XFFA500, // 橙

        0XFFFF00, // 黄

        0X00FF00, // 绿

        0X007FFF, // 青

        0X0000FF, // 蓝

        0X8B00FF  // 紫

};

void testRainbow() {

    int width = 700, height = 700;

    uint8_t rgb24Data[width*height*3];

    for (int i = 0; i < width; ++i) {

        // 当前颜色

        uint32_t currentColor = rainbowColors[0];

        if(i < 100) {

            currentColor = rainbowColors[0];

        } else if(i < 200) {

            currentColor = rainbowColors[1];

        } else if(i < 300) {

            currentColor = rainbowColors[2];

        } else if(i < 400) {

            currentColor = rainbowColors[3];

        } else if(i < 500) {

            currentColor = rainbowColors[4];

        } else if(i < 600) {

            currentColor = rainbowColors[5];

        } else if(i < 700) {

            currentColor = rainbowColors[6];

        }

        // 当前颜色 R 分量

        uint8_t R = (currentColor & 0xFF0000) >> 16;

        // 当前颜色 G 分量

        uint8_t G = (currentColor & 0x00FF00) >> 8;

        // 当前颜色 B 分量

        uint8_t B = currentColor & 0x0000FF;

        for (int j = 0; j < height; ++j) {

            int currentPixelIndex = 3*(i*height + j);

            // 按 RGB 顺序写入一个像素 RGB24 到文件中

             rgb24Data[currentPixelIndex] = R;

             rgb24Data[currentPixelIndex+1] = G;

             rgb24Data[currentPixelIndex+2] = B;

        }

    }

    // FILE *file = fopen("/Users/staff/Desktop/lodepng-rgb-rainbow.png", "wb");

    // FILE *file = fopen("C:\\Users\\Administrator\\Desktop\\lodepng-rgb-rainbow.png", "wb+");

    unsigned error = lodepng_encode24_file("/Users/staff/Desktop/lodepng-rgb-rainbow.png", rgb24Data, width, height);

    if(error) printf("error %u: %s\n", error, lodepng_error_text(error));

}
libpng
Demo 例子:
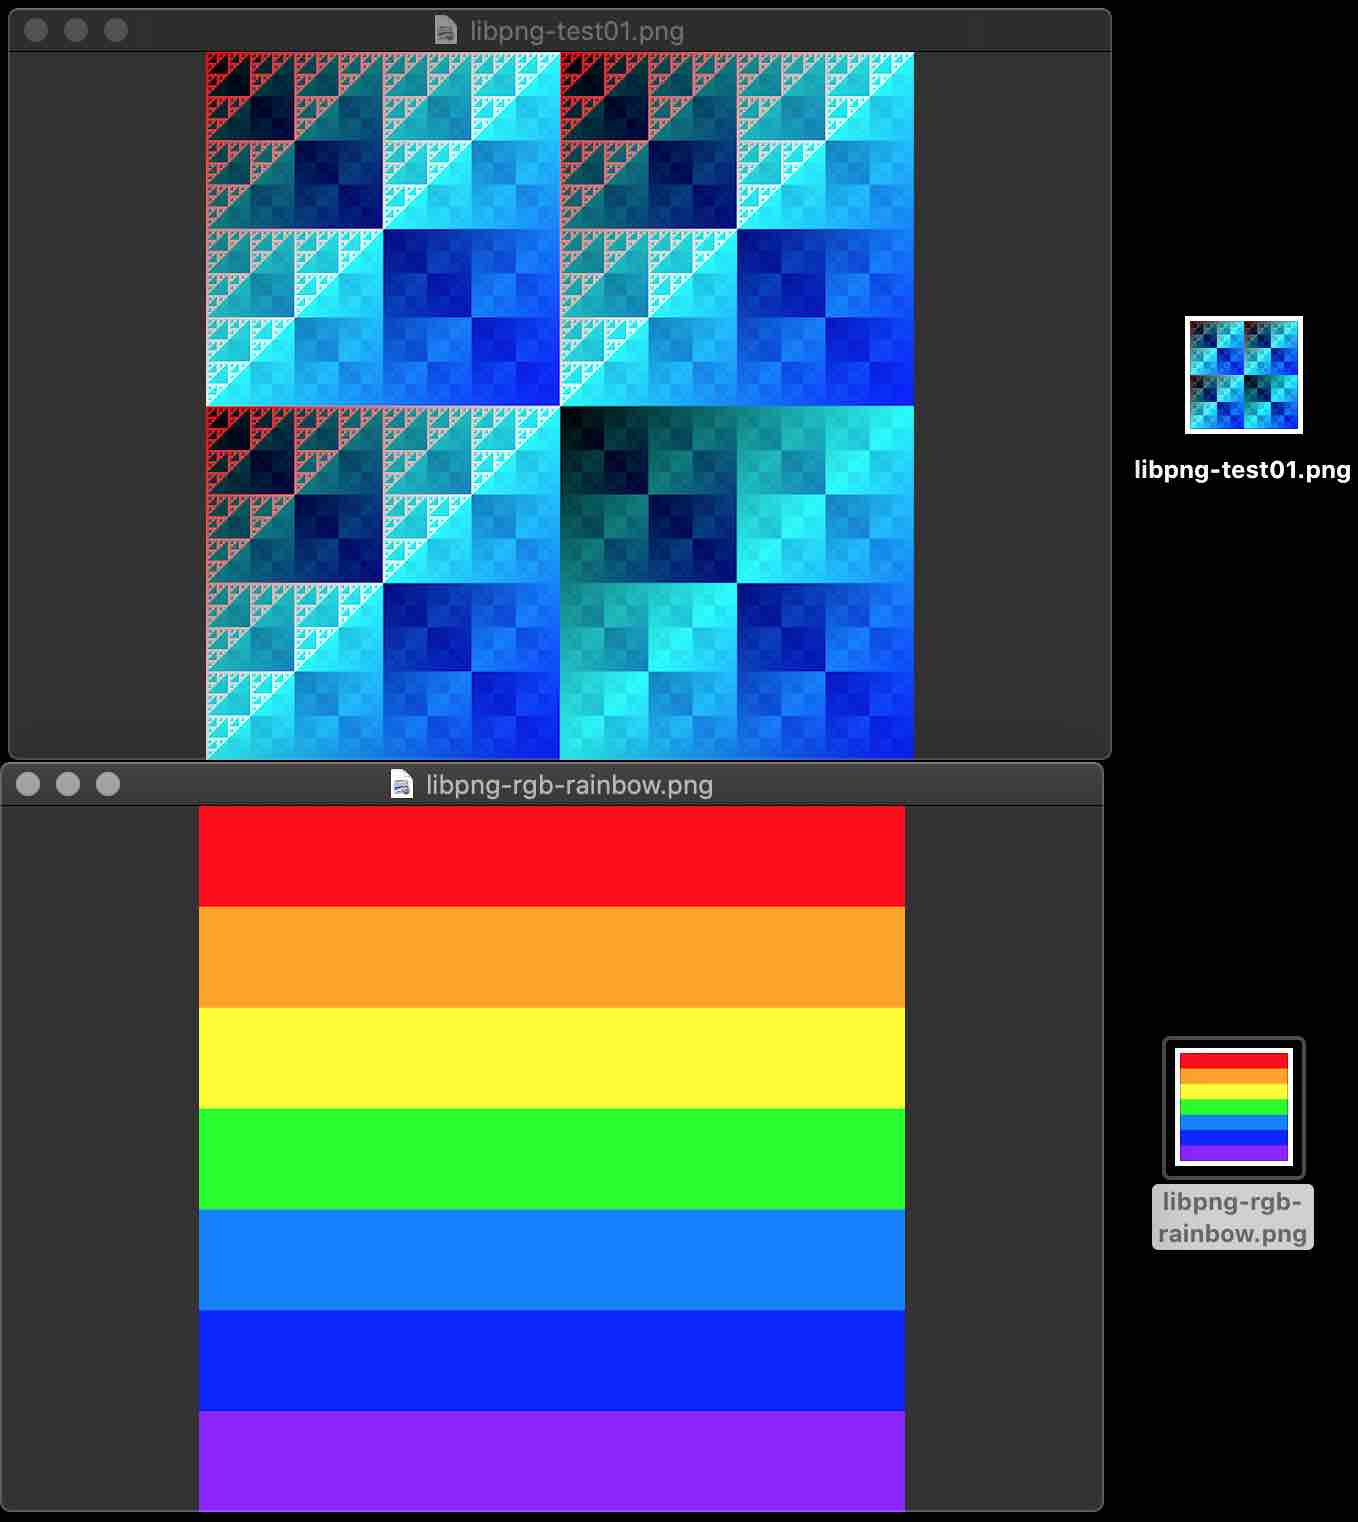
void test01() {

    int width = 512, height = 512, bit_depth = 8;

    png_structp png_ptr;

    png_infop info_ptr;

    // FILE *file = fopen("C:\\Users\\Administrator\\Desktop\\libpng-test01.png", "wb+");

    FILE *png_file = fopen("/Users/staff/Desktop/libpng-test01.png", "wb");

    if (!png_file) {

        return ;

    }

    png_ptr = png_create_write_struct(PNG_LIBPNG_VER_STRING, NULL, NULL, NULL);

    if(png_ptr == NULL) {

        printf("ERROR:png_create_write_struct/n");

        fclose(png_file);

        return ;

    }

    info_ptr = png_create_info_struct(png_ptr);

    if(info_ptr == NULL) {

        printf("ERROR:png_create_info_struct/n");

        png_destroy_write_struct(&png_ptr, NULL);

        return ;

    }

    png_init_io(png_ptr, png_file);

    png_set_IHDR(

            png_ptr,

            info_ptr,

            width,

            height,

            bit_depth,

            PNG_COLOR_TYPE_RGB_ALPHA,

            PNG_INTERLACE_NONE,

            PNG_COMPRESSION_TYPE_BASE,

            PNG_FILTER_TYPE_BASE);

    png_colorp palette = (png_colorp)png_malloc(png_ptr, PNG_MAX_PALETTE_LENGTH * sizeof(png_color));

    if (!palette) {

        fclose(png_file);

        png_destroy_write_struct(&png_ptr, &info_ptr);

        return ;

    }

    png_set_PLTE(png_ptr, info_ptr, palette, PNG_MAX_PALETTE_LENGTH);

    png_write_info(png_ptr, info_ptr);

    png_set_packing(png_ptr);

    /*generate some image*/

    unsigned char* image = malloc(width * height * 4);

    unsigned x, y;

    for(y = 0; y < height; y++)

        for(x = 0; x < width; x++) {

            image[4 * width * y + 4 * x + 0] = 255 * !(x & y);

            image[4 * width * y + 4 * x + 1] = x ^ y;

            image[4 * width * y + 4 * x + 2] = x | y;

            image[4 * width * y + 4 * x + 3] = 255;

        }

    //这里就是图像数据了

    png_bytepp rows = (png_bytepp)png_malloc(png_ptr, height * sizeof(png_bytep));

    for (int i = 0; i < height; ++i) {

        rows[i] = (png_bytep)(image + (i) * width * 4);

    }

    png_write_image(png_ptr, rows);

    // delete[] rows;

    png_write_end(png_ptr, info_ptr);

    png_free(png_ptr, palette);

    palette=NULL;

    png_destroy_write_struct(&png_ptr, &info_ptr);

    fclose(png_file);

}
自定义 rainbow -> PNG:
// 彩虹的七种颜色

uint32_t rainbowColors[] = {

        0XFF0000, // 红

        0XFFA500, // 橙

        0XFFFF00, // 黄

        0X00FF00, // 绿

        0X007FFF, // 青

        0X0000FF, // 蓝

        0X8B00FF  // 紫

};

uint8_t* getRainbowRGB24Data(uint8_t *rgb24Data, int width, int height) {

    for (int i = 0; i < width; ++i) {

        // 当前颜色

        uint32_t currentColor = rainbowColors[0];

        if(i < 100) {

            currentColor = rainbowColors[0];

        } else if(i < 200) {

            currentColor = rainbowColors[1];

        } else if(i < 300) {

            currentColor = rainbowColors[2];

        } else if(i < 400) {

            currentColor = rainbowColors[3];

        } else if(i < 500) {

            currentColor = rainbowColors[4];

        } else if(i < 600) {

            currentColor = rainbowColors[5];

        } else if(i < 700) {

            currentColor = rainbowColors[6];

        }

        // 当前颜色 R 分量

        uint8_t R = (currentColor & 0xFF0000) >> 16;

        // 当前颜色 G 分量

        uint8_t G = (currentColor & 0x00FF00) >> 8;

        // 当前颜色 B 分量

        uint8_t B = currentColor & 0x0000FF;

        for (int j = 0; j < height; ++j) {

            int currentPixelIndex = 3*(i*height + j);

            // 按 BGR 顺序写入一个像素 RGB24 到文件中

            rgb24Data[currentPixelIndex] = R;

            rgb24Data[currentPixelIndex+1] = G;

            rgb24Data[currentPixelIndex+2] = B;

        }

    }

    return rgb24Data;

}

void testRainbow() {

    int width = 700, height = 700, bit_depth = 8;

    uint8_t rgb24Data[width*height*3];

    png_structp png_ptr;

    png_infop info_ptr;

    // FILE *file = fopen("C:\\Users\\Administrator\\Desktop\\libpng-rgb-rainbow.png", "wb+");

    FILE *png_file = fopen("/Users/staff/Desktop/libpng-rgb-rainbow.png", "wb");

    if (!png_file) {

        return ;

    }

    png_ptr = png_create_write_struct(PNG_LIBPNG_VER_STRING, NULL, NULL, NULL);

    if(png_ptr == NULL) {

        printf("ERROR:png_create_write_struct/n");

        fclose(png_file);

        return ;

    }

    info_ptr = png_create_info_struct(png_ptr);

    if(info_ptr == NULL) {

        printf("ERROR:png_create_info_struct/n");

        png_destroy_write_struct(&png_ptr, NULL);

        return ;

    }

    png_init_io(png_ptr, png_file);

    png_set_IHDR(

            png_ptr,

            info_ptr,

            width,

            height,

            bit_depth,

            PNG_COLOR_TYPE_RGB,

            PNG_INTERLACE_NONE,

            PNG_COMPRESSION_TYPE_BASE,

            PNG_FILTER_TYPE_BASE);

    png_colorp palette = (png_colorp)png_malloc(png_ptr, PNG_MAX_PALETTE_LENGTH * sizeof(png_color));

    if (!palette) {

        fclose(png_file);

        png_destroy_write_struct(&png_ptr, &info_ptr);

        return ;

    }

    png_set_PLTE(png_ptr, info_ptr, palette, PNG_MAX_PALETTE_LENGTH);

    png_write_info(png_ptr, info_ptr);

    png_set_packing(png_ptr);

    getRainbowRGB24Data(rgb24Data, width, height);

    //这里就是图像数据了

    png_bytepp rows = (png_bytepp)png_malloc(png_ptr, height * sizeof(png_bytep));

    for (int i = 0; i < height; ++i)

    {

        rows[i] = (png_bytep)(rgb24Data + (i) * width * 3);

    }

    png_write_image(png_ptr, rows);

    // delete[] rows;

    png_write_end(png_ptr, info_ptr);

    png_free(png_ptr, palette);

    palette=NULL;

    png_destroy_write_struct(&png_ptr, &info_ptr);

    fclose(png_file);

}
Congratulations!
参考资料:
内容有误?联系作者:

本文由博客一文多发平台 OpenWrite 发布!
音视频入门-13-使用开源库生成PNG图片的更多相关文章
- 音视频入门-05-RGB-TO-BMP使用开源库
* 音视频入门文章目录 * RGB-TO-BMP 回顾 将 RGB 数据转成 BMP 图片: 了解 BMP 文件格式 准备 BMP 文件头信息 准备 BMP 信息头 BMP 存储 RGB 的顺序是 B ...
- 音视频入门-12-手动生成一张PNG图片
* 音视频入门文章目录 * 预热 上一篇 [PNG文件格式详解]详细介绍了 PNG 文件的格式. PNG 图像格式文件由一个 8 字节的 PNG 文件署名域和 3 个以上的后续数据块(IHDR.IDA ...
- 音视频入门-18-手动生成一张GIF图片
* 音视频入门文章目录 * GIF 编码知识 GIF 包含的数据块: 文件头(Header) 逻辑屏幕标识符(Logical Screen Descriptor) 全局颜色表(Global Color ...
- 音视频入门-20-BMP、PNG、JPG、GIF静态图生成GIF动态图
* 音视频入门文章目录 * 静态图 -> 动态图 前面 [18-手动生成一张GIF图片] 和 [19-使用giflib处理GIF图片] 生成的 GIF 每一帧都是一个颜色,平时用到的 GIF 每 ...
- 音视频入门-09-RGB&YUV互转-使用开源库
* 音视频入门文章目录 * 介绍开源库 使用第三方开源库来简化开发,屏蔽一些底层的复杂度,节省大量编写代码的时间. libyuv: Google 开源的实现各种 YUV 与 RGB 之间相互转换.旋转 ...
- 堪称教科书级别的Android音视频入门进阶学习手册,开源分享!
概述 随着整个互联网的崛起,数据传递的形式也在不断升级变化,总的流行趋势如下: 纯文本的短信,QQ -> 空间,微博,朋友圈的图片文字结合 -> 微信语音 -> 各大直播软件 -&g ...
- 音视频入门-11-PNG文件格式详解
* 音视频入门文章目录 * PNG 文件格式解析 PNG 图像格式文件由一个 8 字节的 PNG 文件署名域和 3 个以上的后续数据块(IHDR.IDAT.IEND)组成. PNG 文件包括 8 字节 ...
- 音视频入门-10-使用libyuv对YUV数据进行缩放、旋转、镜像、裁剪、混合
* 音视频入门文章目录 * libyuv libyuv 是 Google 开源的实现各种 YUV 与 RGB 之间相互转换.旋转.缩放等的库.它是跨平台的,可在 Windows.Linux.Mac.A ...
- 音视频入门-14-JPEG文件格式详解
* 音视频入门文章目录 * JPEG 文件格式解析 JPEG 文件使用的数据存储方式有多种.最常用的格式称为 JPEG 文件交换格式(JPEG File Interchange Format,JFIF ...
随机推荐
- [转]EL表达式判断是否为空,判断是否为空字符串
原文地址:https://blog.csdn.net/zhaofuqiangmycomm/article/details/79442730 El表达式判断是否为空字符串 ${empty 值} 返回t ...
- tomcat的AJP(定向包协议)协议
由于tomcat的html和图片解析功能相对其他服务器如apche等较弱,所以,一般都是集成起来使用,只有jsp和servlet服务交由tomcat处理,而tomcat和其他服务器的集成,就是通过aj ...
- AS的常见问题
版本问题 a.Gradle的版本 用于将代码和资源打包生成apk的编译脚本.此版本号究竟是啥得去studio的安装目录下查看b.Gradle插件的版本 com.android.tools.build: ...
- Python3基础 内置函数 id
Python : 3.7.3 OS : Ubuntu 18.04.2 LTS IDE : pycharm-community-2019.1.3 ...
- postgresql 利用pgAgent实现定时器任务
1.安装pgAgent 利用Application Stack Builder安装向导,安装pgAgent. 根据安装向导一步一步安装即可. 安装完成之后,windows服务列表中会增加一个服务:Po ...
- 泡泡一分钟:eRTIS - A Fully Embedded Real Time 3D Imaging Sonar Sensor for Robotic Applications
eRTIS - A Fully Embedded Real Time 3D Imaging Sonar Sensor for Robotic Applications eRTIS - 用于机器人应用 ...
- Linux系统调优——Memory内存(二)
(1).查看Memory(内存)运行状态相关工具 1)free命令查看内存使用情况 [root@youxi1 ~]# free -m //-m选项,以MB为单位显示 total used free s ...
- C# .NET 杀进程
procName 是进程名,不带.exe . private bool IsAppKill(String procName) { try { ; System.Diagnostics.Process[ ...
- 利用eclipse导入jar包到本地仓库
如果不也不想用mvn install xxxxxx 后面跟一大堆的东东,可以让eclipse替代完成导入,看下图 File------->Import 大功告成,可见eclipse还没有废掉,至 ...
- Django 之memcached的应用
memcached介绍: memcached之前是danga的一个项目,最早是为LiveJournal服务的,当初设计师为了加速LiveJournal访问速度而开发的,后来被很多大型项目采用.官网是w ...