Hadoop生态圈-Flume的组件之自定义拦截器(interceptor)
Hadoop生态圈-Flume的组件之自定义拦截器(interceptor)
作者:尹正杰
版权声明:原创作品,谢绝转载!否则将追究法律责任。
本篇博客只是举例了一个自定义拦截器的方法,测试字节传输速度。
1>.自定义interceptor方法
 /*

 @author :yinzhengjie

 Blog:http://www.cnblogs.com/yinzhengjie/tag/Hadoop%E7%94%9F%E6%80%81%E5%9C%88/

 EMAIL:y1053419035@qq.com

 */

 package cn.org.yinzhengjie.interceptor;

 import org.apache.flume.Context;

 import org.apache.flume.Event;

 import org.apache.flume.interceptor.Interceptor;

 import java.util.List;

 /**

  * 设置限速拦截器

  * <p>

  * 当 字节/时间,即同一时刻,如果进入的字节过多

  * 则休眠一会

  */

 public class MyInterceptor implements Interceptor {

     private int speed;

     //构造

     private MyInterceptor(int speed) {

         this.speed = speed;

     }

     //do nothing

     public void initialize() {

     }

     /**

      * 1、拿出上一个event的时间,和当前时间进行相减,得出上一个event的时间间隔

      * 2、得到上一个event的body字节数

      * 3、相除得到上一个event的速度,并在此event中先进行停留,再返回event

      *

      * @param event

      * @return

      */

     long lastTime = -1;

     long lastBodySize = 0;

     public Event intercept(Event event) {

         byte[] body = event.getBody();

         int len = body.length;

         long current = System.nanoTime();

         //第一个event

         if (lastTime == -1) {

             lastTime = current;

             lastBodySize = len;

         }

         //非第一个event

         else {

             //计算上一个event停留的时间

             long interval = current - lastTime;

             System.out.println("=========================" + current + "/" + lastTime + "/" + interval + "=========================");

             //上一个event的速度

             int now_speed = (int) ((double) lastBodySize / interval * 1000);

             if (now_speed > speed) {

                 System.out.println("=========================" + now_speed + "=========================");

                 //计算需要停留多少秒 线程休眠,时间 = shouldTime - interval

                 try {

                     Thread.sleep((lastBodySize / speed) * 1000 - interval);

                 } catch (InterruptedException e) {

                     e.printStackTrace();

                 }

             }

             lastBodySize = len;

             lastTime = System.currentTimeMillis();

         }

         return event;

     }

     //迭代List<Event>,将所有Event交给intercept(Event)进行处理

     public List<Event> intercept(List<Event> events) {

         for (Event event : events) {

             intercept(event);

         }

         return events;

     }

     //do nothing

     public void close() {

     }

     public static class Builder implements Interceptor.Builder {

         private int speed;

         public void configure(Context context) {

             speed = context.getInteger(Constants.SPEED, Constants.DEFAULT_SPEED);

         }

         public Interceptor build() {

             return new MyInterceptor(speed);

         }

     }

     public static class Constants {

         public static String SPEED = "speed";

         public static int DEFAULT_SPEED = 1;

     }

 }
2>.打包并将其发送到 /soft/flume/lib下
[yinzhengjie@s101 ~]$ cd /soft/flume/lib/

[yinzhengjie@s101 lib]$

[yinzhengjie@s101 lib]$ ll | grep MyFlume

-rw-r--r--  1 yinzhengjie yinzhengjie    5231 Jun 20 18:53 MyFlume-1.0-SNAPSHOT.jar

[yinzhengjie@s101 lib]$

[yinzhengjie@s101 lib]$ rm -rf MyFlume-1.0-SNAPSHOT.jar

[yinzhengjie@s101 lib]$

[yinzhengjie@s101 lib]$ rz

[yinzhengjie@s101 lib]$

[yinzhengjie@s101 lib]$ ll | grep MyFlume

-rw-r--r--  1 yinzhengjie yinzhengjie    8667 Jun 20 21:02 MyFlume-1.0-SNAPSHOT.jar

[yinzhengjie@s101 lib]$

[yinzhengjie@s101 lib]$
3>.编写agent的配置文件
[yinzhengjie@s101 ~]$ more /soft/flume/conf/yinzhengjie_myInterceptor.conf

# Name the components on this agent

a1.sources = r1

a1.sinks = k1

a1.channels = c1

# 定义源: seq

a1.sources.r1.type = seq

# 定义一次RPC产生的批次数量

a1.sources.r1.batchSize =

# 指定添加拦截器

a1.sources.r1.interceptors = i1

a1.sources.r1.interceptors.i1.type = cn.org.yinzhengjie.interceptor.MyInterceptor$Builder

a1.sources.r1.interceptors.i1.speed =

# Describe the sink

a1.sinks.k1.type = logger

# Use a channel which buffers events in memory

a1.channels.c1.type = memory

a1.channels.c1.capacity =

a1.channels.c1.transactionCapacity =

# Bind the source and sink to the channel

a1.sources.r1.channels = c1

a1.sinks.k1.channel = c1

[yinzhengjie@s101 ~]$
4>.启动flume并测试
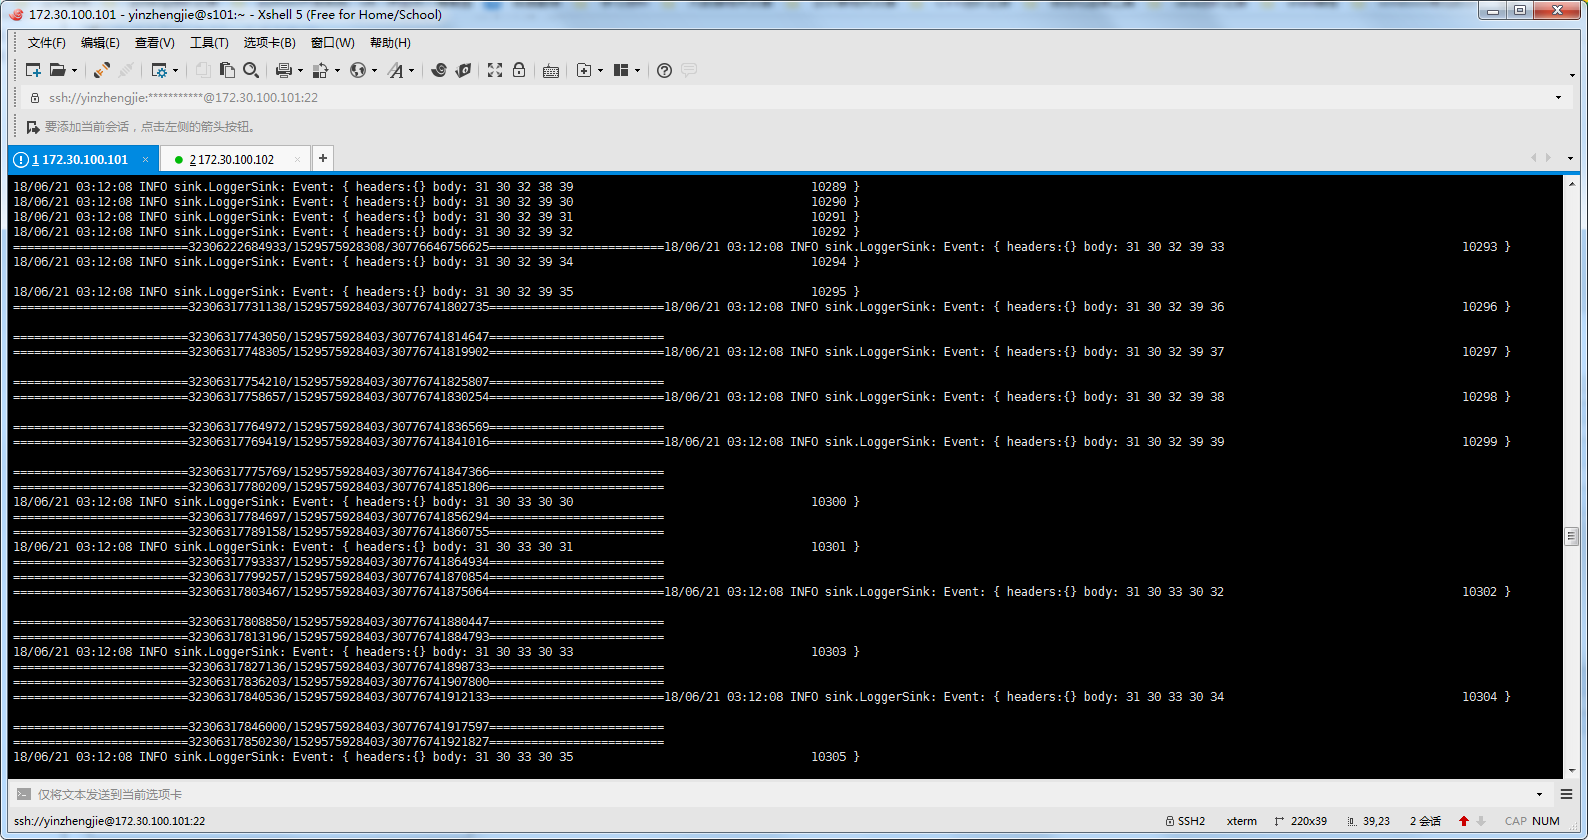
[yinzhengjie@s101 ~]$ flume-ng agent -f /soft/flume/conf/yinzhengjie_myInterceptor.conf -n a1
下图是运行agent部分的输出内容
Hadoop生态圈-Flume的组件之自定义拦截器(interceptor)的更多相关文章
- Hadoop生态圈-Flume的组件之自定义Sink
Hadoop生态圈-Flume的组件之自定义Sink 作者:尹正杰 版权声明:原创作品,谢绝转载!否则将追究法律责任. 本篇博客主要介绍sink相关的API使用两个小案例,想要了解更多关于API的小技 ...
- Hadoop生态圈-Flume的组件之拦截器与选择器
Hadoop生态圈-Flume的组件之拦截器与选择器 作者:尹正杰 版权声明:原创作品,谢绝转载!否则将追究法律责任. 本篇博客只是配置的是Flume主流的Interceptors,想要了解更详细 ...
- Hadoop生态圈-Flume的组件之sink处理器
Hadoop生态圈-Flume的组件之sink处理器 作者:尹正杰 版权声明:原创作品,谢绝转载!否则将追究法律责任. 一. 二.
- Flume(二) —— 自定义拦截器、Source、Sink
自定义拦截器 自定义Source 自定义Sink 引入依赖 <dependency> <groupId>org.apache.flume</groupId> < ...
- Struts2自定义拦截器Interceptor以及拦截器登录实例
1.在Struts2自定义拦截器有三种方式: -->实现Interceptor接口 public class QLInterceptorAction implements Interceptor ...
- 第1节 flume:15、flume案例二,通过自定义拦截器实现数据的脱敏
1.7.flume案例二 案例需求: 在数据采集之后,通过flume的拦截器,实现不需要的数据过滤掉,并将指定的第一个字段进行加密,加密之后再往hdfs上面保存 原始数据与处理之后的数据对比 图一 ...
- Struts2自定义拦截器
1. 需求 自定义拦截器实现,用户登录的访问控制. 2. 定义拦截器类 public class LoginInterceptor extends AbstractInterceptor { @Ove ...
- struts2--实现自定义拦截器
前言: 本篇文章,我想说清实现拦截器的办法,还有为什么要这样做: 目录: 1.需求目的 2.实现步骤及原理(文字怕描述不清,画图描述) 3.代码 4.总结 一.需求目的 规范或限制越级访问(例如:一个 ...
- java:struts框架3(自定义拦截器,token令牌,文件上传和下载(单/多))
1.自定义拦截器: struts.xml: <?xml version="1.0" encoding="UTF-8"?> <!DOCTYPE ...
随机推荐
- JAVA 静态方法和实例方法的区别 (图表)
静态方法和实例方法的区别主要体现在两个方面: 在外部调用静态方法时,可以使用"类名.方法名"的方式,也可以使用"对象名.方法名"的方式.而实例方法只有后面这 ...
- post请求参数Json字符串包含数组的校验和处理
传入参数类型 {"aaa":"aaaa","bbb":"bbb","ccc":"ccc&q ...
- 通过Mysql连接ASP.Net Core2.0(Code First模式)
ASP.NET Core2.0连接Mysql,首先新建项目 选择Web应用程序 选择需要身份验证: 通过Nuget安装Mysql驱动,这里推荐>Pomelo.EntityFrameworkCor ...
- C#_备份sqlserver数据库
C# 代码备份数据库 ,不需要 其他 DLL protected void Button1_Click(object sender, EventArgs e) { /// ...
- centos6 和centos7 安装git 的区别
centos6 和centos7 安装git 的区别 centos6安装git yum install curl-devel expat-devel gettext-devel openssl-dev ...
- jquery自动获取项目url路径
//很多时候我们需要使用当前项目路径,但是如果把项目路径写死,会带来很多不便,此时就需要自动获取项目路径.//我们可以根据jquery来进行自动获取项目路径,获取方法如下function getRoo ...
- [dx11]利用SpriteFont绘制中文--本地化文本
1.下载DirectX11 Tool Kit SDK,解压后编译,生成DirectXTK.lib库文件和MakeSpriteFont应用工具; 2.在Dx11环境基础上,用生成的库文件搭建XTK环境; ...
- net面试宝典
ASP.NET常见面试题及答案 1. 简述 private. protected. public. internal 修饰符的访问权限. 答 . private : 私有成员, 在类的内部才可以访问. ...
- DRF框架QQ登录功能
用户模块---QQ登录 流程图 QQ登录文档:http://wiki.connect.qq.com/%E5%87%86%E5%A4%87%E5%B7%A5%E4%BD%9C_oauth2-0 流程简述 ...
- beta1
组长:吴晓晖 过去两天完成了哪些任务: 代码重构进行中,界面,预计两个beta单位完成 展示GitHub当日代码/文档签入记录 接下来的计划 更加人性化的推荐算法 还剩下哪些任务 有哪些困难 有哪些收 ...