
【水滴石穿】github_popular
项目不难,就是文件摆放位置跟别的不一样
https://github.com/chenji336/github_popular
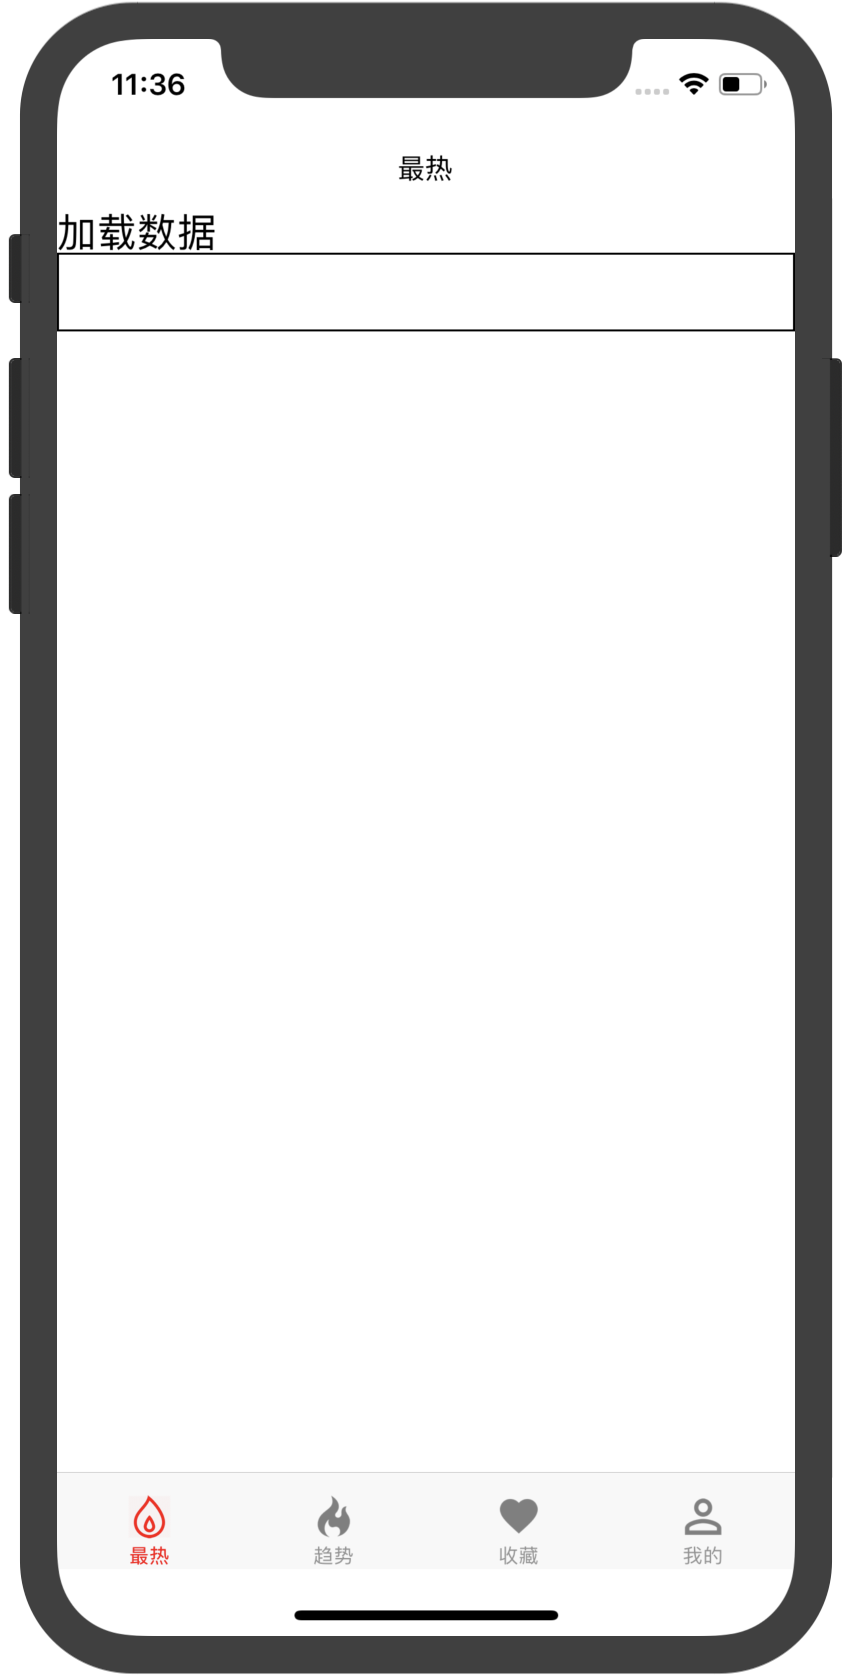
//定义入口是app.js

///** @format */

import {AppRegistry} from 'react-native';

import App from './App';

import {name as appName} from './app.json';

AppRegistry.registerComponent(appName, () => App);
//app.js

//app.js对应的是page/setup

/**

 * Sample React Native App

 * https://github.com/facebook/react-native

 *

 * @format

 * @flow

 */

import React, { Component } from 'react';

import setup from './js/page/setup'

export default setup;
//github_popular/js/page/setup.js

import React, { Component } from 'react'

import { SafeAreaView } from 'react-native'

import { Navigator } from 'react-native-deprecated-custom-components'

import WelcomePage from './WelcomePage'

import { YellowBox } from 'react-native';

YellowBox.ignoreWarnings(['Remote debugger']); // 忽略黄色提醒

class Root extends Component {

    renderScene(route, navigator) {

        let Component = route.component;

        return <Component {...route.params} navigator={navigator} />

    }

    render() {

        return <Navigator

            initialRoute={{ component: WelcomePage }}

            renderScene={(route, navigator) => this.renderScene(route, navigator)}

        />

    }

}

function setup() {

    //进行一些初始化配置

    return (

        <SafeAreaView style={{flex:1}}>

            <Root />

        </SafeAreaView>

    );

}

// module.exports = setup; // 这里不能setup(),因为AppRegistry.registerComponent(appName, () => App);的App应该是function或则class

export default setup;
//github_popular/js/page/WelcomePage.js

//启动页那个

//在welcomePage中定义的是跳转到HomePage

import React, { Component } from 'react';

import {

    View,

    StyleSheet,

    Text,

} from 'react-native'

import NavigationBar from '../common/NavigationBar'

import HomePage from './HomePage'

export default class WelcomePage extends Component {

    constructor(props) {

        super(props);

    }

    componentDidMount() {

        this.timer = setTimeout(() => {

            this.props.navigator.resetTo({

                component: HomePage,

            });

        }, 0);

    }

    componentWillUnmount() {

        this.timer && clearTimeout(this.timer);

    }

    render() {

        return (

            <View style={styles.container}>

                <NavigationBar

                    title='欢迎'

                    style={{ backgroundColor: '#6495ED' }}

                />

                <Text style={styles.tips}>欢迎</Text>

            </View>)

    }

}

const styles = StyleSheet.create({

    container: {

        flex: 1,

    },

    tips: {

        fontSize: 29

    }

})
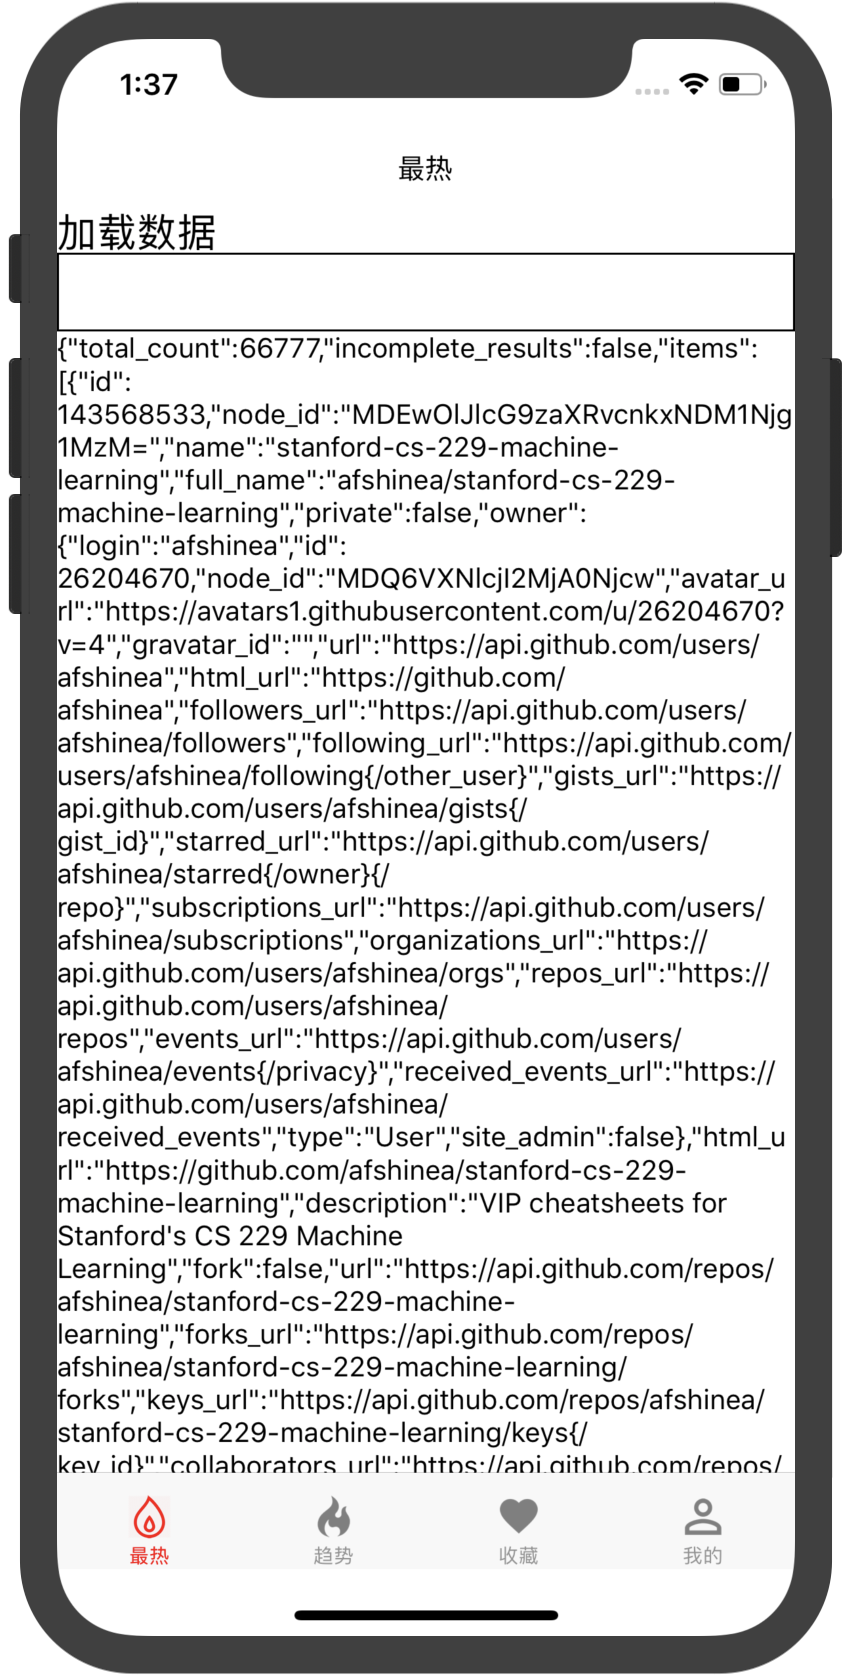
//接下来是HomePage页面

//github_popular/js/page/HomePage.js

//定义的是下面的切换页面

import React, { Component } from 'react';

import {

    StyleSheet,

    Text,

    Image,

    View

} from 'react-native';

import TabNavigator from 'react-native-tab-navigator';

import PopularPage from './PopularPage';

export default class HomePage extends Component {

    constructor(props) {

        super(props);

        this.state = {

            selectedTab: 'tb_popular',

        }

    }

    render() {

        return (

            <View style={styles.container}>

                <TabNavigator>

                    <TabNavigator.Item

                        selected={this.state.selectedTab === 'tb_popular'}

                        selectedTitleStyle={{ color: 'red' }}

                        title="最热"

                        renderIcon={() => <Image style={styles.image} source={require('../../res/images/ic_polular.png')} />}

                        renderSelectedIcon={() => <Image style={[styles.image, { tintColor: 'red' }]} source={require('../../res/images/ic_polular.png')} />}

                        onPress={() => this.setState({ selectedTab: 'tb_popular' })}>

                        <PopularPage></PopularPage>

                    </TabNavigator.Item>

                    <TabNavigator.Item

                        selected={this.state.selectedTab === 'tb_trending'}

                        title="趋势"

                        selectedTitleStyle={{ color: 'yellow' }}

                        renderIcon={() => <Image style={styles.image} source={require('../../res/images/ic_trending.png')} />}

                        renderSelectedIcon={() => <Image style={[styles.image, { tintColor: 'yellow' }]} source={require('../../res/images/ic_trending.png')} />}

                        onPress={() => this.setState({ selectedTab: 'tb_trending' })}>

                        <View style={{ backgroundColor: 'yellow', flex: 1 }}></View>

                    </TabNavigator.Item>

                    <TabNavigator.Item

                        selected={this.state.selectedTab === 'tb_favorite'}

                        title="收藏"

                        selectedTitleStyle={{ color: 'green' }}

                        renderIcon={() => <Image style={styles.image} source={require('../../res/images/ic_favorite.png')} />}

                        renderSelectedIcon={() => <Image style={[styles.image, { tintColor: 'green' }]} source={require('../../res/images/ic_favorite.png')} />}

                        onPress={() => this.setState({ selectedTab: 'tb_favorite' })}>

                        <View style={{ backgroundColor: 'green', flex: 1 }}></View>

                    </TabNavigator.Item>

                    <TabNavigator.Item

                        selected={this.state.selectedTab === 'tb_my'}

                        title="我的"

                        selectedTitleStyle={{ color: 'blue' }}

                        renderIcon={() => <Image style={styles.image} source={require('../../res/images/ic_my.png')} />}

                        renderSelectedIcon={() => <Image style={[styles.image, { tintColor: 'blue' }]} source={require('../../res/images/ic_my.png')} />}

                        onPress={() => this.setState({ selectedTab: 'tb_my' })}>

                        <View style={{ backgroundColor: 'blue', flex: 1 }}></View>

                    </TabNavigator.Item>

                </TabNavigator>

            </View>

        );

    }

}

const styles = StyleSheet.create({

    container: {

        flex: 1,

    },

    image: {

        height: 22,

        width: 22,

    }

});
//github_popular/js/page/PopularPage.js

//定义了与后端请求数据的方法

import React, { Component } from 'react';

import {

    StyleSheet,

    Text,

    Image,

    View,

    TextInput

} from 'react-native';

import NavigationBar from '../common/NavigationBar'

import DataRepository from '../expand/dao/DataRepository'

const URL = 'https://api.github.com/search/repositories?q=';

const QUERY_STR = '&sort=stars';

export default class PopularPage extends Component {

    constructor(props) {

        super(props);

        this.dataRespository = new DataRepository();

        this.state = {

            result: '',

        }

    }

    loadData() {

        let url = URL + this.key + QUERY_STR;

        this.dataRespository

            .fetchNetRepository(url)

            .then(result => {

                this.setState({

                    result: JSON.stringify(result),

                });

            }).catch(error => {

                console.log(error);

            })

    }

    render() {

        return <View style={styles.container}>

            <NavigationBar

                title={'最热'}

            />

            <Text

                style={styles.tips}

                onPress={() => this.loadData()}

            >加载数据</Text>

            <TextInput style={{ height: 40, borderWidth: 1 }}

                onChangeText={(text) => {

                    this.key = text;

                }}

            />

            <Text style={{ height: 800 }}>{this.state.result}</Text>

        </View>

    }

}

const styles = StyleSheet.create({

    container: {

        flex: 1,

    },

    tips: {

        fontSize: 20

    }

})
//封装获取数据的方法

//github_popular/js/expand/dao/DataRepository.js

export default class DataRepository {

    fetchNetRepository(url) {

        return new Promise((resolve, reject) => {

            fetch(url)

                .then(response => response.json())

                .then(result => resolve(result))

                .catch(err => reject(err))

        })

    }

}
//github_popular/js/common/NavigationBar.js

//切换的navigationBar

import React, { Component } from 'react'

import { Text, View, StyleSheet, StatusBar, Platform, } from 'react-native'

import PropTypes from 'prop-types';

const NAV_BAR_HEIGHT_IOS = 44;

const NAV_BAR_HEGIHT_ANDROID = 50;

const STATUS_BAR_HEIGHT = 20;

const StatusBarShape = {

    barStyle: PropTypes.oneOf(['light-content', 'dark-content', 'default']),

    hidden: PropTypes.bool,

    backgroundColor: PropTypes.string,

};

export default class NavigationBar extends Component {

    static propTypes = {

        // style: PropTypes.style,

        hidden: PropTypes.bool,

        title: PropTypes.string,

        titleView: PropTypes.element,

        leftButton: PropTypes.element,

        rightButton: PropTypes.element,

        statusBar: PropTypes.shape(StatusBarShape)

    }

    static defaultProps = {

        statusBar: {

            hidden: false,

            barStyle: 'default',

            // backgroundColor: 'red' // 对ios不起作用

        }

    }

    constructor(props) {

        super(props);

    }

    render() {

        const statusBar = !this.props.statusBar.hidden ? (

            <View>

                <StatusBar {...this.props.statusBar}></StatusBar>

            </View>

        ) : null;

        const titleView = this.props.titleView ?

            this.props.titleView

            : <Text ellipsizeMode='head' numberOfLines={1}>{this.props.title}</Text>;

        const content = <View style={[styles.navBar, this.props.style]}>

            {this.props.leftButton}

            <View style={styles.navBarTitleContainer}>

                {titleView}

            </View>

            {this.props.rightButton}

        </View>

        return (

            <View>

                {statusBar}

                {content}

            </View>

        )

    }

}

const styles = StyleSheet.create({

    container: {

        backgroundColor: 'gray',

    },

    navBar: {

        flexDirection: 'row',

        justifyContent: 'space-between',

        alignItems: 'center',

        height: Platform.OS === 'ios' ? NAV_BAR_HEIGHT_IOS : NAV_BAR_HEGIHT_ANDROID

    },

    statusBar: {

        height: Platform.OS === 'ios' ? STATUS_BAR_HEIGHT : 0,

    },

    navBarTitleContainer: {

        position: 'absolute',

        justifyContent: 'center',

        alignItems: 'center',

        left: 40,

        right: 40,

        top: 0,

        bottom: 0

    }

})
【水滴石穿】github_popular的更多相关文章
- iOS 开发笔记 -- 各种细枝末节的知识(水滴石穿)
在此总结整理,遇到的各种的小问题: 1.通过从字典(数组)中取出的NSString的length==0 作为if的判断条件导致的carsh: 由于在字典中通过Key取出值之后直接做了length相关操 ...
- 【水滴石穿】react-native-book
先推荐一个学习的地址:https://ke.qq.com/webcourse/index.html#cid=203313&term_id=100240778&taid=12778558 ...
- 【水滴石穿】rnTest
其实就是一个小的demo,不过代码分的挺精巧的 先放地址:https://github.com/linchengzzz/rnTest 来看看效果 确实没有什么可以说的,不过代码部分还行 先入口文件 / ...
- 【水滴石穿】rn_statusbar
先放项目地址https://github.com/hezhii/rn_statusbar 来看一下效果 咩有感觉很怎么样,看代码 根入口文件 //index.js //看代码我们知道入口是app.js ...
- 【水滴石穿】react-native-ble-demo
项目的话,是想打开蓝牙,然后连接设备 点击已经连接的设备,我们会看到一些设备 不过我这边在开启蓝牙的时候报错了 先放作者的项目地址: https://github.com/hezhii/react-n ...
- 【水滴石穿】ReactNative-Redux-Thunk
老实说,运行出来的项目让人失望,毕竟我想看各种有趣的demo啊- 先放上源码地址:https://github.com/ludejun/ReactNative-Redux-Thunk 我们来一起看看代 ...
- 【水滴石穿】mobx-todos
我觉得代码在有些程序员手里,就好像是画笔,可以创造很多东西 不要觉得创意少就叫没有创意,每天进步一点点,世界更美好 首先源码地址为:https://github.com/byk04712/mobx-t ...
- 【水滴石穿】ReactNativeMobxFrame
项目地址如下:https://github.com/FTD-ZF/ReactNativeMobxFrame 应该可以说的是,项目也只是一个花架子,不过底部的tab稍微改变了 我们一起来看代码 //in ...
- 【水滴石穿】react-native-aze
说个题外话,早上打开电脑的时候,电脑变成彩色的了,锅是我曾经安装的一个chrome扩展,没有经过我的同意开启了 (也许是昨天迷迷糊糊开启了) 上午运行项目都不成功,还以为被黑客攻击了---然后下午就排 ...
随机推荐
- HBase Ambari
- Top- Linux必学的60个命令
1.作用 top命令用来显示执行中的程序进程,使用权限是所有用户. 2.格式 top [-] [d delay] [q] [c] [S] [s] [i] [n] 3.主要参数 d:指定更新的间隔,以秒 ...
- 联想 Z470个人安装黑苹果参考
笔记本是联想 Z470,cpu i3-2350M 傻瓜图文式]Win系统下制作U盘CLOVER引导 EDIT部分 进去黑屏 U盘引导盘
- deepfake安装python常用命令
pip install -r requirements.txt -i https://mirrors.tuna.tsinghua.edu.cn/pypi/web/simple/ python -m p ...
- 廖雪峰Java11多线程编程-2线程同步-1同步代码块
1.线程安全问题 多个线程同时运行,线程调度由操作系统决定,程序本身无法决定 如果多个线程同时读写共享变量,就可能出现问题 class AddThread extends Thread{ public ...
- HZOI20190819模拟26题解
题面:https://www.cnblogs.com/Juve/articles/11376806.html A. 嚎叫响彻在贪婪的厂房: 是时候学习一下map和set的用法了...... 贪心:区间 ...
- megacli在线raid构建详解(转载自用)
版权声明:本文为博主原创文章,未经博主允许不得转载,转载附上原文链接即可. https://blog.csdn.net/GX_1_11_real/article/details/83213959 ht ...
- [转载] OpenCV2.4.3 CheatSheet学习(二)
二.矩阵操作(拷贝.洗牌.局部访问): src.copyTo(dst) 把src矩阵中的数据拷贝到dst. src.convertTo(dst, type,scale, shift) 缩放并转换到另外 ...
- 关于SQL查询效率 主要针对sql server
1.关于SQL查询效率,100w数据,查询只要1秒,与您分享:机器情况p4: 2.4内存: 1 Gos: windows 2003数据库: ms sql server 2000目的: 查询性能测试,比 ...
- java内部类和静态内部类
看代码理解内部类,局部内部类和静态内部类 内部类代码: public class InnerTest { private static String name; private int age; pu ...