08_springboot2.x自定义starter
概述
starter:启动器
1、这个场景需要使用到的依赖是什么?
2、如何编写自动配置
规则:
@Configuration //指定这个类是一个配置类

@ConditionalOnXXX //在指定条件成立的情况下自动配置类生效

@AutoConfigureAfter //指定自动配置类的顺序

@Bean //给容器中添加组件

@ConfigurationPropertie结合相关xxxProperties类来绑定相关的配置

@EnableConfigurationProperties //让xxxProperties生效加入到容器中
自动配置类要能加载
将需要启动就加载的自动配置类,配置在META‐INF/spring.factories
org.springframework.boot.autoconfigure.EnableAutoConfiguration=\

org.springframework.boot.autoconfigure.admin.SpringApplicationAdminJmxAutoConfiguration,\

org.springframework.boot.autoconfigure.aop.AopAutoConfiguration,\模式:
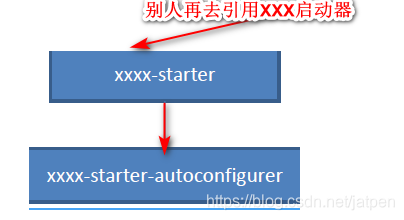
启动器只用来做依赖导入;
专门来写一个自动配置模块;
启动器依赖自动配置;别人只需要引入启动器(starter)
mybatis-spring-boot-starter;自定义启动器名-spring-boot-starter
启动器(starter)
–启动器模块是一个空JAR 文件,仅提供辅助性依赖管理,这些依赖可能用于自动装配或者其他类库
命名规约:
•推荐使用以下命名规约
官方命名空间
–前缀:“spring-boot-starter-”
–模式:spring-boot-starter-模块名
–举例:spring-boot-starter-web、spring-boot-starter-actuator、spring-boot-starter-jdbc
自定义命名空间
–后缀:“-spring-boot-starter”
–模式:模块-spring-boot-starter
–举例:mybatis-spring-boot-starter
图解
1、编写启动器XXX-starter
2、自动配置模块
pom.xml
<?xml version="1.0" encoding="UTF-8"?>
<project xmlns="http://maven.apache.org/POM/4.0.0" xmlns:xsi="http://www.w3.org/2001/XMLSchema-instance"
xsi:schemaLocation="http://maven.apache.org/POM/4.0.0 https://maven.apache.org/xsd/maven-4.0.0.xsd">
<modelVersion>4.0.0</modelVersion>
<parent>
<groupId>org.springframework.boot</groupId>
<artifactId>spring-boot-starter-parent</artifactId>
<version>2.1.9.RELEASE</version>
<relativePath/> <!-- lookup parent from repository -->
</parent>
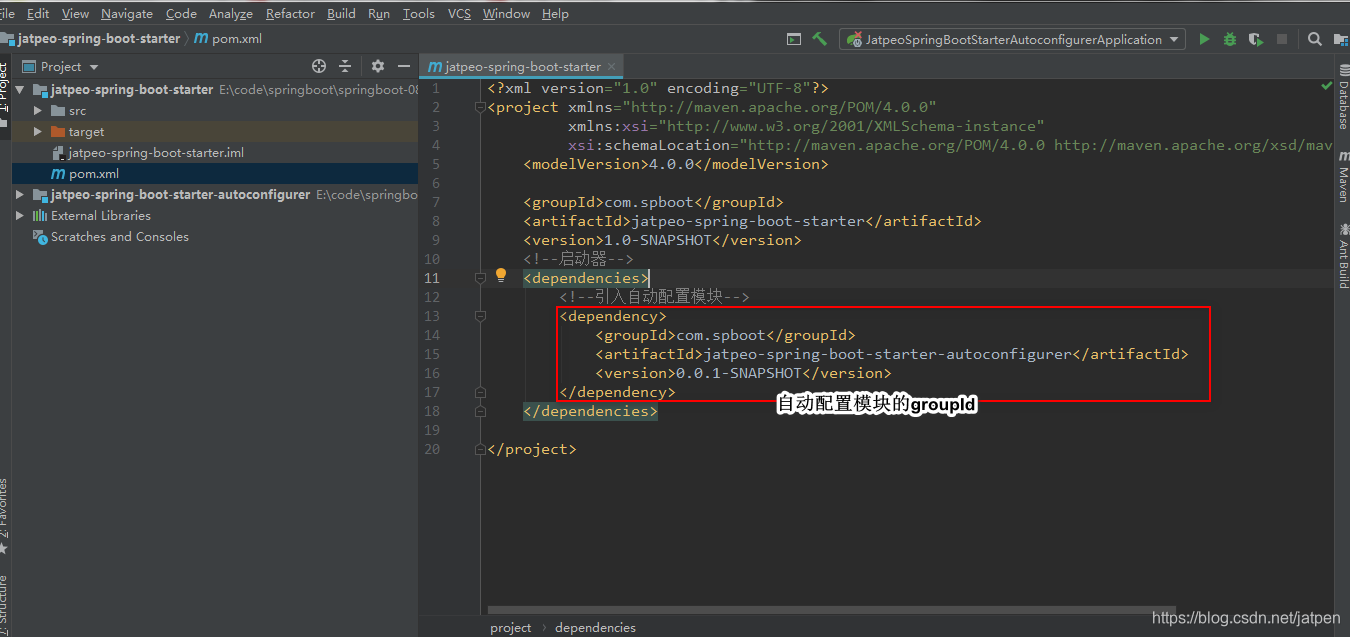
<groupId>com.spboot</groupId>
<artifactId>jatpeo-spring-boot-starter-autoconfigurer</artifactId>
<version>0.0.1-SNAPSHOT</version>
<name>jatpeo-spring-boot-starter-autoconfigurer</name>
<description>Demo project for Spring Boot</description>
<properties>
<java.version>1.8</java.version>
</properties>
<dependencies>
<!--所有starter的基本配置-->
<dependency>
<groupId>org.springframework.boot</groupId>
<artifactId>spring-boot-starter</artifactId>
</dependency>
</dependencies>
</project>
应用举例:
HelloProperties 配置文件package com.spboot.starter;
import org.springframework.boot.context.properties.ConfigurationProperties;
@ConfigurationProperties(prefix = "jatpeo.hello")
public class HelloProperties {
private String prefix;
private String suffix;
public String getPrefix() {
return prefix;
}
public void setPrefix(String prefix) {
this.prefix = prefix;
}
public String getSuffix() {
return suffix;
}
public void setSuffix(String suffix) {
this.suffix = suffix;
}
}
HelloServicepackage com.spboot.starter;
public class HelloService {
HelloProperties helloProperties;
public String sayHello(String name){
return helloProperties.getPrefix()+ name + helloProperties.getSuffix();
}
public HelloProperties getHelloProperties() {
return helloProperties;
}
public void setHelloProperties(HelloProperties helloProperties) {
this.helloProperties = helloProperties;
}
}
自动配置类:
HelloServiceAutoConfigurationpackage com.spboot.starter;
import org.springframework.beans.factory.annotation.Autowired;
import org.springframework.boot.autoconfigure.EnableAutoConfiguration;
import org.springframework.boot.autoconfigure.condition.ConditionalOnWebApplication;
import org.springframework.boot.context.properties.EnableConfigurationProperties;
import org.springframework.context.annotation.Bean;
import org.springframework.context.annotation.Configuration;
@Configuration
@ConditionalOnWebApplication//web应用起效果
@EnableConfigurationProperties(HelloProperties.class)
public class HelloServiceAutoConfiguration {
@Autowired
HelloProperties helloProperties;
@Bean
public HelloService helloService(){
HelloService helloService = new HelloService();
helloService.setHelloProperties(helloProperties);
return helloService;
}
}
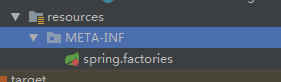
注意:这里让自动配置类生效得在META-INF/新建spring.factories
org.springframework.boot.autoconfigure.EnableAutoConfiguration=\

com.spboot.starter.HelloServiceAutoConfiguration
分别安装到maven仓库
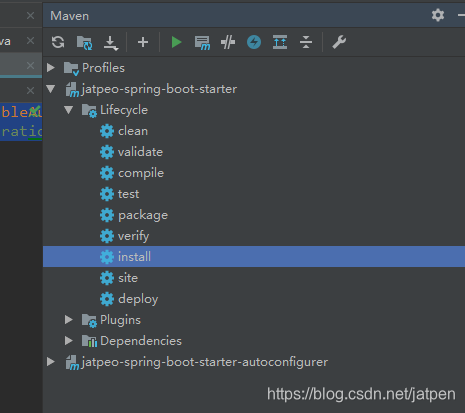
注意安装顺序
测试:
新建项目
pom.xml

注意:引用的是我们配置的启动器的
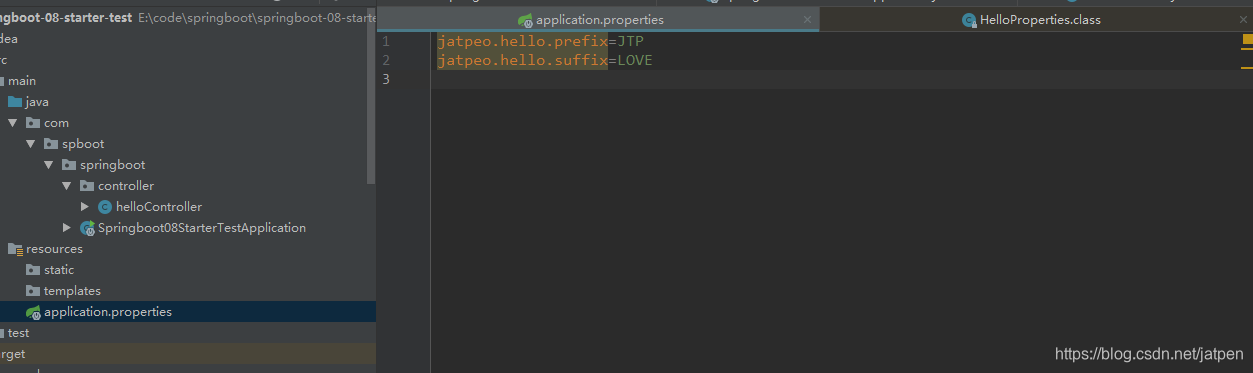
application.properties
controller:
package com.spboot.springboot.controller;

import com.spboot.starter.HelloService;

import org.springframework.beans.factory.annotation.Autowired;

import org.springframework.web.bind.annotation.GetMapping;

import org.springframework.web.bind.annotation.RestController;

@RestController

public class helloController {

    @Autowired

    HelloService helloService;

    @GetMapping("/hello")

    public String say(){

        return helloService.sayHello("dyn");

    }

}
浏览器测试:

08_springboot2.x自定义starter的更多相关文章
- SpringBoot之旅第六篇-启动原理及自定义starter
一.引言 SpringBoot的一大优势就是Starter,由于SpringBoot有很多开箱即用的Starter依赖,使得我们开发变得简单,我们不需要过多的关注框架的配置. 在日常开发中,我们也会自 ...
- Spring Boot 自定义 starter
一.简介 SpringBoot 最强大的功能就是把我们常用的场景抽取成了一个个starter(场景启动器),我们通过引入springboot 为我提供的这些场景启动器,我们再进行少量的配置就能使用相应 ...
- java框架之SpringBoot(10)-启动流程及自定义starter
启动流程 直接从 SpringBoot 程序入口的 run 方法看起: public static ConfigurableApplicationContext run(Object source, ...
- SpringBoot应用篇(一):自定义starter
一.码前必备知识 1.SpringBoot starter机制 SpringBoot中的starter是一种非常重要的机制,能够抛弃以前繁杂的配置,将其统一集成进starter,应用者只需要在mave ...
- SpringBoot第十六篇:自定义starter
作者:追梦1819 原文:https://www.cnblogs.com/yanfei1819/p/11058502.html 版权声明:本文为博主原创文章,转载请附上博文链接! 前言 这一段时间 ...
- 小代学Spring Boot之自定义Starter
想要获取更多文章可以访问我的博客 - 代码无止境. 上一篇小代同学在Spring Boot项目中配置了数据源,但是通常来讲我们访问数据库都会通过一个ORM框架,很少会直接使用JDBC来执行数据库操作的 ...
- (springboot)自定义Starter
要引入的jar项目,即自定义的Starter项目: pom:(这里不能引入springboot整合否则测试项目注入失败) <?xml version="1.0" encodi ...
- SpringBoot自定义starter及自动配置
SpringBoot的核心就是自动配置,而支持自动配置的是一个个starter项目.除了官方已有的starter,用户自己也可以根据规则自定义自己的starter项目. 自定义starter条件 自动 ...
- 对照谈-官方spring-boot-starter和自定义starter异同分析
在前面我讲用spring-boot-starter-mail发邮件的时候,我侧重看的是spring boot发邮件的便利性,今天,我们聊下另外一个方面,spring-boot-starter自身的结构 ...
随机推荐
- 打开桌面上的图标就会弹出"打开些文件可能会对您的计算机有害"解决方案
问题截图 方案步骤 运行 gpedit.msc 用户配置--管理模板--windows组件--附件管理器 找到中等危险文件类型抱含列表后右键-编辑 在指定中等风险扩展名中加入你文件的扩展名 应用, 确 ...
- 记录一下webpack好用的node模块
postcss-loader autoprefixer: 自动添加css前缀 css-loader: 能在js文件中导入css(配合React比较好,我猜) style-loader: 将所有的计算后 ...
- VS 解决方案
//1.如果你的VS用到了环境变量,你在更改了环境变量路径后需要重启VS
- Java-Class-C:java.util.HashMap
ylbtech-Java-Class-C:java.util.HashMap 1.返回顶部 1.1. import java.util.HashMap; import java.util.Map; 1 ...
- [kuangbin带你飞]专题一 简单搜索 - L - Oil Deposits
#include<iostream> #include<cstdio> #include<cstring> #include<algorithm> #i ...
- 用mybatis时log4j总是不记录sql语句
log4j:WARN No appenders could be found for logger (org.apache.ibatis.logging.LogFactory).log4j:WARN ...
- scrapy的使用-scrapy shell
进入 该目录下执行scrapy shell 文件, 在命令行可执行该文件中链接的xpath语法,和BeautifulSoup语法.
- HDU 2167 状压dp方格取数
题意:给出一个数表,规定取出一个数后周围的八个数都不可取,求可获得的最大数字和 思路:状态压缩dp,每一行的取数方法为状态,显然,由于取数规则的限制,可取的状态并不是 1<<size_co ...
- item字母问题
解决方法:复写toString方法 @Override public String toString() { return this.getBookTypeName(); } 将对象的toString ...
- 清空资源管理器访问过FTP的账号、密码
修改注册表,删除HKEY_CURRENT_USER\SOFTWARE\Microsoft\FTP\Accounts下相对应的项即可,即为xxx.xxx.xxx.xxx项. 如下图所示: