Harbor企业级私服Docker镜像仓库搭建及应用
一、简介
Docker Hub作为Docker默认官方公共镜像,如果想要自己搭建私有镜像,Harbor是企业级镜像库非常好的选择。
所谓私有仓库,也就是在本地(局域网)搭建的一个类似公共仓库的东西,搭建好之后,我们可以将将镜像提交到私有仓库中。这样我们既能使用Docker来运行我们的项目镜像,
也避免了商业项目暴露出去的风险。
Harbor作为一个企业级私有Registry服务器,提供了更好的性能和安全,提升了用户使用Registry构建和运行环境传输镜像的效率。虽然Harbor和Registry都是私有镜像仓库的选择,但是Harbor的企业级特性更强,因此也是更多企业级用户的选择。
Harbor实现了基于角色的访问控制机制,并通过项目来对镜像进行组织和访问权限的控制,也常常和K8S中的namespace结合使用。此外,Harbor还提供了图形化的管理界面,我们可以通过浏览器来浏览,检索当前Docker镜像仓库,管理项目和命名空间。
有关Harbor的架构,可以参考阅读这一篇《Harbor整体架构》一文,里面讲述了Harbor的6大核心组件构成,有兴趣的朋友可以一读。
下面列出了Harbor的搭建过程
下面就详细的基于Registry搭建私有仓库的步骤,首先我们可以准备两台服务器,这里我有两台Linux服务主机,他们的角色如下:
| 主机名 | 角色 | 备注 |
|---|---|---|
| 192.168.101.20 | Harbor镜像库 | 部署Harbor,推送镜像 |
| 192.168.101.21 | 镜像使用 | 从Harbor服务器下载镜像使用 |
两台机器记得关了防火墙
#查看防火墙状态

systemctl status firewalld.service

#关闭防火墙

systemctl stop firewalld.service

#永久关闭防火墙

systemctl disable firewalld.service
二、搭建企业级镜像仓库
2.1 一些准备工作
(1)安装docker
如果还没有安装docker,那么请先安装docker,已安装则跳过。
#安装需要的安装包

yum install -y yum-utils

#设置镜像仓库为阿里云的

yum-config-manager --add-repo http://mirrors.aliyun.com/docker-ce/linux/centos/docker-ce.repo

#更新yum索引安装包

yum makecache fast

#安装docker

yum install docker-ce docker-ce-cli containerd.io

#启动docker,设置docker开机启动

systemctl start docker && systemctl enable docker
验证:
docker --version
(2) 安装docker-compose
这里选择Github源:
curl -L https://get.daocloud.io/docker/compose/releases/download/1.25.0/docker-compose-`uname -s`-`uname -m` > /usr/local/bin/docker-compose

sudo chmod +x /usr/local/bin/docker-compose
验证:
docker-compose --version
(3)下载harbor离线包
下载地址:https://github.com/goharbor/harbor/releases
这里选择版本为v2.5.3,下载完成后传输到你的服务器上并解压,或服务器上直接下载,这里服务器上直接下载:
[root@localhost ~]# mkdir dev

[root@localhost ~]# cd dev

[root@localhost dev]# wget https://github.com/goharbor/harbor/releases/download/v2.5.3/harbor-offline-installer-v2.5.3.tgz
解压
[root@localhost dev]# tar zvxf harbor-offline-installer-v2.5.3.tgz
修改harbor配置文件
#进入解压文件夹

[root@localhost dev]# cd harbor

#把配置文件harbor.yml.tmpl复制一份为harbor.yml

[root@localhost harbor]# cp harbor.yml.tmpl harbor.yml

#修改配置文件

[root@localhost harbor]# vi harbor.yml
修改harbor.yml文件内容
# Configuration file of Harbor

# The IP address or hostname to access admin UI and registry service.

# DO NOT use localhost or 127.0.0.1, because Harbor needs to be accessed by external clients.

hostname: 192.168.101.20

# http related config

http:

  # port for http, default is 80. If https enabled, this port will redirect to https port

  port: 80

# https related config

#https:

  # https port for harbor, default is 443

#  port: 443

  # The path of cert and key files for nginx

#  certificate: /your/certificate/path

 # private_key: /your/private/key/path

# # Uncomment following will enable tls communication between all harbor components

# internal_tls:

#   # set enabled to true means internal tls is enabled

#   enabled: true

#   # put your cert and key files on dir

#   dir: /etc/harbor/tls/internal

# Uncomment external_url if you want to enable external proxy

# And when it enabled the hostname will no longer used

# external_url: https://reg.mydomain.com:8433

# The initial password of Harbor admin

# It only works in first time to install harbor

# Remember Change the admin password from UI after launching Harbor.

harbor_admin_password: 123456

# Harbor DB configuration

database:

  # The password for the root user of Harbor DB. Change this before any production use.

  password: root123

  # The maximum number of connections in the idle connection pool. If it <=0, no idle connections are retained.

  max_idle_conns: 100

  # The maximum number of open connections to the database. If it <= 0, then there is no limit on the number of open connections.

  # Note: the default number of connections is 1024 for postgres of harbor.

  max_open_conns: 900

# The default data volume
要修改的点:
hostname:改为自己的ip或域名
https的注释掉,局域网下不需要
harbor_admin_password:设置密码,账号固定是admin了
2.2执行安装
[root@localhost harbor]# ./install.sh
安装完成,输入地址http://192.168.101.20访问,因为端口是80所以不需要输了,如果改了别的端口,则后面带上端口。
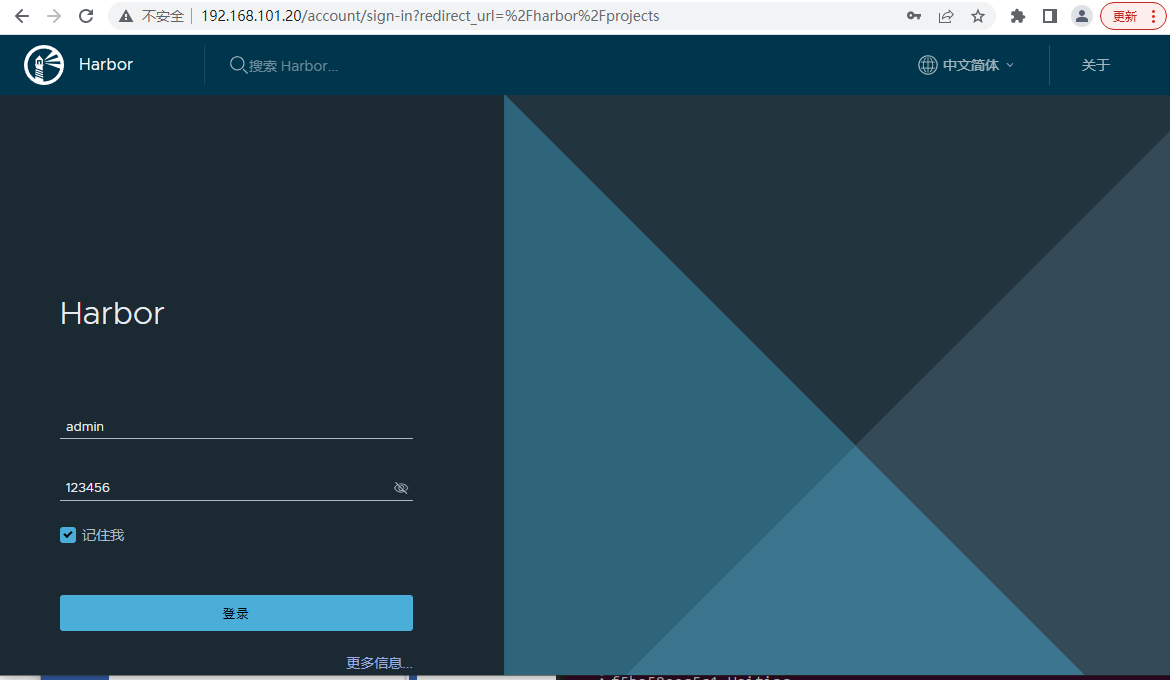
登录进去
到这里harbor镜像仓库就搭好了,下面演示怎么用镜像仓库。
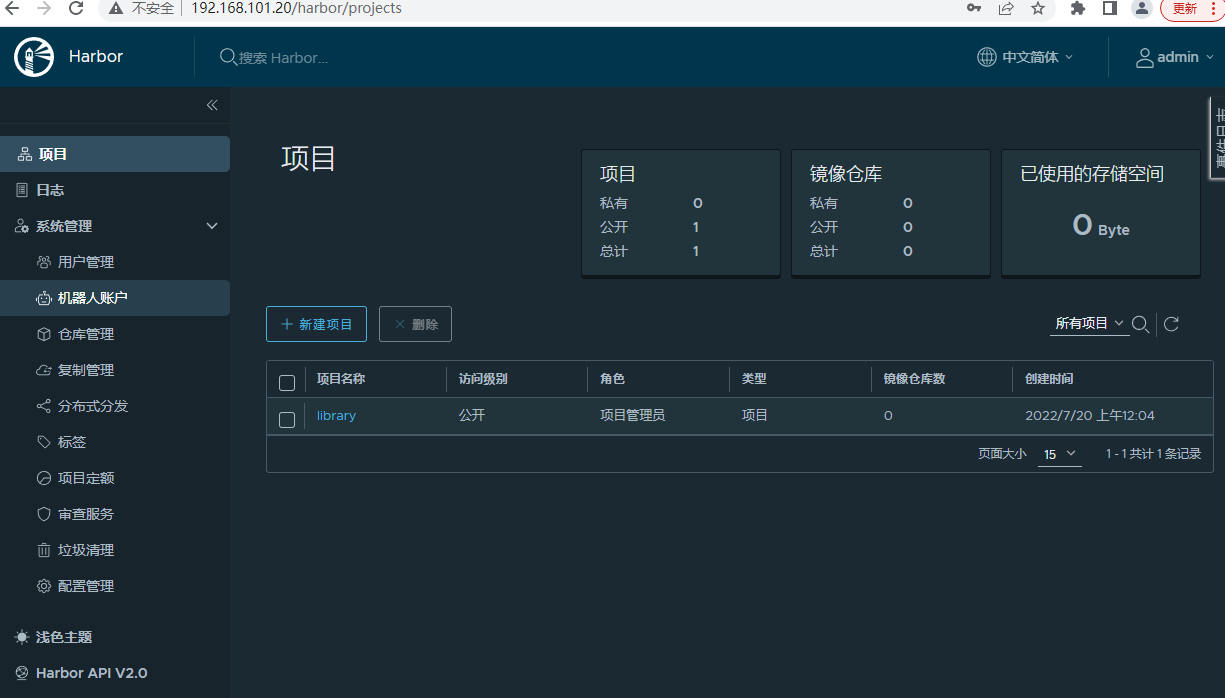
三、harbor镜像仓库使用
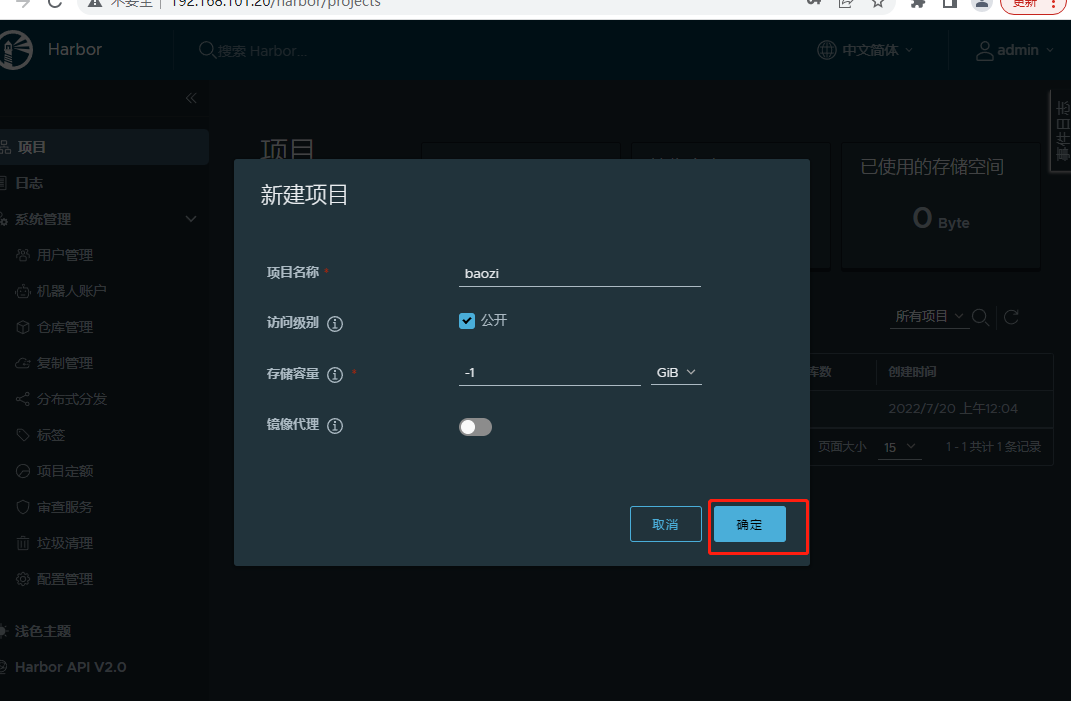
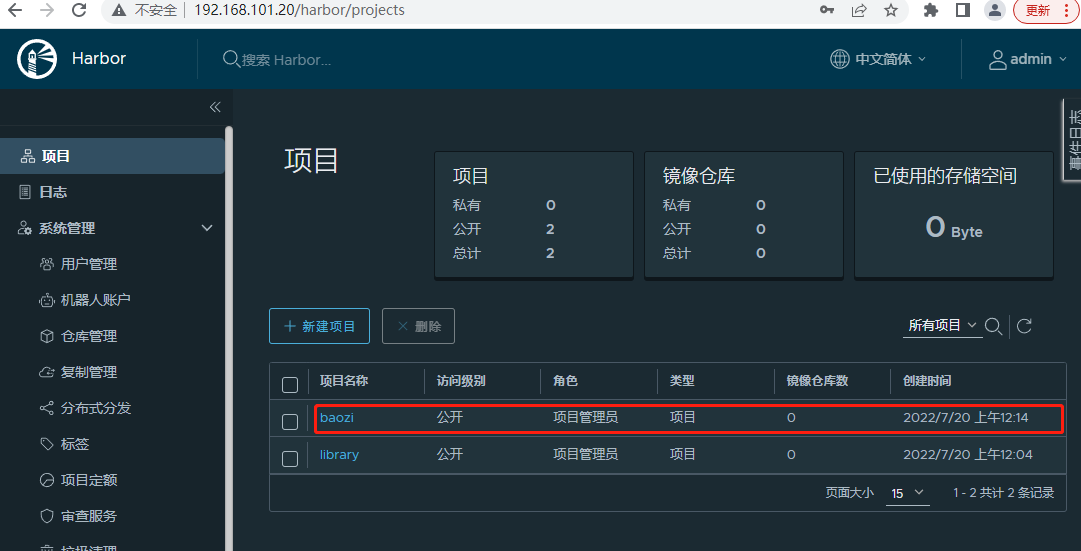
3.1新建项目
3.2登陆docker仓库
项目建好了,如何推送呢,首先推送的服务器要修改本机的配置文件并重启docker,注意重启docker前先重新加载配置文件。
vi /etc/docker/daemon.json
添加 "insecure-registries":[harbor地址:端口]
{

        "insecure-registries":["192.168.101.20"]

}
重启docker
[root@localhost docker]# systemctl daemon-reload

[root@localhost docker]# systemctl restart docker
然后登陆docker仓库
docker login<harbor所在服务器ip>:<端口>
然后输入用户名密码
[root@localhost harbor]# docker login 192.168.101.20

Username: admin

Password:

WARNING! Your password will be stored unencrypted in /root/.docker/config.json.

Configure a credential helper to remove this warning. See

https://docs.docker.com/engine/reference/commandline/login/#credentials-store

Login Succeeded
现在登陆成功了
3.3新建.NET6项目生成镜像推到docker仓库
新建一个.NET6项目,发布,在发布文件夹建一个Dockerfile文件,内容为:
FROM mcr.microsoft.com/dotnet/aspnet:6.0 AS base

WORKDIR /app

EXPOSE 80

COPY . .

ENTRYPOINT ["dotnet", "DoetNet6.Demo.dll"]
项目目录为:
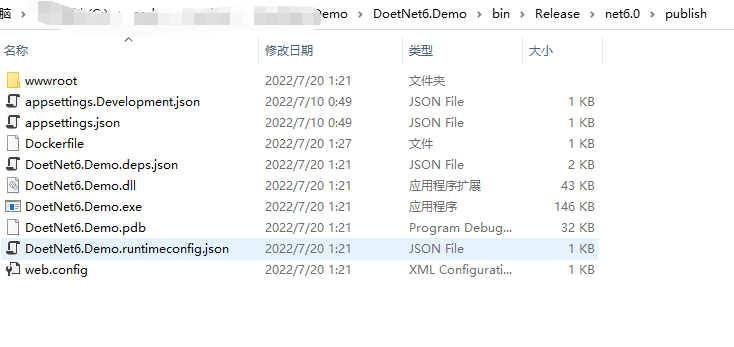
然后把这些文件上传到上面的192.168.101.20服务器的/wwwroot文件夹下
执行 docker build -t <镜像名> . 生成镜像,注意后面有一个点不要忽略。
[root@localhost publish]# docker build -t dotnet6demo .
然后成功生成镜像
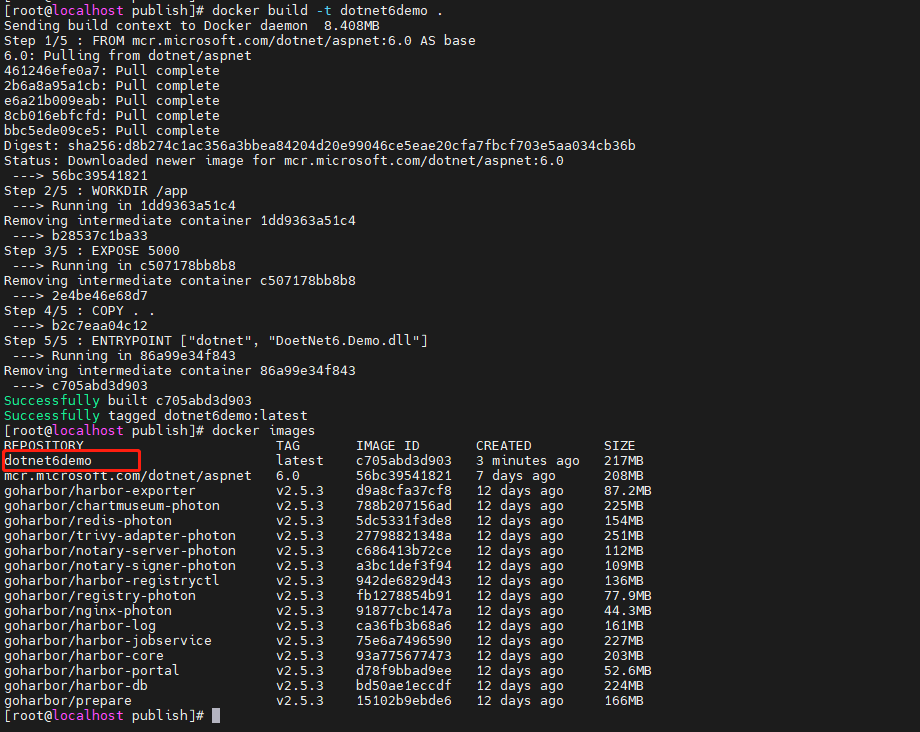
然后把镜像推到harbor仓库
给镜像打标签
docker tag <本地镜像名称>:<版本号> <harbor地址:端口>/<harbor项目名称>/<harbor的镜像名>:<harbor版本号>
推送到harbor仓库
docker push <harbor地址:端口>/<harbor项目名称>/<harbor的镜像名>:<harbor版本号>
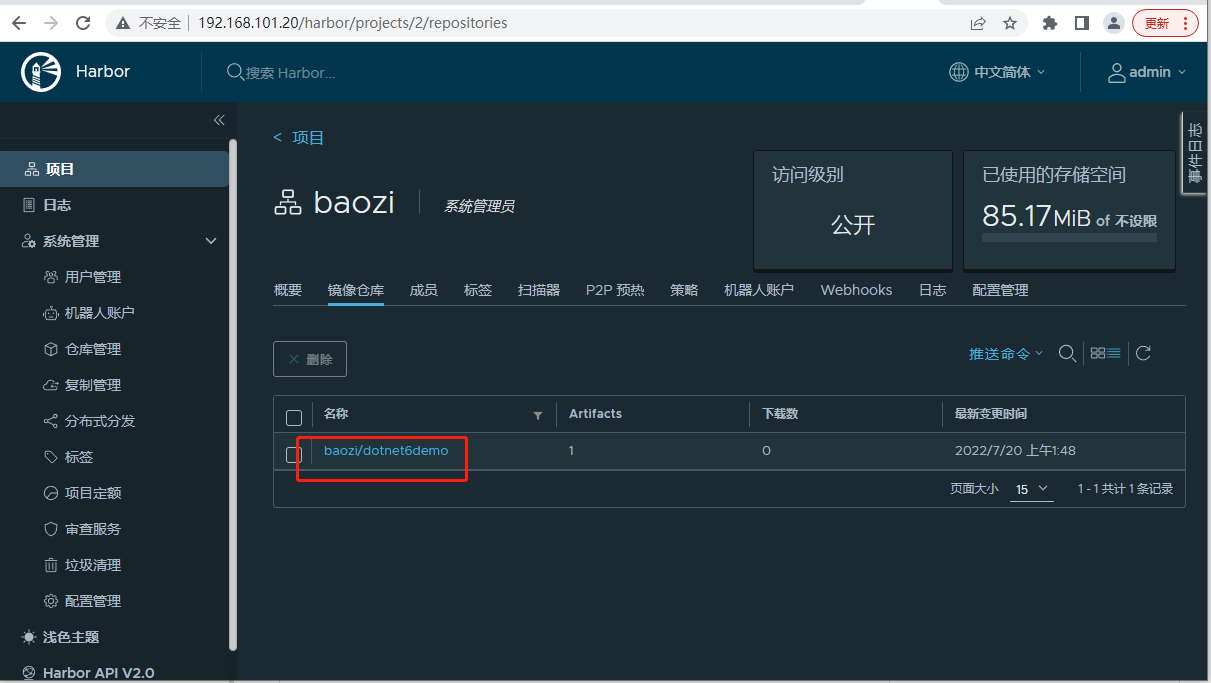
[root@localhost publish]# docker tag dotnet6demo:latest 192.168.101.20/baozi/dotnet6demo:v1

[root@localhost publish]# docker push 192.168.101.20/baozi/dotnet6demo:v1
这时候我们的镜像仓库里面就有了
3.4拉取docker镜像运行
现在用另一台机器ip:192.168.101.21拉取镜像运行
首先安装docker,上面已经有了。
然后修改docker下的daemon.json配置,把habor地址填进去,上面也有了
vi /etc/docker/daemon.json
添加 "insecure-registries":[harbor地址:端口]
{

        "insecure-registries":["192.168.101.20"]

}
重启docker
[root@localhost docker]# systemctl daemon-reload

[root@localhost docker]# systemctl restart docker
拉取镜像
docker pull <harbor地址:端口>/<项目名称>/<镜像名>:<标签版本>
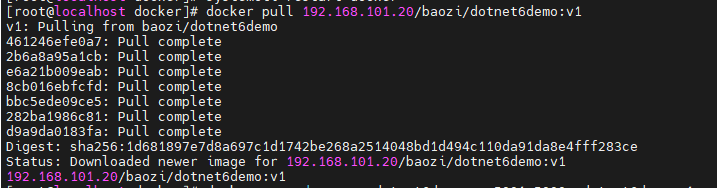
拉取镜像
docker pull 192.168.101.20/baozi/dotnet6demo:v1
运行镜像
docker run -d --name dotnet6demo -p 5001:80 192.168.101.20/baozi/dotnet6demo:v1
-d:后台运行
--name:docker名称
-p:把本机的5001端口映射到docker的80端口
验证:访问http://192.168.101.21:5001

访问成功!整个harbor的搭建,镜像推送,镜像拉取运行整个流程就完成了!
最后有一点要注意的是:如果项目设成私有的,拉取镜像的服务器要docker login xxx登陆harbor才能拉取成功。
github下载harbor慢的话,这里云盘取:https://pan.baidu.com/s/1lZX_BDZpoYtKd6u4PzdrMw?pwd=8y6c
Harbor企业级私服Docker镜像仓库搭建及应用的更多相关文章
- Harbor介绍与企业级私有Docker镜像仓库搭建
Harbor介绍与安装部署,并实现通过http和https协议[自签发SSL证书]访问,客户端如何通过Harbor镜像仓库实现镜像的上传[推送]与下载[拉取]. Harbor介绍 Harbor,是一个 ...
- kubernetes实战篇之nexus oss服务器部署及基于nexus的docker镜像仓库搭建
系列目录 Nexus oss仓库管理平台搭建 Nexus是一款仓库管理工具,支持Npm,bower,maven,nuget,apt,yum甚至docker,helm等各种仓库,说的通俗以下,就是私服镜 ...
- 搭建docker镜像仓库(二):使用harbor搭建本地镜像仓库
目录 一.系统环境 二.前言 三.Harbor 四.使用harbor搭建私有镜像仓库 4.1 环境介绍 4.2 k8smaster节点安装配置harbor 4.2.1 安装harbor离线包 4.2. ...
- Harbor - 私有企业级 Docker 镜像仓库
GitHub 地址 容器镜像服务 Docker镜像的基本使用 Docker:企业级私有镜像仓库Harbor使用 Harbor 是基于 Docker Registry 的企业级镜像仓库,安装后的使用方法 ...
- docker 镜像仓库 Harbor 部署 以及 跨数据复制
docker 镜像仓库 Harbor 部署 跨数据复制 Harbor 是 Vmwar 公司开源的 企业级的 Docker Registry 管理项目 它主要 提供 Dcoker Registry 管理 ...
- Docker镜像仓库Harbor搭建及配置
一.harbor简介 Harbor是一个用于存储和分发Docker镜像的企业级Registry服务器,通过添加一些企业必需的功能特性,例如安全.标识和管理等,扩展了开源Docker Distribut ...
- 搭建Harbor企业级docker仓库
搭建Harbor企业级docker仓库 一.Harbor简介 1.Harbor介绍 Harbor是一个用于存储和分发Docker镜像的企业级Registry服务器,通过添加一些企业必需的功能特性,例如 ...
- Docker镜像仓库Harbor之搭建及配置
目录 Harbor介绍环境.软件准备Harbor服务搭建Harbor跨数据复制配置FAQ1.Harbor 介绍 Docker容器应用的开发和运行离不开可靠的镜像管理,虽然Docker官方也提供了公共的 ...
- ubuntu 安装企业级容器 docker harbor
安装docker harbor 企业级容器 环境说明: 操作系统: ubuntu16.04.5 LTS IP地址: 192.168.31.129 https://github.com/goh ...
随机推荐
- Kafka核心组件详解
1.概述 对于Kafka的学习,在研究其系统模块时,有些核心组件是指的我们去了解.今天给大家来剖析一下Kafka的一些核心组件,让大家能够更好的理解Kafka的运作流程. 2.内容 Kafka系统设计 ...
- 手机USB共享网络是个啥
智能手机一般都提供了USB共享网络的功能,将手机通过USB线与电脑连接,手机端开启『USB共享网络』,电脑就能通过手机上网. 手机端开启『USB共享网络』: 电脑端出现新的网络连接: 通过设备管理器看 ...
- 一文带你读懂什么是vxlan网络
一个执着于技术的公众号 一.背景 随着云计算.虚拟化相关技术的发展,传统网络无法满足大规模.灵活性要求高的云数据中心的要求,于是便有了overlay网络的概念.overlay网络中被广泛应用的就是vx ...
- AspNetCore7.0源码解读之UseMiddleware
UseMiddlewareExtensions 前言 本文编写时源码参考github仓库主分支. aspnetcore提供了Use方法供开发者自定义中间件,该方法接收一个委托对象,该委托接收一个R ...
- 接口测试使用Python装饰器
写接口case时,有时需要对cae做一些共性的操作,最典型的场景如:获取case执行时间.打印log等. 有没有一种办法来集中处理共性操作从而避免在每个case中都写相同的代码(如:每个case都需要 ...
- maven install resources failed: newPosition < 0: (-1 < 0)
添加以下代码在 pom.xml 中,具体参阅这里 <build> <plugins> <plugin> <groupId>org.apache.mave ...
- postman 脚本和变量
背景 后端接口有登录或鉴权验证,通过 swagger 调用比较费劲,并且 java 的 swagger 库(不够自动化,嵌套类支持需要各种配置才能正常显示 schema)个人感觉也没有 .net co ...
- 面试官问:Go 中的参数传递是值传递还是引用传递?
一个程序中,变量分为变量名和变量内容,变量内容的存储一般会被分配到堆和栈上.而在 Go 语言中有两种传递变量的方式值传递和引用传递.其中值传递会直接将变量内容附在变量名上传递,而引用传递会将变量内容的 ...
- MySQL 事务常见面试题总结 | JavaGuide 审核中
<Java 面试指北>来啦!这是一份教你如何更高效地准备面试的小册,涵盖常见八股文(系统设计.常见框架.分布式.高并发 ......).优质面经等内容. 本文原发于 MySQL知识点&am ...
- 第06组 Beta冲刺 (2/5)
目录 1.1 基本情况 1.2 冲刺概况汇报 1.郝雷明 2. 方梓涵 3.杜筱 4.黄少丹 5. 董翔云 6.鲍凌函 7.詹鑫冰 8.曹兰英 9.曾丽莉 10.吴沅静 1.3 冲刺成果展示 1.1 ...