Nginx 高级配置-变量使用
Nginx高级配置-变量使用
作者:尹正杰
版权声明:原创作品,谢绝转载!否则将追究法律责任。
nginx的变量可以在配置文件中引用,作为功能判断或者日志等场景使用,变量可以分为内置变量和自定义变量,内置变量是由nginx模块自带,通过变量可以获取到众多的与客户端访问相关的值。
一.查看Nginx的内置变量
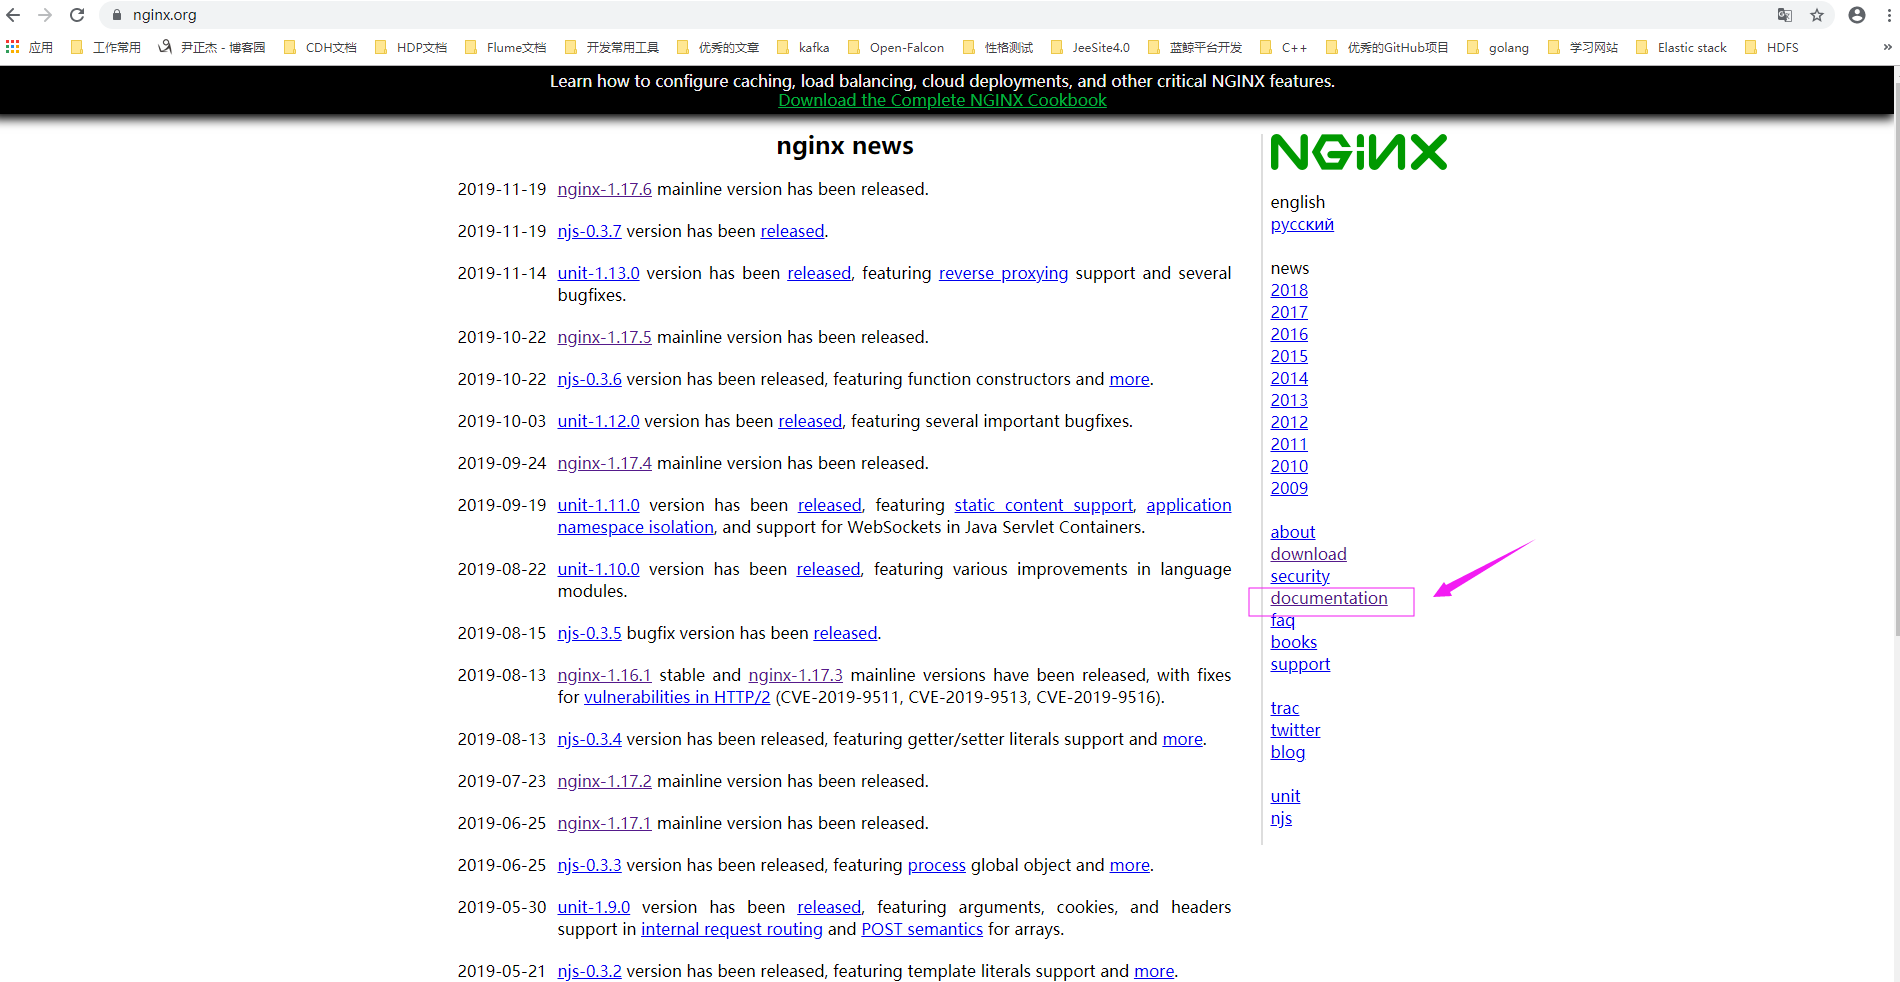
1>.如下图所示,访问nginx的官网,并点击"documentation"
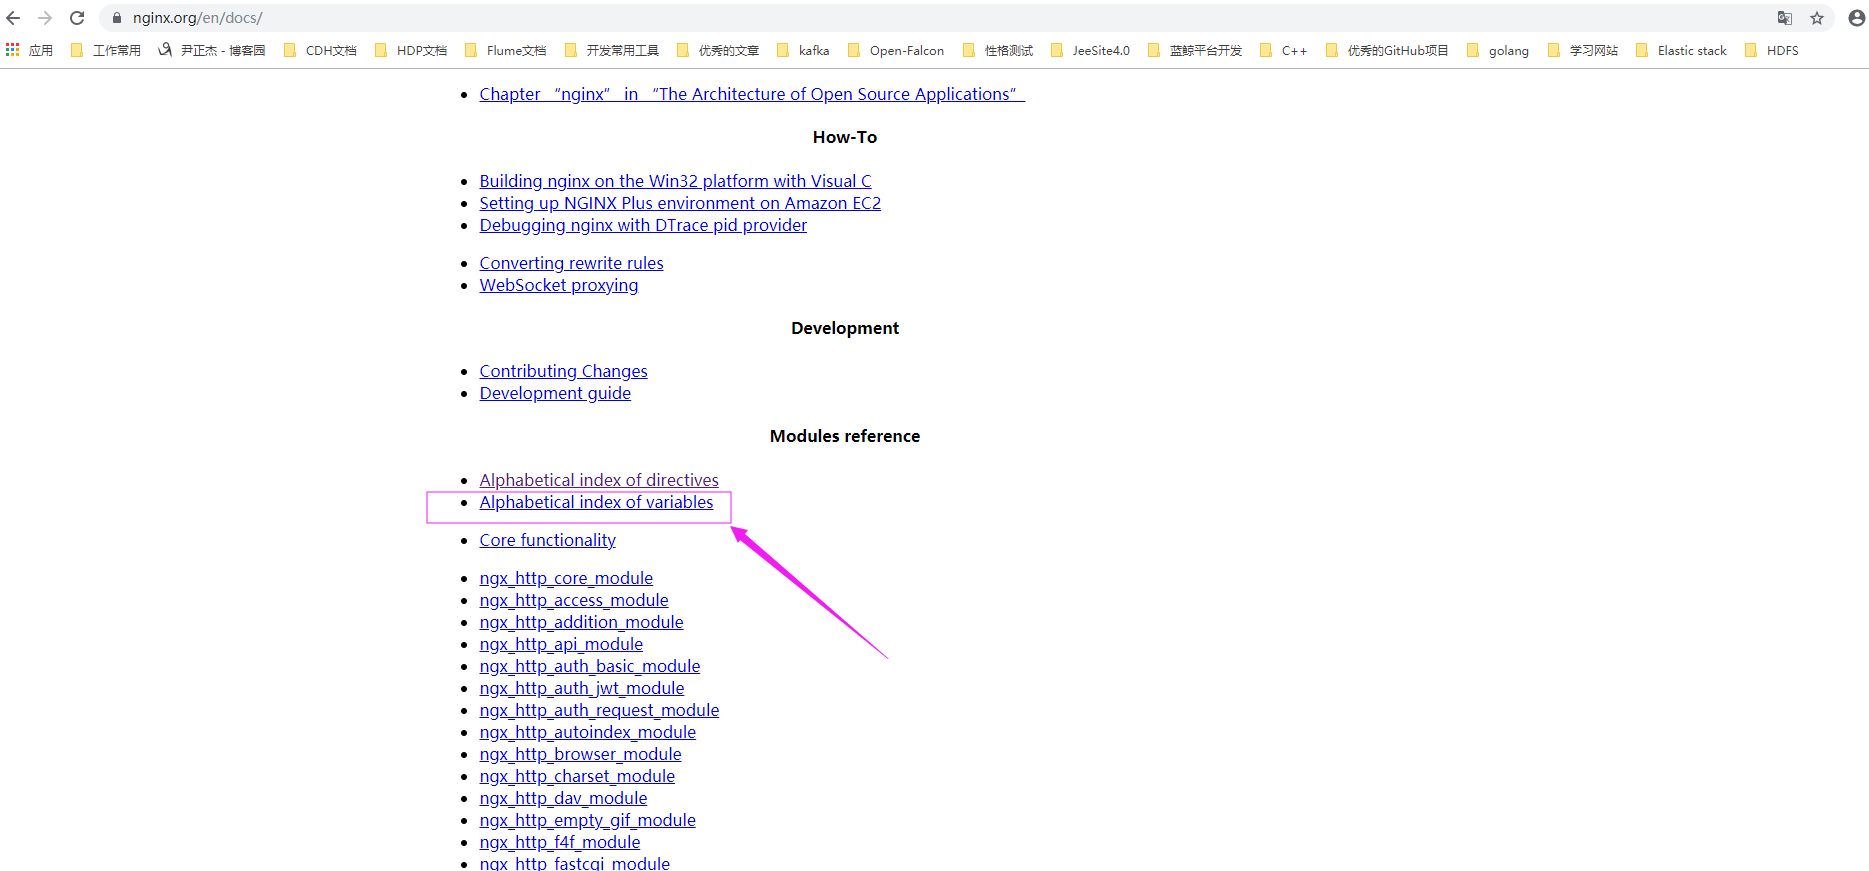
2>.在官方文档中找到模块相关,点击"Alphabetical index of variables"
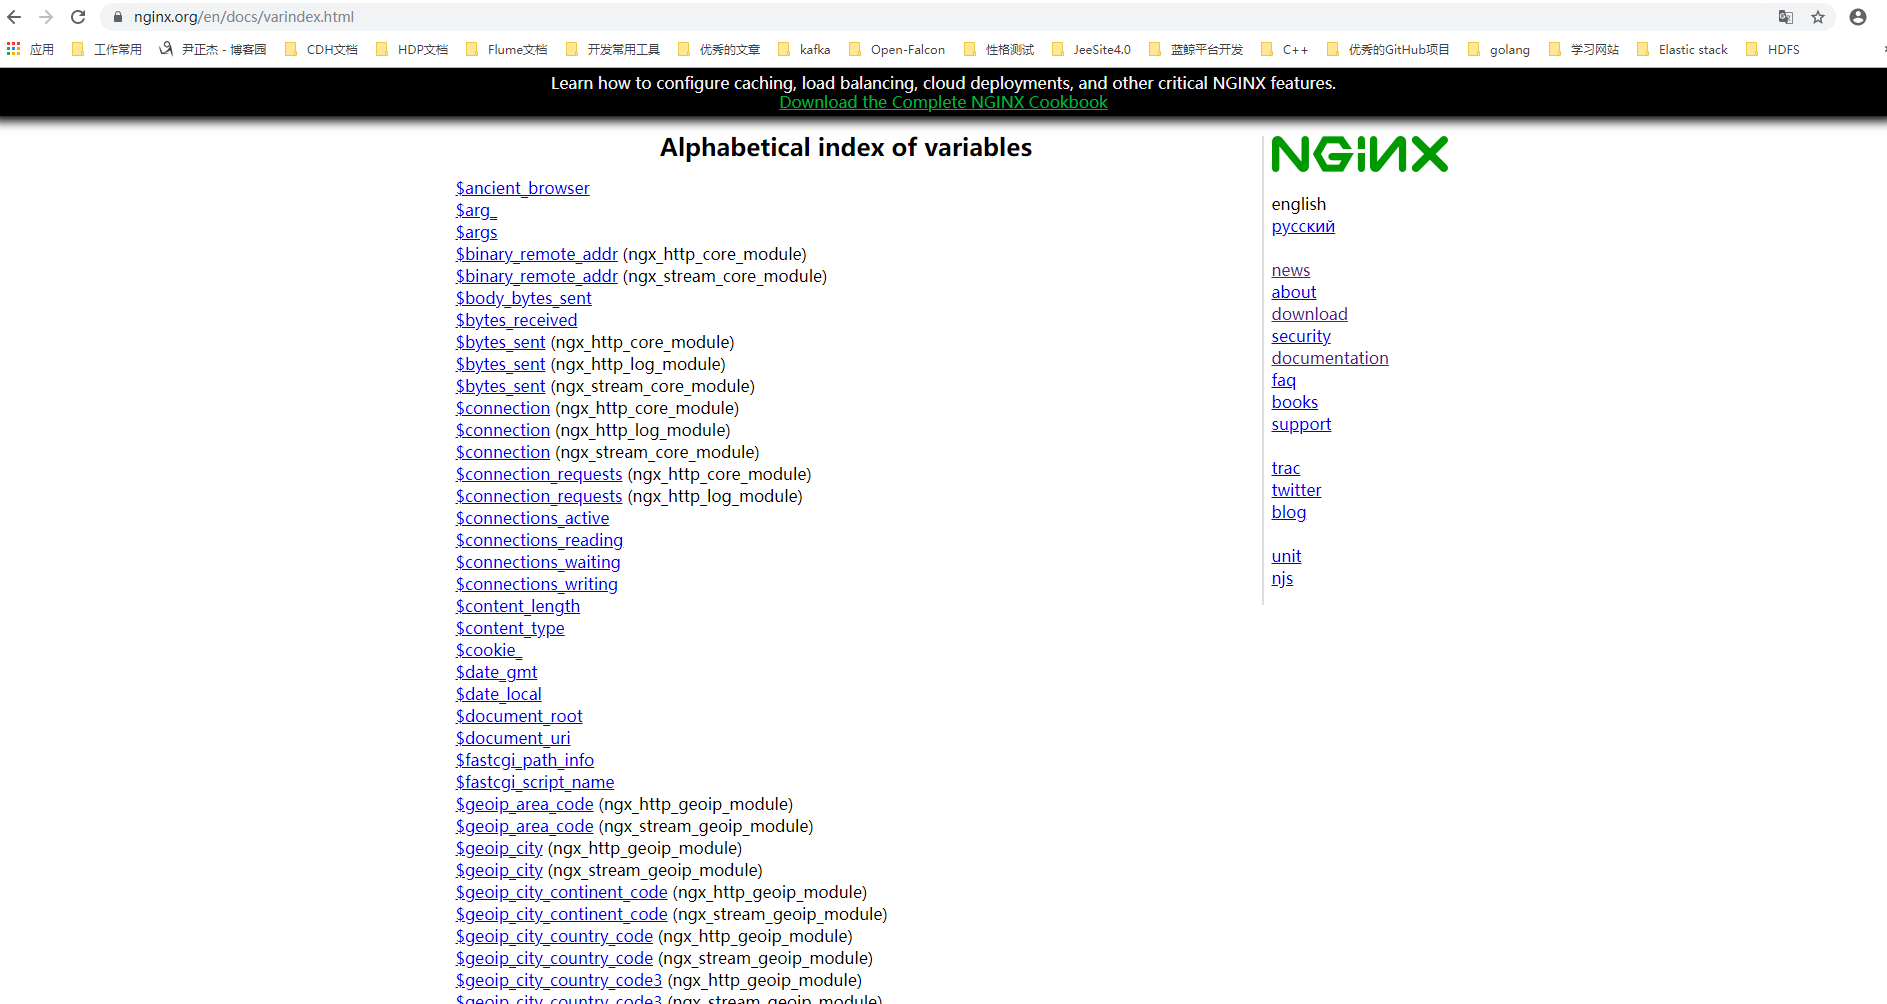
3>.查看官网的变量,如下图所示,以"$"开头的变量都是内置变量
4>.常用的内置变量
$remote_addr;

  存放了客户端的地址,注意是客户端的公网IP,也就是一家人访问一个网站,则会显示为路由器的公网IP。

$args;

  #变量中存放了URL中的指令,例如http://node101.yinzhengjie.org.cn/main/index.do?id=20190221&partner=search中的id=20190221&partner=search

$document_root;

  保存了针对当前资源的请求的系统根目录,如/apps/nginx/html。

$document_uri;

  保存了当前请求中不包含指令的URI,注意是不包含请求的指令,比如http://node101.yinzhengjie.org.cn/main/index.do?id=20190221&partner=search会被定义为/main/index.do。

$host;

  存放了请求的host名称。

$http_user_agent;

  客户端浏览器的详细信息

$http_cookie;

  客户端的cookie信息。

limit_rate 10240;

echo $limit_rate;

  如果nginx服务器使用limit_rate配置了显示网络速率,则会显示,如果没有设置, 则显示0。

$remote_port;

  客户端请求Nginx服务器时随机打开的端口,这是每个客户端自己的端口。

$remote_user;

  已经经过Auth Basic Module验证的用户名。

$request_body_file;

  做反向代理时发给后端服务器的本地资源的名称。

$request_method;

  请求资源的方式,GET/PUT/DELETE等

$request_filename;

  当前请求的资源文件的路径名称,由root或alias指令与URI请求生成的文件绝对路径,如/apps/nginx/html/main/index.html

$request_uri;

  包含请求参数的原始URI,不包含主机名,如:/main/index.do?id=20190221&partner=search 。

$scheme;

  请求的协议,如ftp,https,http等。

$server_protocol;

  保存了客户端请求资源使用的协议的版本,如HTTP/1.0,HTTP/1.1,HTTP/2.0等。

$server_addr;

  保存了服务器的IP地址。

$server_name;

  请求的服务器的主机名。

$server_port;

  请求的服务器的端口号。
5>.在服务端打印nginx内置变量并返回给客户端
[root@node101.yinzhengjie.org.cn ~]# cat /yinzhengjie/softwares/nginx/conf.d/share.conf

server {

    listen 80;

    server_name node101.yinzhengjie.org.cn;

    location / {

        root /yinzhengjie/data/web/nginx/static;

        index index.html;

    }

    location /nginx_status {

        stub_status;

        allow 172.30.1.108;

    deny all;

    }

    location /main {

    index index.html;

    default_type text/html;

        echo "remote_addr = $remote_addr";

        echo "******";

        echo "args = $args";

        echo "******";

        echo "document_root = $document_root";

        echo "******";

        echo "document_uri = $document_uri";

        echo "******";

        echo "host = $host";

        echo "******";

        echo "http_user_agent = $http_user_agent";

        echo "******";

        echo "http_cookie = $http_cookie"

        echo "******";

        limit_rate 10240;

        echo "limit_rate = $limit_rate";

        echo "******";

        echo "remote_prot = $remote_port";

        echo "******";

        echo "remote_user = $remote_user";

        echo "******";

        echo "request_body_file = $request_body_file";

        echo "******";

        echo "request_method = $request_method";

        echo "******";

        echo "request_filename = $request_filename";

        echo "******";

        echo "request_uri = $request_uri";

        echo "******";

        echo "scheme = $scheme";

        echo "******";

        echo "server_protocol = $server_protocol";

        echo "******";

        echo "server_addr = $server_addr";

        echo "******";

        echo "server_name = $server_name";

        echo "******";

        echo "server_port = $server_port";

        echo "******";

    }

}

[root@node101.yinzhengjie.org.cn ~]#

[root@node101.yinzhengjie.org.cn ~]# nginx -t

nginx: the configuration file /yinzhengjie/softwares/nginx/conf/nginx.conf syntax is ok

nginx: configuration file /yinzhengjie/softwares/nginx/conf/nginx.conf test is successful

[root@node101.yinzhengjie.org.cn ~]#

[root@node101.yinzhengjie.org.cn ~]# nginx -s reload

[root@node101.yinzhengjie.org.cn ~]#

二.自定义Nginx的变量
1>.查看nginx的主配置文件
[root@node101.yinzhengjie.org.cn ~]# cat /yinzhengjie/softwares/nginx/conf/nginx.conf

worker_processes  4;

worker_cpu_affinity 00000001 00000010 00000100 00001000;

events {

    worker_connections  100000;

    use epoll;

    accept_mutex on;

    multi_accept on;

}

http {

    include       mime.types;

    default_type  application/octet-stream;

    sendfile        on;

    gzip  on;

    charset utf-8;

    #最大缓存10000个文件,非活动数据超时时长60s

    open_file_cache max=10000 inactive=60s;

    #每间隔60s检查一下缓存数据有效性

    open_file_cache_valid 60s;

    #60秒内至少被命中访问5次才被标记为活动数据

    open_file_cache_min_uses 5;

    #缓存错误信息

    open_file_cache_errors on;

    #隐藏Nginx server版本。

    server_tokens off;

    #当文件大于等于给定大小时,同步(直接)写磁盘,而非写缓存。

    directio 4m;

    #上传文件相关参数

    client_max_body_size 10m;

    client_body_buffer_size 16k;

    client_body_temp_path /yinzhengjie/data/web/nginx/temp 1 2 2;

    #IE系列的浏览器禁用长连接,默认就是禁用了IE的长连接功能.

    keepalive_disable msie6;

    #开启长连接后,返回客户端的会话保持时间为60s,单次长连接累计请求达到指定次数请求或65秒就会被断开,后面的60为发送给客户端应答报文头部中显示的超时时间设置为60s:如不设置

客户端将不显示超时时间。    keepalive_timeout  65 60;

    #在一次长连接上所允许请求的资源的最大数量

    keepalive_requests 3;

    #导入其他路径的配置文件

    include /yinzhengjie/softwares/nginx/conf.d/*.conf;

}

[root@node101.yinzhengjie.org.cn ~]#

[root@node101.yinzhengjie.org.cn ~]#

[root@node101.yinzhengjie.org.cn ~]# nginx -t

nginx: the configuration file /yinzhengjie/softwares/nginx/conf/nginx.conf syntax is ok

nginx: configuration file /yinzhengjie/softwares/nginx/conf/nginx.conf test is successful

[root@node101.yinzhengjie.org.cn ~]#
2>..配置nginx的子配置文件
[root@node101.yinzhengjie.org.cn ~]# vim /yinzhengjie/softwares/nginx/conf.d/share.conf

[root@node101.yinzhengjie.org.cn ~]#

[root@node101.yinzhengjie.org.cn ~]# cat /yinzhengjie/softwares/nginx/conf.d/share.conf

server {

    listen 80;

    server_name node101.yinzhengjie.org.cn;

    location / {

        root /yinzhengjie/data/web/nginx/static;

        index index.html;

    }

    location /nginx_status {

        stub_status;

        allow 172.30.1.108;

    deny all;

    }

    location /main {

    index index.html;

    default_type text/html;

        set $name jason;              #这里我使用了set关键字自定义了一个name变量

        set $nginx_name $server_name;      #这里我依旧使用了set关键字自定义了一个变量,只不过该变量名的值来自于内部变量的值。

        echo "姓名: $name";

        echo "************";

        echo "Nginx服务器名称: $nginx_name";

    }

}

[root@node101.yinzhengjie.org.cn ~]#

[root@node101.yinzhengjie.org.cn ~]# nginx -t

nginx: the configuration file /yinzhengjie/softwares/nginx/conf/nginx.conf syntax is ok

nginx: configuration file /yinzhengjie/softwares/nginx/conf/nginx.conf test is successful

[root@node101.yinzhengjie.org.cn ~]#

[root@node101.yinzhengjie.org.cn ~]#
3>.重新加载nginx的配置文件
[root@node101.yinzhengjie.org.cn ~]# ps -ef | grep nginx | grep -v grep

root      9297     1  0 18:30 ?        00:00:00 nginx: master process nginx

nginx     9598  9297  0 19:38 ?        00:00:00 nginx: worker process

nginx     9599  9297  0 19:38 ?        00:00:00 nginx: worker process

nginx     9600  9297  0 19:38 ?        00:00:00 nginx: worker process

nginx     9601  9297  0 19:38 ?        00:00:00 nginx: worker process

[root@node101.yinzhengjie.org.cn ~]#

[root@node101.yinzhengjie.org.cn ~]#  nginx -s reload

[root@node101.yinzhengjie.org.cn ~]#

[root@node101.yinzhengjie.org.cn ~]# ps -ef | grep nginx | grep -v grep

root      9297     1  0 18:30 ?        00:00:00 nginx: master process nginx

nginx     9635  9297  1 19:40 ?        00:00:00 nginx: worker process

nginx     9636  9297  1 19:40 ?        00:00:00 nginx: worker process

nginx     9637  9297  1 19:40 ?        00:00:00 nginx: worker process

nginx     9638  9297  1 19:40 ?        00:00:00 nginx: worker process

[root@node101.yinzhengjie.org.cn ~]#
4>.浏览器访问"http://node101.yinzhengjie.org.cn/main",如下图所示。

Nginx 高级配置-变量使用的更多相关文章
- Nginx 高级配置-自定义json格式日志
Nginx 高级配置-自定义json格式日志 作者:尹正杰 版权声明:原创作品,谢绝转载!否则将追究法律责任. 在大数据运维工作中,我们经常会使用flume,filebeat相关日志收集工具取收集日志 ...
- Nginx 高级配置--关于favicon.ico
Nginx 高级配置--关于favicon.ico 作者:尹正杰 版权声明:原创作品,谢绝转载!否则将追究法律责任. 一.浏览器会默认帮咱们访问官网的图标 1>.浏览器访问网站"htt ...
- Nginx 高级配置-实现多域名HTTPS
Nginx 高级配置-实现多域名HTTPS 作者:尹正杰 版权声明:原创作品,谢绝转载!否则将追究法律责任. 一.Nginx支持基于单个IP实现多域名的功能 Nginx支持基于单个IP实现多域名的功能 ...
- Nginx 高级配置-https 功能
Nginx 高级配置-https 功能 作者:尹正杰 版权声明:原创作品,谢绝转载!否则将追究法律责任. 一.HTTPS工作过程 1>.SSL/TLS SSL(Secure Socket Lay ...
- Nginx 高级配置-压缩功能
Nginx 高级配置-压缩功能 作者:尹正杰 版权声明:原创作品,谢绝转载!否则将追究法律责任. 一.Nginx压缩相关参数概述 1>.gzip on | off; Nginx支持对指定类型的文 ...
- Nginx 高级配置-第三方模块编译
Nginx 高级配置-第三方模块编译 作者:尹正杰 版权声明:原创作品,谢绝转载!否则将追究法律责任. 第三模块是对nginx 的功能扩展,第三方模块需要在编译安装Nginx 的时候使用参数--add ...
- Nginx 高级配置-状态页配置
Nginx 高级配置-状态页配置 作者:尹正杰 版权声明:原创作品,谢绝转载!否则将追究法律责任. 建议将nginx的监控状态的值通过zabbix或者Open-Falcon之类的监控工具来监控状态,并 ...
- Nginx高级配置,同1台机器部署多个tomcat、配置多个域名,每个域名指向某一个tomcat下的项目,共用Nginx80端口访问;
需求说明: 只有一台服务器和一个公网IP,多个项目部署在这台机器上面,且每个项目使用一个单独的域名访问,域名访问时都通过Nginx的80端口访问.(如下图所示) 配置过程: 一.tomcat的serv ...
- Nginx 高级配置
nginx官方网站:http://nginx.org/ 1. Nginx连接后端的方式:反向代理(proxy_pass).直连fastcgi(fastcgi_pass) 例子: fastcgi_pa ...
随机推荐
- Computer Network Chapter3 solution
1.校验和:各数值相加,将溢出位加到最低位,之后将结果取反.若校验和全为0,则说明接收数据正确. 2.停等协议及计算信道利用率:利用率=(L/C)/(L/C+2*传输时延) 3.回退N帧协议(协议5) ...
- [LeetCode] 864. Shortest Path to Get All Keys 获得所有钥匙的最短路径
We are given a 2-dimensional grid. "." is an empty cell, "#" is a wall, "@& ...
- Npcap环境配置(Winpcap后继者) pcap的一种
Npcap是基于Winpcap和Libpcap的,Winpcap已多年无人维护,其官网也推荐Windows XP之后的用户转移到Npcap上.Npcap基于WINPCAP,Winpcap基于libpc ...
- LoadRunner名词解释
Transactions(用户事务分析):用户事务分析是站在用户角度进行的基础性能分析. 1.Transation Sunmmary(事务综述) 对事务进行综合分析是性能分析的第一步,通过分析测试时间 ...
- x58平台 服务器电源配置 tdp
我的机器配置: 处理器: Intel(R) Xeon(R) CPU X5660 @ 2.80GHz *2主板: TYAN Tyan Tank GT20-B7002LN ...
- c# 在DataTable的第一列(指定列)的前面添加一列
c# 在DataTable的第一列(指定列)的前面添加一列 dt.Columns.Add("ID").SetOrdinal(0)
- oracle日期格式和java日期格式区别 HH24:mm:ss和HH24:mi:ss的区别
转载自:https://blog.csdn.net/yubin_yubin/article/details/18655553 在日期数据库数据查询出来的时候经常会to_char()一下,格式化一下日期 ...
- [转] Performance — 前端性能监控利器
timing (PerformanceTiming) 从输入url到用户可以使用页面的全过程时间统计,会返回一个PerformanceTiming对象,单位均为毫秒 按触发顺序排列所有属性:(更详细标 ...
- Prometheus监控学习笔记之prometheus 版本1.7 常用启动参数
日志类: -log.level 可选值 [debug, info, warn, error, fatal] 例:-log.level "info" -log.format 可选 ...
- WPF绑定(Binding)(4)
什么是绑定(Binding)? 在winform中, 我们常常会用到各种类型的赋值, 例如: button1.Text="Hello"; label.Text="Hell ...