vmware安装——CentOS-6.5和Mysql
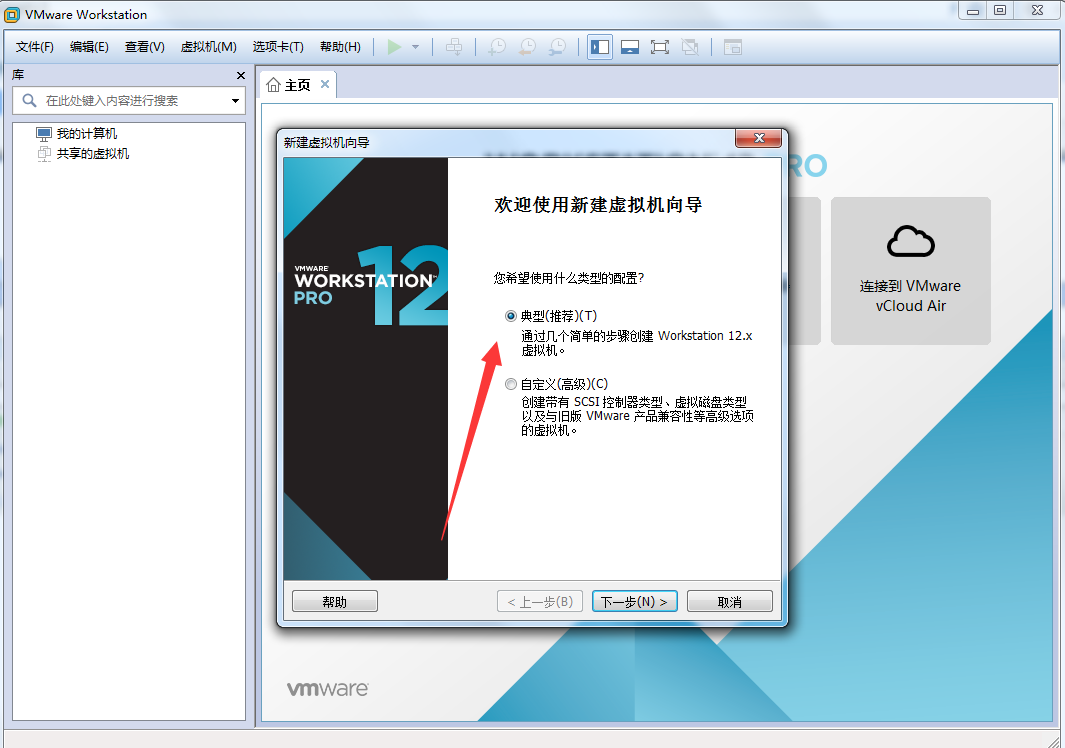
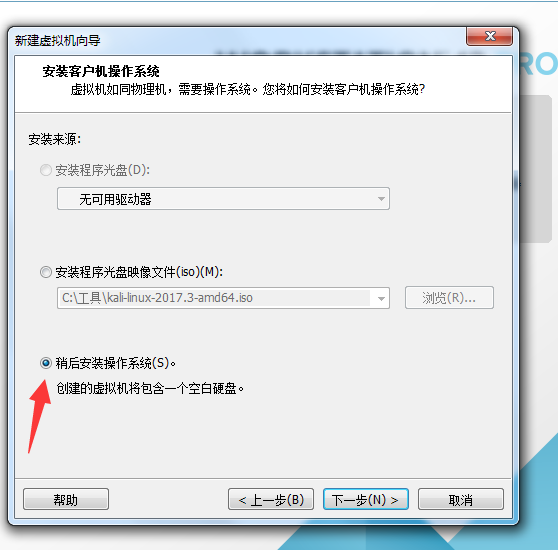
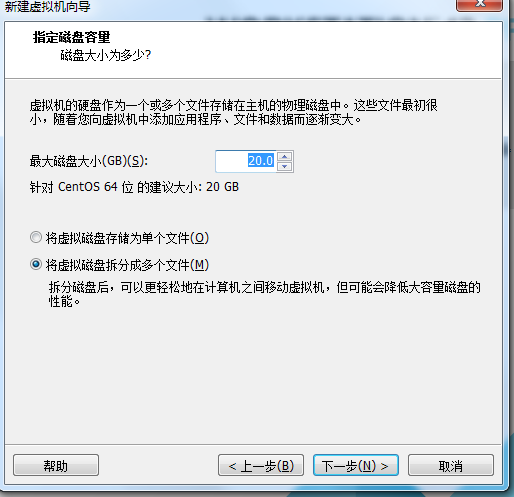
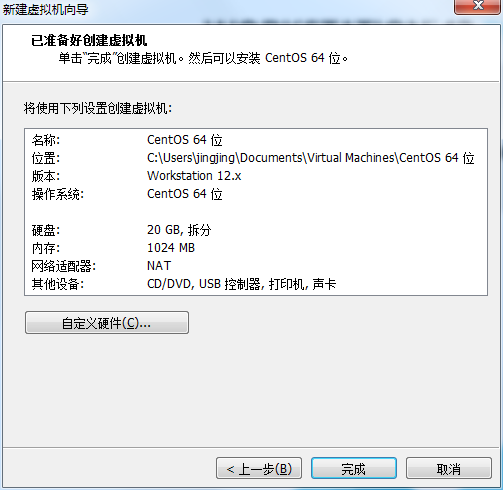
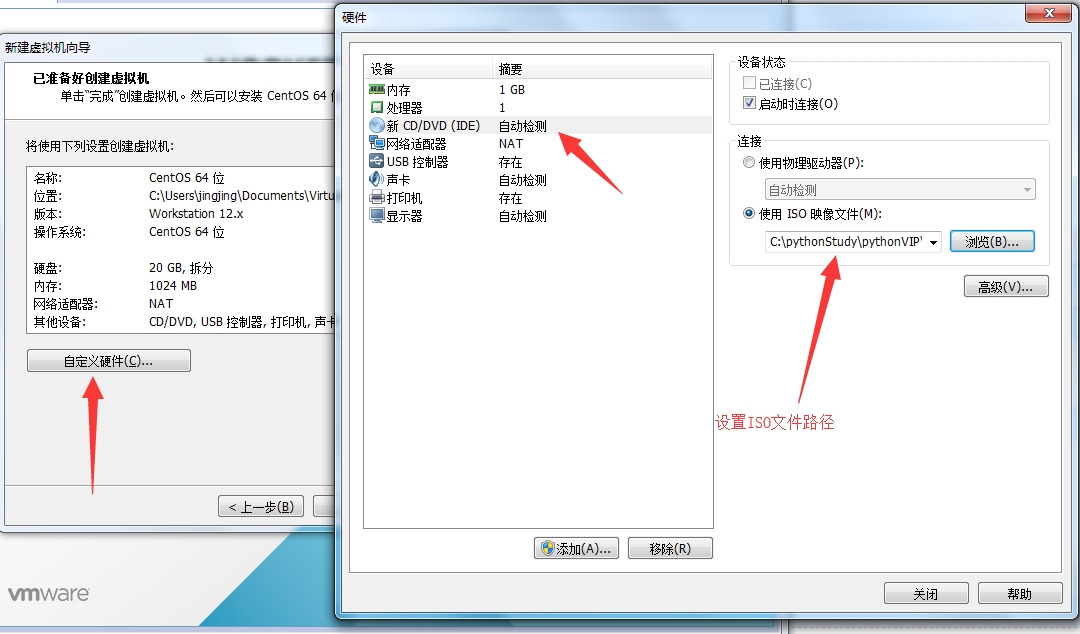
1.新建虚拟机
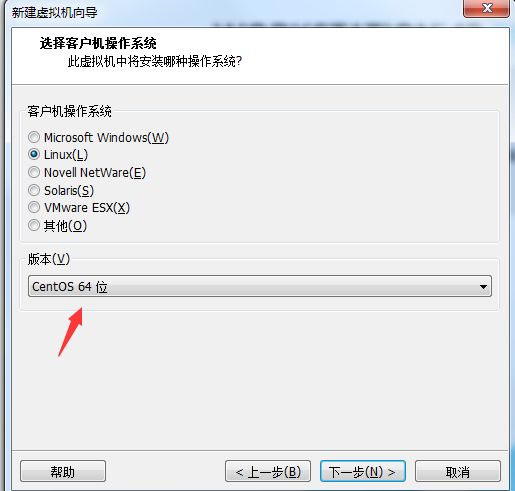


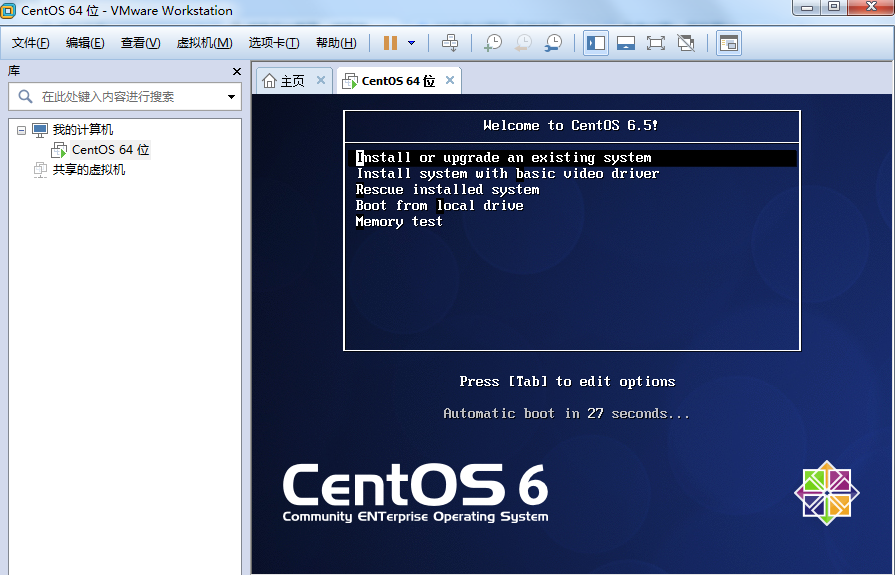
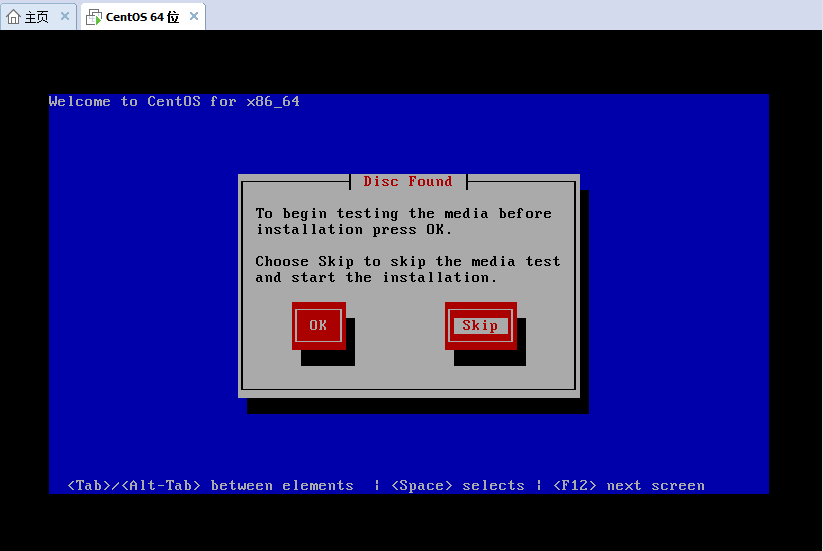
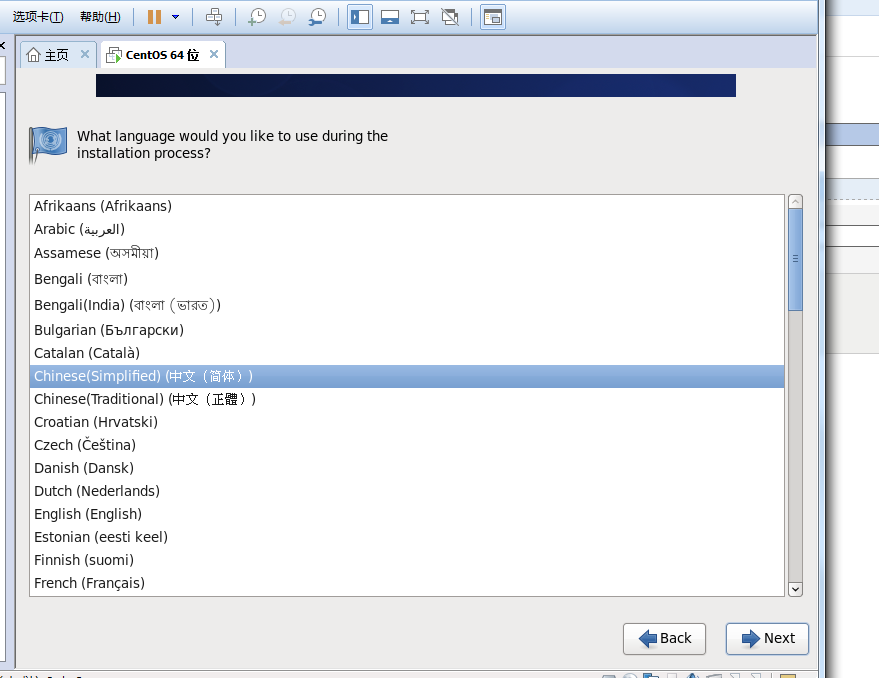
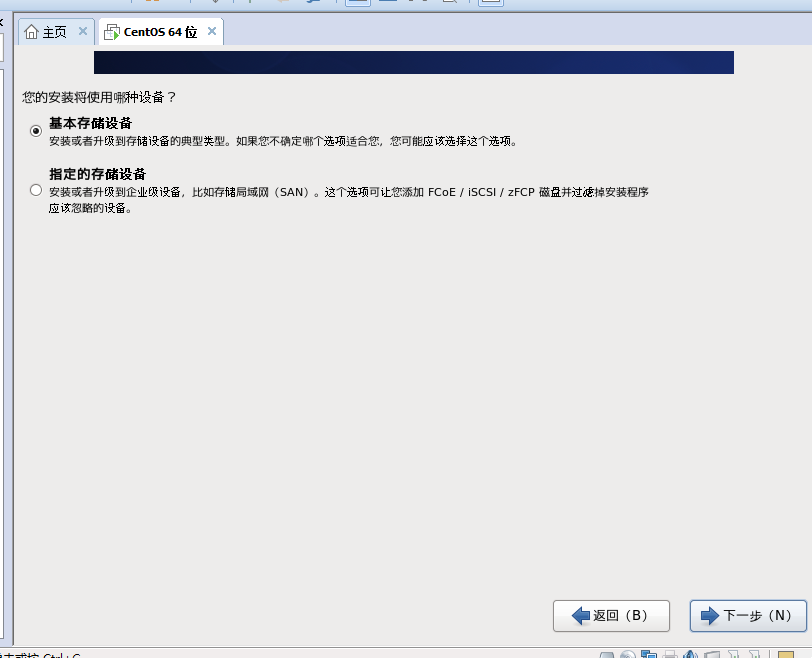
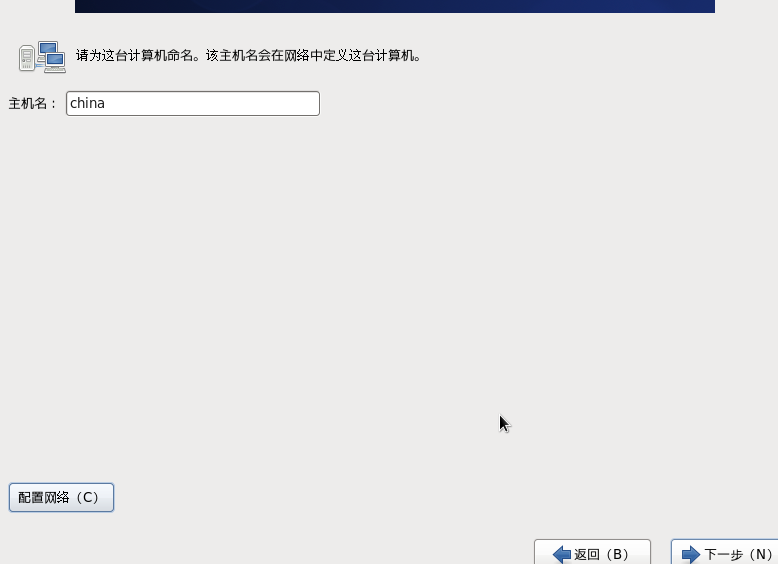
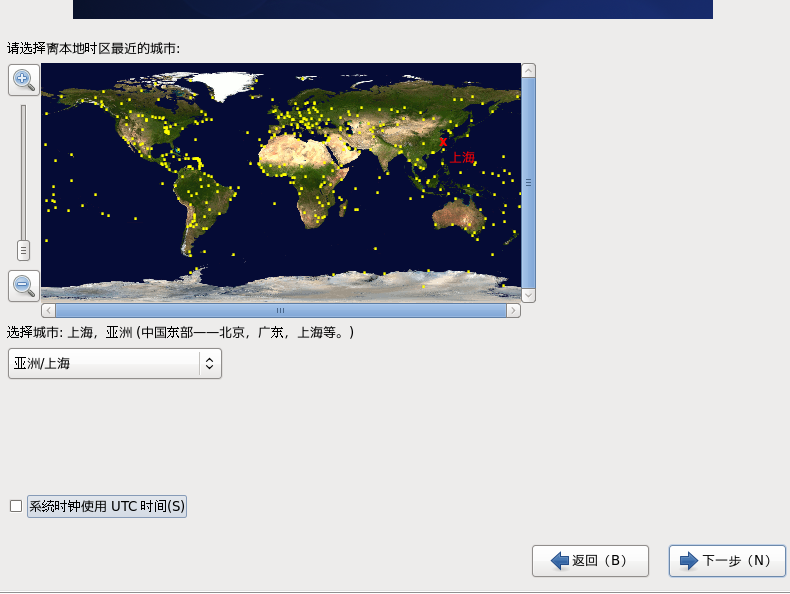
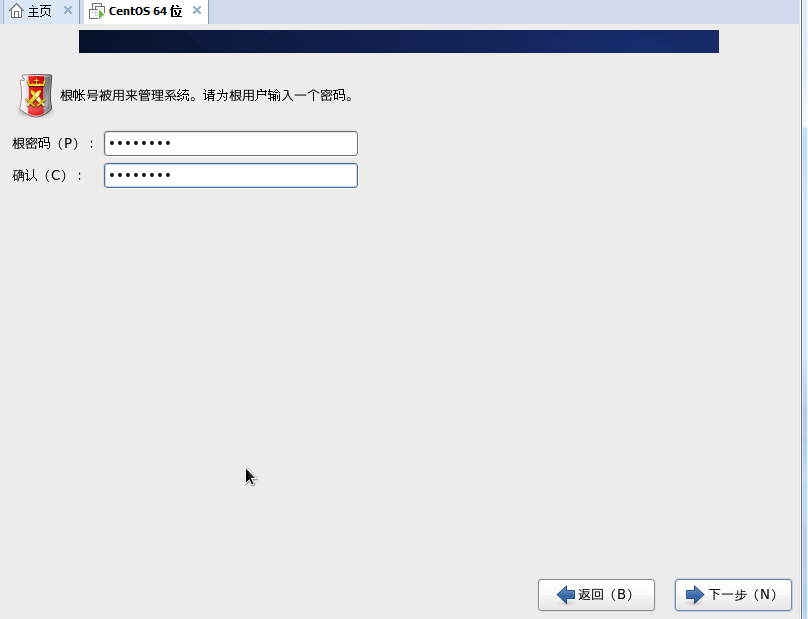
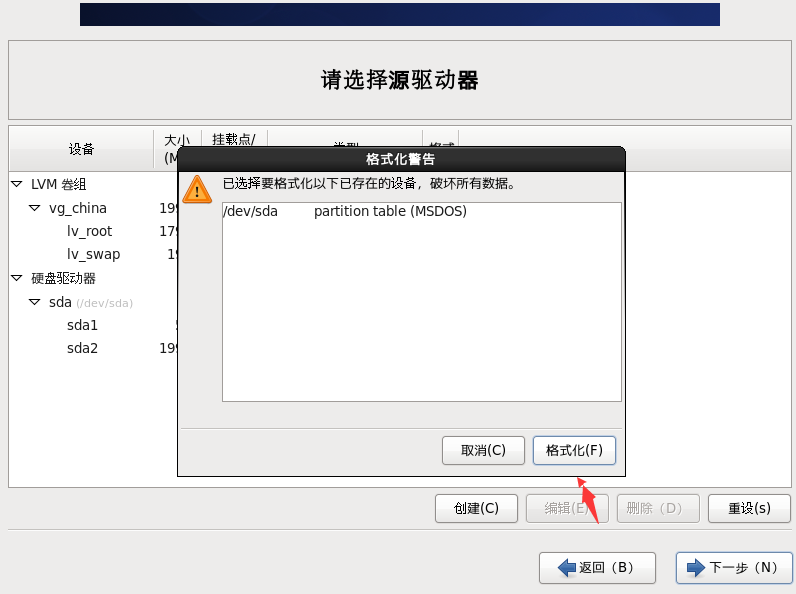
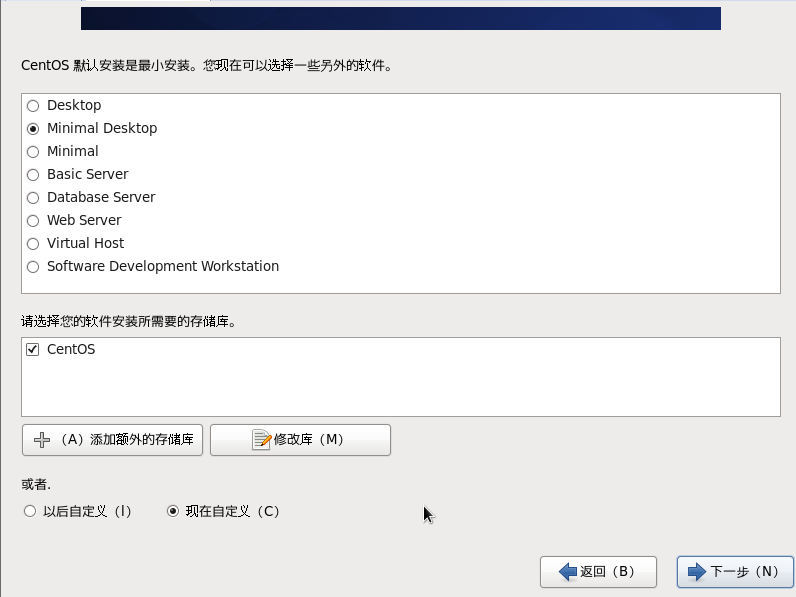
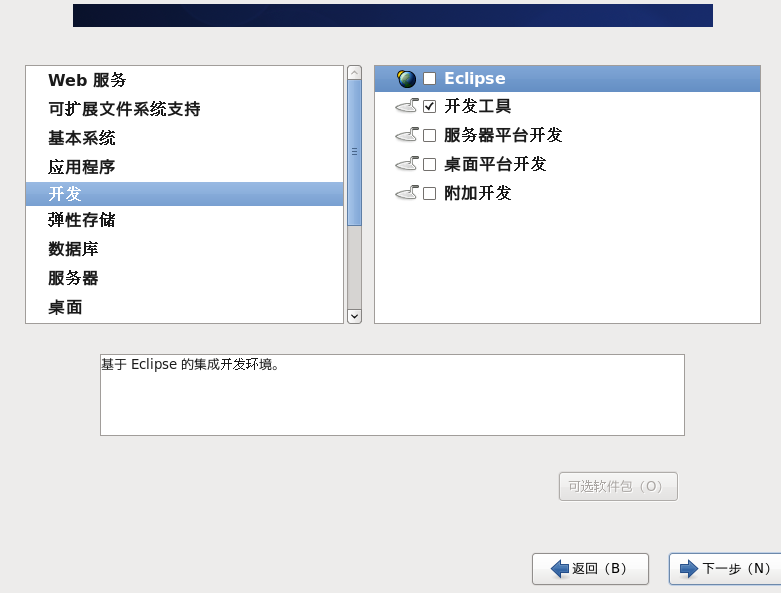
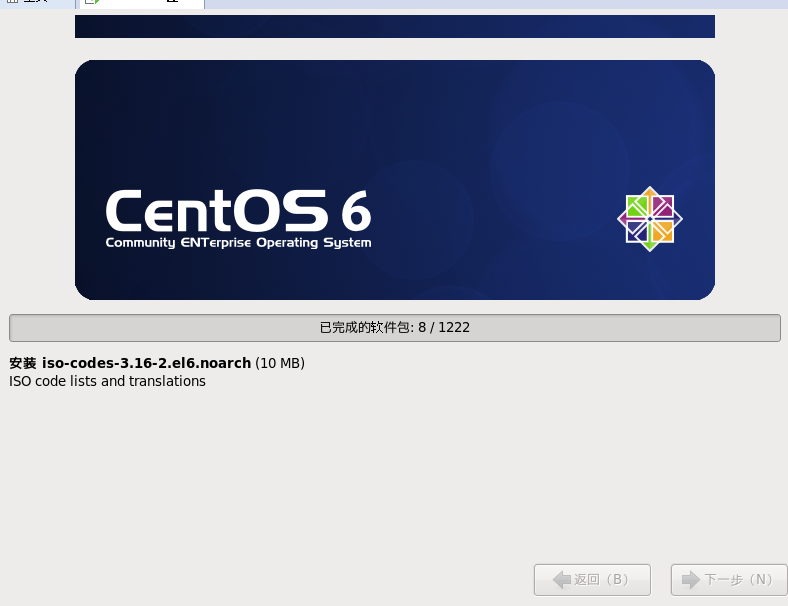
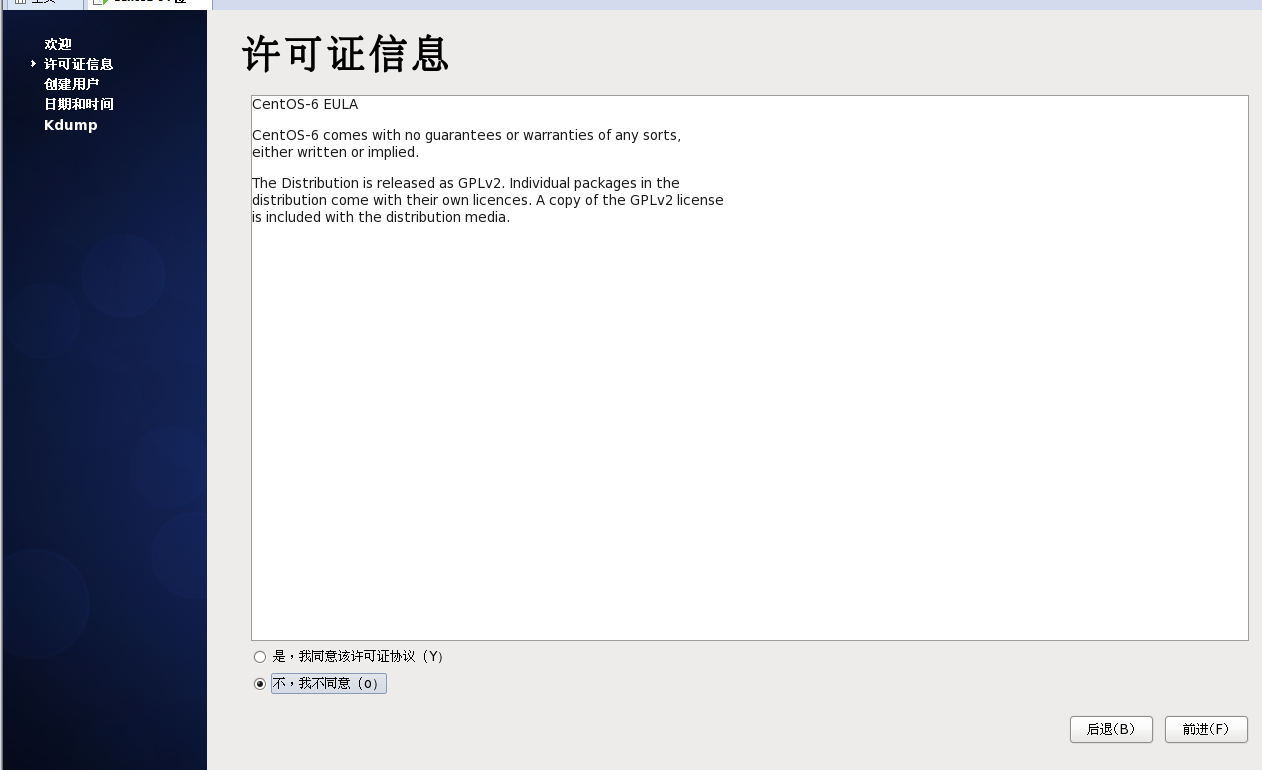
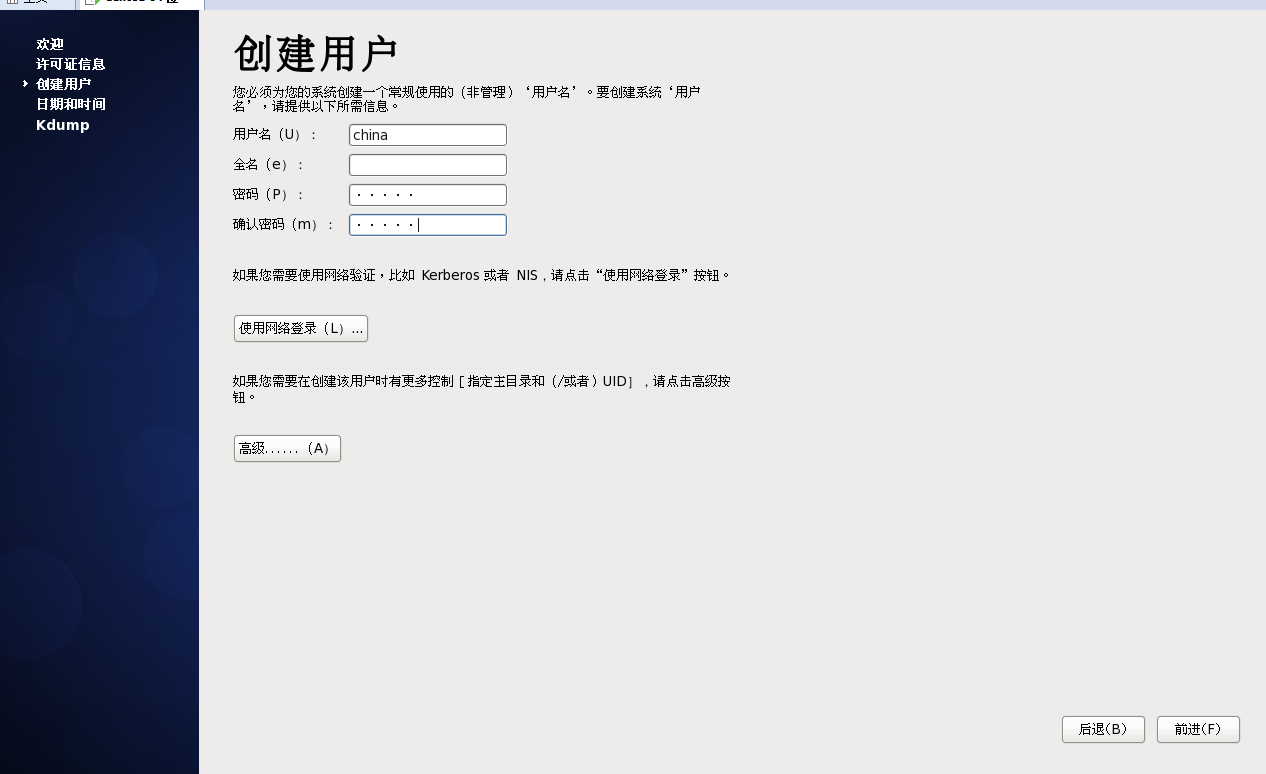
2.安装centos6.5


3.centos设置


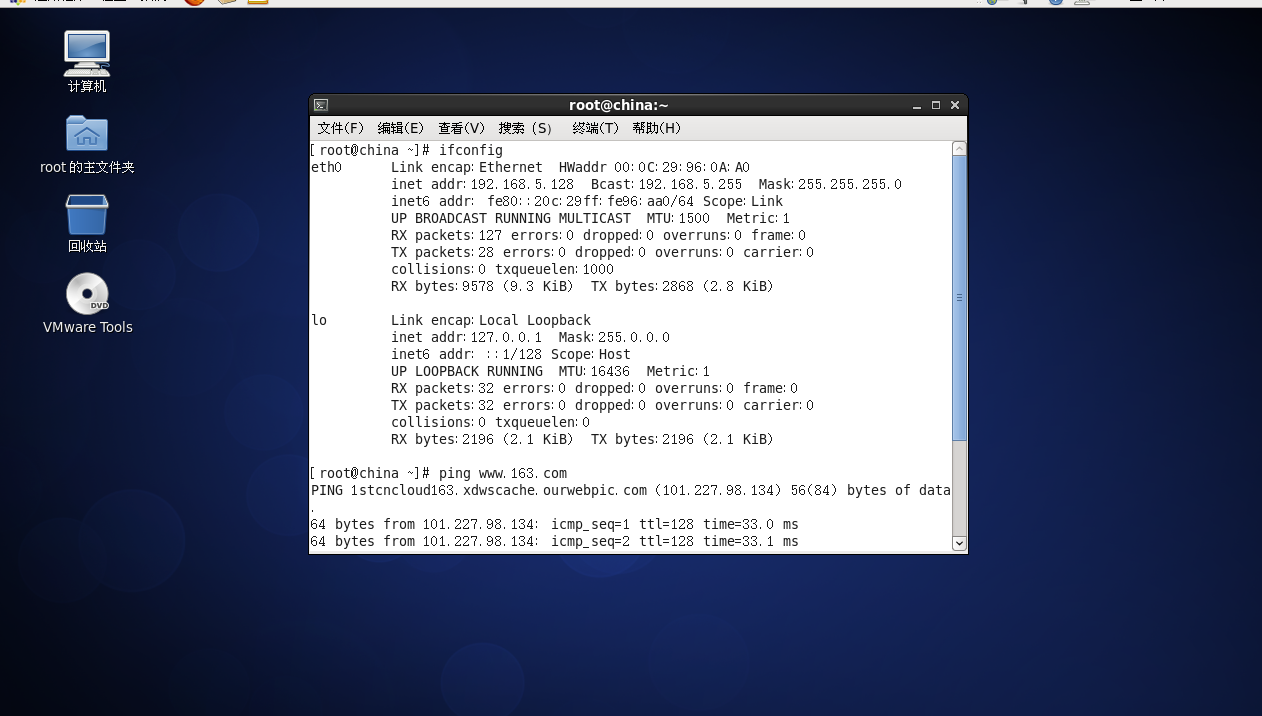
查看网络
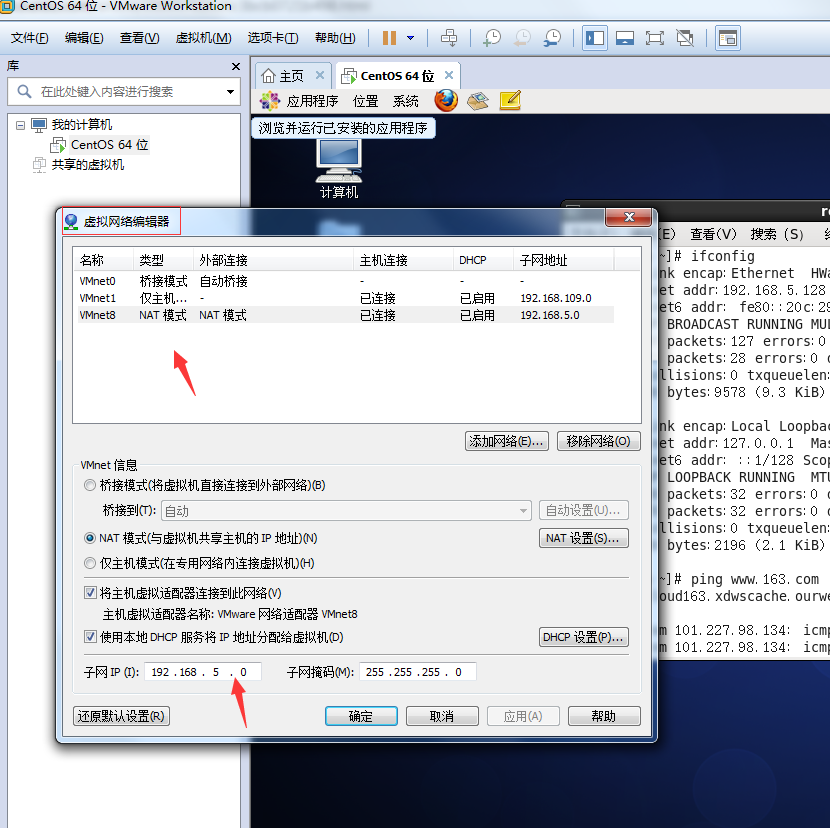
4.vmware设置网络连接
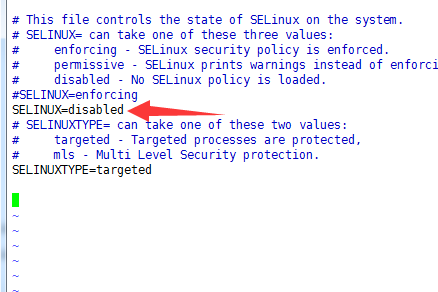
关闭selinux
[root@china ~]# vim /etc/selinux/config
关闭防火墙
关闭命令:  service iptables stop

永久关闭防火墙:chkconfig iptables off

两个命令同时运行,运行完成后查看防火墙关闭状态

service iptables status

永久改变IP地址
[root@china ~]# vi /etc/sysconfig/network-scripts/ifcfg-eth0

编辑网卡eth0的配置文件
编辑文件,保存
ONBOOT=yes

#在开机的的时候启动网络卡

NM_CONTROLLED=yes

BOOTPROTO=static

#使用固定IP

IPADDR=192.168.5.128

PREFIX=

GATEWAY=192.168.5.2DNS1=192.168.5.2

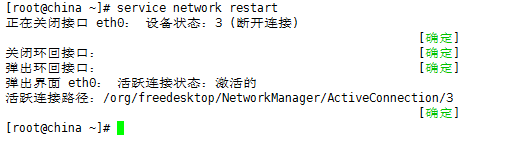
使用“service network restart”命令重新启动network服务,使配置文件生效。四个状态都必须是OK,否则说明设置有问题,需要重新修改设置
修改/etc/resolv.conf
nameserver=114.114.114.114

测试连接

5.修改镜像源为国内
第一步:备份你的原镜像文件,以免出错后可以恢复。
mv /etc/yum.repos.d/CentOS-Base.repo /etc/yum.repos.d/CentOS-Base.repo.backup
第二步:下载新的CentOS-Base.repo 到/etc/yum.repos.d/
wget -O /etc/yum.repos.d/CentOS-Base.repo http://mirrors.aliyun.com/repo/Centos-6.repo
第三步:运行yum makecache生成缓存
yum makecache
详细内容
[root@china ~]# mv /etc/yum.repos.d/CentOS-Base.repo /etc/yum.repos.d/CentOS-Base.repo.backup

[root@china ~]# wget -O /etc/yum.repos.d/CentOS-Base.repo http://mirrors.aliyun.com/repo/Centos-6.repo

---- ::--  http://mirrors.aliyun.com/repo/Centos-6.repo

正在解析主机 mirrors.aliyun.com... 114.80.174.21, 101.226.181.252, 101.226.181.251, ...

正在连接 mirrors.aliyun.com|114.80.174.21|:... 已连接。

已发出 HTTP 请求,正在等待回应...  OK

长度: (.5K) [application/octet-stream]

正在保存至: “/etc/yum.repos.d/CentOS-Base.repo”

%[==============================================================================================================>] ,       --.-K/s   in .001s

-- :: (3.13 MB/s) - 已保存 “/etc/yum.repos.d/CentOS-Base.repo” [/])

[root@china ~]# yum makecache

Loaded plugins: fastestmirror, refresh-packagekit, security

Loading mirror speeds from cached hostfile

 * base: mirrors.aliyun.com

 * extras: mirrors.aliyun.com

 * updates: mirrors.aliyun.com

base                                                                                                                             | 3.7 kB     :

base/filelists_db                                                                                                                | 6.4 MB     :

extras                                                                                                                           | 3.4 kB     :

extras/filelists_db                                                                                                              |   kB     :

extras/prestodelta                                                                                                               | 1.7 kB     :

extras/other_db                                                                                                                  |   kB     :

updates                                                                                                                          | 3.4 kB     :

updates/filelists_db                                                                                                             | 4.3 MB     :

updates/prestodelta                                                                                                              |  kB     :

updates/other_db                                                                                                                 |  MB     :

Metadata Cache Created

[root@china ~]# yum install -y libaio-devel

Loaded plugins: fastestmirror, refresh-packagekit, security

Loading mirror speeds from cached hostfile

 * base: mirrors.aliyun.com

 * extras: mirrors.aliyun.com

 * updates: mirrors.aliyun.com

Setting up Install Process

Package libaio-devel-0.3.-.el6.x86_64 already installed and latest version
6.安装mysql数据库,并建立连接
安装
[root@china mysql]# tar -xzvf mysql-5.5.-linux-glibc2.-x86_64.tar.gz

#安装依赖包

yum install -y libaio-devel

#创建用户

useradd -s /sbin/nologin mysql

#创建数据目录

mkdir -p /data/mysql

#赋予权限

chown -R mysql:mysql /data/mysql

#移动到指定目录

mv mysql-5.5.-linux-glibc2.-x86_64 /usr/local/mysql

#因为系统有一个默认my.cnf,咱们给它改下名字

mv /etc/my.cnf /etc/my.cnf.default

#复制我们需要的my.cnf到指定目录

cp /usr/local/mysql/support-files/my-large.cnf /etc/my.cnf

#在support-files目录下有几个cnf,根据内存大小来选择

my-small.cnf (内存<=64M)

my-medium.cnf (内存128M)

my-large.cnf (内存512M)

my-huge.cnf (内存1G-2G)

my-innodb-heavy-4G.cnf (内存4GB)

#编辑我们复制过去的my.cnf,并且在[mysqld]的下一行那里插入以下内容

vi /etc/my.cnf

[mysqld]

basedir=/usr/local/mysql

datadir=/data/mysql

character-set-server=utf8

#添加环境变量,在末尾插入以下内容

vi /etc/profile

PATH=/usr/local/mysql/bin:$PATH

export PATH

#让刚才的修改生效

source /etc/profile

#复制启动脚本到指定目录

cp /usr/local/mysql/support-files/mysql.server /etc/init.d/mysqld

#准备工作都做完了,开始初始化数据库

/usr/local/mysql/scripts/mysql_install_db --basedir=/usr/local/mysql --datadir=/data/mysql --user=mysql

#启动数据库

service mysqld start

[root@china mysql]# service mysqld start

Starting MySQL.Logging to '/data/mysql/china.err'.

.                                                          [确定]

#开机启动

chkconfig mysqld on

#初始化mysql的一些设置

mysql_secure_installation

#回车

Enter current password for root (enter for none):

#y,设置mysql的root密码

Setting the root password ensures that nobody can log into the MySQL

root user without the proper authorisation.

Set root password? [Y/n] y

New password:

Re-enter new password:

Password updated successfully!

Reloading privilege tables..

 ... Success!

By default, a MySQL installation has an anonymous user, allowing anyone

to log into MySQL without having to have a user account created for

them.  This is intended only for testing, and to make the installation

go a bit smoother.  You should remove them before moving into a

production environment.

Remove anonymous users? [Y/n] y

 ... Success!

Normally, root should only be allowed to connect from 'localhost'.  This

ensures that someone cannot guess at the root password from the network.

Disallow root login remotely? [Y/n] y

 ... Success!

By default, MySQL comes with a database named 'test' that anyone can

access.  This is also intended only for testing, and should be removed

before moving into a production environment.

Remove test database and access to it? [Y/n] y

 - Dropping test database...

 ... Success!

 - Removing privileges on test database...

 ... Success!

Reloading the privilege tables will ensure that all changes made so far

will take effect immediately.

Reload privilege tables now? [Y/n] y

 ... Success!

Cleaning up...

All done!  If you've completed all of the above steps, your MySQL

installation should now be secure.

Thanks for using MySQL!

#重启mysql

[root@china mysql]# service mysqld restart

Shutting down MySQL.                                       [确定]

Starting MySQL..                                           [确定]

#查看mysql进程

[root@china mysql]# ps -ef|grep mysql

root                : pts/    :: /bin/sh /usr/local/mysql/bin/mysqld_safe --datadir=/data/mysql --pid-file=/data/mysql/china.pid

mysql           : pts/    :: /usr/local/mysql/bin/mysqld --basedir=/usr/local/mysql --datadir=/data/mysql --plugin-dir=/usr/local/mysql/lib/plugin --user=mysql --log-error=china.err --pid-file=/data/mysql/china.pid --socket=/tmp/mysql.sock --port=

root            : pts/    :: grep mysql
设置mysql字符集
#1. 修改配置文件 vim /etc/my.cnf

[mysqld]

default-character-set=utf8

[client]

default-character-set=utf8

[mysql]

default-character-set=utf8

#mysql5.5以上:修改方式有所改动

[mysqld]

character-set-server=utf8

collation-server=utf8_general_ci

[client]

default-character-set=utf8

[mysql]

default-character-set=utf8

#2. 重启服务

service mysqld restart

#3. 查看修改结果:

\s

show variables like '%char%'

+--------------------------+----------------------------------+

| Variable_name            | Value                            |

+--------------------------+----------------------------------+

| character_set_client     | utf8                             |

| character_set_connection | utf8                             |

| character_set_database   | utf8                             |

| character_set_filesystem | binary                           |

| character_set_results    | utf8                             |

| character_set_server     | utf8                             |

| character_set_system     | utf8                             |

| character_sets_dir       | /usr/local/mysql/share/charsets/ |

+--------------------------+----------------------------------+
登录mysql,查看数据库信息,并创建用户
#登录mysql

[root@china mysql]# mysql -u root -p

Welcome to the MySQL monitor.  Commands end with ; or \g.

Your MySQL connection id is 1

Server version: 5.5.59-log MySQL Community Server (GPL)

Copyright (c) 2000, 2018, Oracle and/or its affiliates. All rights reserved.

Oracle is a registered trademark of Oracle Corporation and/or its

affiliates. Other names may be trademarks of their respective

owners.

Type 'help;' or '\h' for help. Type '\c' to clear the current input statement.

mysql> show databases;

+--------------------+

| Database           |

+--------------------+

| information_schema |

| mysql              |

| performance_schema |

+--------------------+

3 rows in set (0.00 sec)

mysql> create database testmysql

    -> ;

Query OK, 1 row affected (0.00 sec)

mysql>

mysql> use testmysql

mysql> create table test1( `id` int auto_increment,  `name` varchar(30) not null, grade int, primary key (`id`));

Query OK, 0 rows affected (0.01 sec)

mysql> SHOW CREATE TABLE `test1` \G

*************************** 1. row ***************************

       Table: test1

Create Table: CREATE TABLE `test1` (

  `id` int(11) NOT NULL AUTO_INCREMENT,

  `name` varchar(30) NOT NULL,

  `grade` int(11) DEFAULT NULL,

  PRIMARY KEY (`id`)

) ENGINE=InnoDB DEFAULT CHARSET=utf8

1 row in set (0.00 sec)

mysql> desc test1

    -> ;

+-------+-------------+------+-----+---------+----------------+

| Field | Type        | Null | Key | Default | Extra          |

+-------+-------------+------+-----+---------+----------------+

| id    | int(11)     | NO   | PRI | NULL    | auto_increment |

| name  | varchar(30) | NO   |     | NULL    |                |

| grade | int(11)     | YES  |     | NULL    |                |

+-------+-------------+------+-----+---------+----------------+

3 rows in set (0.00 sec)

#创建用户

mysql> CREATE USER 'yycenter'@'%' IDENTIFIED BY 'qwe123';

#给用户赋予权限

mysql> GRANT ALL  ON *.* TO 'yycenter'@'%';

#使更改立即生效

mysql> FLUSH PRIVILEGES;

#退出

mysql> \q

mysql> CREATE USER 'yycenter'@'%' IDENTIFIED BY 'qwe123';

Query OK, 0 rows affected (0.00 sec)

mysql> GRANT ALL  ON *.* TO 'yycenter'@'%';

Query OK, 0 rows affected (0.00 sec)

mysql> flush privileges;

Query OK, 0 rows affected (0.00 sec)

mysql> use mysql

Database changed

mysql> select host,user,password from user;

+-----------+----------+-------------------------------------------+

| host      | user     | password                                  |

+-----------+----------+-------------------------------------------+

| localhost | root     | *F861720E101148897B0F5239DB926E756B1C28B3 |

| 127.0.0.1 | root     | *F861720E101148897B0F5239DB926E756B1C28B3 |

| ::1       | root     | *F861720E101148897B0F5239DB926E756B1C28B3 |

| %         | yycenter | *8DCDD69CE7D121DE8013062AEAEB2A148910D50E |

+-----------+----------+-------------------------------------------+

4 rows in set (0.00 sec)
切换mysql用户
[root@china ~]# su - mysql

This account is currently not available.

[root@china ~]# usermod -s /bin/bash mysql

[root@china ~]# su - mysql

[mysql@china ~]$ ll
linux平台下,破解mysql root密码
#启动时,跳过授权库

vim /etc/my.cnf    #mysql主配置文件

[mysqld]

skip-grant-table

#重启mysqld

service mysqld restart

#修改密码

[root@china ~]# mysql

Welcome to the MySQL monitor.  Commands end with ; or \g.

mysql> select user,password,host from mysql.user;

+----------+-------------------------------------------+-----------+

| user     | password                                  | host      |

+----------+-------------------------------------------+-----------+

| root     | *F861720E101148897B0F5239DB926E756B1C28B3 | localhost |

| yycenter | *8DCDD69CE7D121DE8013062AEAEB2A148910D50E | %         |

+----------+-------------------------------------------+-----------+

4 rows in set (0.00 sec)

mysql> update mysql.user set password=password("123") where user="root" and host="localhost";

Query OK, 0 rows affected (0.01 sec)

Rows matched: 1  Changed: 0  Warnings: 0

mysql> flush privileges;

mysql> \q

#打开/etc/my.cnf去掉skip-grant-table,然后重启

service mysqld restart

#重新登录

[root@china ~]#mysql

ERROR 1045 (28000): Access denied for user 'root'@'localhost' (using password: NO)

[root@china ~]#

[root@china ~]# mysql -uroot -p123

Welcome to the MySQL monitor.  Commands end with ; or \g.

Your MySQL connection id is 2
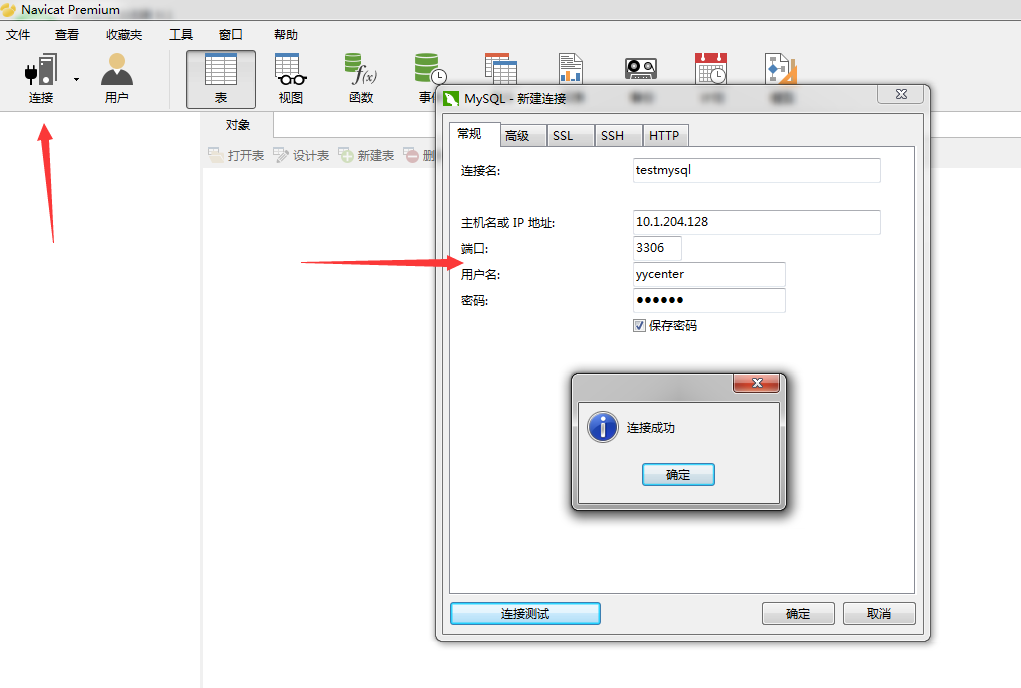
设置Navicat连接mysql
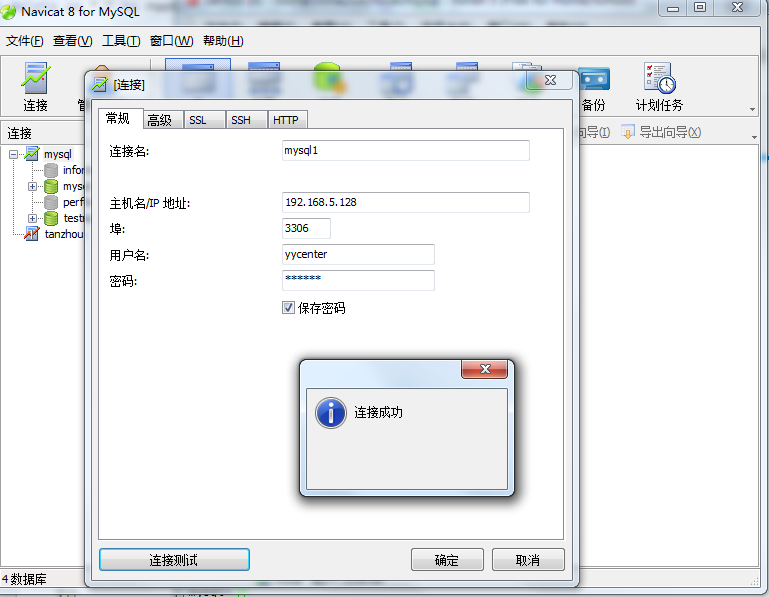
安装Navicat11,连接mysql
根据win7版本安装合适的安装包

注册

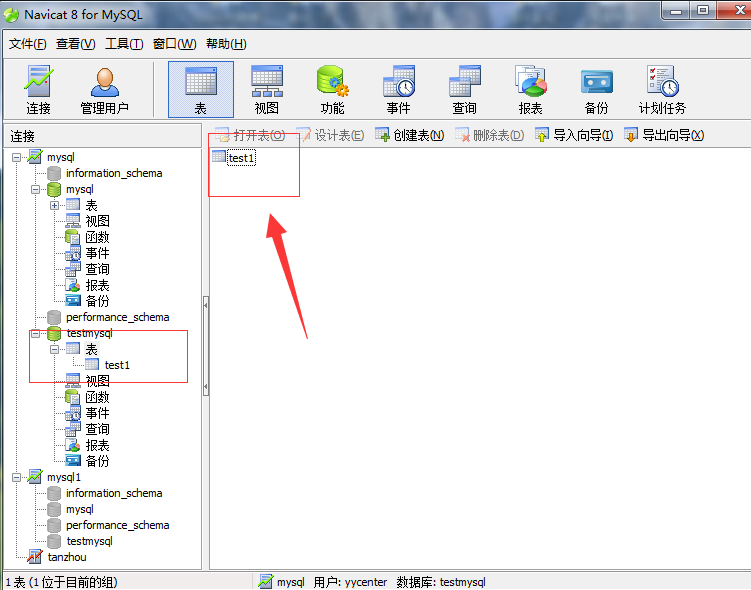
建立mysql连接
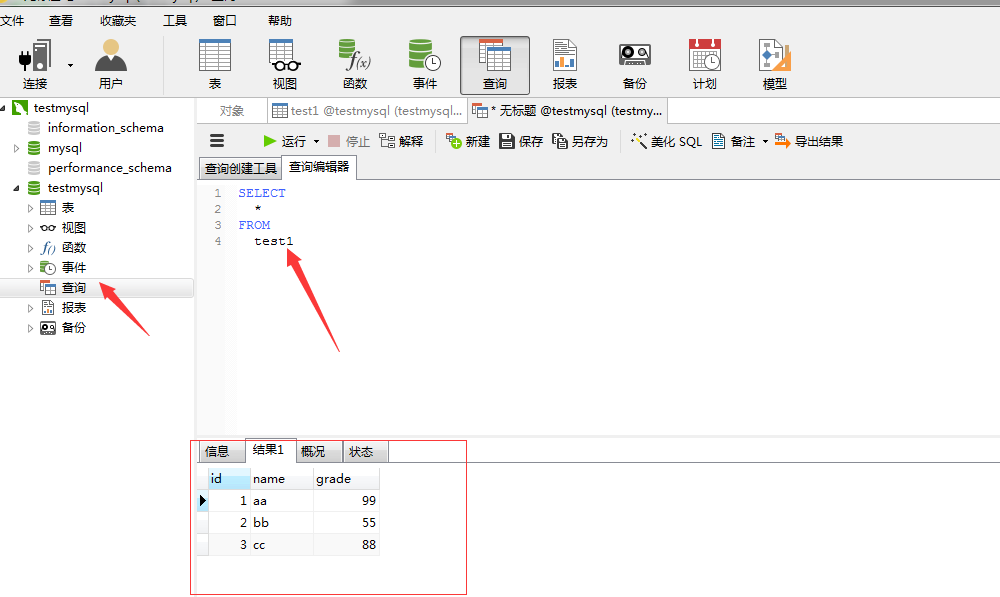
查询表
vmware安装——CentOS-6.5和Mysql的更多相关文章
- VMware 安装CentOS
使用VMware安装CentOS 6.4 环境:Windows7 , VMware Workstation10, CentOS6.4 为什么选择CentOS ? 主流: 目前的Linux操作系统主要应 ...
- VMware安装CentOS 图文教程
VMware安装CentOS 图文教程 VMware 下安装CentOS6.2 取消 Easy install模式(此模式不好,很多软件没有安装) http://jingyan.baidu.com/a ...
- VMware安装CentOS 6.7系统
VMware安装CentOS 6.7系统 1. 安装前的准备 a) VMware虚拟机软件 b) CentOS 6.7镜像 c) Windows电脑一台 2. 开始安装 a) 打开VMware软件 b ...
- 使用VMware安装CentOS
使用VMware安装CentOS 第1步:首先安装VMware Workstation,只需点下一步即可,安装过程略 第2步:文件 → 新建虚拟机 或 直接点击 创建新的虚拟机 图标 第3步:选择 典 ...
- Linux VMware安装CentOS
VMware安装CentOS 1 检查BIOS虚拟化支持 2 新建虚拟机 3 新建虚拟机向导 4 创建虚拟空白光盘 ...
- Linux课程---1、VMWare安装CentOS虚拟机(安装重要注意)
Linux课程---1.VMWare安装CentOS虚拟机(安装重要注意) 一.总结 一句话总结: 可以先去百度搜一篇对应系统的安装教程:比如 CentOS 7 安装 1.安装VMWare之后,打开w ...
- VMware——安装CentOS
VMware——安装CentOS 摘要:本文主要记录了在VMware虚拟机里安装CentOS的步骤. 下载操作系统 可以从下面的镜像地址去下载各种版本的CentOS,此次安装使用的版本是7.2: ht ...
- VMware 安装 CentOS 7
下载并安装 VMware 访问 VMware 官方网站下载 VMware 安装包程序.博主使用的是 12.5.5 版本,下载完之后点击安装包程序进入 VMware 的安装向导,然后点击"下一 ...
- VMWare安装Centos 6.9
VMWare下Centos 6.9安装教程,记录如下 1.新建虚拟机 (1)点击文件-->新建虚拟机 (2)选择 自定义(高级)-->下一步 (3)选择Workstation 12.0-- ...
- VMWare 安装Centos 6.9
1.新建虚拟机 (1)点击文件-->新建虚拟机 (2)选择 自定义(高级)--> 下一步 (3)选择Workstation 12.0 --> 下一步 (4)选择 稍后安装操作系统 - ...
随机推荐
- failed creating java jvm.dll
启动tomcat服务时出现错误failed creating java jvm.dll的解决办法 把jdk\bin目录下的msvcr71.dll 或msvcr100.dll 复制到tomcat安装目录 ...
- 创建DB2数据库联合对象
db2 1.db2 =>update dbm cfg using Federated YES 2. db2 =>db2stop force3. db2 =>db2start 4.创建 ...
- Spring+SpringMVC+mybatis+Quartz整合
Quartz与SpringMVC的整合 简介 Quartz是一个完全由java编写的开源作业调度框架,为在Java应用程序中进行作业调度提供了简单却强大的机制.Quartz允许开发人员根据时间间隔来调 ...
- Unicode、UTF-8 和 ISO8859-1
Unicode.UTF-8 和 ISO8859-1到底有什么区别 1.本文主要包括以下几个方面:编码基本知识,java,系统软件,url,工具软件等. 在下面的描述中,将以"中文" ...
- 博客停更转战简书http://www.jianshu.com/u/7ac4047c9cfa
博客停更转战简书 http://www.jianshu.com/u/7ac4047c9cfa
- 2018.10.15 bzoj4570: [Scoi2016]妖怪(凸包)
传送门 不得不说这题有点东西啊. 看到题第一眼二分,用二次函数求范围来进行checkcheckcheck,20分滚粗了233. 于是开始思考正解. 发现可以把每只怪物的二元组属性看成二维坐标. 这时对 ...
- 2018.09.23 bzoj3143: [Hnoi2013]游走(dp+高斯消元)
传送门 显然只需要求出所有边被经过的期望次数,然后贪心把边权小的边定城大的编号. 所以如何求出所有边被经过的期望次数? 显然这只跟边连接的两个点有关. 于是我们只需要求出两个点被经过的期望次数. 对于 ...
- 有趣的NaN类型
在学习Java集合的时候遇到了Float.isNaN(float)函数,点进去一看就不理解了,函数实现如下: public static boolean isNaN(float v) { return ...
- HDU 1040 As Easy As A+B (排序。。。水题)
题意:给定n个数,让你从小到大排序. 析:不说什么了. 代码如下: #include <cstdio> #include <iostream> #include <cst ...
- UVa 11636 Hello World! (水题思维)
题意:给你一个数,让你求需要复制粘贴多少次才能达到这个数. 析:这真是一个水题,相当水,很容易知道每次都翻倍,只要大于等于给定的数就ok了. 代码如下: #include <iostream&g ...