IntelliJ IDEA 2017版 SpringBoot的Json字符串返回
一、说明
SpringBoot框架已经自动封装好json字符串解析,所以我们只需要用它的注解来返回操作就可以了.
二、实战
1、书写一个实体类User,设置属性id和name
 package com.json;

 /**

  * Created by liuya on 2018-01-17.

  */

 public class UserPoJo

 {

     private int userId;

     private String userName;

     public int getUserId() {

         return userId;

     }

     public void setUserId(int userId) {

         this.userId = userId;

     }

     public String getUserName() {

         return userName;

     }

     public void setUserName(String userName) {

         this.userName = userName;

     }

     @Override

     public String toString() {

         return "UserPoJo{" +

                 "userId=" + userId +

                 ", userName='" + userName + '\'' +

                 '}';

     }

 }
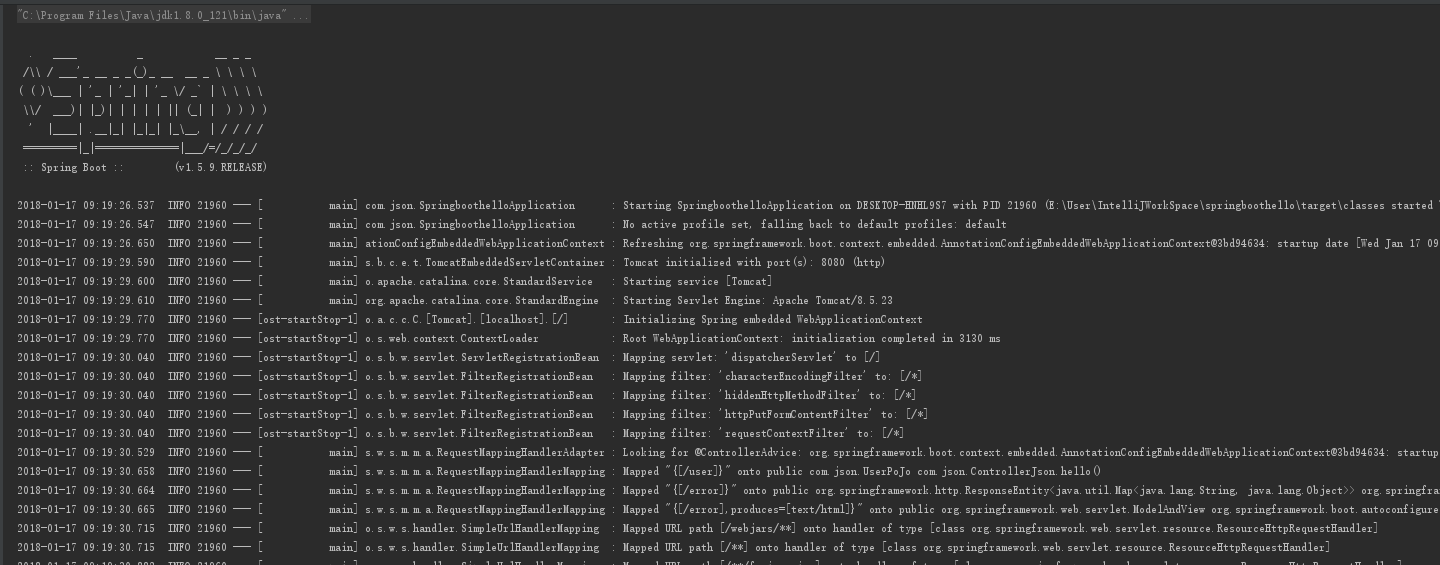
2、书写开启服务器的代码(SpringBoot框架自带一个测试服务器)
 package com.json;

 import org.springframework.boot.SpringApplication;

 import org.springframework.boot.autoconfigure.SpringBootApplication;

 @SpringBootApplication

 public class SpringboothelloApplication {

     public static void main(String[] args) {

         SpringApplication.run(SpringboothelloApplication.class, args);

     }

 }
3、书写controller返回json的代码
 package com.json;

 import org.springframework.web.bind.annotation.RequestMapping;

 import org.springframework.web.bind.annotation.RestController;

 /**

  * Created by liuya on 2018-01-16.

  *

  *  测试用的一个例子

  */

 @RestController

 public class ControllerJson {

     @RequestMapping("user")

     public UserPoJo hello(){

         //实体类赋值

         UserPoJo userPoJo  = new UserPoJo();

         userPoJo.setUserId(111);

         userPoJo.setUserName("王小二");

         //返回实体类

         return userPoJo;

     }

 }
4、启动服务器的代码,生成如图
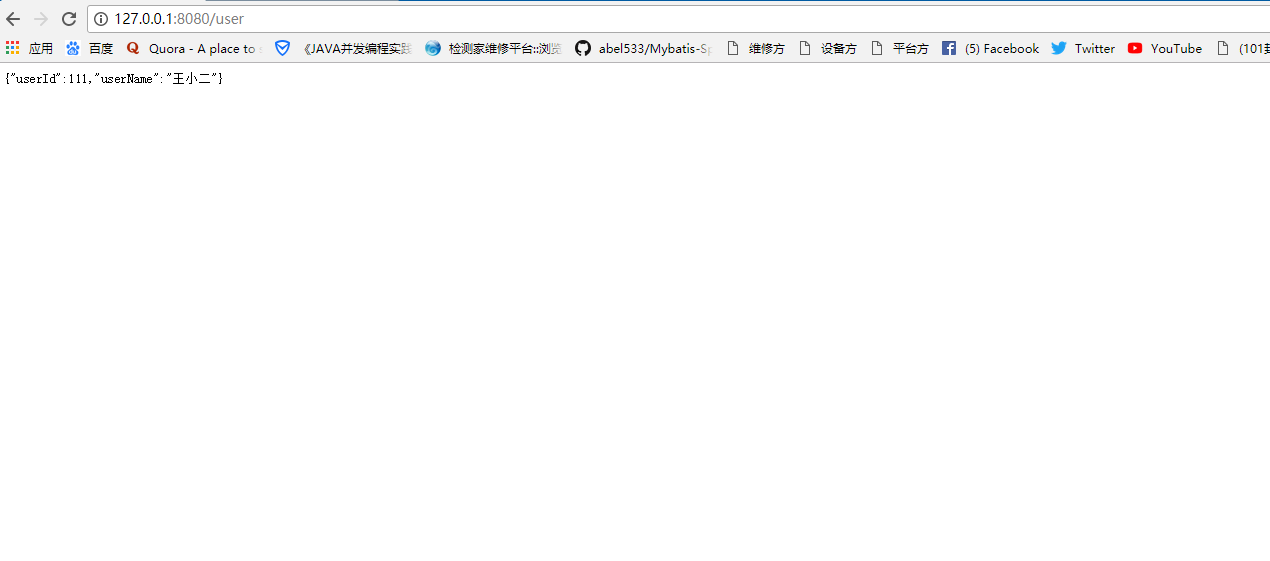
5、浏览器测试
IntelliJ IDEA 2017版 SpringBoot的Json字符串返回的更多相关文章
- IntelliJ IDEA 2017版 spring-boot 2.0.3 部署war包项目和jar包项目
1.建立项目 Java Controller package com.springboot.jsp.controller; import org.springframework.stereotype. ...
- IntelliJ IDEA 2017版 spring-boot与Mybatis简单整合
一.编译器建立项目 参考:http://www.cnblogs.com/liuyangfirst/p/8372291.html 二.代码编辑 1.建立数据库 /* Navicat MySQL Data ...
- IntelliJ IDEA 2017版 spring-boot加载jsp配置详解(详细图文实例)
一.创建项目 (File--->New-->Project) 2.项目配置内容 3.选择配置项目的Group包名,Artifact项目名称 4.选择项目类型为web类型 5.创建成功,点击 ...
- IntelliJ IDEA 2017版 spring-boot 2.0.5 邮件发送简单实例 (三)
一.搭建SpringBoot项目 详见此文:https://www.cnblogs.com/liuyangfirst/p/8298588.html 注意: 需要添加mail依赖的包,同时还添加了lom ...
- IntelliJ IDEA 2017版 spring-boot 2.0.3 邮件发送搭建,概念梳理 (二)
第二部分 邮件发送历史 一.第一封邮件 1.1969年10月,世界上的第一封电子邮件 1969年10月世界上的第一封电子邮件是由计算机科学家Leonard K.教授发给他的同事的一条简短 ...
- IntelliJ IDEA 2017版 spring-boot 2.03 去除控制台logo;去除springboot 图标;去除springboot 图
1.控制台出现logo图标 2.如果不喜欢,如何去除这个logo 在其Application中进行设置 package com.springboot.logo; import org.springfr ...
- IntelliJ IDEA 2017版 SpringBoot测试类编写
SpringBoot的测试类编写Demo 源码见 https://github.com/liushaoye/baseone.git
- IntelliJ IDEA 2017版 SpringBoot的关闭自动配置和自定义Banner
一.关闭自动配置 在jar包下找下边的名字 设置关闭自动配置jar 多个的时候配置 二.自定义Banner (1)网站搜索一个图案.网址:http://patorjk.co ...
- IntelliJ IDEA 2017版 SpringBoot的web项目补充
一.注解 @SpringBootApplication:Spring Boot项目的核心注解,主要目的是开启自动配置. @Configuration:这是一个配置Sprin ...
随机推荐
- CCFlow SDK模式开发(有比较详细的代码,以服务的形式与ccflow数据库进行数据交互)
http://www.cnblogs.com/s0611163/p/3963142.html 需求: 1.业务数据要保存在我们自己的数据库里 2.CCFlow有保存草稿的功能,但是领导要求每个 ...
- 安全关闭MySQL
想要安全关闭 mysqld 服务进程,建议按照下面的步骤来进行: 0.用具有SUPER.ALL等最高权限的账号连接MySQL,最好是用 unix socket 方式连接: 1.在5.0及以上版本,设置 ...
- Python DB
#!/usr/bin/python #_*_ coding:utf-8 _*_ import MySQLdb import time import threading import random fr ...
- 国产FPGA市场分析 该如何破局
2018年上半年对于中国半导体行业而言是多事之秋,发生了几件让国人深入思考的大事.我作为IC产业的逃兵,最近也在思考很多的问题,包括资本市场.集成电路行业和研究所的一些不成熟的想法. 2008年进入华 ...
- fatal error: mysql.h: No such file or directory
在ubuntu系统下安装mysql之后,和数据库连接的时候,出现如下错误:fatal error: mysql.h: No such file or directory 是因为缺少链接库,执行如下命名 ...
- MySQL 多表关联更新及删除
目录: <MySQL中的两种临时表> <MySQL 多表关联更新及删除> <mysql查询优化之三:查询优化器提示(hint)> 一. 多表关联更新 问题 ...
- python文本挖掘输出权重,词频等信息,画出3d权重图
# -*- coding: utf-8 -*- from pandas import read_csv import numpy as np from sklearn.datasets.base im ...
- 学习笔记之Tips for Macbook
写给Mac新手的入门指南 - 威锋网 https://mp.weixin.qq.com/s/pqmqGZhNwevx57KeLnzZmg https://bbs.feng.com/read-htm-t ...
- CentOS6.5 安装mysql-5.7.9
转自:http://forrest-lv.iteye.com/blog/2260703 安装前,需要检查是否已经有mysql服务进程,是否已经装过mysql; 这点很重要,我之前安装CentOS的同 ...
- django-渲染页面+locals
from django.shortcuts import render, redirect from django.views import View from django.http import ...