Solaris 10上Oracle 10g安装步骤图解
文章目录
1. 说明
32位模式下安装32的10g,不是正规的安装方法,只能作为自己测试使用。
企业环境参考即可,请使用自己公司的标准化安装流程文档。
等什么时候有时间在出一份正规的企业级的安装过程(估计有点久远)。
2. 查看相关包
[root@oracle:/]# pkginfo -i SUNWarc SUNWbtool SUNWhea SUNWlibm SUNWlibms SUNWsprot SUNWtoo  SUNWi1of  SUNWi1cs SUNWi15cs SUNWxwfnt

system      SUNWarc   Lint Libraries (usr)

system      SUNWbtool CCS tools bundled with SunOS

system      SUNWhea   SunOS Header Files

system      SUNWi15cs X11 ISO8859-15 Codeset Support

system      SUNWi1cs  X11 ISO8859-1 Codeset Support

system      SUNWi1of  ISO-8859-1 (Latin-1) Optional Fonts

system      SUNWlibm  Math & Microtasking Library Headers & Lint Files (Usr)

system      SUNWlibms Math & Microtasking Libraries (Usr)

system      SUNWsprot Solaris Bundled tools

system      SUNWtoo   Programming Tools

system      SUNWxwfnt X Window System platform required fonts
代表需求包全部都已经安装了。
如果有未安装的包,使用如下方法安装:

把“已连接”勾上,确定,重启Solaris操作系统。
接下来进去光盘的存放包的目录安装即可(不同OS路径名可能有区别)。
[root@oracle:/cdrom/sol_10_113_x86/Solaris_10/Product]# cd /cdrom/sol_10_113_x86/Solaris_10/Product

//按照这种格式安装:pkgadd -d . SUNWi1cs
3. 添加用户和组
[root@oracle:/]# groupadd oinstall

[root@oracle:/]# groupadd dba

[root@oracle:/]# useradd -g oinstall -G dba -s /usr/bin/bash -d /export/home/oracle oracle

[root@oracle:/]# mkdir -p /export/home/oracle

[root@oracle:/]# chown -R oracle:oinstall /export/home/oracle/

[root@oracle:/]# passwd oracle

New Password:

Re-enter new Password:

passwd: password successfully changed for oracle
4. 设置oracle环境变量
有个点是如果ORACLE_BASE和ORACLE_HOME最后边加了多个‘/’,比如
ORACLE_BASE=/export/home/oracle/u01/app/oracle/
会出现dbca后(数据库开了),sqlplus / as sysdba登进去后显示idle的问题。
DISPLAY这个你们就不需要加了,或者根据你们的环境自己改掉ip。
[root@oracle:/]# su - oracle

Oracle Corporation      SunOS 5.10      Generic Patch   January 2005

-bash-3.2$ vi .profile

ORACLE_BASE=/export/home/oracle/u01/app/oracle

ORACLE_HOME=$ORACLE_BASE/product/11.2.0/db_1

DISPLAY=192.168.180.1:0.0

LD_LIBRARY_PATH=$LD_LIBRARY_PATH:$ORACLE_HOME/lib:/usr/sbin:/usr/bin:/usr/sfw/bin:/usr/local/bin

PATH=$PATH:/usr/ccs/bin:$ORACLE_HOME/bin:/usr/sbin:/usr/sfw/bin:/usr/local/bin

ORACLE_SID=zkm

export ORACLE_BASE

export ORACLE_HOME

export LD_LIBRARY_PATH

export PATH

export ORACLE_SID

export DISPLAY

alias ll='ls -larth'

PS1='[\u@\h:$PWD]# '

export PS1

-bash-3.2$ source .profile

[oracle@oracle:/export/home/oracle]#
5. 创建Oracle软件目录
[oracle@oracle:/export/home/oracle]# mkdir -p /export/home/oracle/u01/app/oracle
6. 修改OS参数
使用root,在文件/etc/system追加:
set noexec_user_stack=1

set semsys:seminfo_semmni=100

set semsys:seminfo_semmns=1024

set semsys:seminfo_semmsl=256

set semsys:seminfo_semvmx=32767

set shmsys:shminfo_shmmax=4294967295

set shmsys:shminfo_shmmin=1

set shmsys:shminfo_shmmni=100

set shmsys:shminfo_shmseg=10
7. 上传Oracle软件包并解压
更改权限:
[root@oracle:/]# chown -R oracle:oinstall /soft
使用oracle解压:
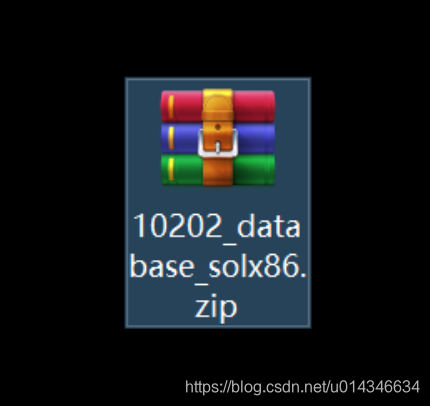
[oracle@oracle:/soft]# unzip 10202_database_solx86.zip
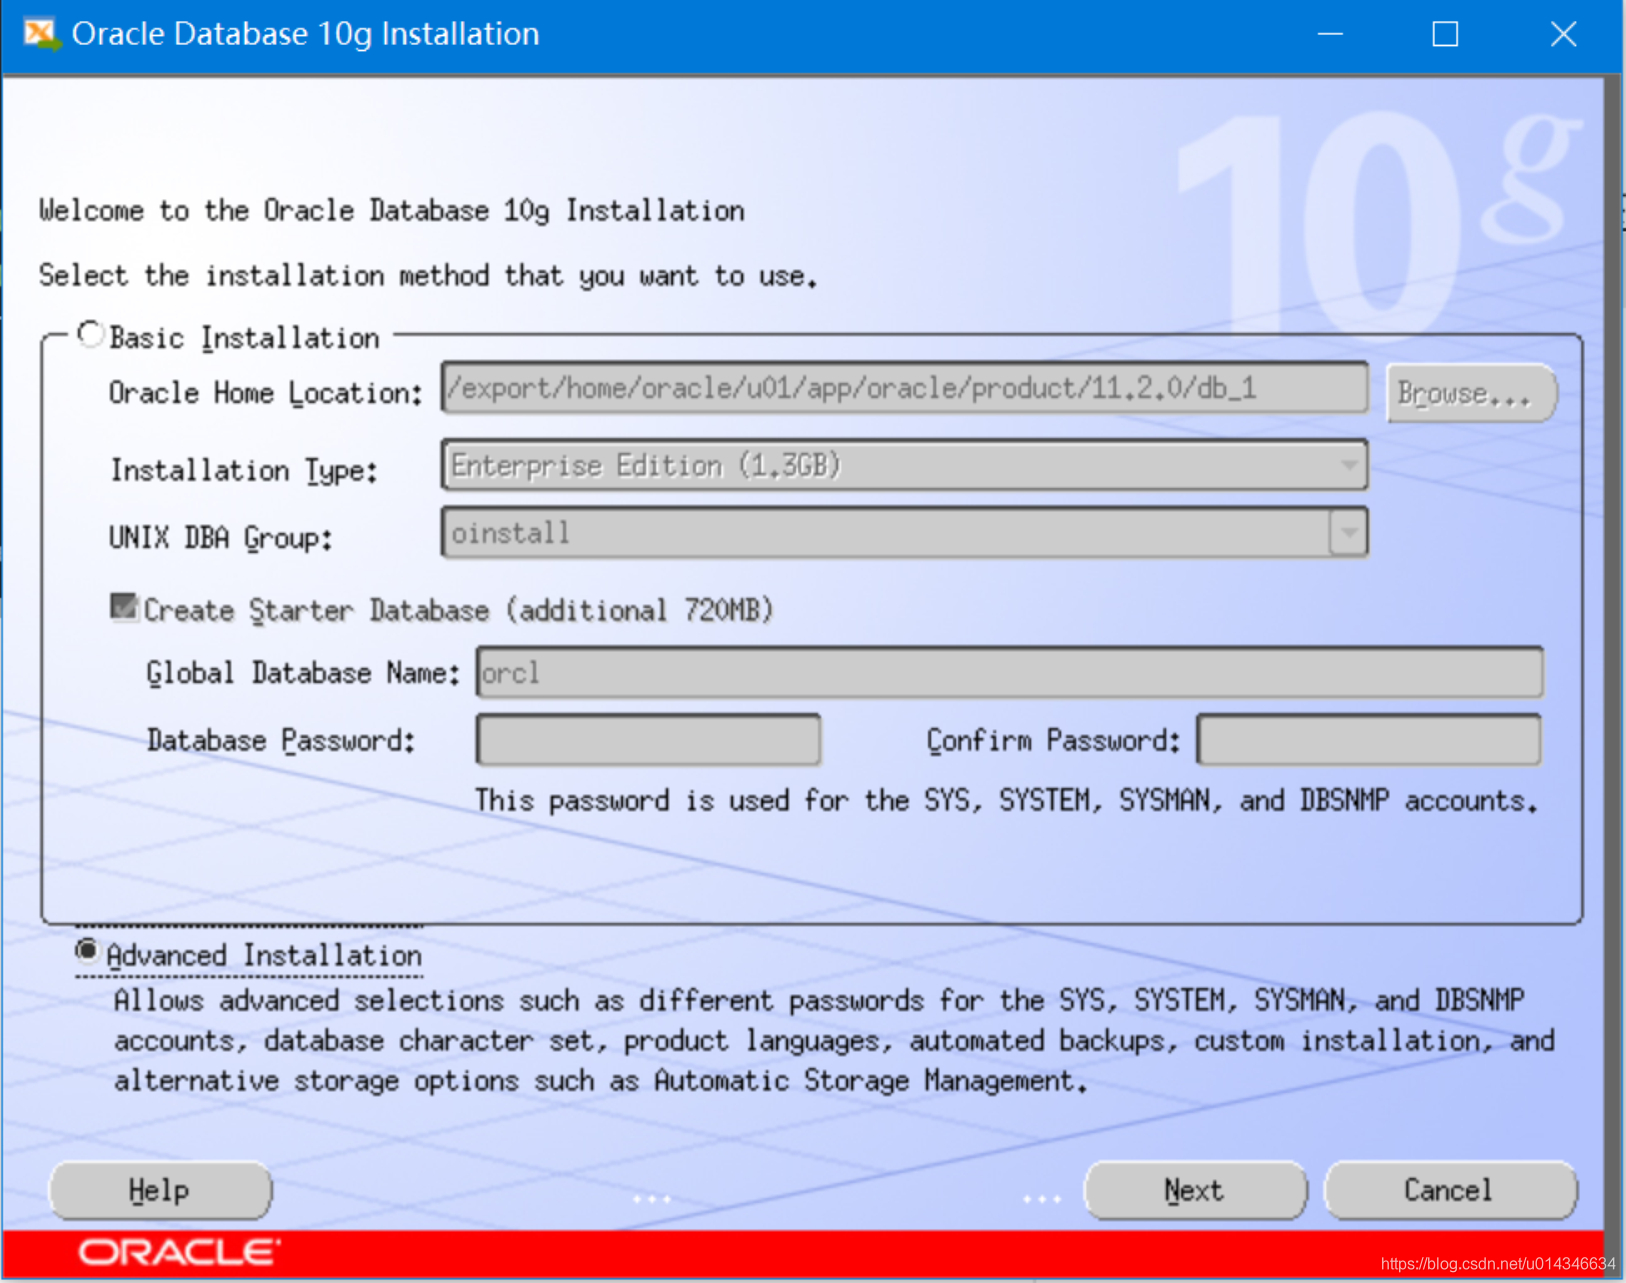
8. 开始安装
[oracle@oracle:/soft/database]# ./runInstaller

Starting Oracle Universal Installer...

Checking installer requirements...

Checking operating system version: must be 5.10.    Actual 5.10

                                      Passed

Checking Temp space: must be greater than 250 MB.   Actual 3640 MB    Passed

Checking swap space: must be greater than 500 MB.   Actual 3875 MB    Passed

Checking monitor: must be configured to display at least 256 colors.    Actual 16777216    Passed

All installer requirements met.

Preparing to launch Oracle Universal Installer from /tmp/OraInstall2020-04-03_12-18-28PM. Please wait ...
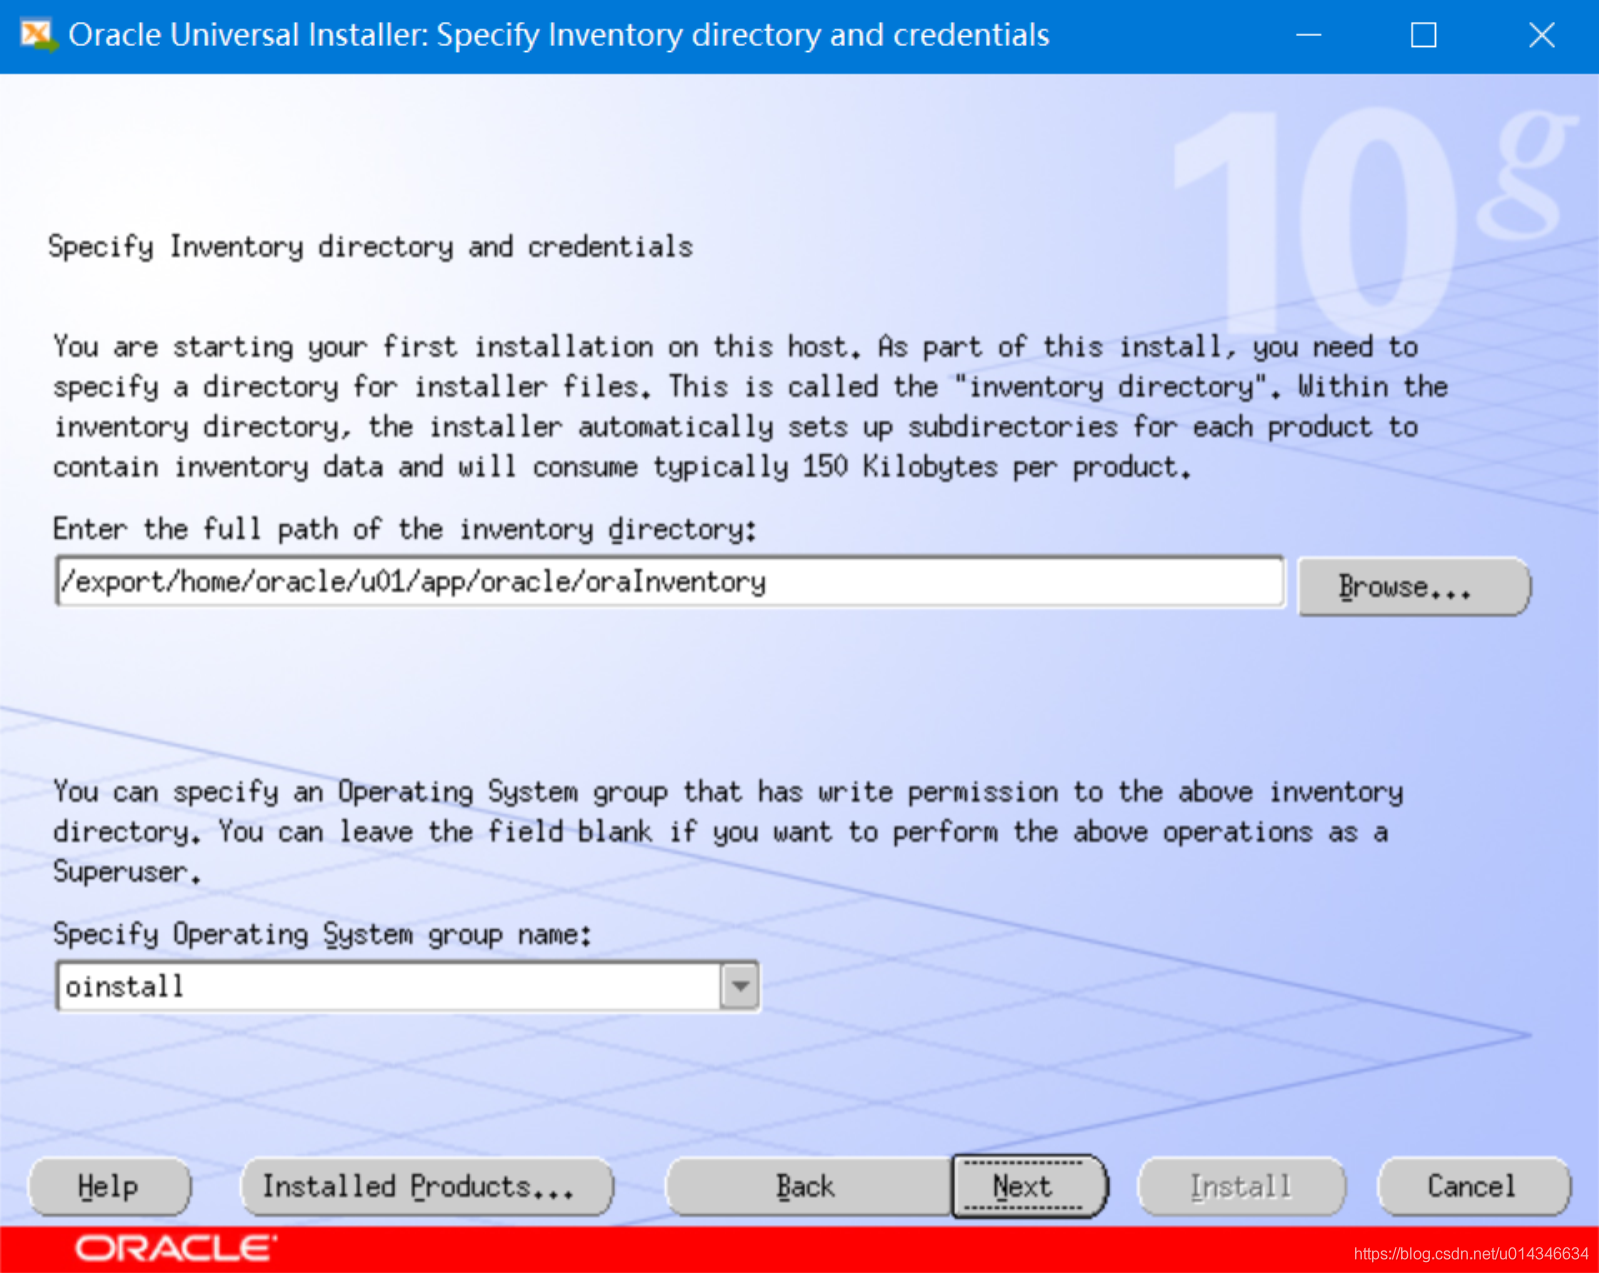
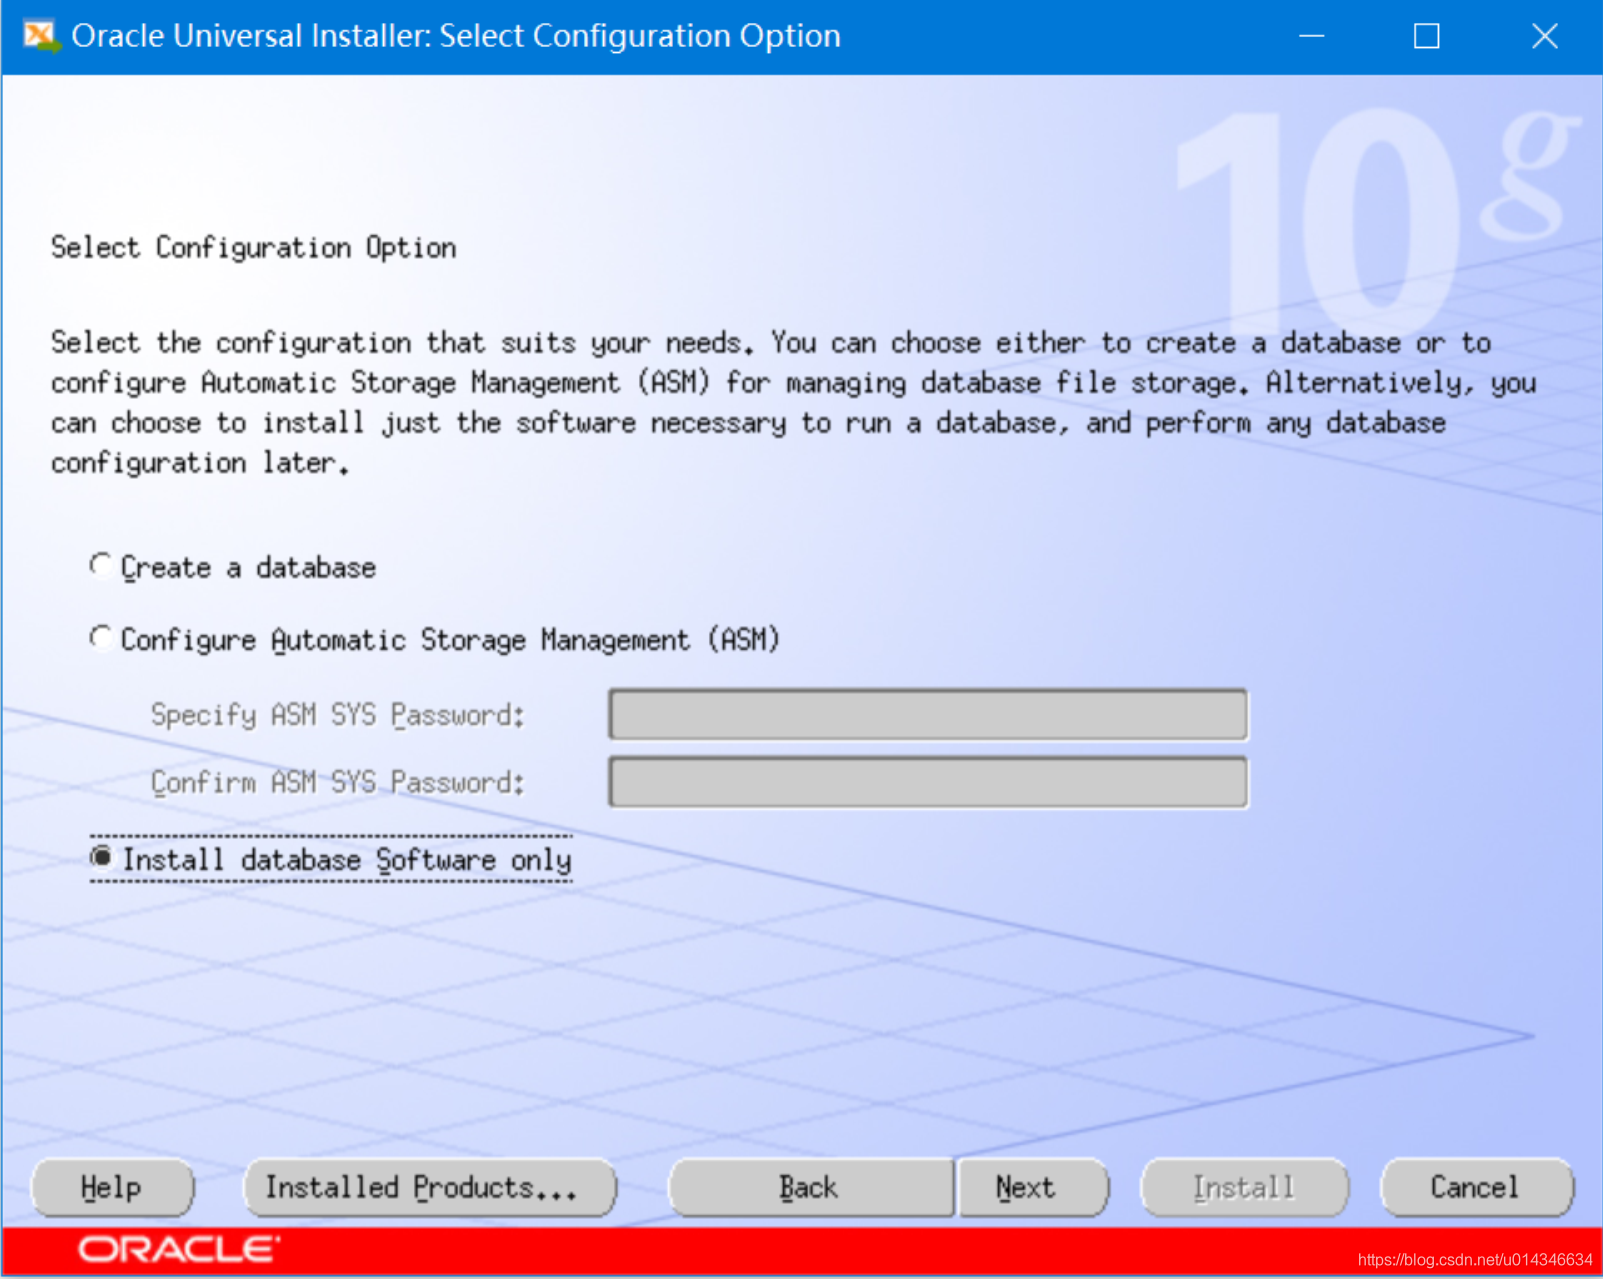
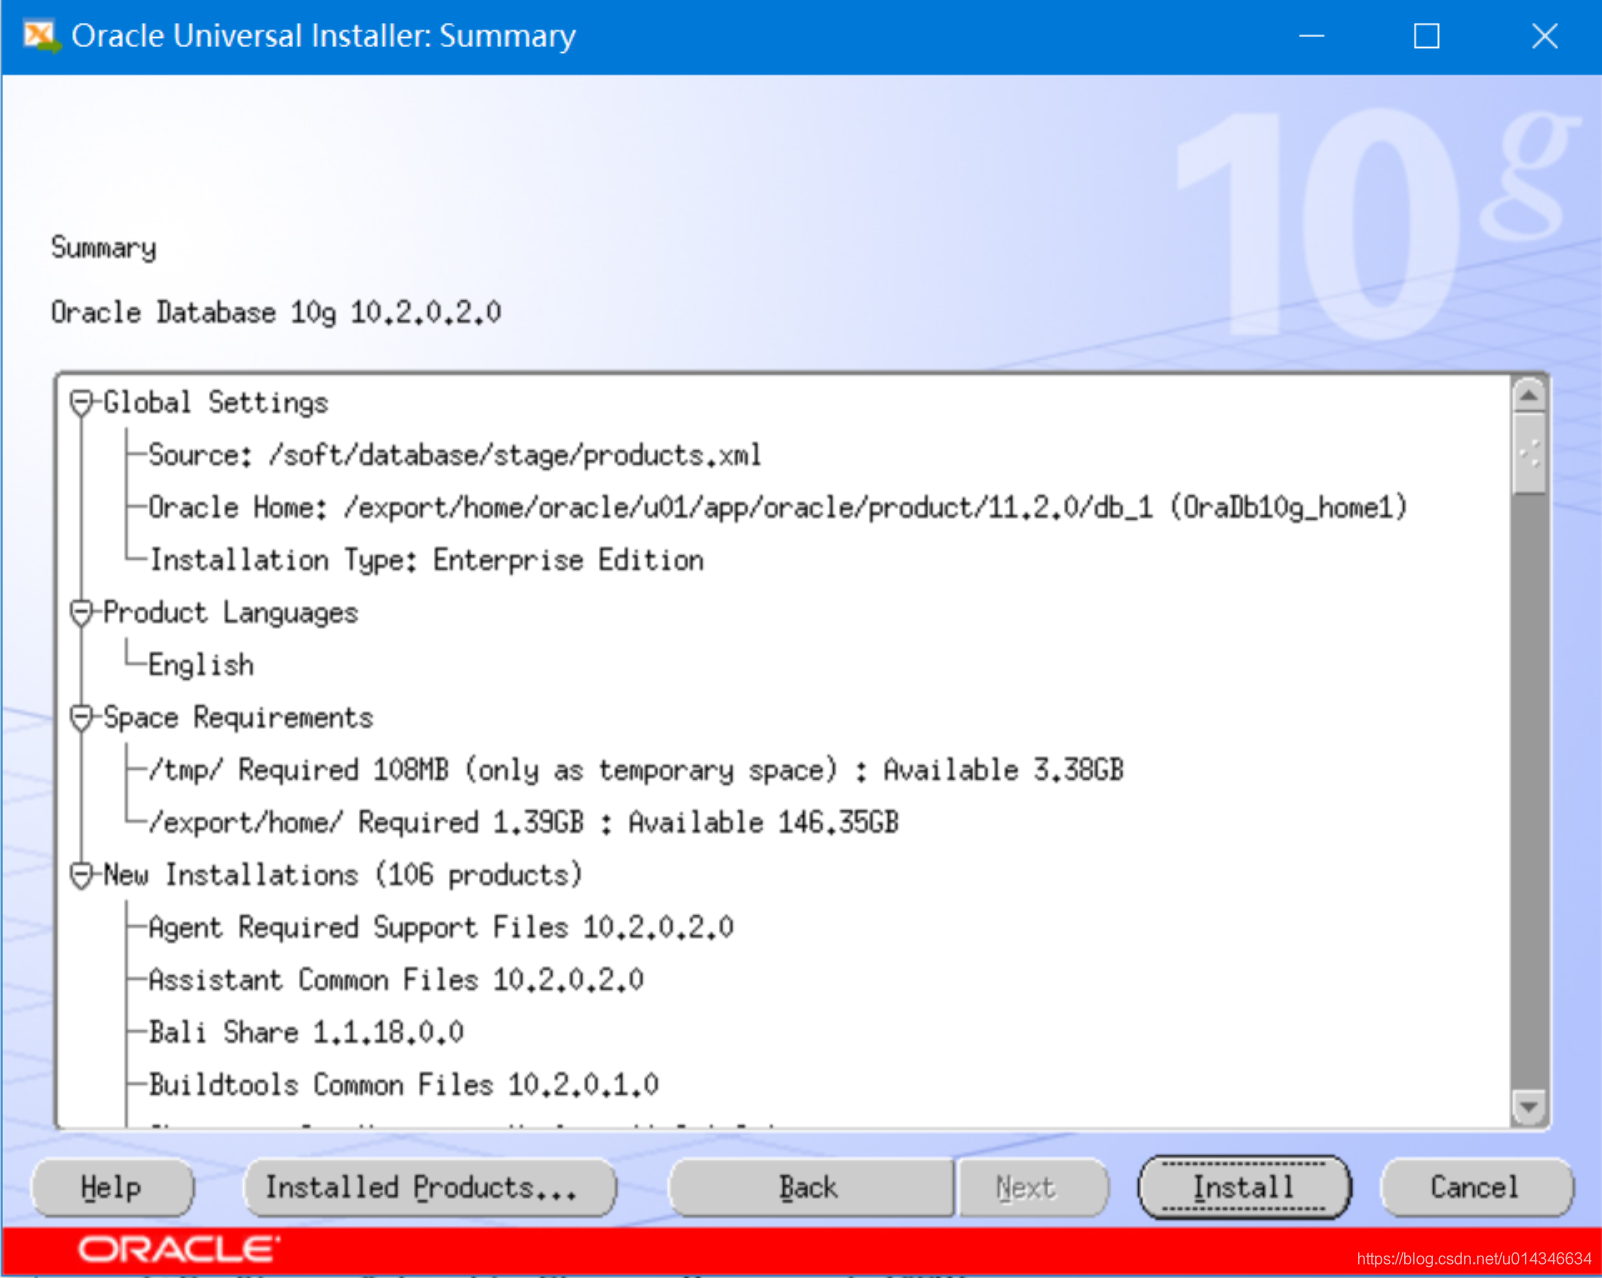
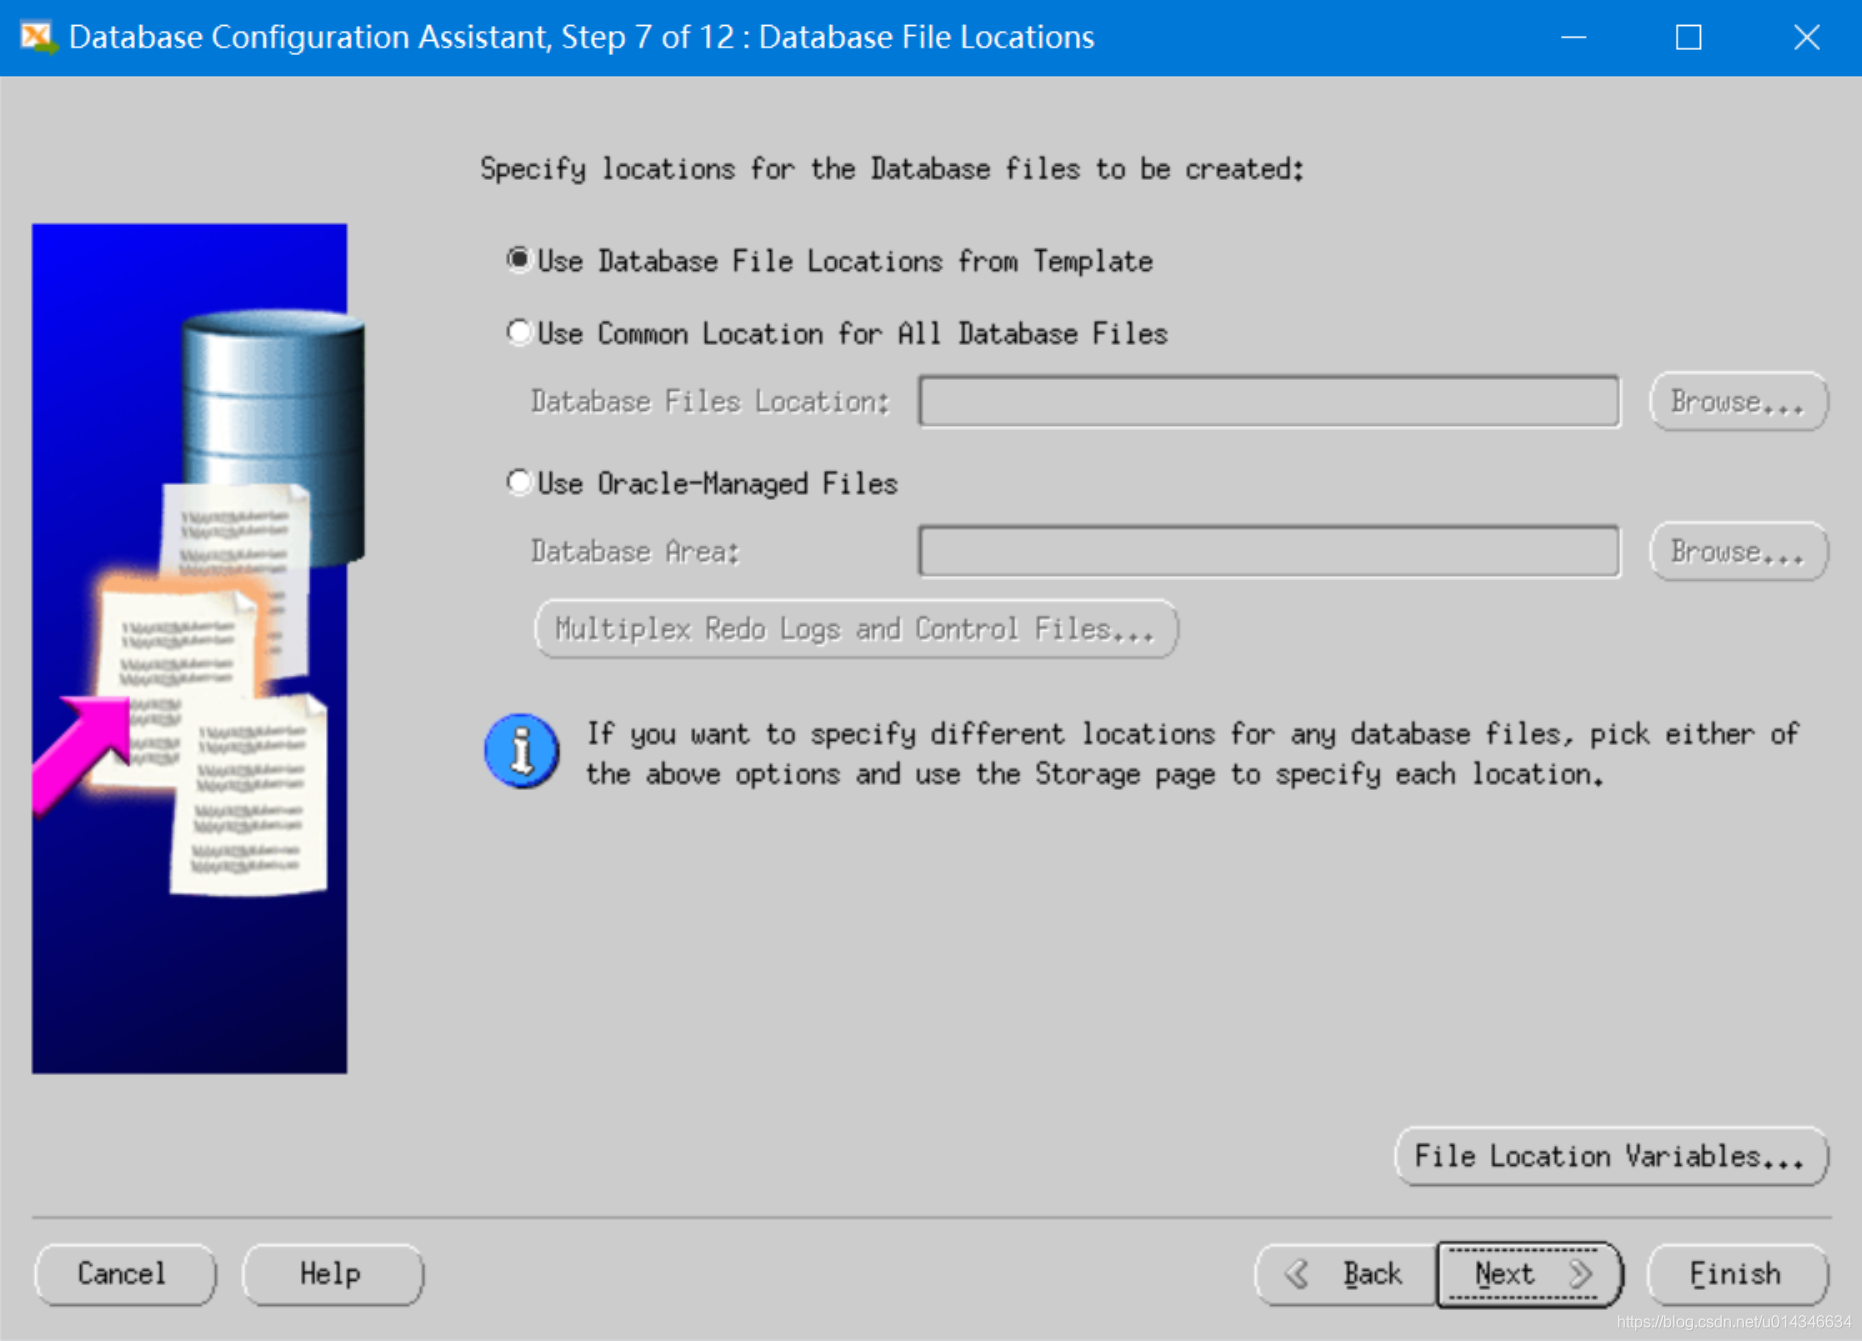
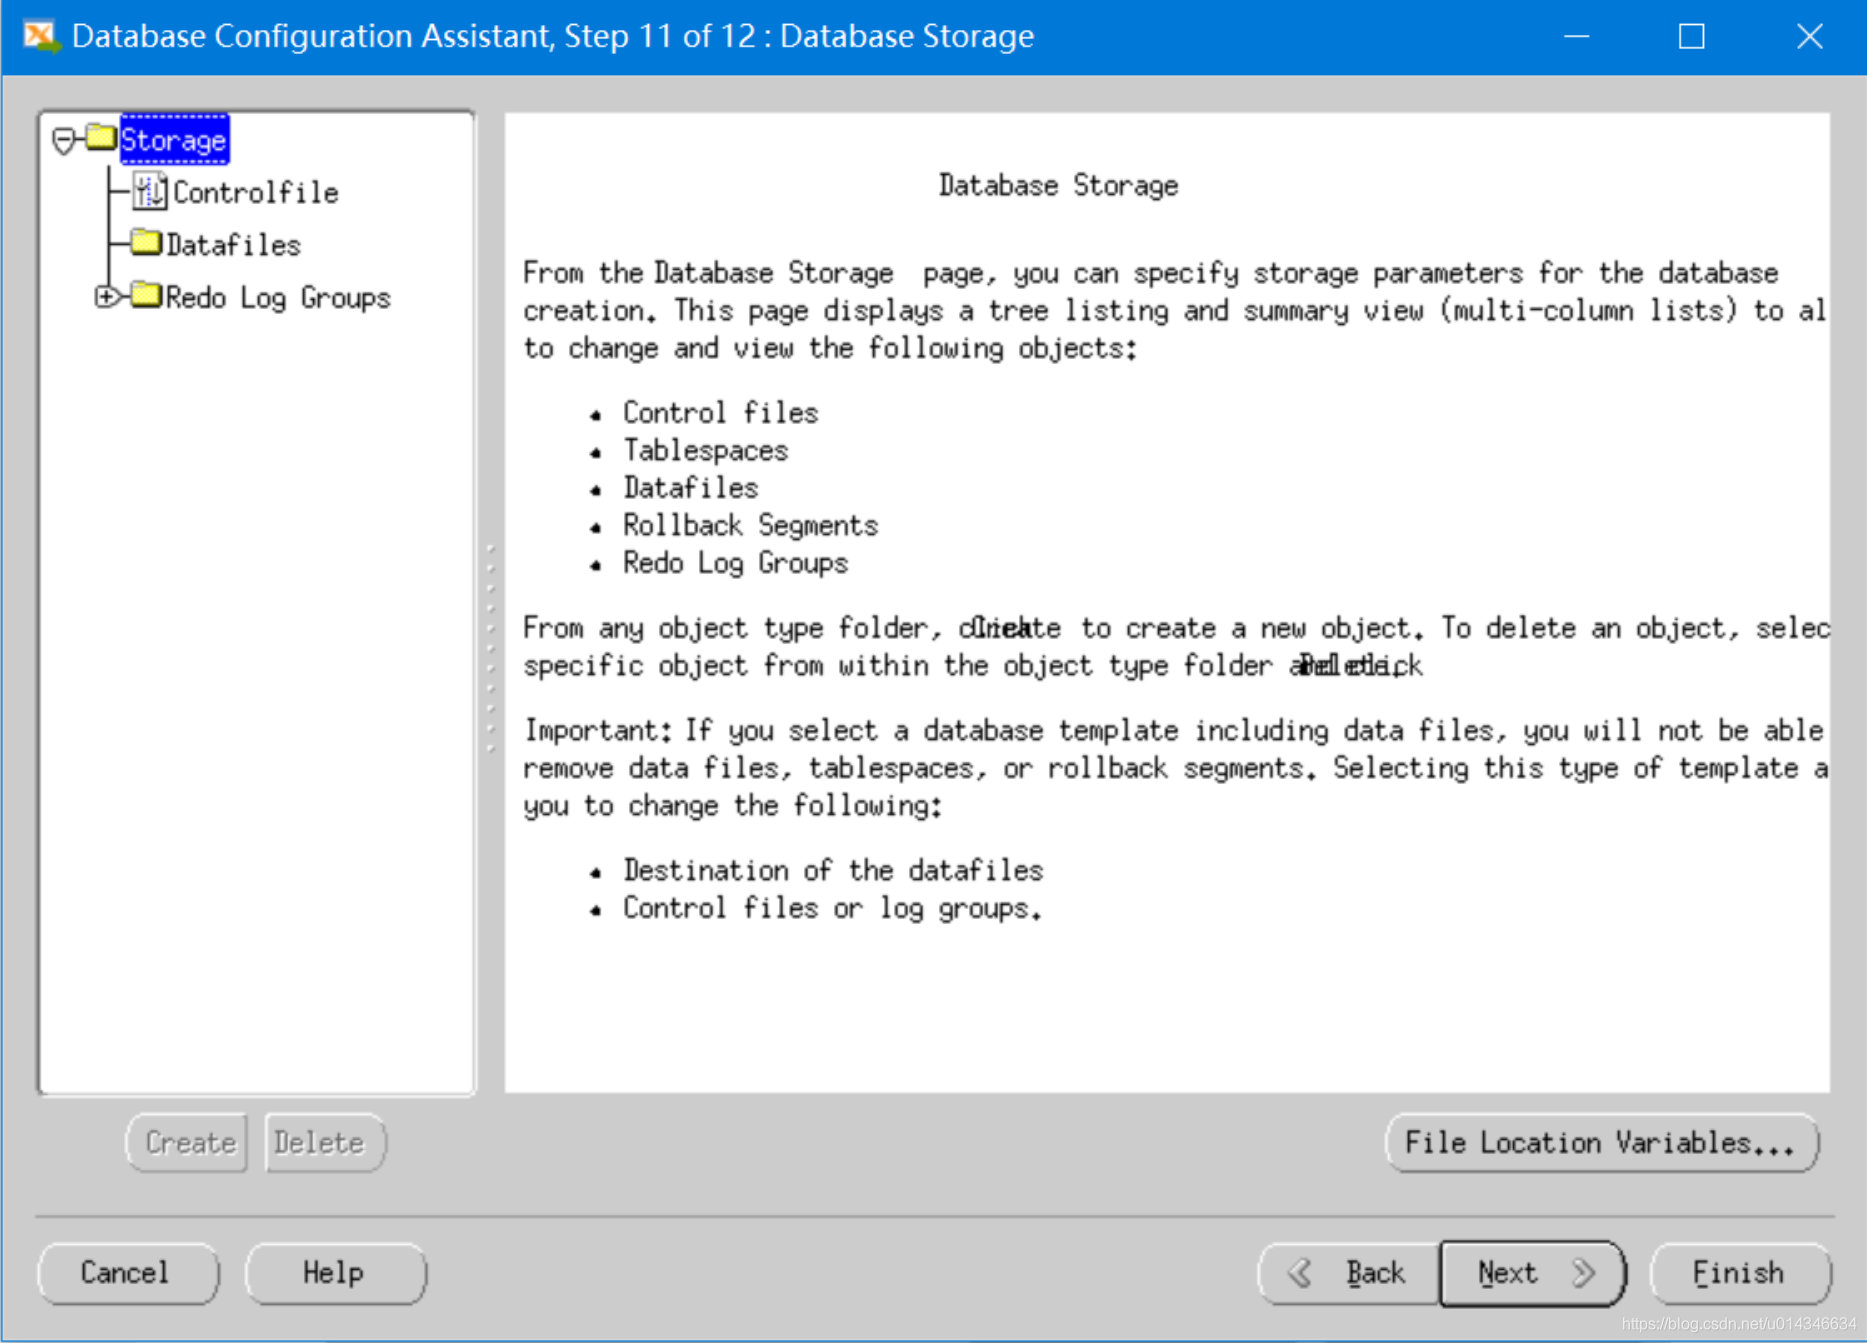
按照接下去截图,没特殊情况直接next即可。
注意目录要对的上。
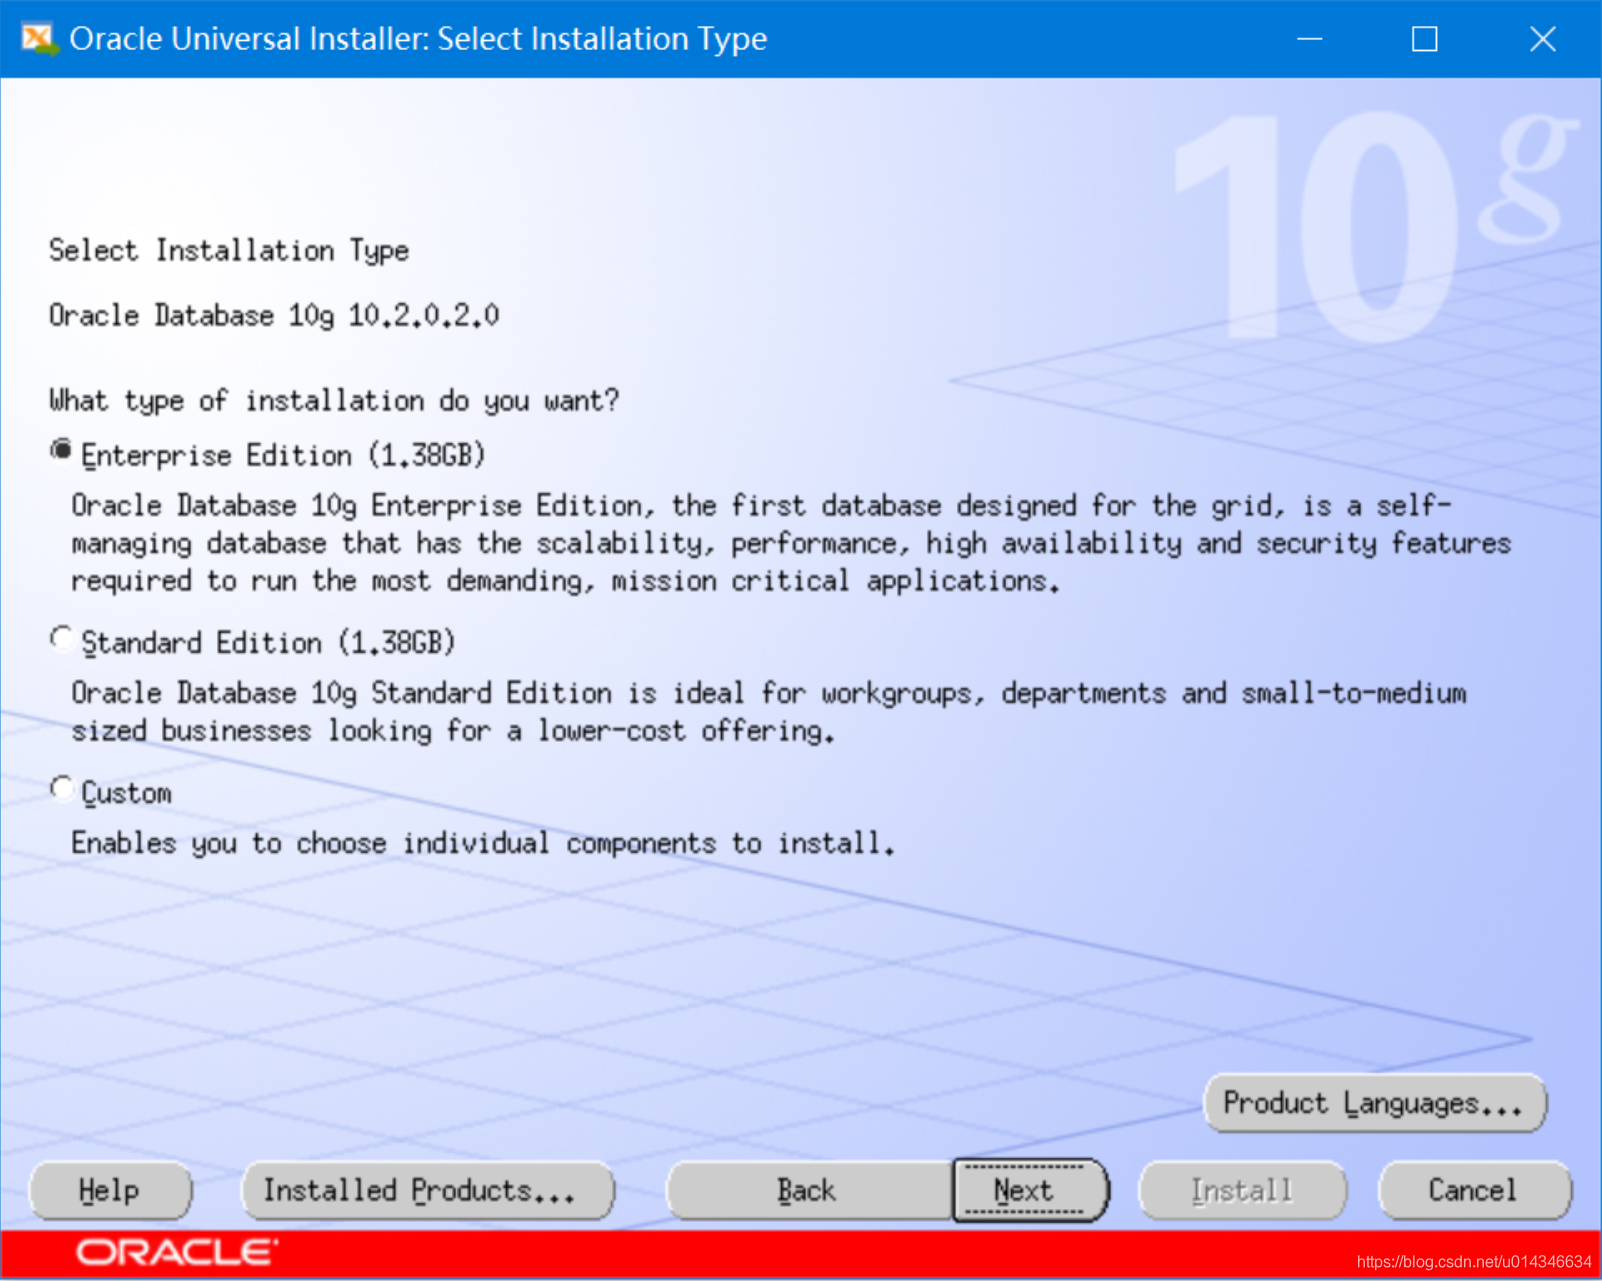
依然是目录要对的上。

我只有一个交换空间不足的警告,可以忽略。
如果有其他的报错能不能忽略要看具体的报错。

出现BUG(如下图报错),在Solaris下安装32位oracle软件出现(64位模式下安装64位oracle软件我没遇到)。
Bug 6791866 - ASSEMBLER CODE GENERATED BY GENNTTAB CAUSES LD ERROR IN LATEST SOLARIS BUILDS
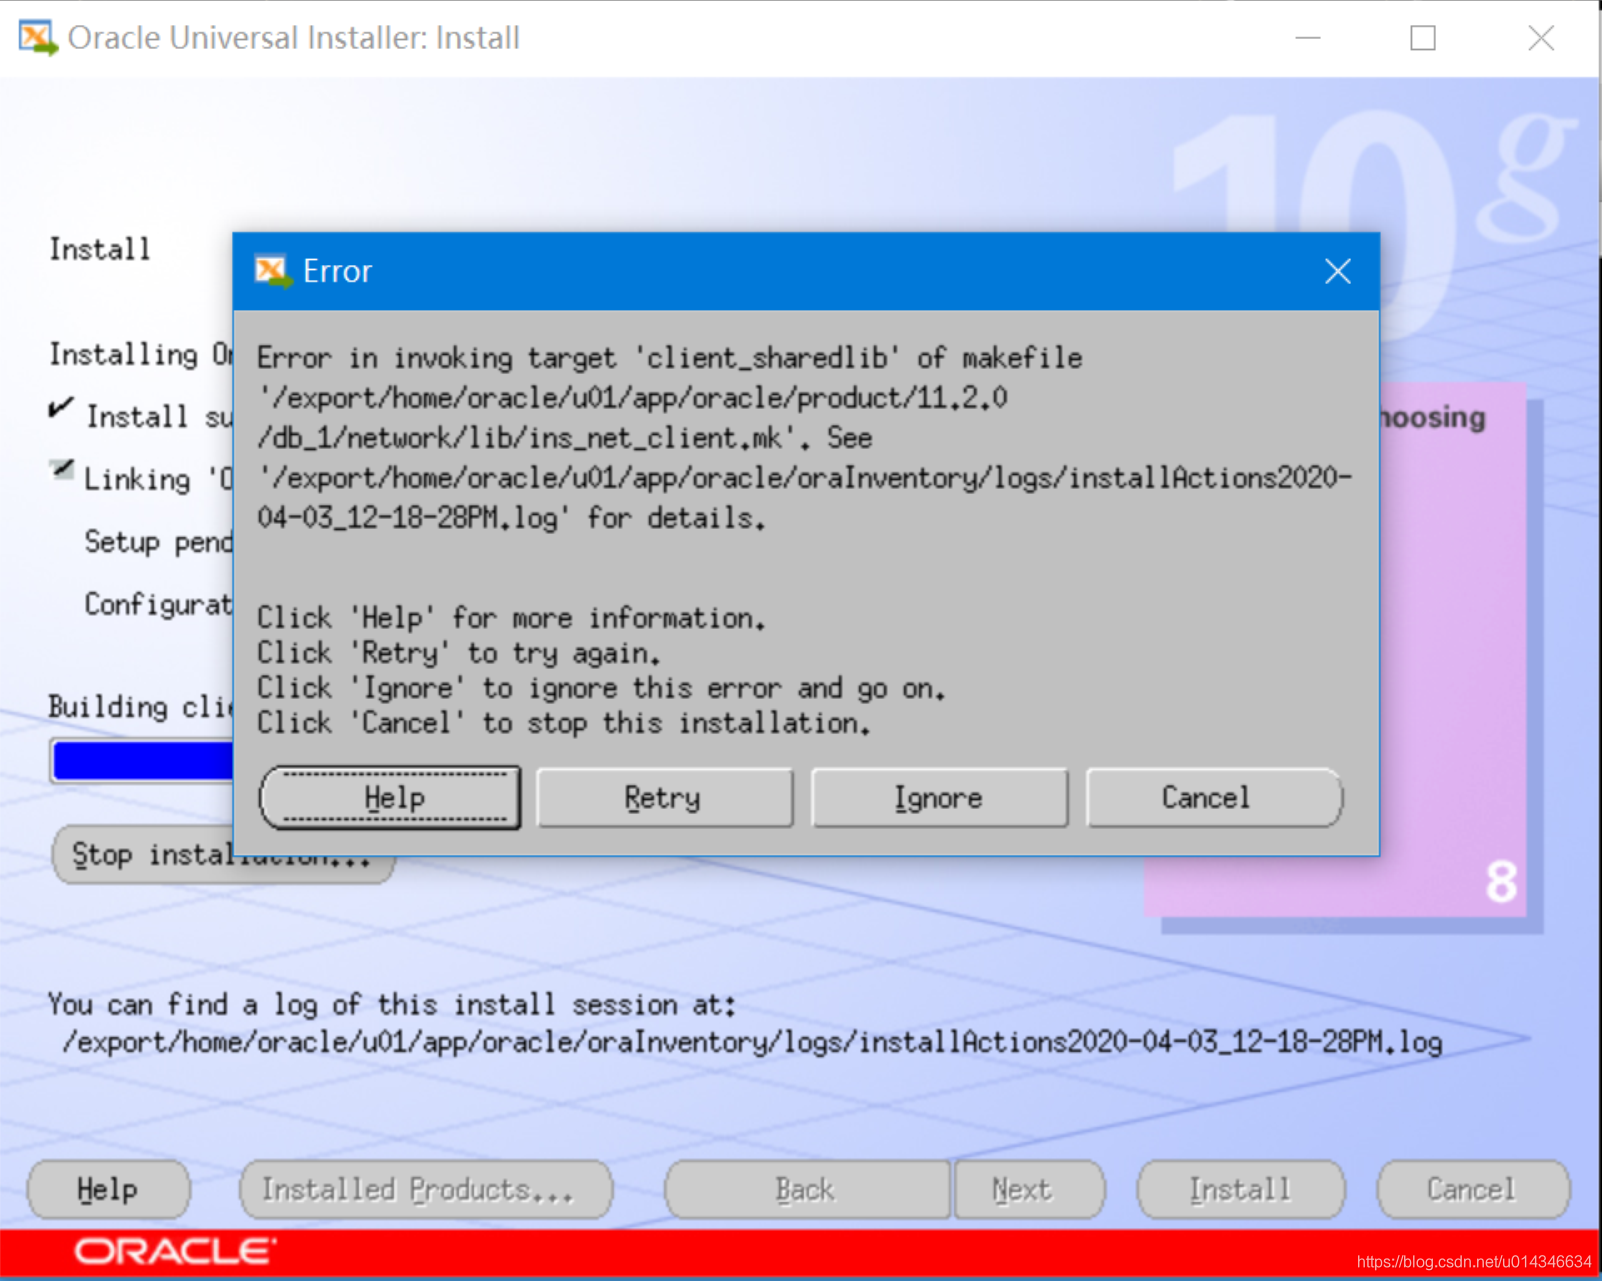
需要做如下处理:
步骤:
- cd $ORACLE_HOME/bin
- cp gennttab gennttab_orig
- vi gennttab
将这段配置中的112改成96- cd $ORACLE_HOME/network/lib
/usr/ccs/bin/make -f ins_net_client.mk ntcontab.o
$ORACLE_HOME/bin/genclntsh- 现在点retry 就好了
[root@oracle:/]# su - oracle

Oracle Corporation      SunOS 5.10      Generic Patch   January 2005

[oracle@oracle:/export/home/oracle]# cd $ORACLE_HOME/bin

[oracle@oracle:/export/home/oracle/u01/app/oracle/product/11.2.0/db_1/bin]# cp gennttab gennttab_orig

[oracle@oracle:/export/home/oracle/u01/app/oracle/product/11.2.0/db_1/bin]# grep 112 gennttab

        .size   ntcontab,112

[oracle@oracle:/export/home/oracle/u01/app/oracle/product/11.2.0/db_1/bin]# vi gennttab

//修改过程略

[oracle@oracle:/export/home/oracle/u01/app/oracle/product/11.2.0/db_1/bin]# grep 96 gennttab

        .size   ntcontab,96

        .ident  "@(#)machtypes.h        1.7     96/05/23 SMI"

[oracle@oracle:/export/home/oracle]# cd $ORACLE_HOME/network/lib

[oracle@oracle:/export/home/oracle/u01/app/oracle/product/11.2.0/db_1/network/lib]# /usr/ccs/bin/make -f ins_net_client.mk ntcontab.o

//输出内容略

[oracle@oracle:/export/home/oracle/u01/app/oracle/product/11.2.0/db_1/network/lib]# $ORACLE_HOME/bin/genclntsh
点击retry继续下一步安装。
先别点OK。
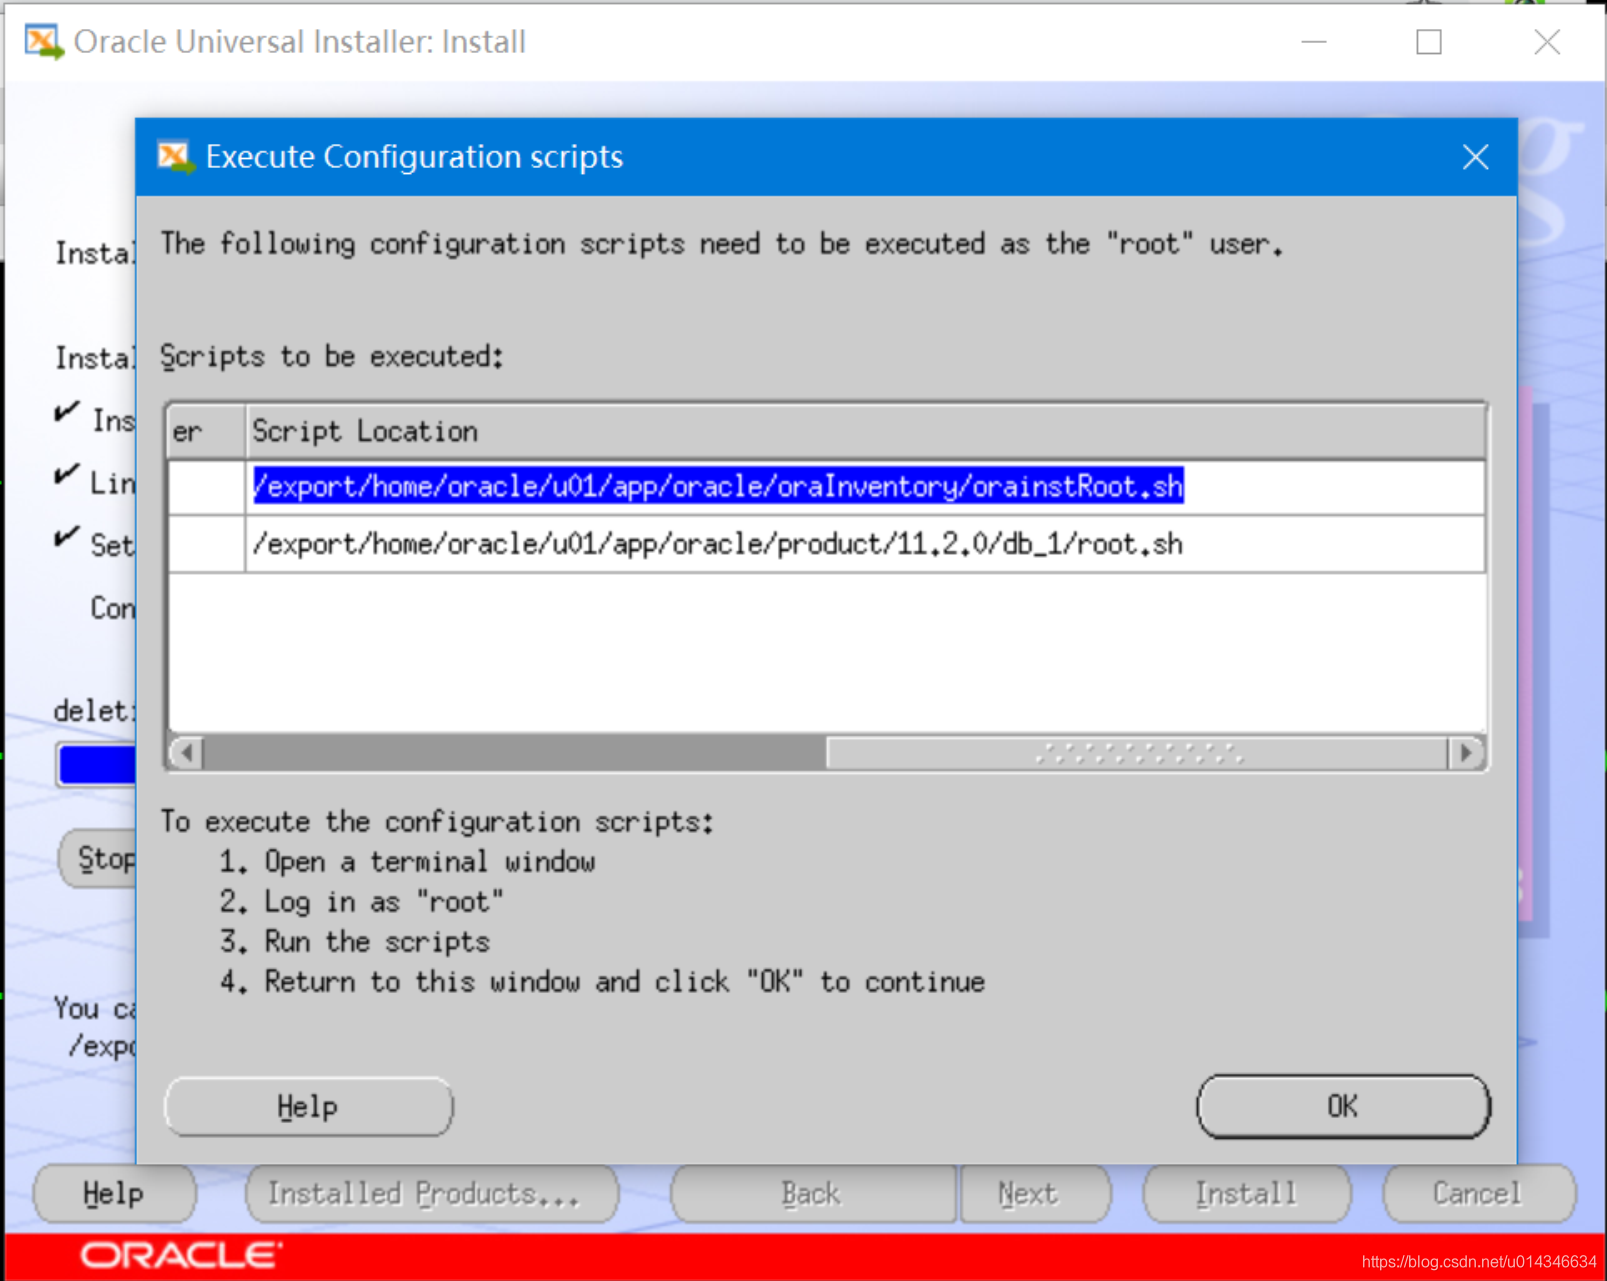
使用root用户跑完脚本。
[root@oracle:/]# /export/home/oracle/u01/app/oracle/oraInventory/orainstRoot.sh

Changing permissions of /export/home/oracle/u01/app/oracle/oraInventory to 770.

Changing groupname of /export/home/oracle/u01/app/oracle/oraInventory to oinstall.

The execution of the script is complete

[root@oracle:/]# /export/home/oracle/u01/app/oracle/product/11.2.0/db_1/root.sh

Running Oracle 10g root.sh script...

The following environment variables are set as:

    ORACLE_OWNER= oracle

    ORACLE_HOME=  /export/home/oracle/u01/app/oracle/product/11.2.0/db_1

Enter the full pathname of the local bin directory: [/usr/local/bin]:

   Copying dbhome to /usr/local/bin ...

   Copying oraenv to /usr/local/bin ...

   Copying coraenv to /usr/local/bin ...

Creating /var/opt/oracle/oratab file...

Entries will be added to the /var/opt/oracle/oratab file as needed by

Database Configuration Assistant when a database is created

Finished running generic part of root.sh script.

Now product-specific root actions will be performed.

[root@oracle:/]#
点’OK’结束,然后exit。
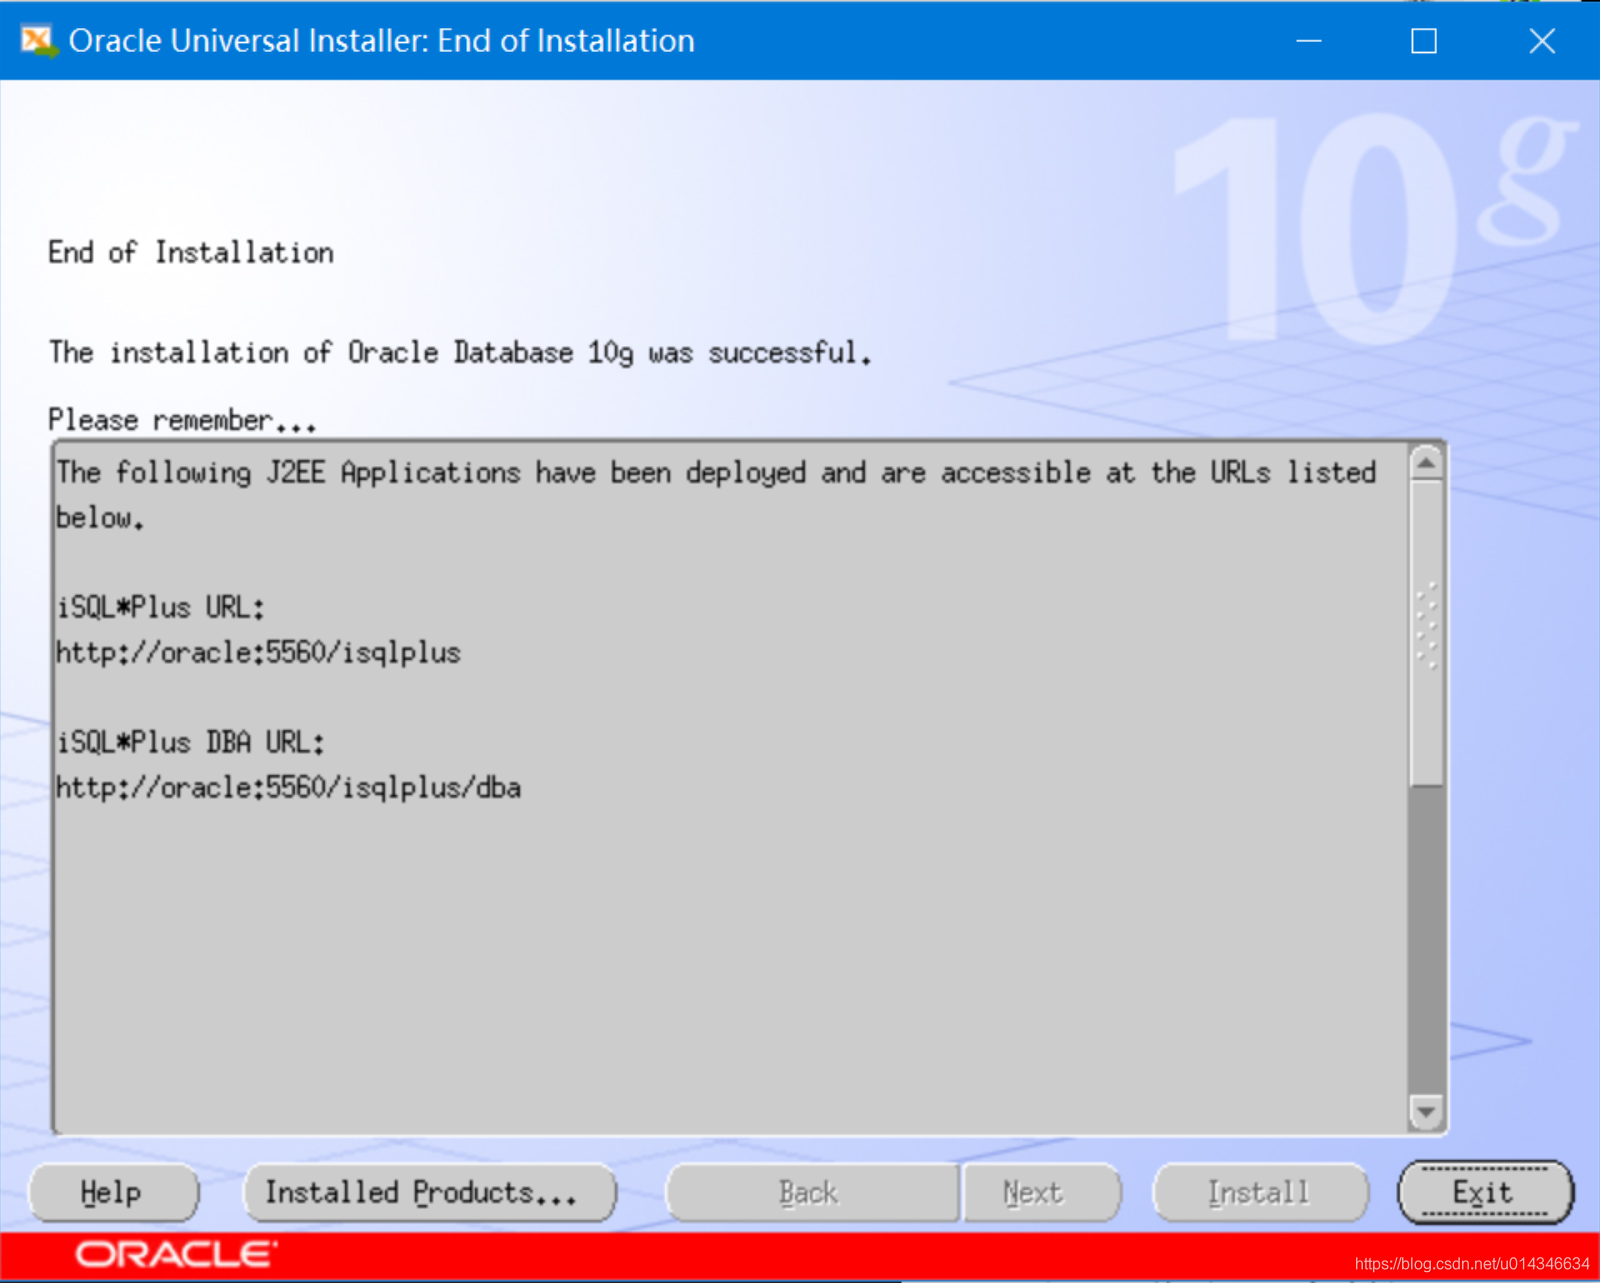
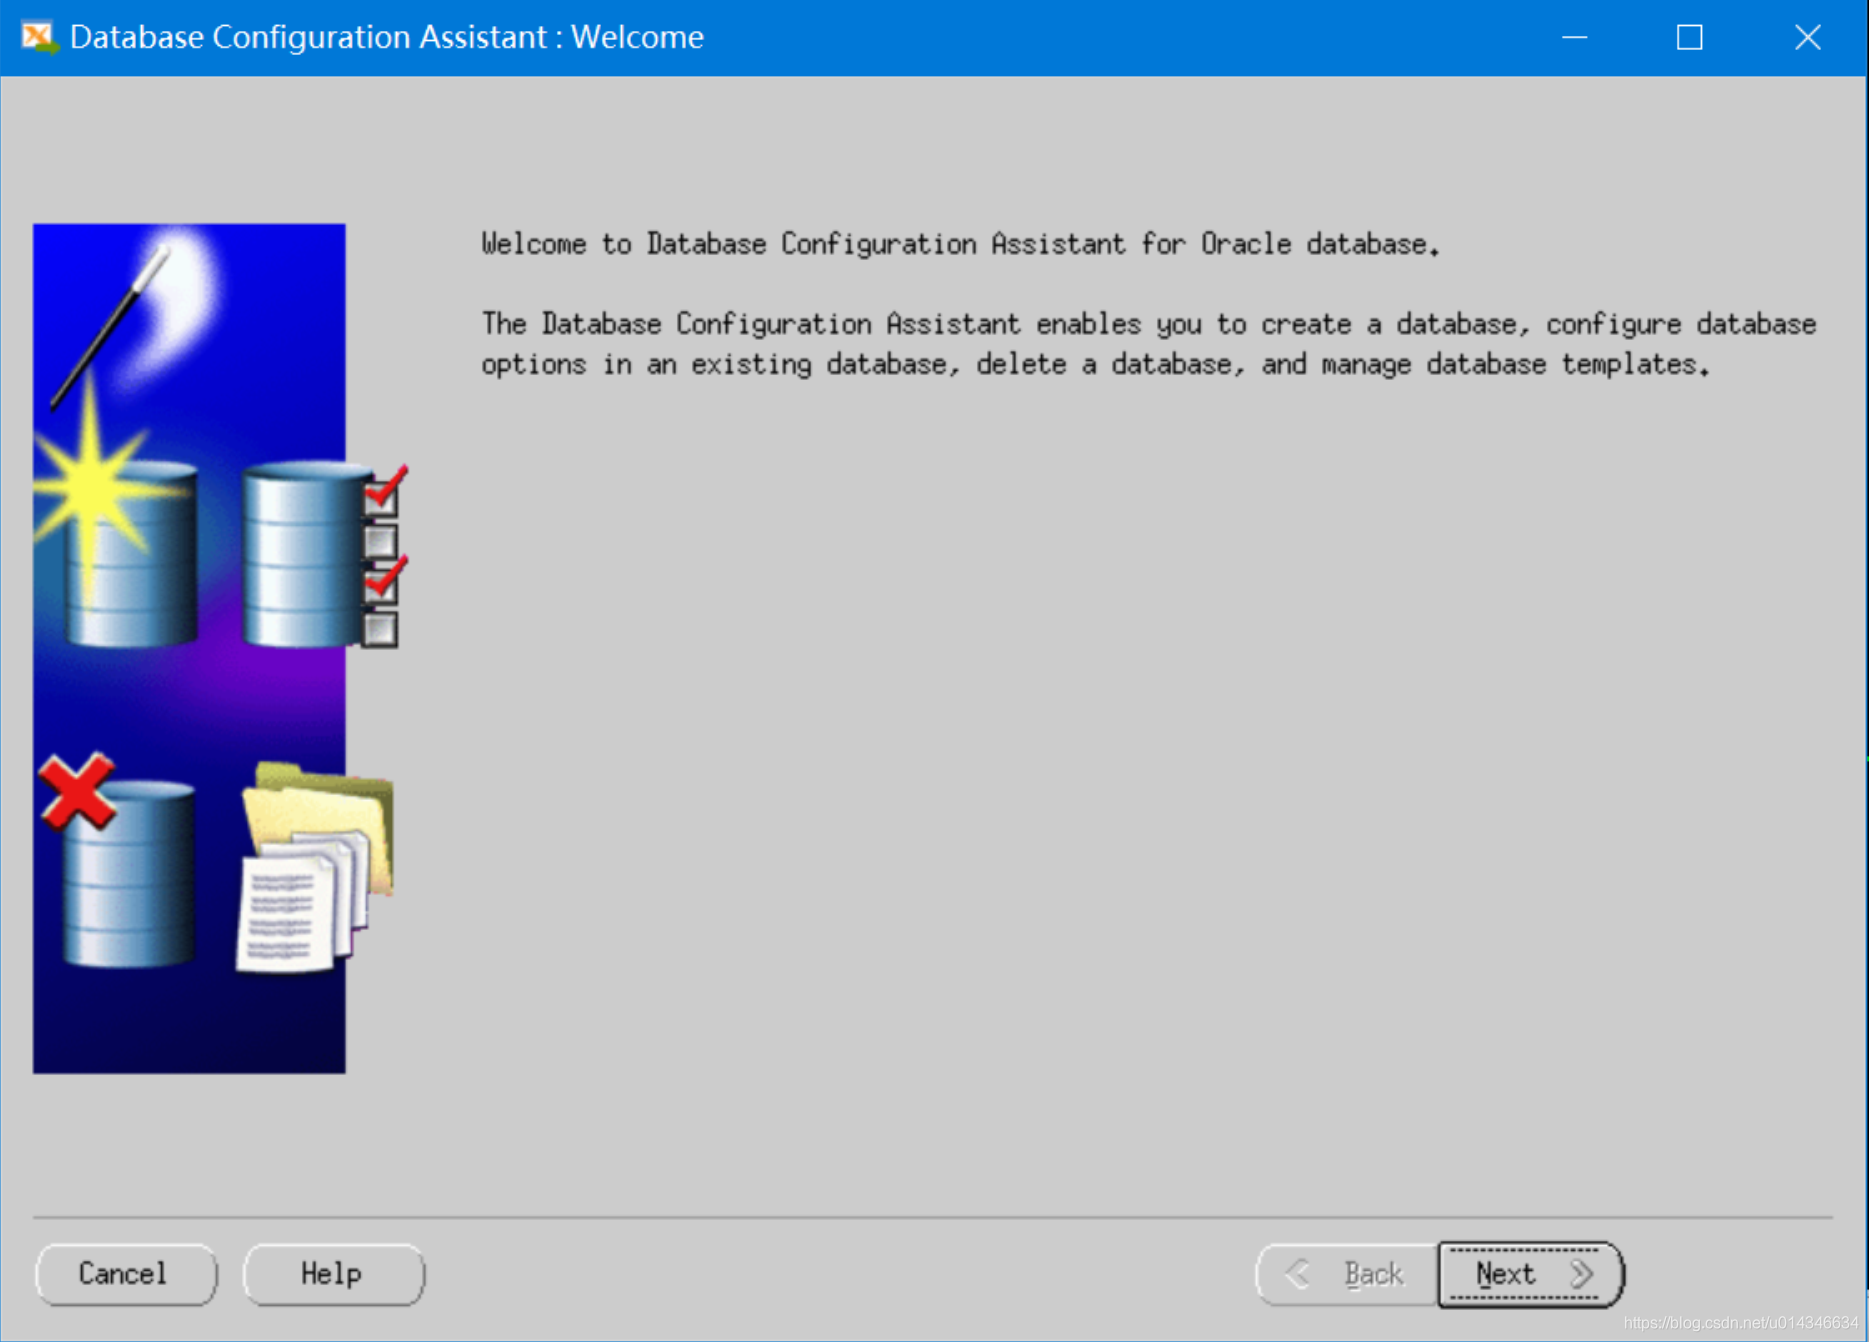
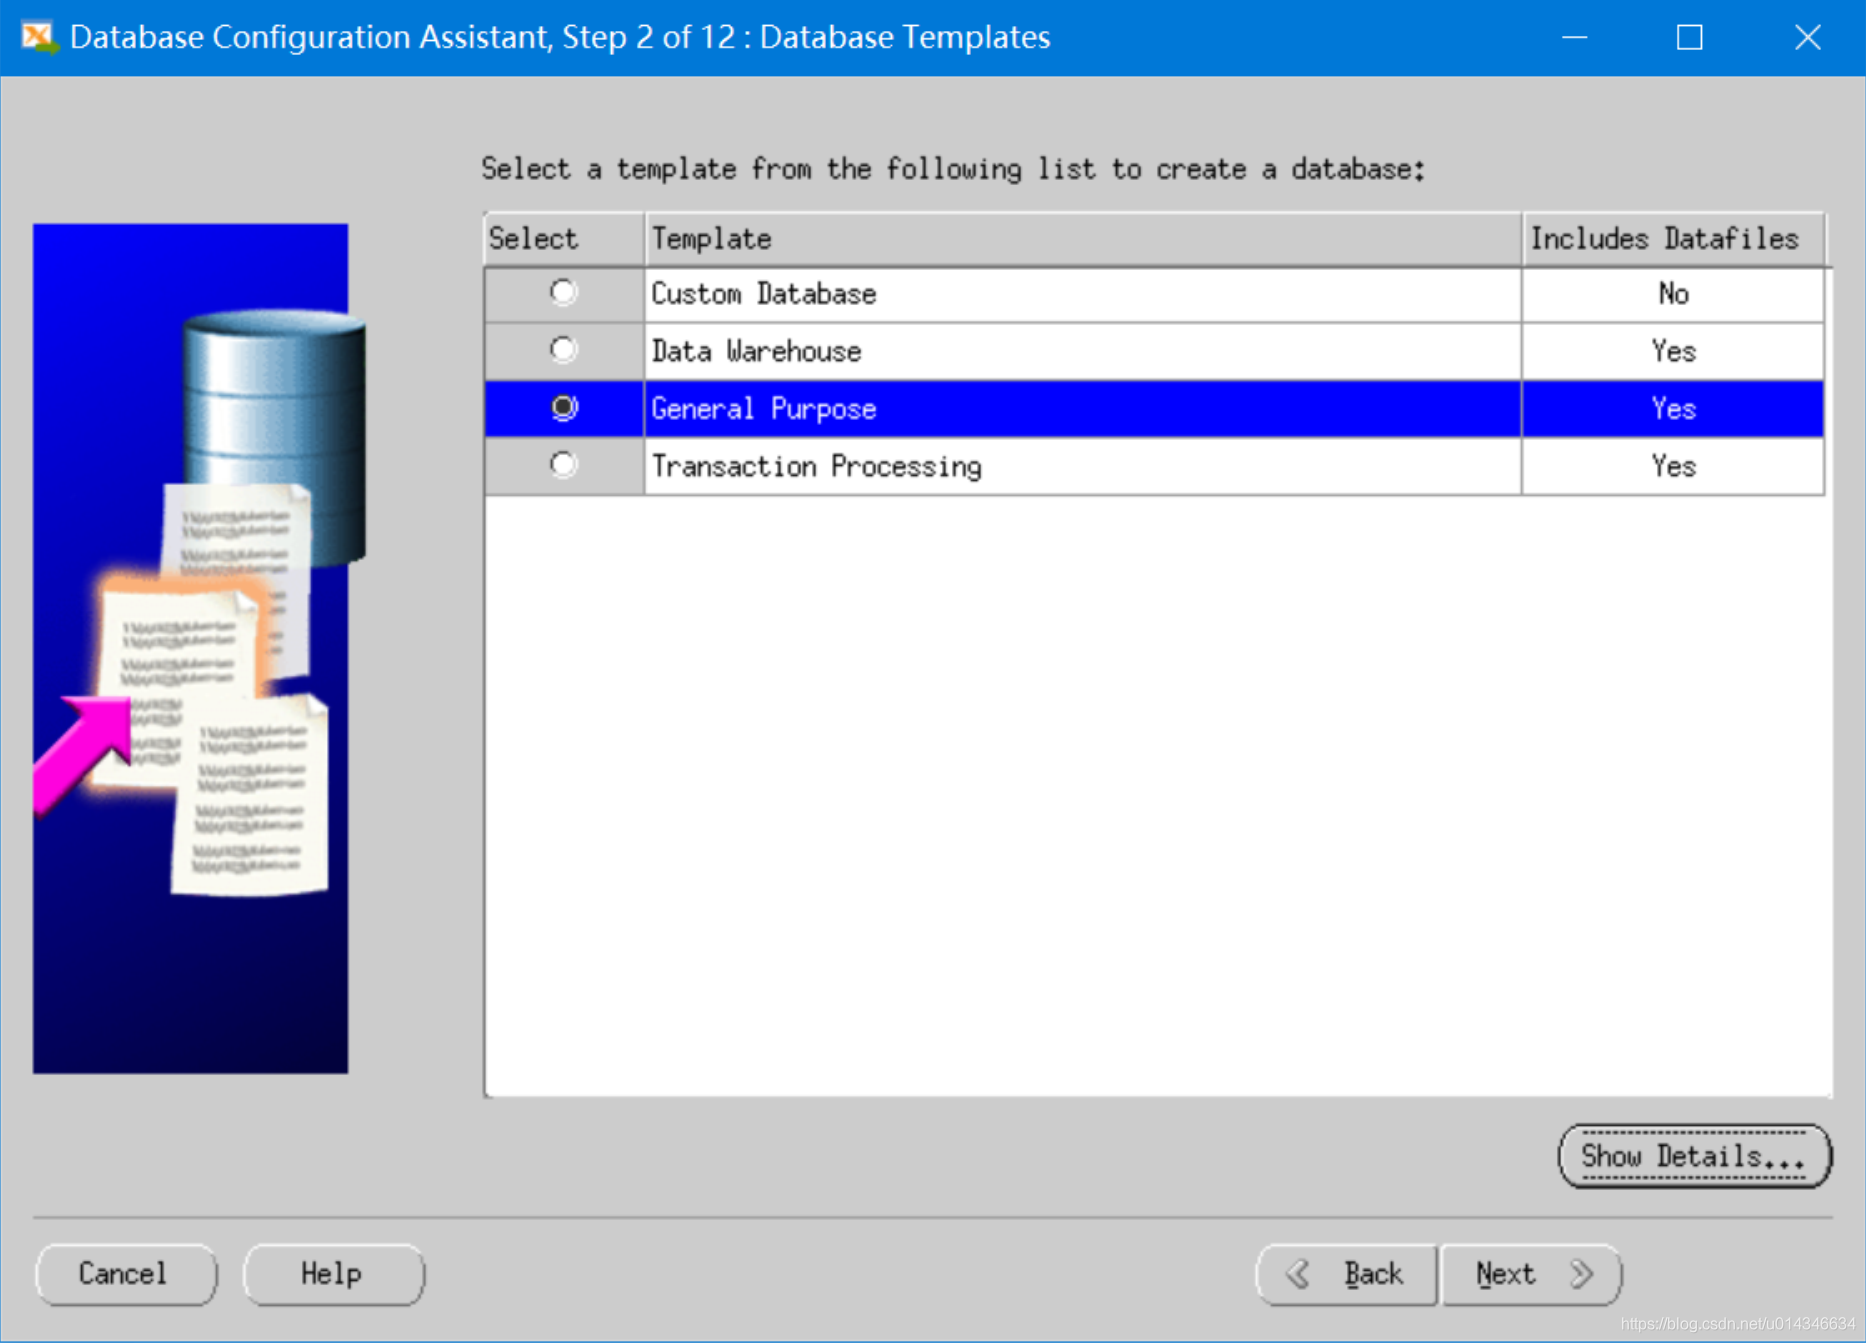
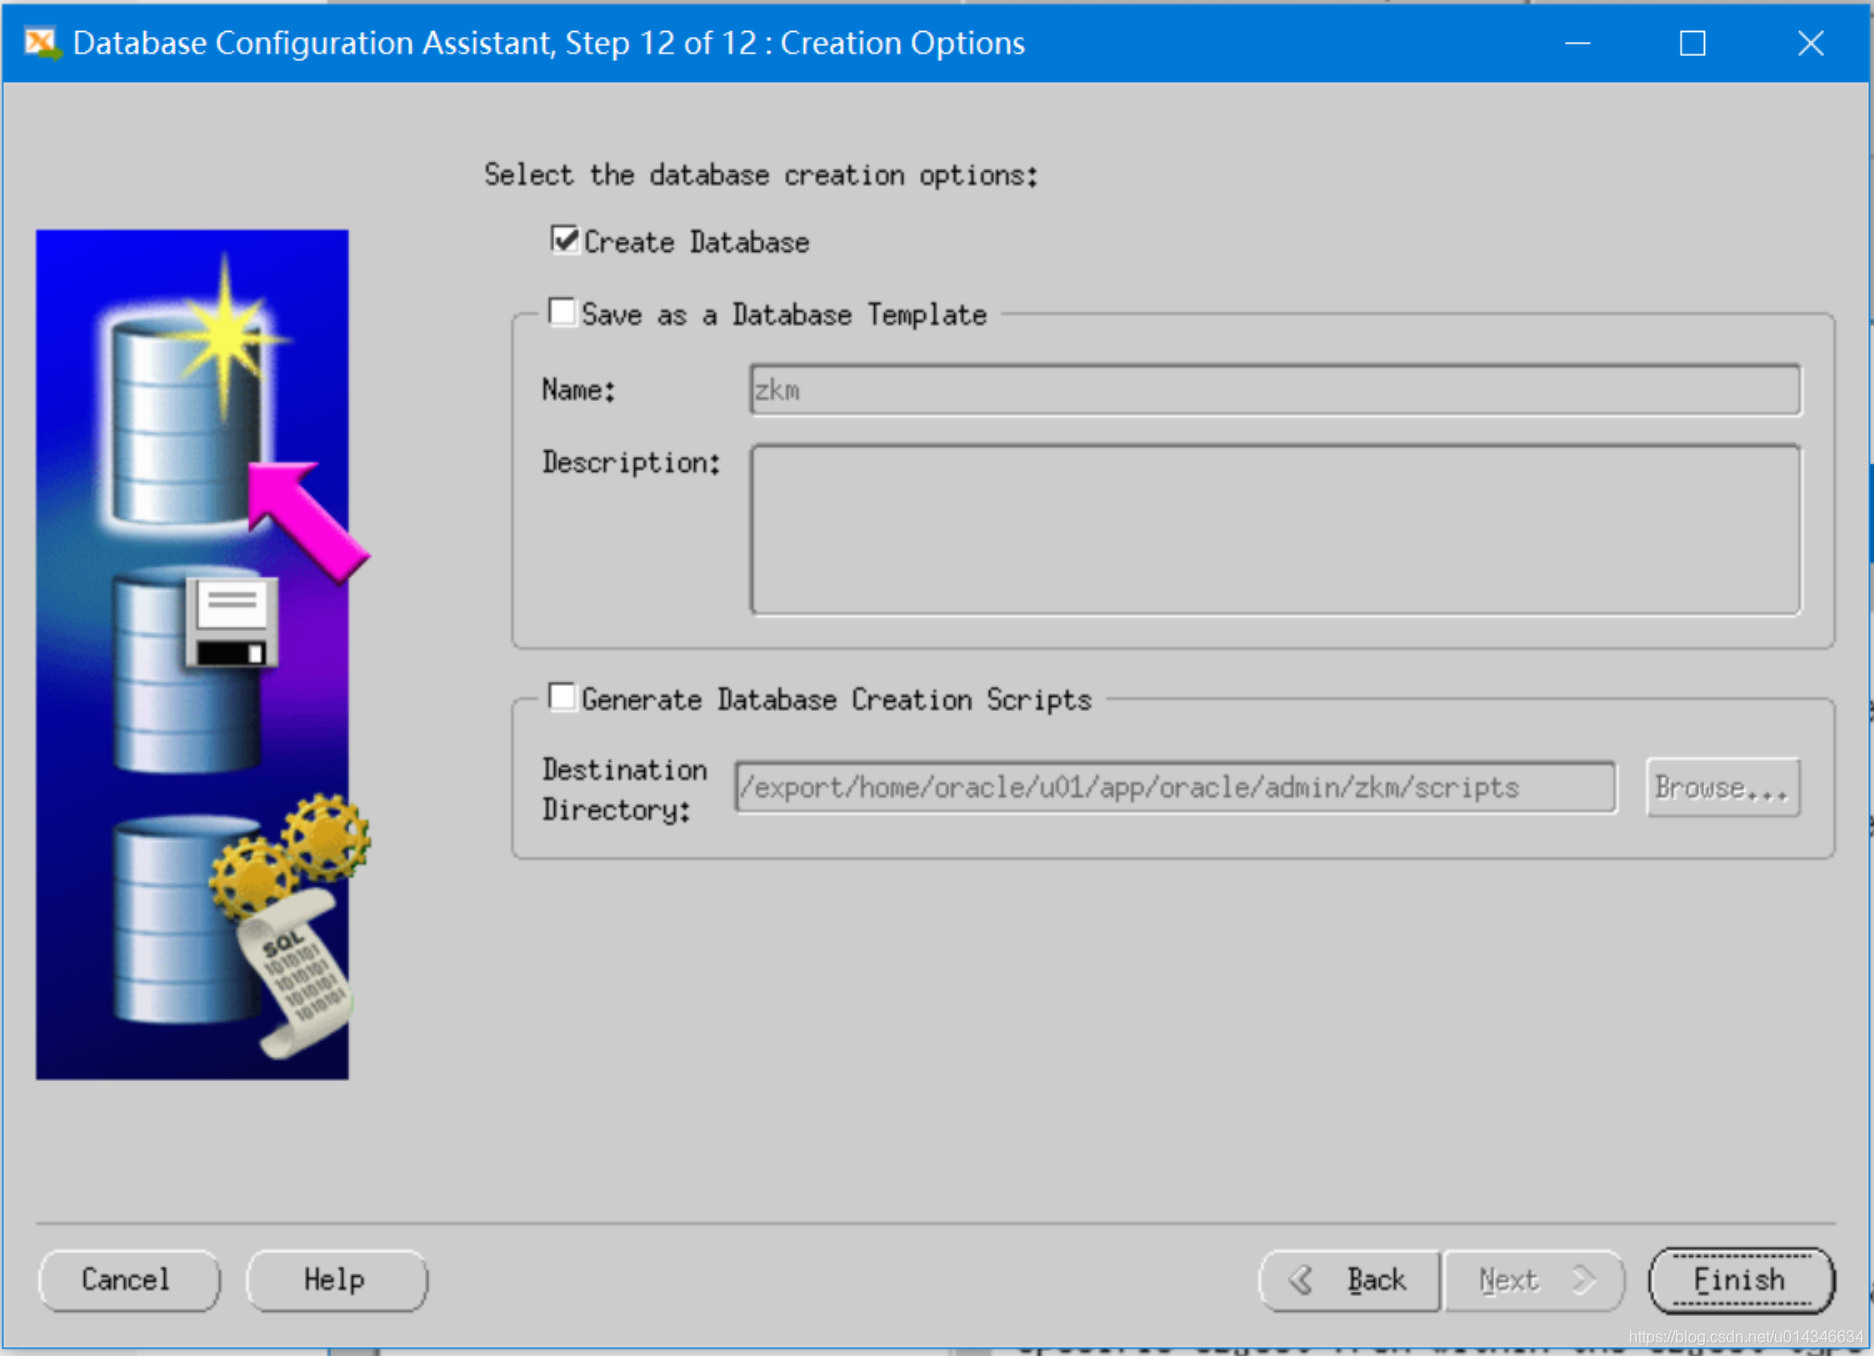
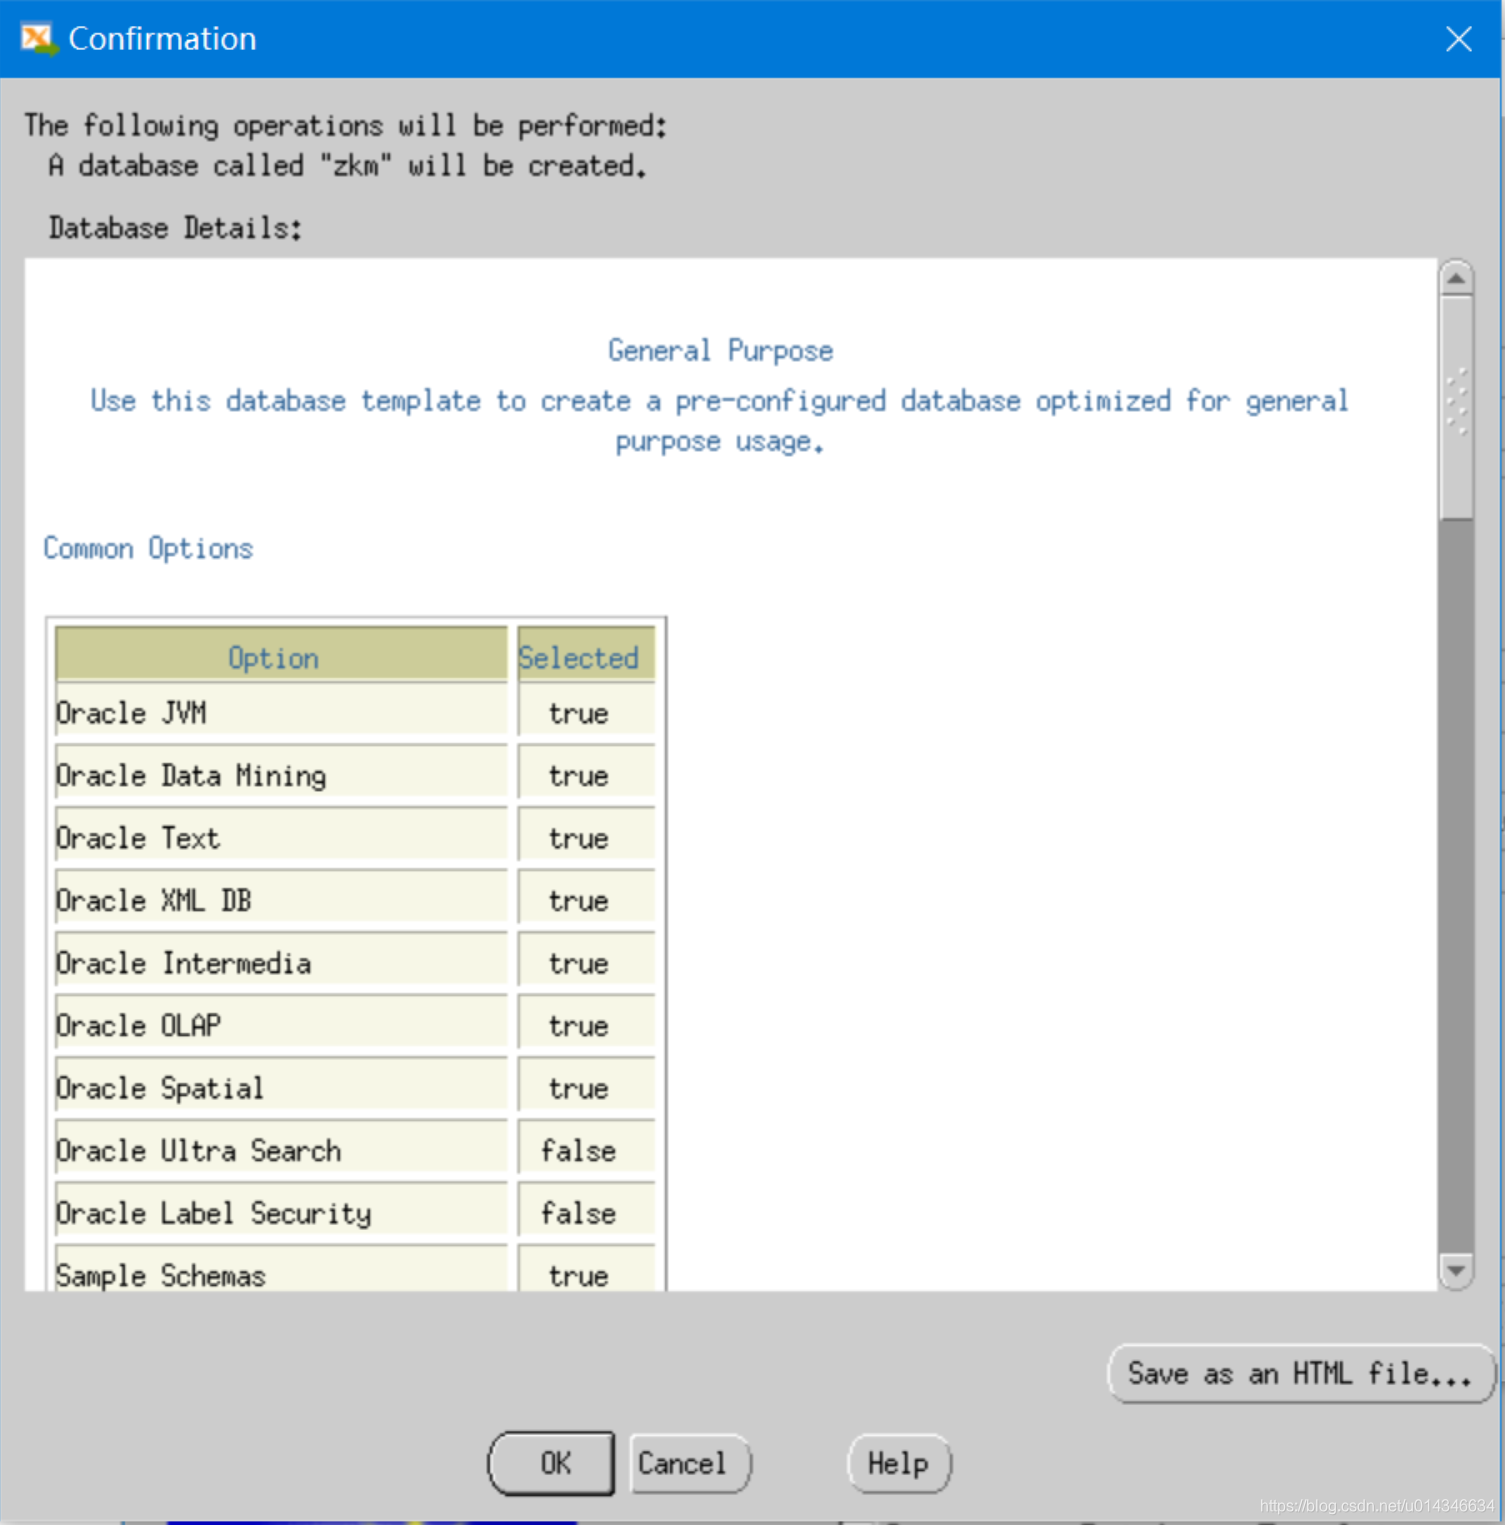
9. dbca建库
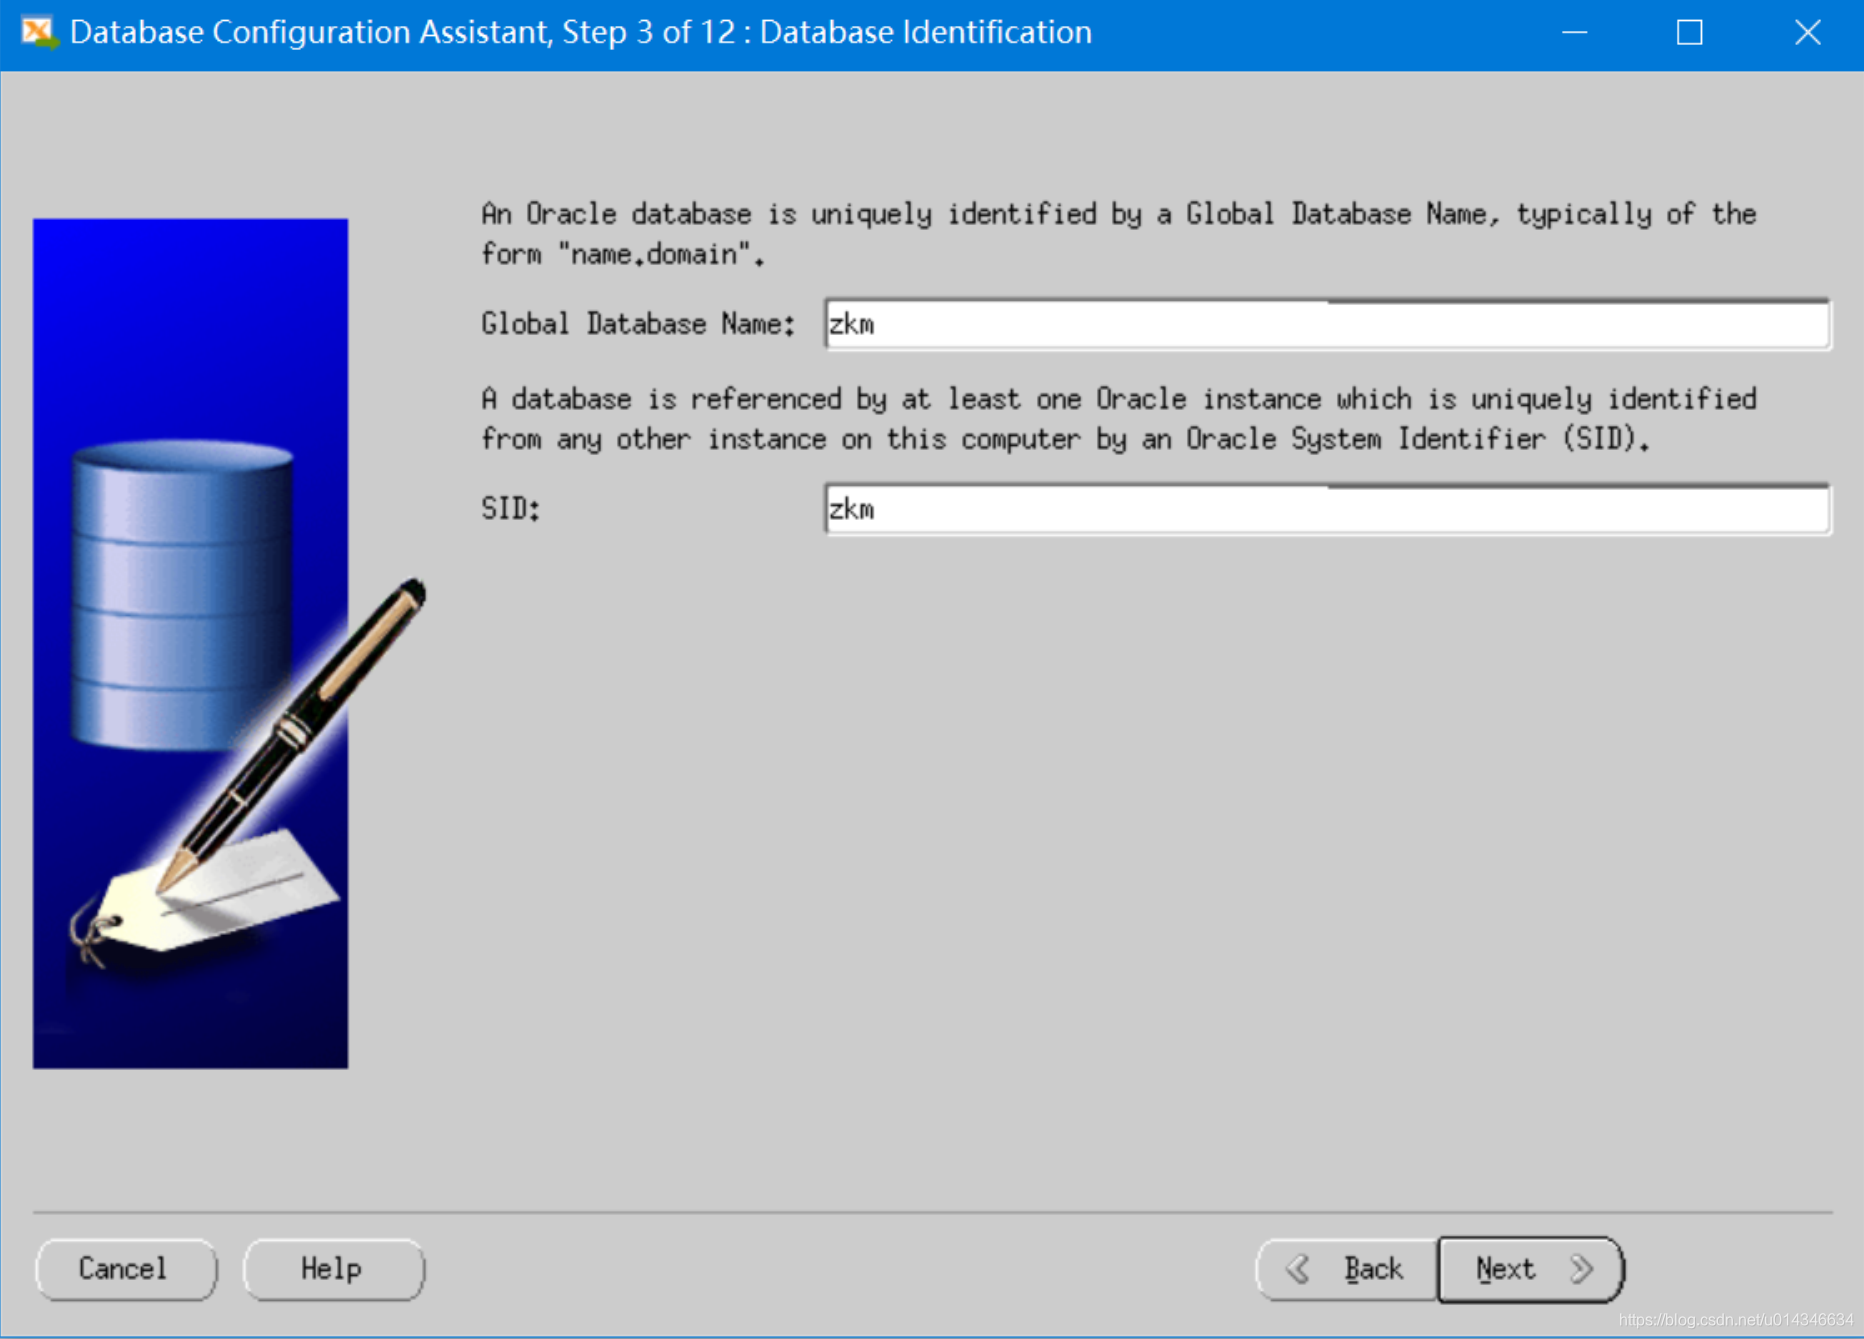
库名字是zkm。
[oracle@oracle:/soft/database]# dbca
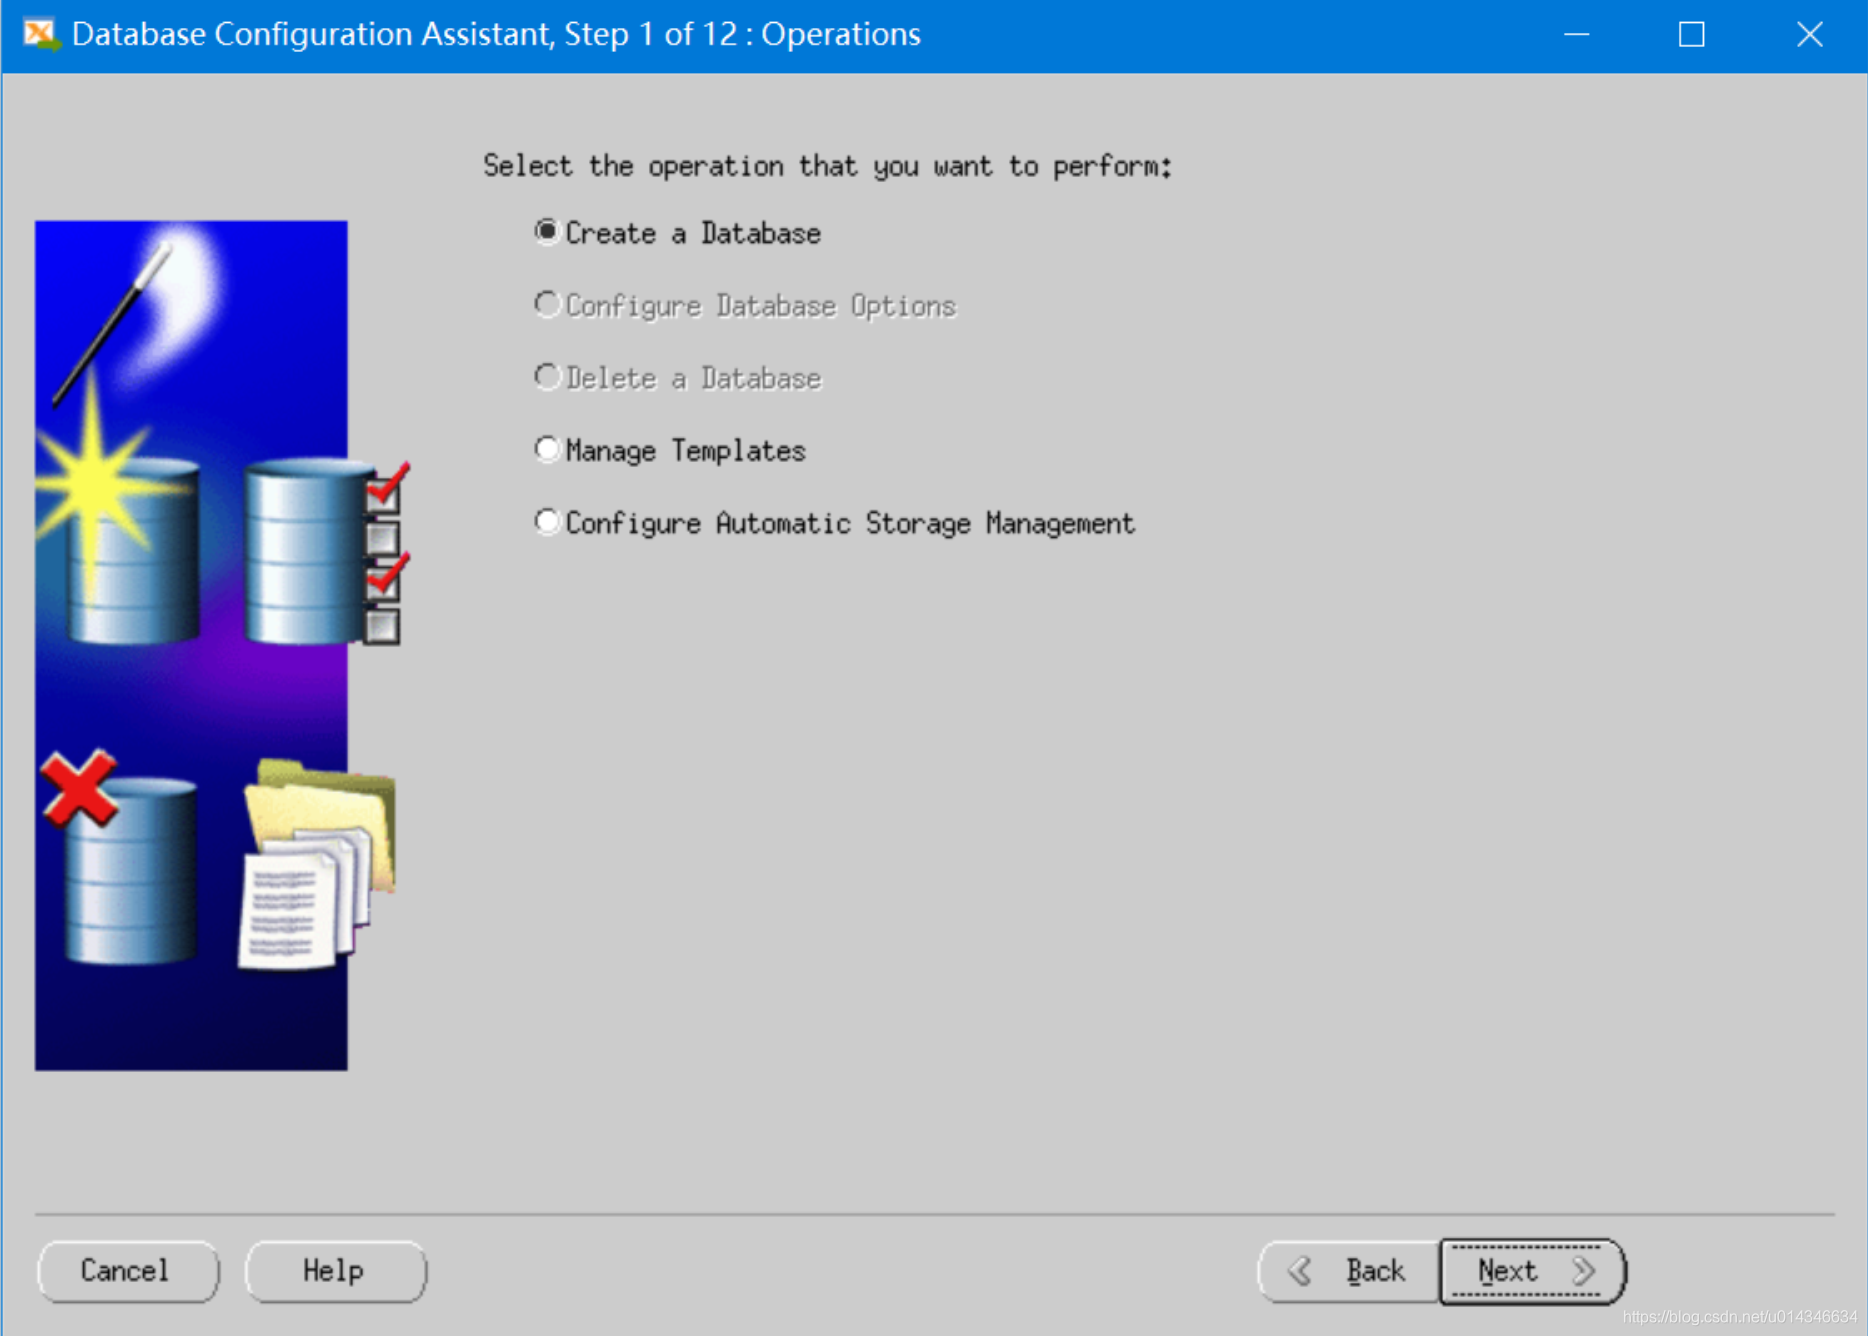
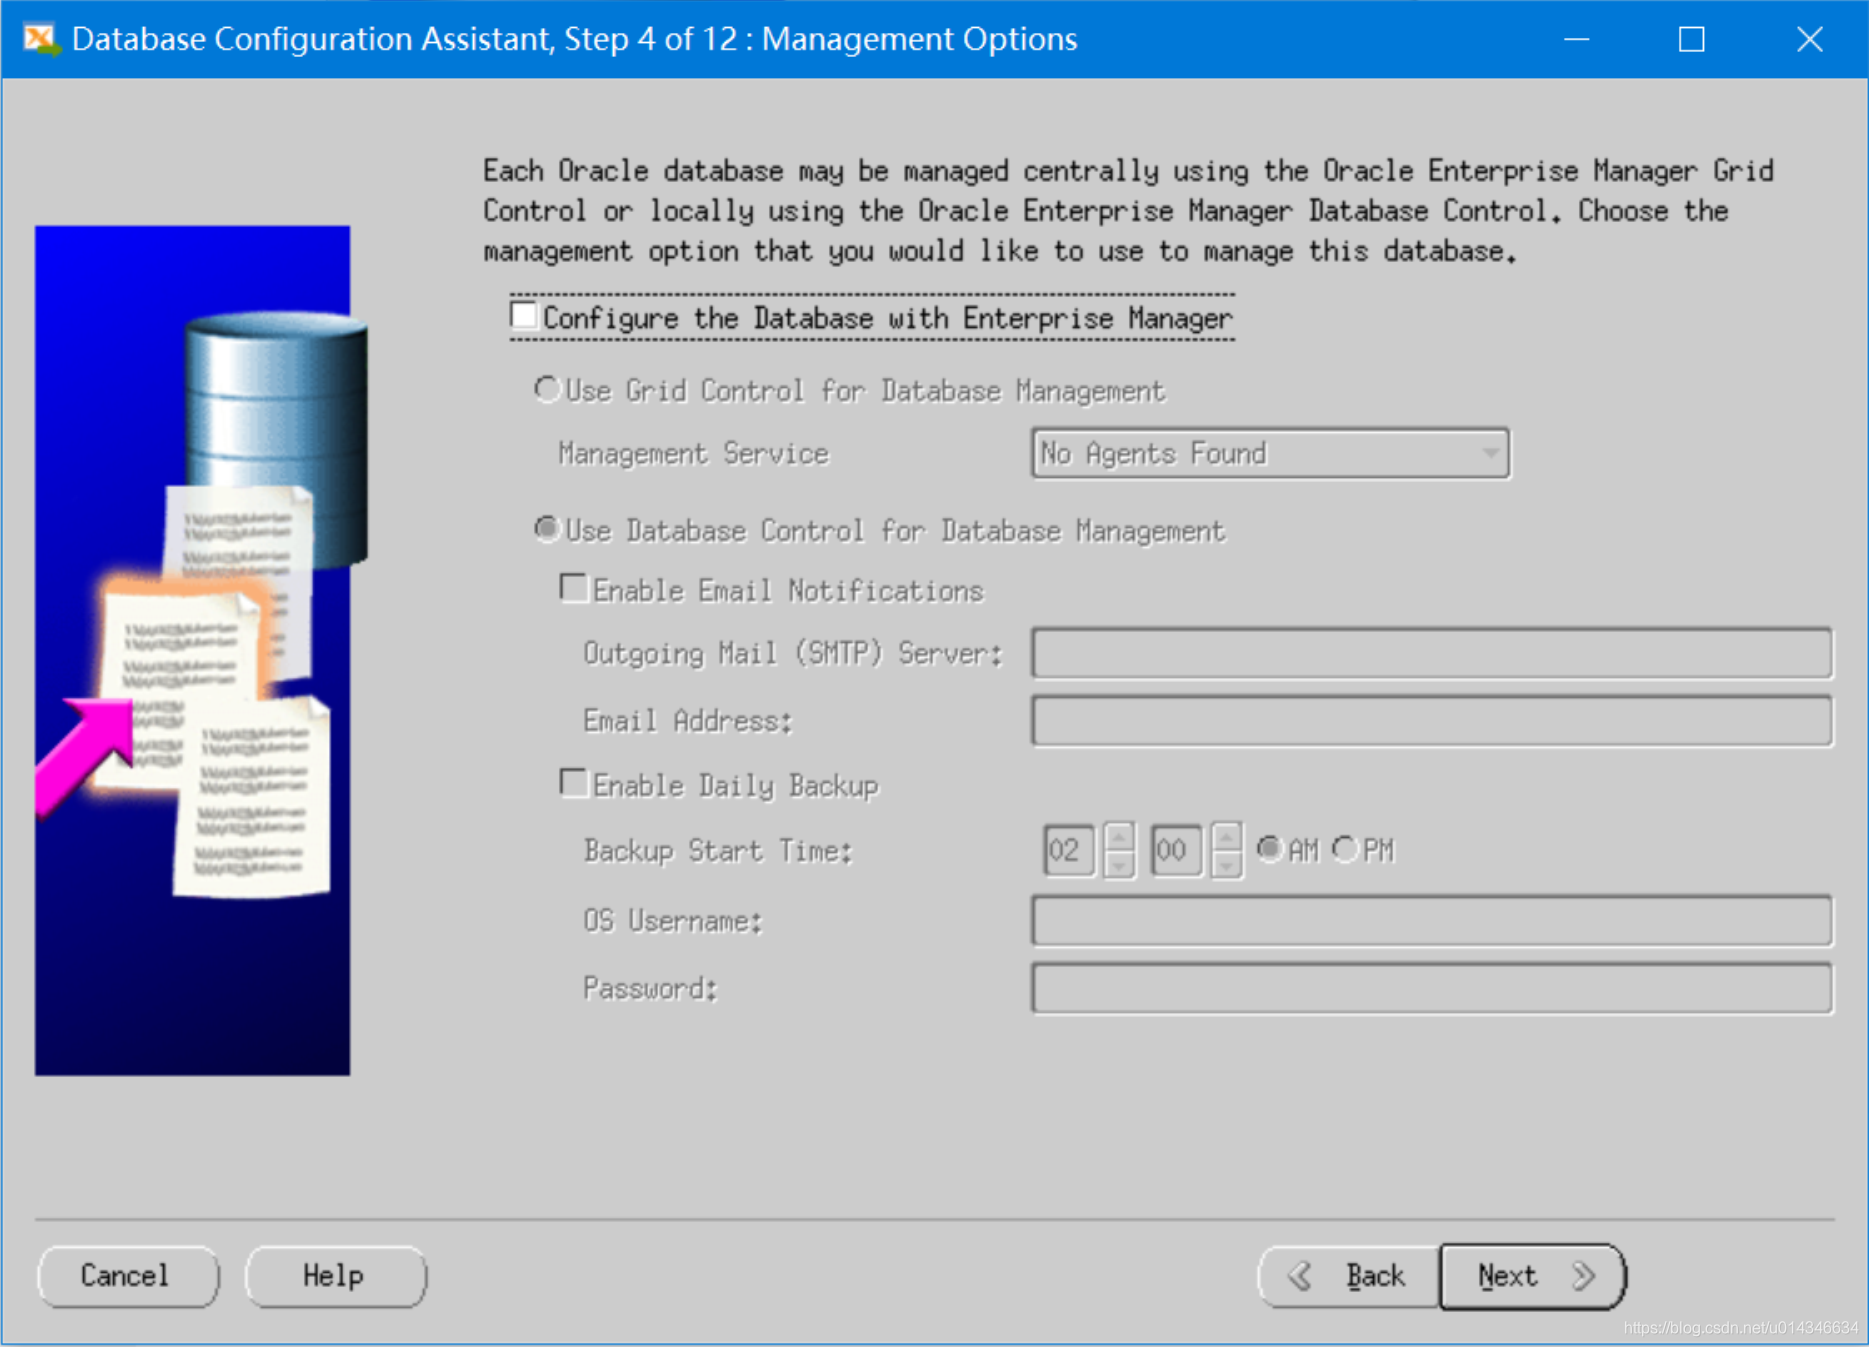
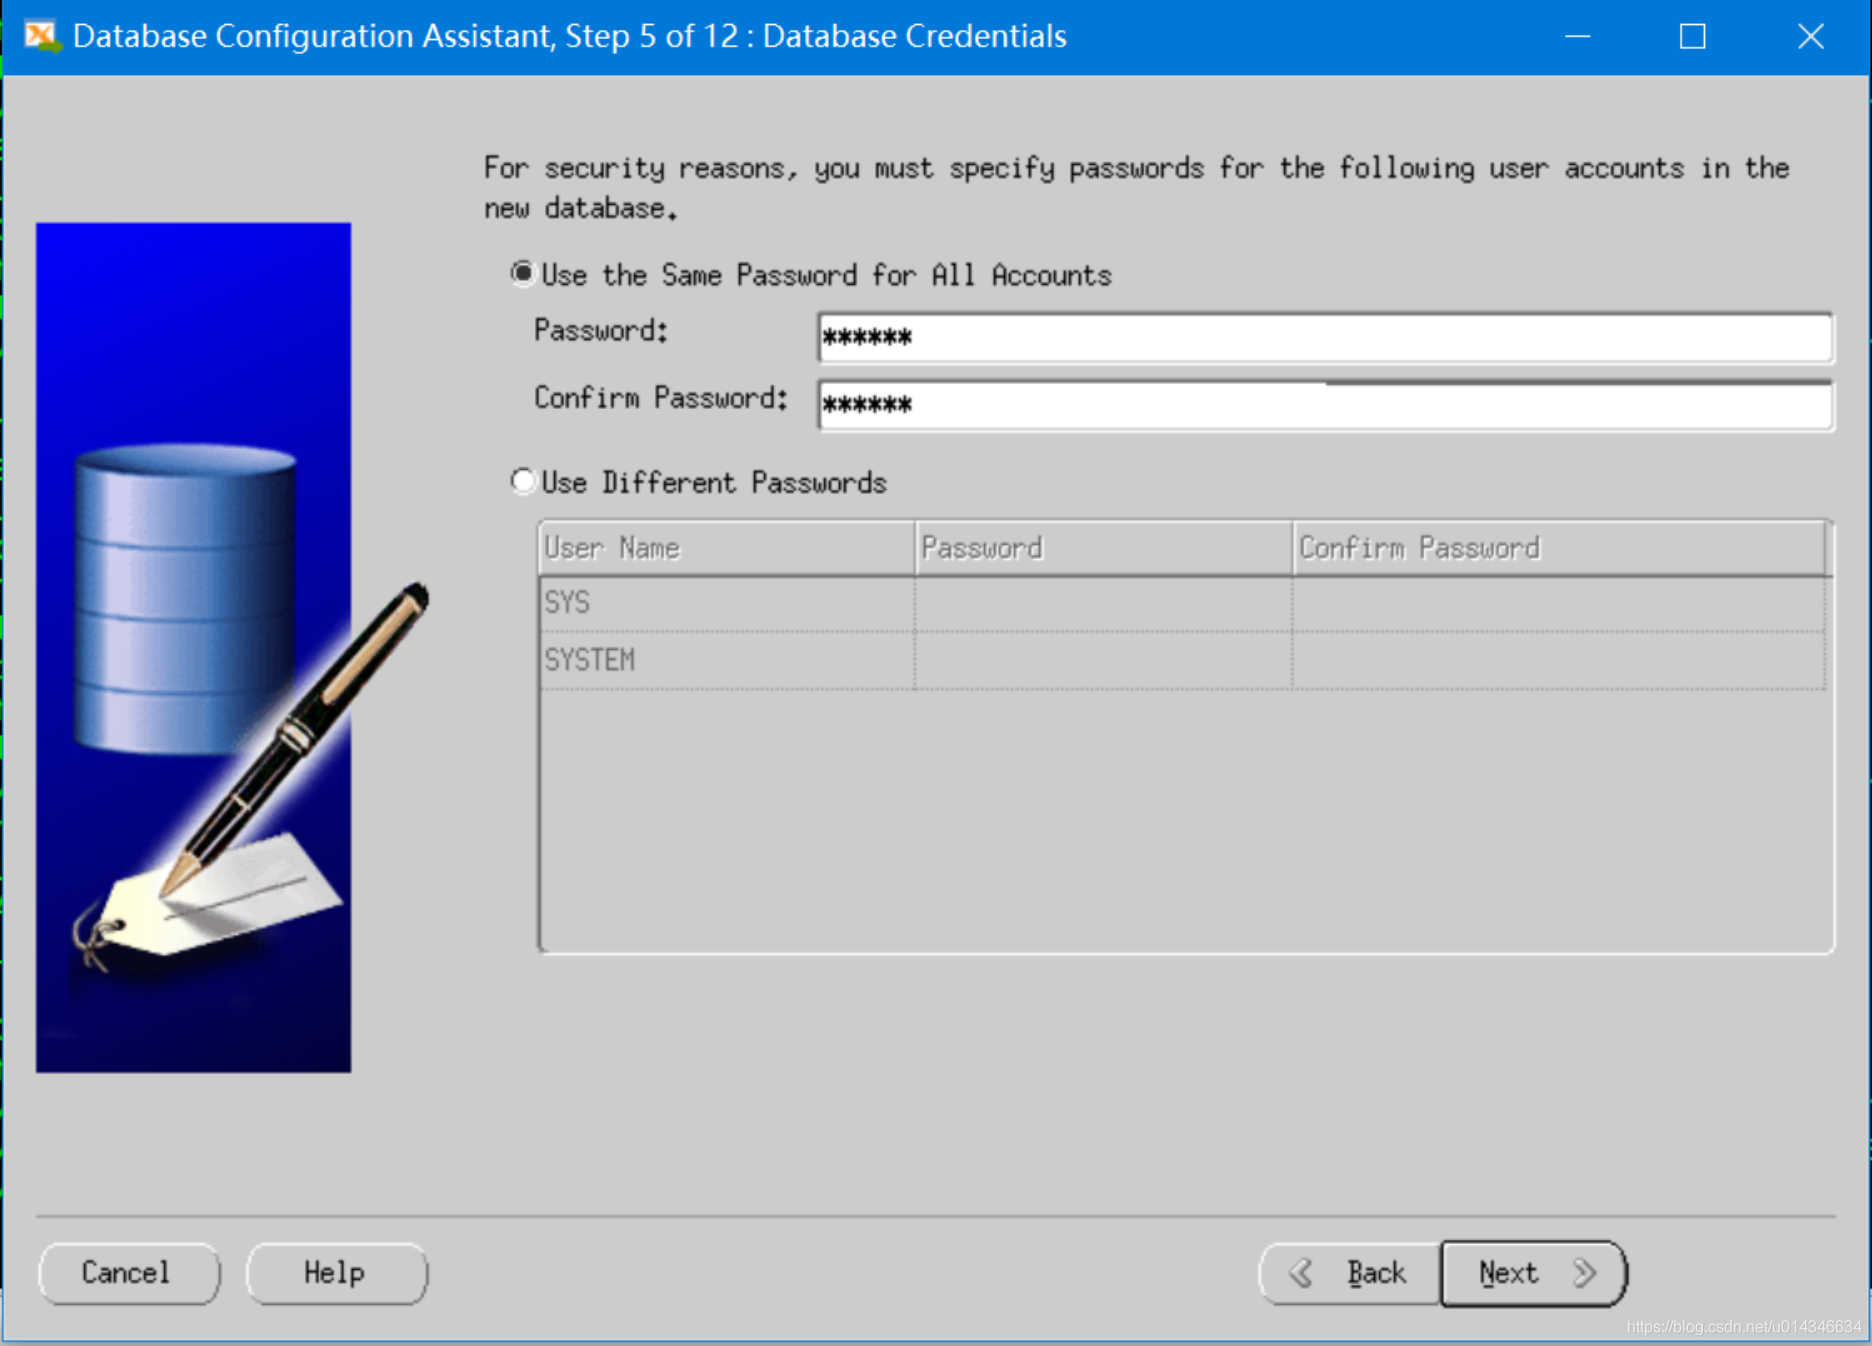
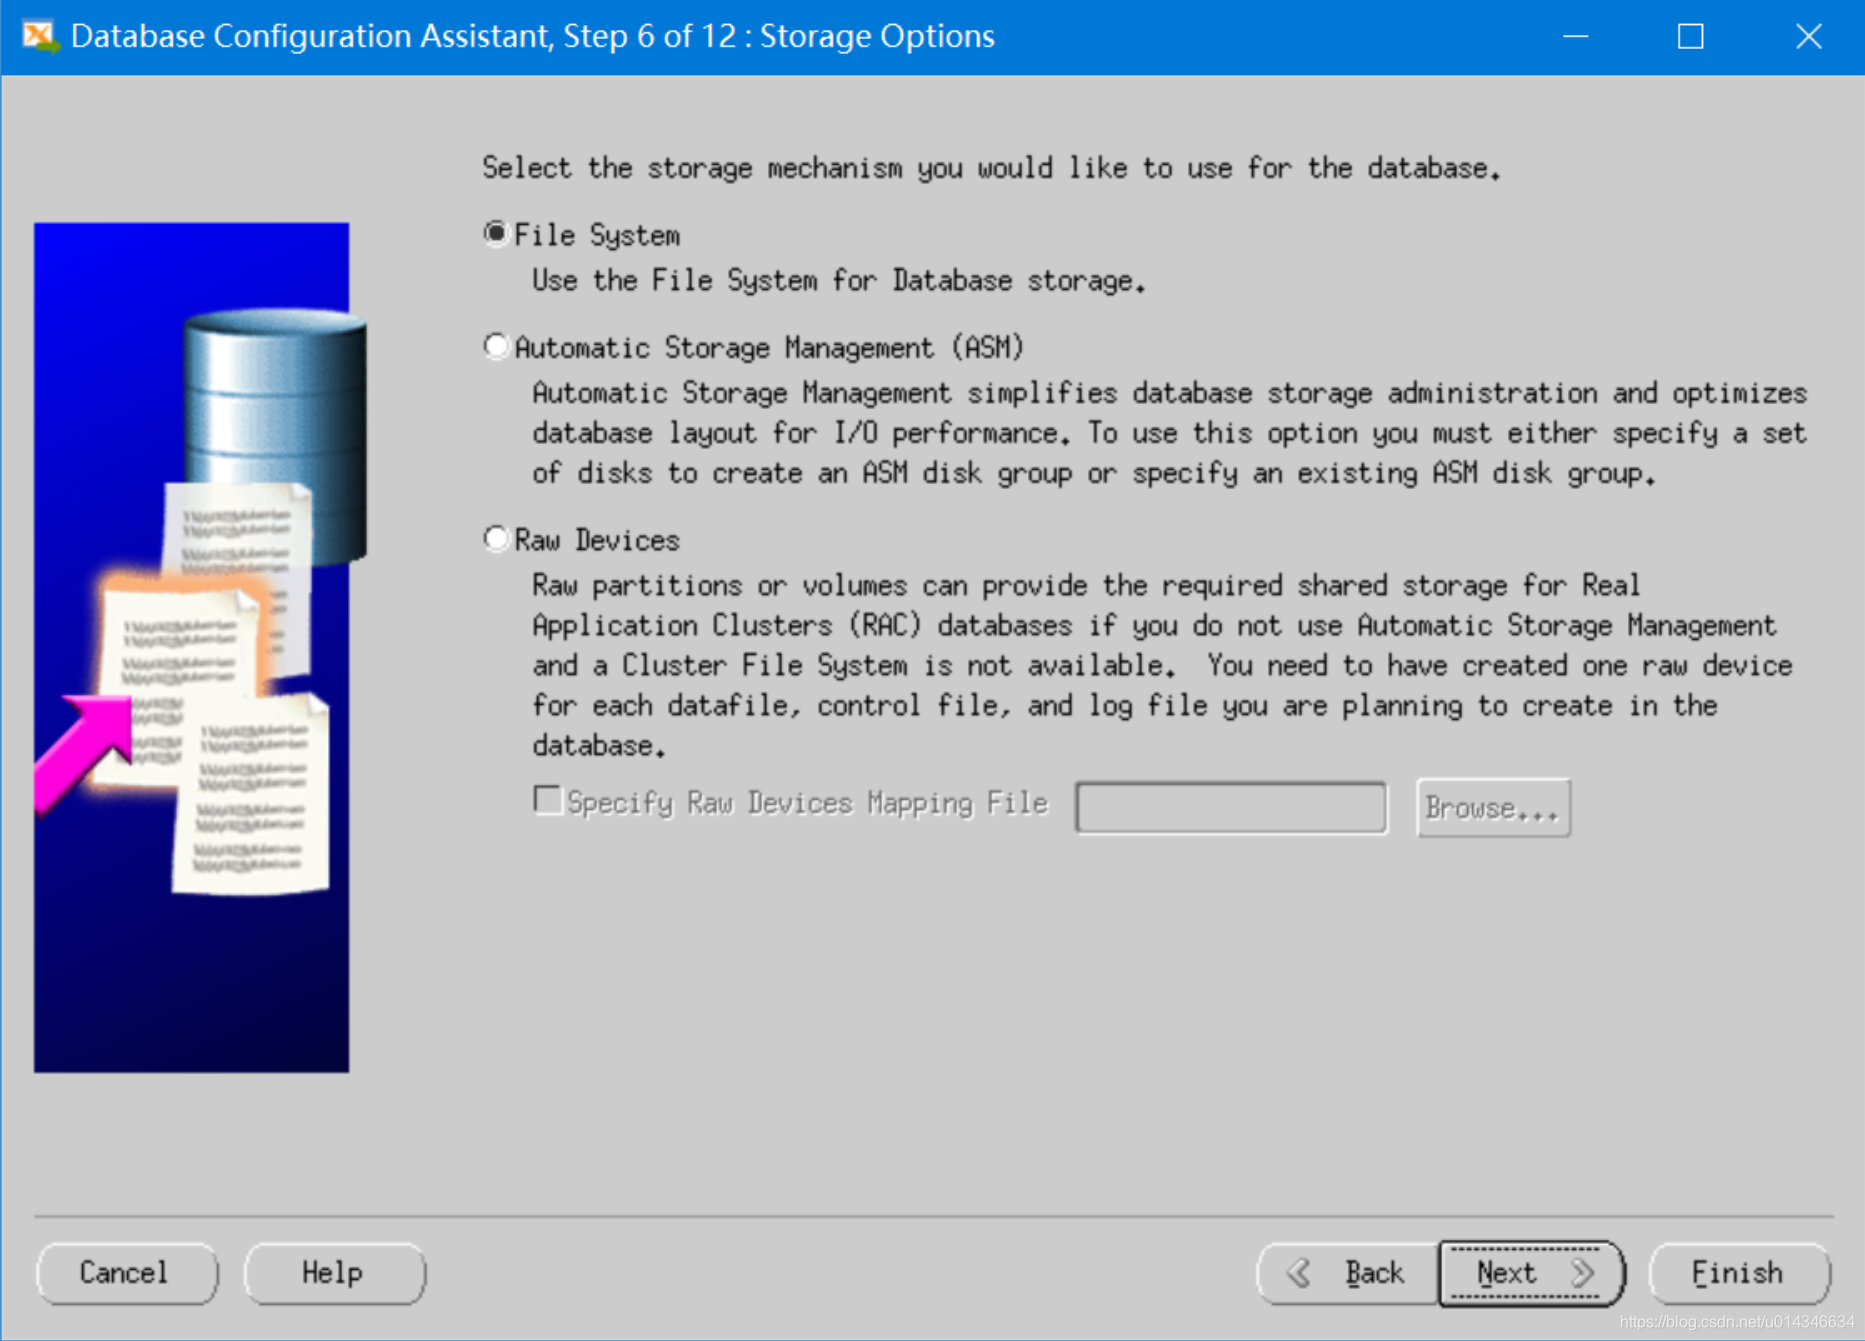
自己的测试库没那么多要求,默认就行。
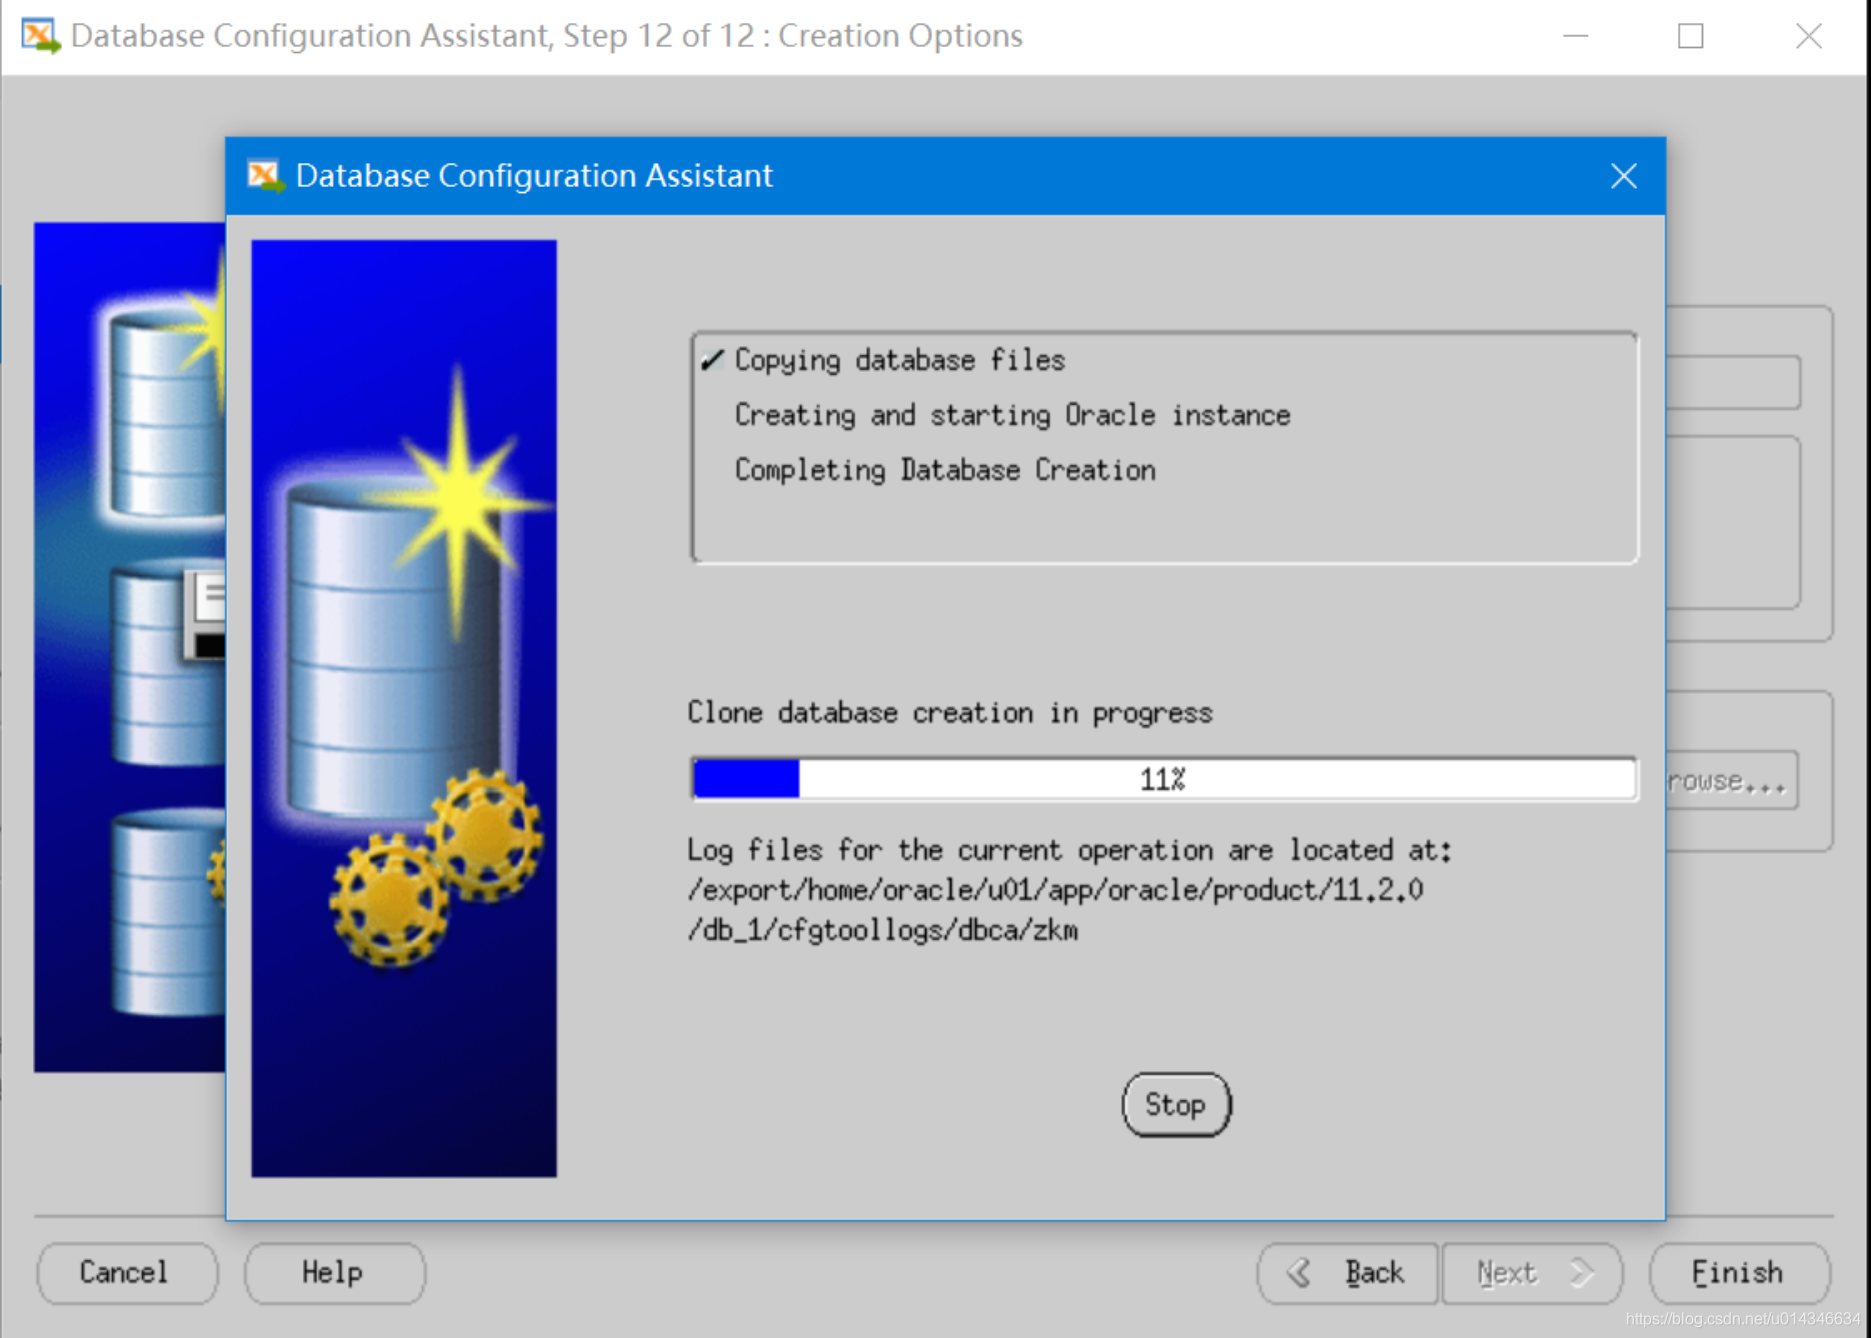
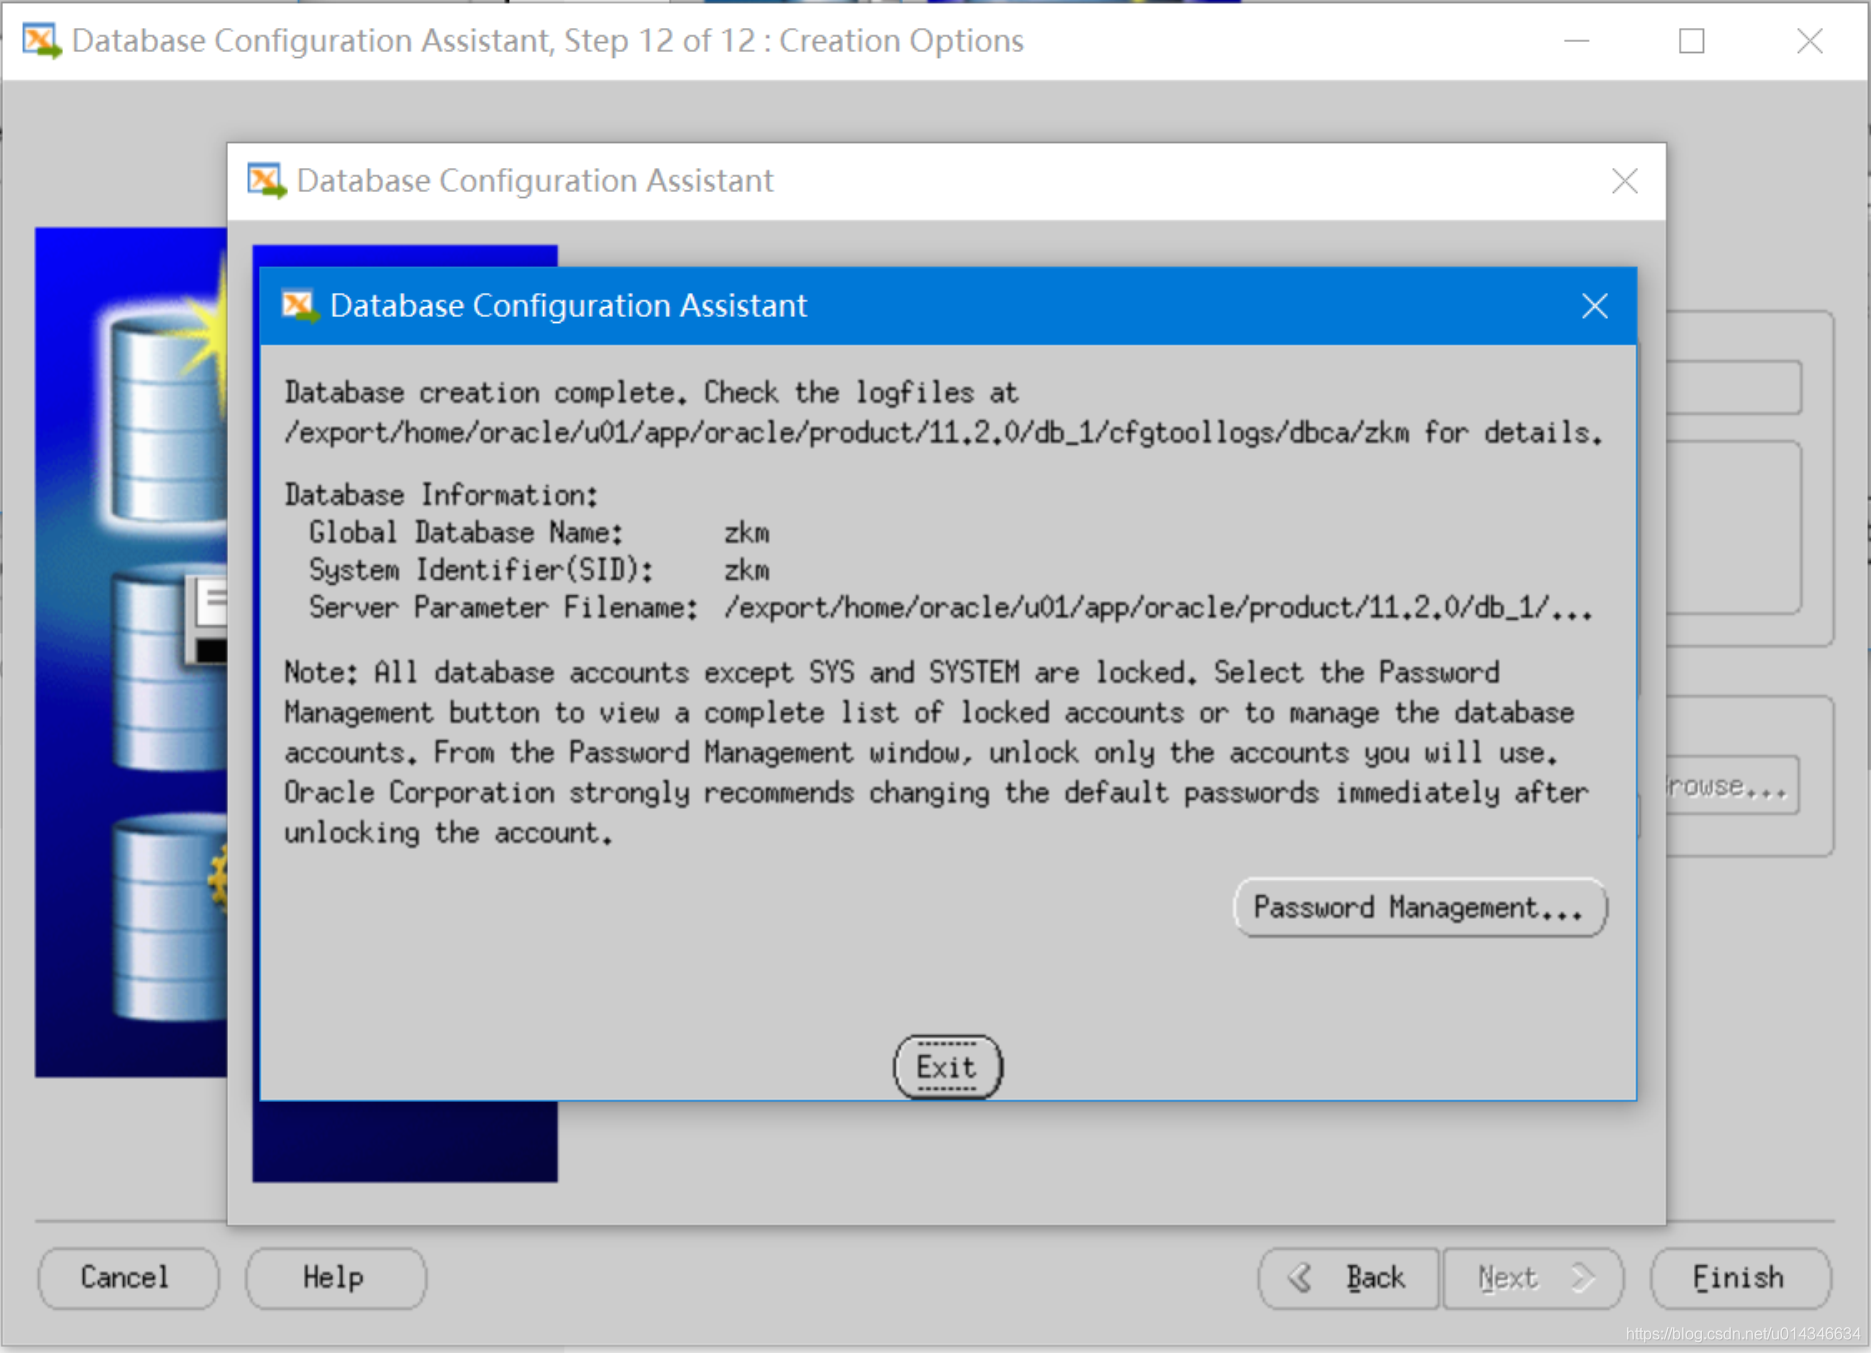
完成。
[oracle@oracle:/export/home/oracle]# sqlplus / as sysdba

SQL*Plus: Release 10.2.0.2.0 - Production on Fri Apr 3 12:52:29 2020

Copyright (c) 1982, 2005, Oracle.  All Rights Reserved.

Connected to:

Oracle Database 10g Enterprise Edition Release 10.2.0.2.0 - Production

With the Partitioning, OLAP and Data Mining options

SQL>
Solaris 10上Oracle 10g安装步骤图解的更多相关文章
- Linux上Oracle 11g安装步骤图解
Oracle 11g下载地址: http://www.oracle.com/technetwork/database/enterprise-edition/downloads/index.html 选 ...
- postgresql+postgis+pgrouting安装步骤图解
1.在此(https://www.bigsql.org/postgresql/installers.jsp/)下载postgresql(开源数据库,gis行业推荐使用); 2.在此(http://wi ...
- Oracle 11g安装步骤以及Oracle11g创建表空间和用户,并授权
Oracle 11g安装步骤详解 一.Oracle 下载 注意Oracle分成两个文件,下载完后,将两个文件解压到同一目录下即可. 路径名称中,最好不要出现中文,也不要出现空格等不规则字符. 官方下地 ...
- Oracle 10g安装64位图解流程
1. 安装准备阶段 1.1 安装Oracle环境 本例使用X-Manager来实现与Linux系统的连接,本例使用的所有命令和操作都是在X-Manager下进行.X-Manager安装完成后的配置方法 ...
- 分享一下Oracle 10g和Toad for Oracle的安装步骤
三年前用过Oracle,单纯的“用过”,主要就是说对数据库的一些操作,还不包含创建一些存储过程之类的,所以对Oracle仅仅只是了解一点儿,因为当时那家公司里面,数据库里面的东西都是那些顾问负责的,再 ...
- Oracle 11g安装步骤详谈
又是十月南京阴雨天气 图书馆花了一个多小左右把11g安装折腾好了.其中折腾SQL Developer 花了好长时间,总算搞定了.好了,先总结下安装步骤,希望给后面的童鞋提高安装效率. 相互方便 共同 ...
- Oracle 10G 安装文档
Oracle 10G安装指导 1. 解压文件10201_database_win32.zip,并双击解压目录下的setup.exe,出现安装界面,如下: 2. 输入口令和确认口令,如:password ...
- 超详细oracle 11g安装步骤 win版本
1. 打开网址: https://edelivery.oracle.com 使用oracle 任意账号登录 账号:2696671285@qq.com 密码:Oracle123 感谢来自某位好心大佬的共 ...
- Oracle 10g安装教程
首先下载安装文件,打开后文件结构如图所示: 安装之前请关闭Windows防火墙并断开网络. xp系统下直接双击运行(本经验以XP系统安装为例进行讲述). 如果是在win7上安装,如图:在setup文件 ...
随机推荐
- java实现 猜数字游戏
猜数字游戏 猜数字 很多人都玩过这个游戏:甲在心中想好一个数字,乙来猜.每猜一个数字,甲必须告诉他是猜大了,猜小了,还是刚好猜中了.下列的代码模拟了这个过程.其中用户充当甲的角色,计算机充当乙的角色. ...
- Charles(青花瓷/花瓶)的基本使用
前言 Charles 其实是一款代理服务器,通过成为电脑或者浏览器的代理,然后截取请求和请求结果达到分析抓包的目的.其次该软件是用 Java 写的,能够在 Windows,Mac,Linux 上使用. ...
- CDN百科 | 最近,你的APP崩了吗?
过去几个月里,#xxx崩了#这个话题频繁出现在热搜榜上,让不少程序员小哥哥瑟瑟发抖. 从疫情宅家时期著名的视频APP“三连崩”,到全面复工开课后的在线教育平台与办公软件频繁宕机,再到报复性消费引发的点 ...
- Spring Cloud 系列之 Apollo 配置中心(四)
本篇文章为系列文章,未读前几集的同学请猛戳这里: Spring Cloud 系列之 Apollo 配置中心(一) Spring Cloud 系列之 Apollo 配置中心(二) Spring Clou ...
- 基于ABP做一个简单的系统——实战篇:2.代码生成器
上一篇正说着呢,代码生成器就来了. 1.适用于ABP官网的Startup Template V3.x的包含了登录.用户等页面的MPA应用模板2.当前view仅支持文本框生成,远期规划根据字段类型生成不 ...
- Windows环境下PHP安装pthreads多线程扩展
一.判断PHP是ts还是nts版 通过phpinfo(); 查看其中的 Thread Safety 项,这个项目就是查看是否是线程安全,如果是:enabled,一般来说应该是ts版,否则是nts版. ...
- 学习nginx从入门到实践(五) 场景实践之静态资源web服务
一.静态资源web服务 1.1 静态资源 静态资源定义:非服务器动态生成的文件. 1.2 静态资源服务场景-CDN 1.3 文件读取配置 1.3.1 sendfile 配置语法: syntax: se ...
- Ubuntu18.04下使用Hexo框架搭建个人博客
一.安装node.js 说明:安装node.js的原因:Hexo框架是基于node.js. 1.推荐使用nvm安装速度快,也可自行百度其它方法. wget -qO- https://raw.githu ...
- 《ElasticSearch入门》一篇管够,持续更新
一.顾名思义: Elastic:灵活的:Search:搜索引擎 二.官方简介: Elasticsearch是一个基于Lucene的搜索服务器.它提供了一个分布式多用户能力的全文搜索引擎,基于RESTf ...
- AsyncOperation和SceneManager.LoadSceneAsync协同加载场景
这篇属于杂记,用于记录不甚理解的AsyncOperation AsyncOperation: //加载进度条 public Silder silder; 加载场景 public void LoginG ...