
Spark RDD/Core 编程 API入门系列之map、filter、textFile、cache、对Job输出结果进行升和降序、union、groupByKey、join、reduce、lookup(一)
1、以本地模式实战map和filter
2、以集群模式实战textFile和cache
3、对Job输出结果进行升和降序
4、union
5、groupByKey
6、join
7、reduce
8、lookup
1、以本地模式实战map和filter
以local的方式,运行spark-shell。
spark@SparkSingleNode:~$ cd /usr/local/spark/spark-1.5.2-bin-hadoop2.6/bin
spark@SparkSingleNode:/usr/local/spark/spark-1.5.2-bin-hadoop2.6/bin$ pwd
/usr/local/spark/spark-1.5.2-bin-hadoop2.6/bin
spark@SparkSingleNode:/usr/local/spark/spark-1.5.2-bin-hadoop2.6/bin$ ./spark-shell


从集合中创建RDD,spark中主要提供了两种函数:parallelize和makeRDD,
scala> val rdd = sc.parallelize(List(1,2,3,4,5))
rdd: org.apache.spark.rdd.RDD[Int] = ParallelCollectionRDD[0] at parallelize at <console>:21
scala> val mappedRDD = rdd.map(2*_)
mappedRDD: org.apache.spark.rdd.RDD[Int] = MapPartitionsRDD[1] at map at <console>:23
scala> mappedRDD.collect
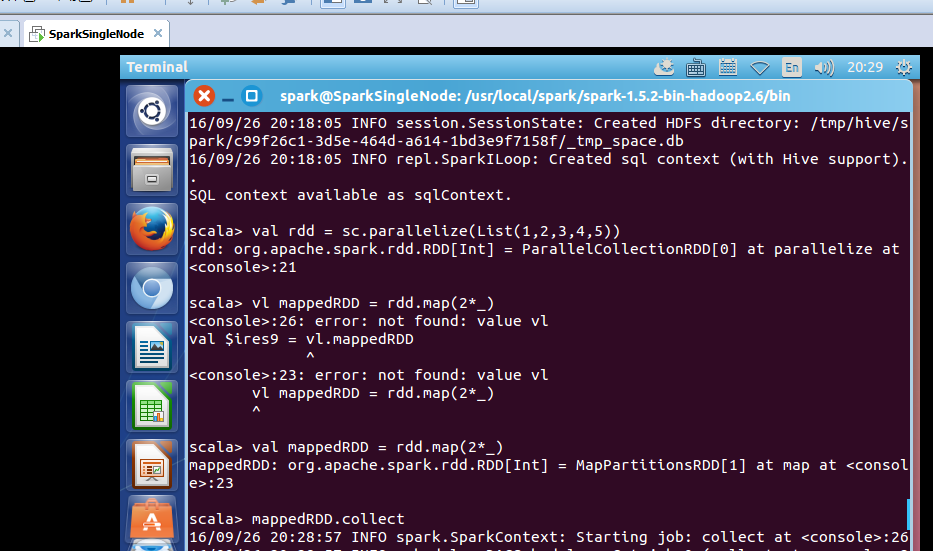
得到
res0: Array[Int] = Array(2, 4, 6, 8, 10)
scala>

scala> val filteredRDD = mappedRDD.filter(_ > 4)
16/09/26 20:32:29 INFO storage.BlockManagerInfo: Removed broadcast_0_piece0 on localhost:40688 in memory (size: 1218.0 B, free: 534.5 MB)
16/09/26 20:32:30 INFO spark.ContextCleaner: Cleaned accumulator 1
filteredRDD: org.apache.spark.rdd.RDD[Int] = MapPartitionsRDD[2] at filter at <console>:25
scala> filteredRDD.collect

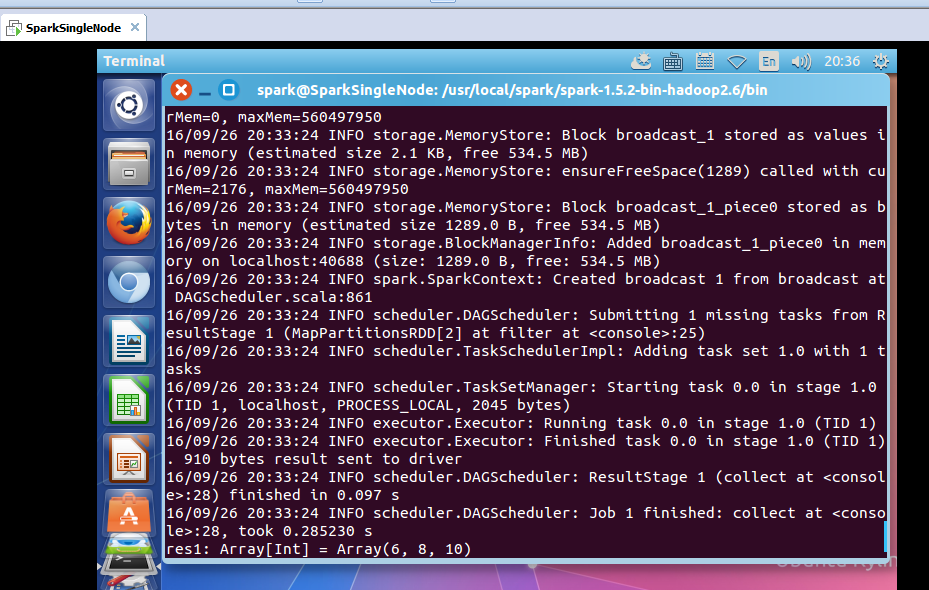
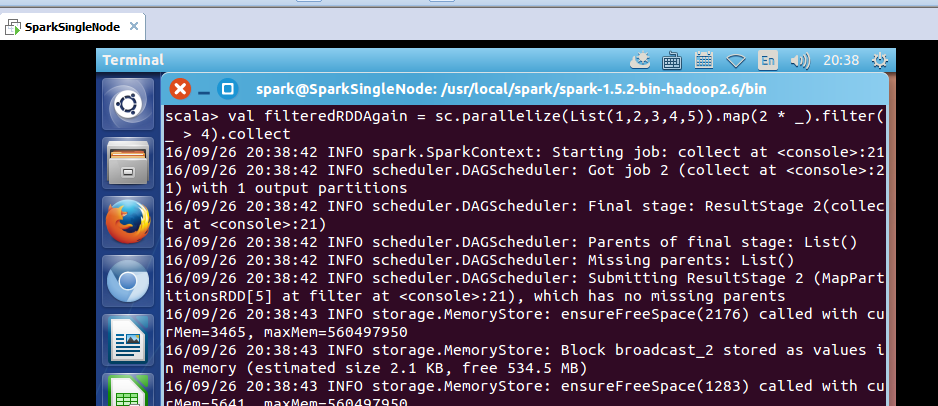
注意,一般,生产环境和正宗的写法是。
scala> val filteredRDDAgain = sc.parallelize(List(1,2,3,4,5)).map(2 * _).filter(_ > 4).collect


2、以集群模式实战textFile和cache
启动hadoop集群
spark@SparkSingleNode:/usr/local/hadoop/hadoop-2.6.0$ jps
8457 Jps
spark@SparkSingleNode:/usr/local/hadoop/hadoop-2.6.0$ sbin/start-dfs.sh

启动spark集群
spark@SparkSingleNode:/usr/local/spark/spark-1.5.2-bin-hadoop2.6$ sbin/start-all.sh
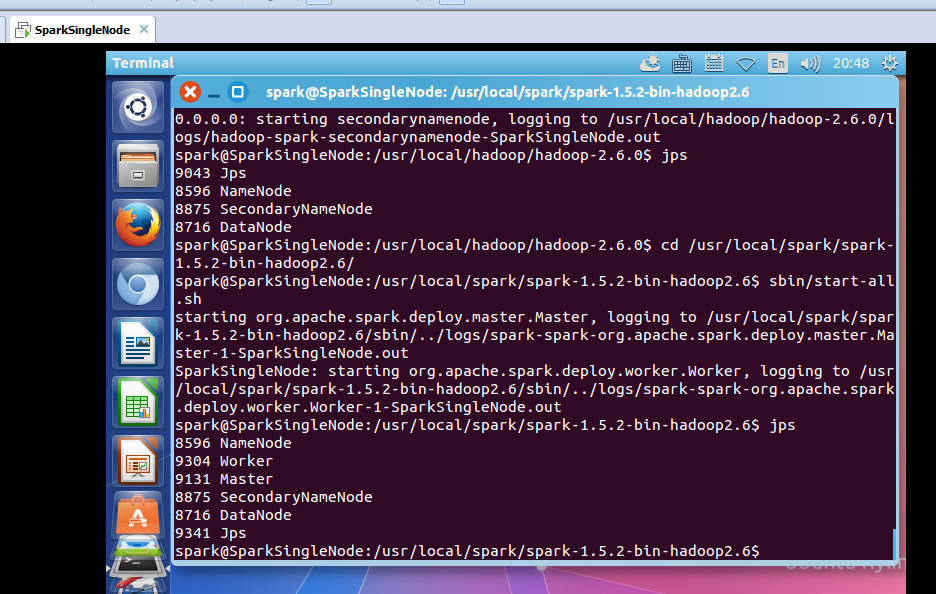
spark@SparkSingleNode:/usr/local/spark/spark-1.5.2-bin-hadoop2.6/bin$ ./spark-shell --master spark://SparkSingleNode:7077


读取该文件
scala> val rdd = sc.textFile("/README.md")
使用count统计一下该文件的行数
scala> rdd.count
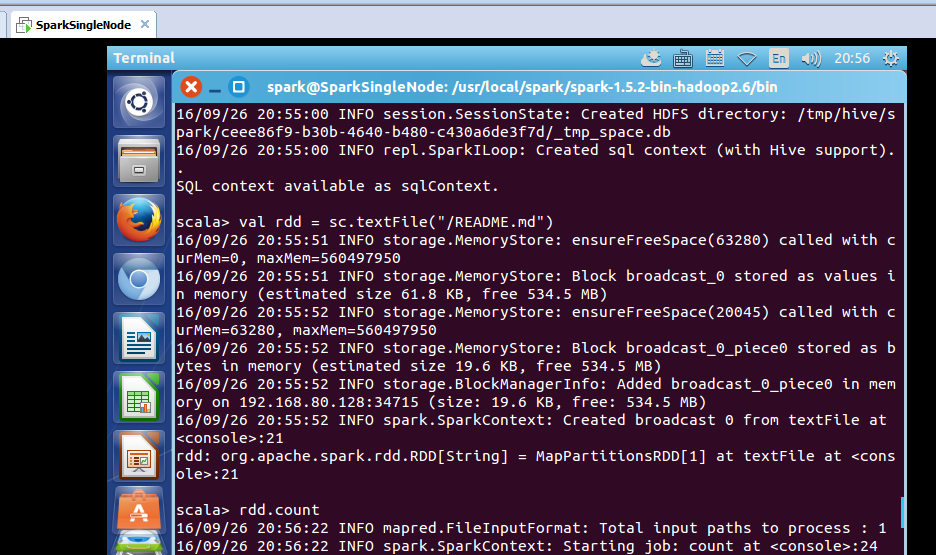
took 7.018386 s
res0: Long = 98
花了时间7.018386 s
通过观察RDD.scala源代码即可知道cache和persist的区别:

def persist(newLevel: StorageLevel): this.type = {
  if (storageLevel != StorageLevel.NONE && newLevel != storageLevel) {
    throw new UnsupportedOperationException( "Cannot change storage level of an RDD after it was already assigned a level")
  }
  sc.persistRDD(this)
  sc.cleaner.foreach(_.registerRDDForCleanup(this))
  storageLevel = newLevel
  this
}
/** Persist this RDD with the default storage level (`MEMORY_ONLY`). */
def persist(): this.type = persist(StorageLevel.MEMORY_ONLY)

/** Persist this RDD with the default storage level (`MEMORY_ONLY`). */
def cache(): this.type = persist()

可知:
1)RDD的cache()方法其实调用的就是persist方法,缓存策略均为MEMORY_ONLY;
2)可以通过persist方法手工设定StorageLevel来满足工程需要的存储级别;
3)cache或者persist并不是action;
附:cache和persist都可以用unpersist来取消
进行缓存
scala> rdd.cache
res1: rdd.type = MapPartitionsRDD[1] at textFile at <console>:21
执行count,使得缓存生效
scala> rdd.count


took 2.055063 s
res2: Long = 98
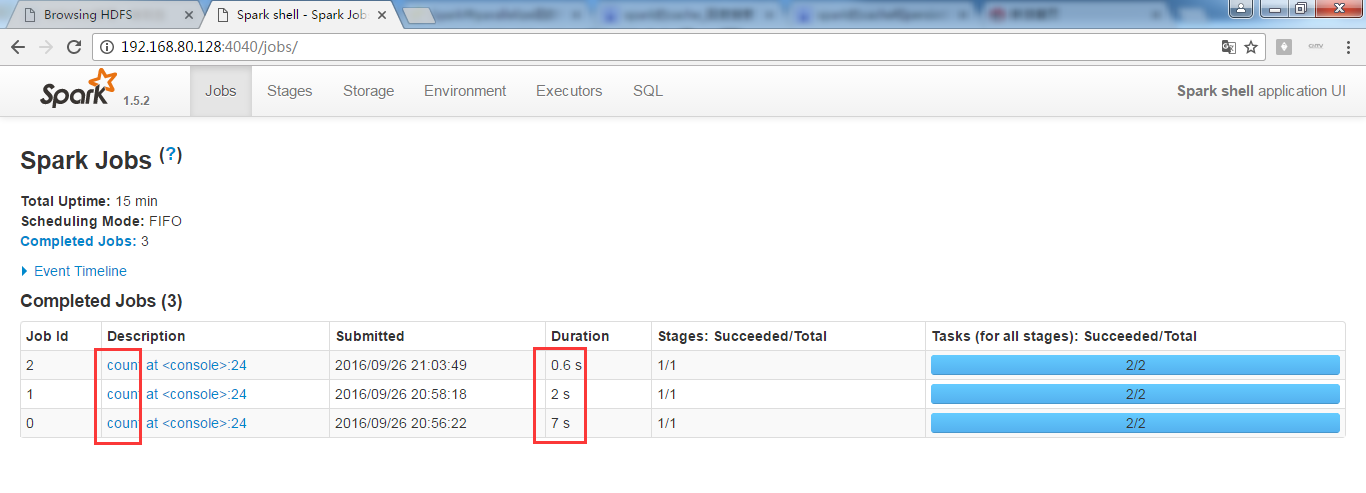
花了时间 2.055063 s
再执行,count


took 0.583177 s
res3: Long = 98
花了时间 0.583177 s
总结,我们直接基于cache缓存后的数据,计算所消耗时间大大减少。
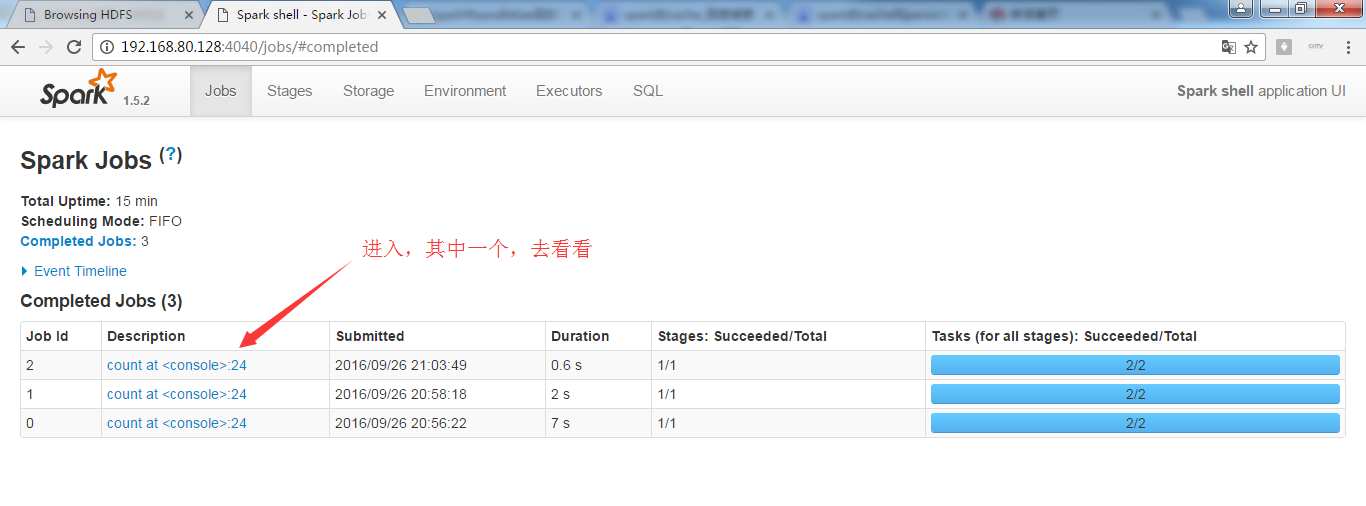
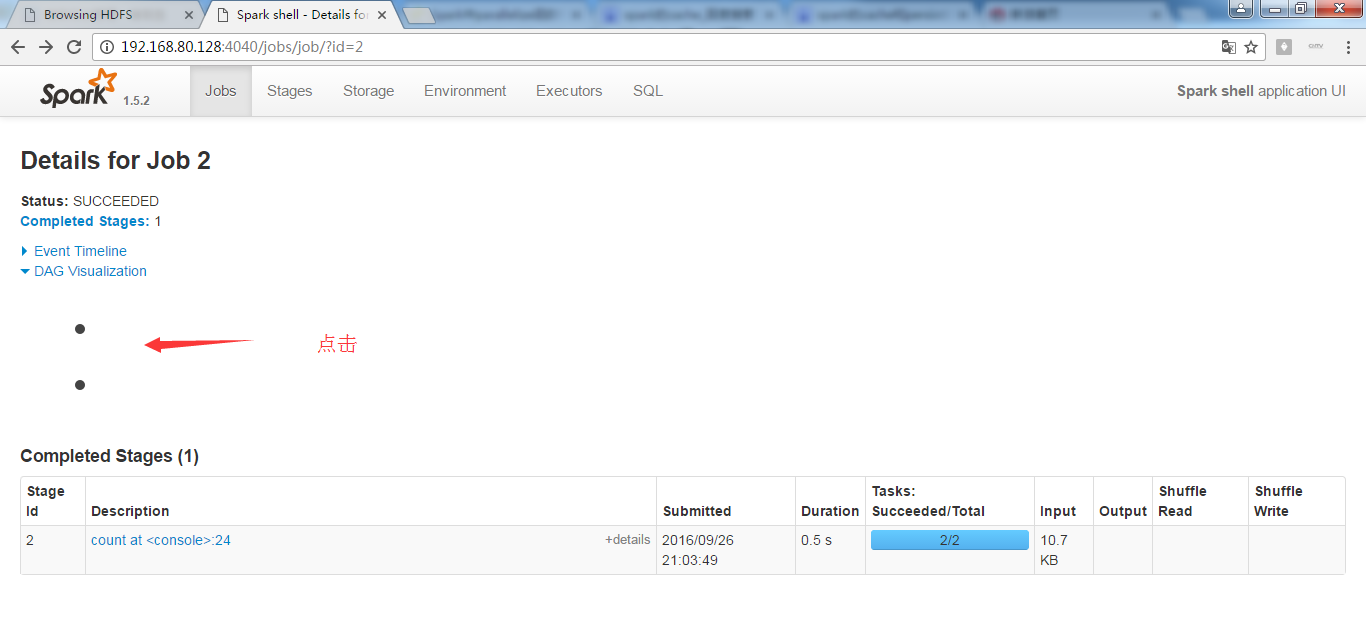
正在进行中的spark-shell




接着,对上面的RDD,进行wordcount操作
scala> val wordcount = rdd.flatMap(_.split(' ')).map((_,1)).reduceByKey(_+_)
wordcount: org.apache.spark.rdd.RDD[(String, Int)] = ShuffledRDD[4] at reduceByKey at <console>:23
scala> wordcount.collect

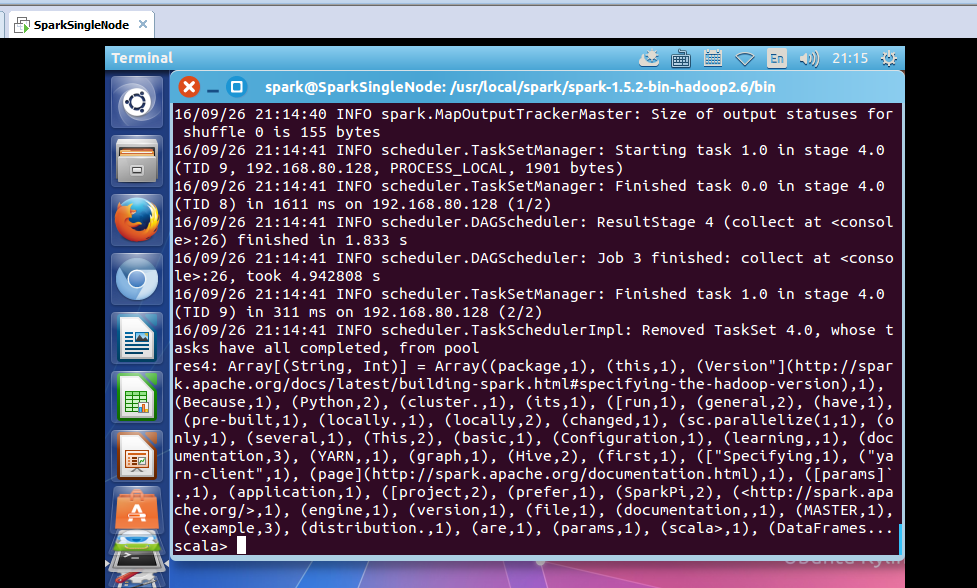
通过saveAsTextFile把数据保存起来
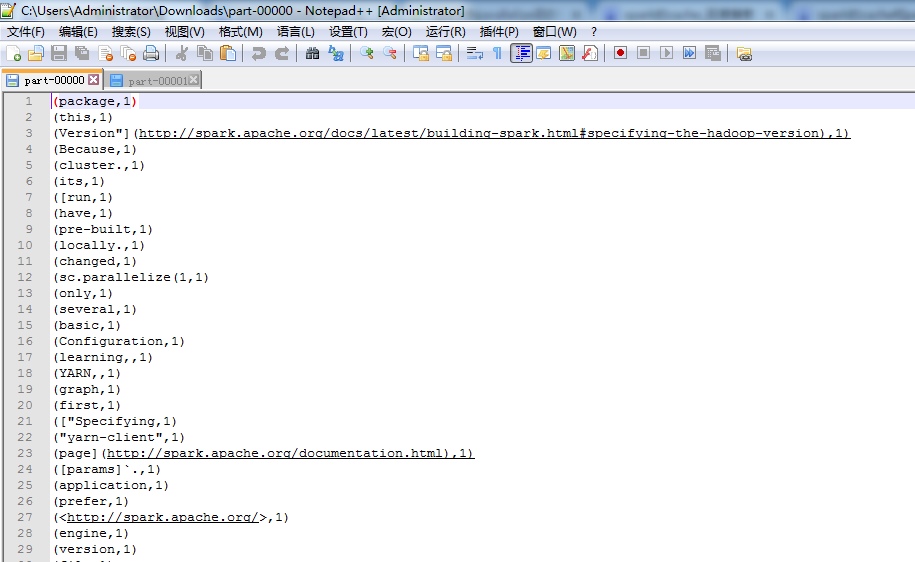
res4: Array[(String, Int)] = Array((package,1), (this,1), (Version"](http://spark.apache.org/docs/latest/building-spark.html#specifying-the-hadoop-version),1), (Because,1), (Python,2), (cluster.,1), (its,1), ([run,1), (general,2), (have,1), (pre-built,1), (locally.,1), (locally,2), (changed,1), (sc.parallelize(1,1), (only,1), (several,1), (This,2), (basic,1), (Configuration,1), (learning,,1), (documentation,3), (YARN,,1), (graph,1), (Hive,2), (first,1), (["Specifying,1), ("yarn-client",1), (page](http://spark.apache.org/documentation.html),1), ([params]`.,1), (application,1), ([project,2), (prefer,1), (SparkPi,2), (<http://spark.apache.org/>,1), (engine,1), (version,1), (file,1), (documentation,,1), (MASTER,1), (example,3), (distribution.,1), (are,1), (params,1), (scala>,1), (DataFrames...
scala> wordcount.saveAsTextFile("/result")

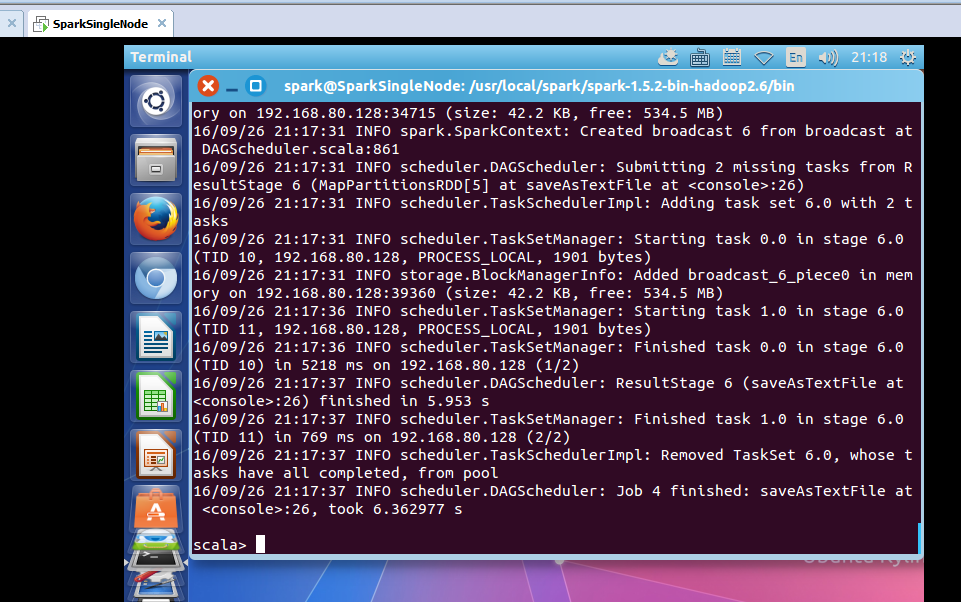


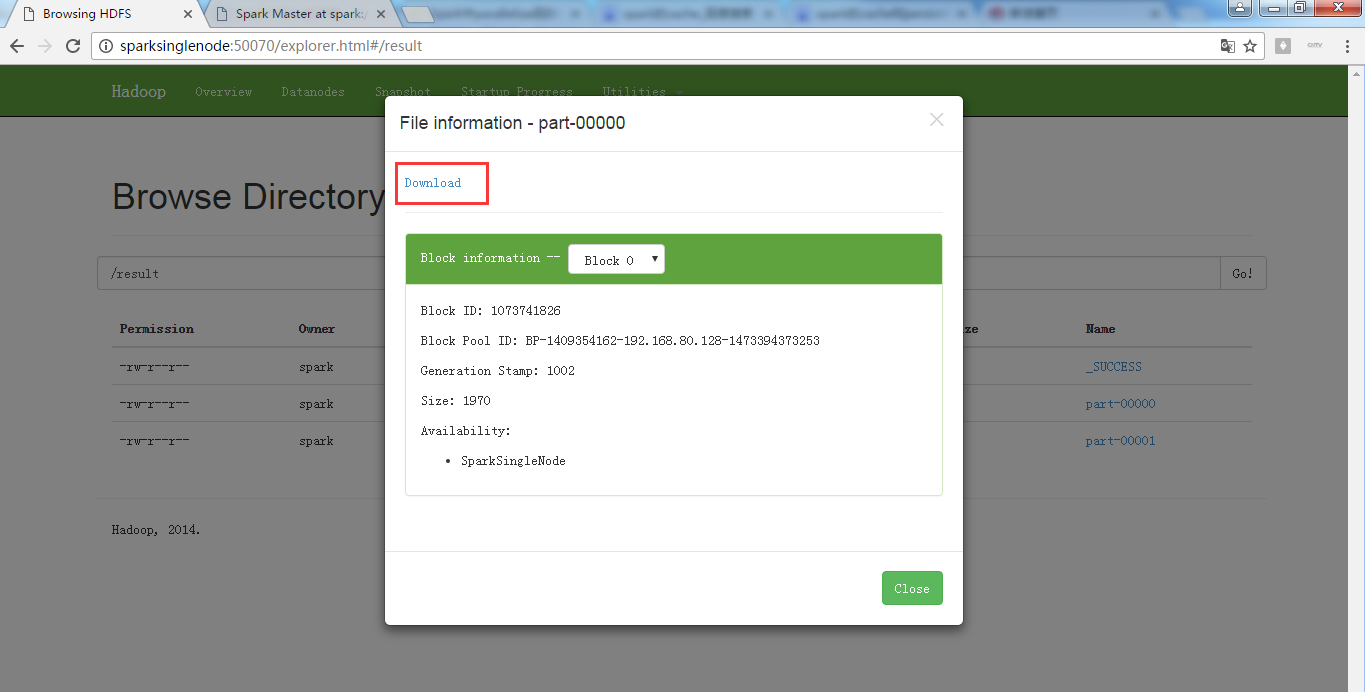


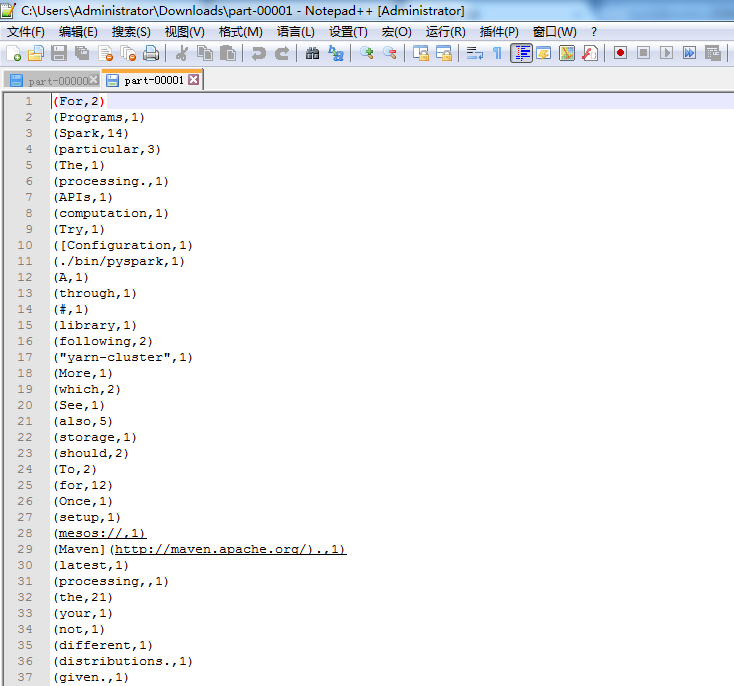
只是,仅仅对每行,做了wordcount而已。
3、对Job输出结果进行升和降序
升序
scala> val wordcount = rdd.flatMap(_.split(' ')).map((_,1)).reduceByKey(_+_).map(x => (x._2,x._1)).sortByKey(true).map(x => (x._2,x._1)).saveAsTextFile("/resultAscSorted")


同理,去下载,不多赘述。
变了


scala> val wordcount = rdd.flatMap(_.split(' ')).map((_,1)).reduceByKey(_+_).map(x => (x._2,x._1)).sortBy(true).map(x => (x._2,x._1)).saveAsTextFile("/resultAscSorted")
<console>:23: error: type mismatch;
found : Boolean(true)
required: ((Int, String)) => ?
val wordcount = rdd.flatMap(_.split(' ')).map((_,1)).reduceByKey(_+_).map(x => (x._2,x._1)).sortBy(true).map(x => (x._2,x._1)).saveAsTextFile("/resultAscSorted")
^
scala>

降序
scala> val wordcount = rdd.flatMap(_.split(' ')).map((_,1)).reduceByKey(_+_).map(x => (x._2,x._1)).sortByKey(false).map(x => (x._2,x._1)).saveAsTextFile("/resultDescSorted")


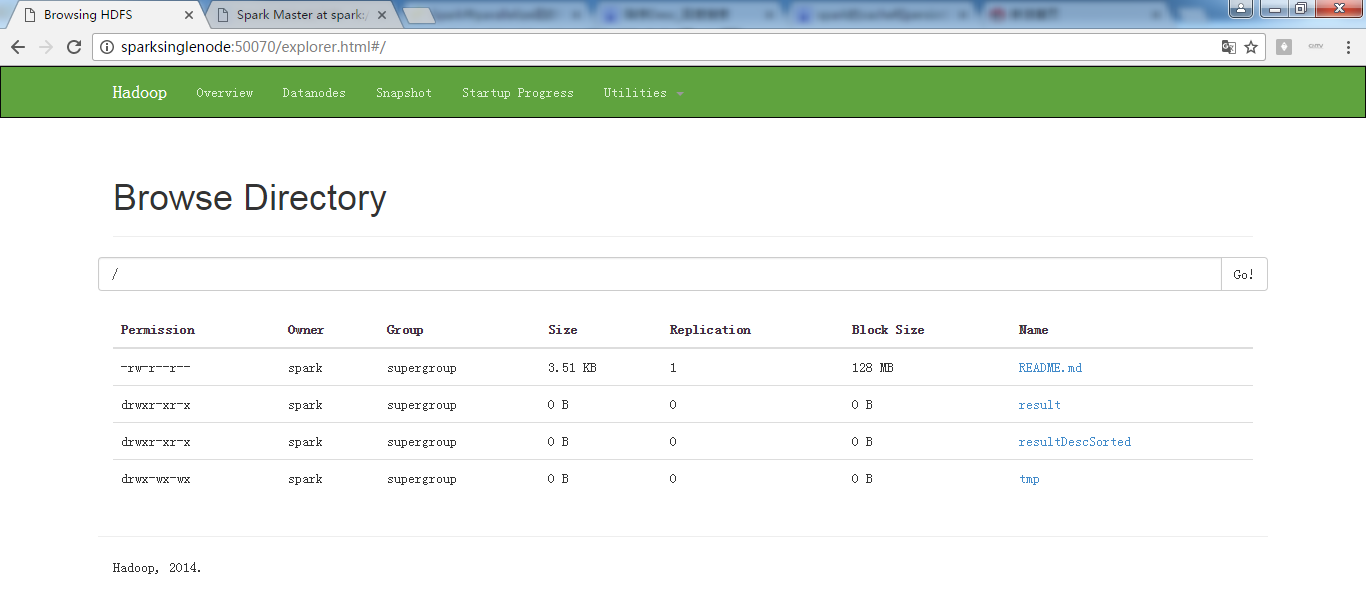
下载,同理


此刻,成功对Job输出结果进行了排序。
4、union
union的使用
scala> val rdd1 = sc.parallelize(List(('a',1),('b',1)))
rdd1: org.apache.spark.rdd.RDD[(Char, Int)] = ParallelCollectionRDD[26] at parallelize at <console>:21
scala> val rdd2 = sc.parallelize(List(('c',1),('d',1)))
rdd2: org.apache.spark.rdd.RDD[(Char, Int)] = ParallelCollectionRDD[27] at parallelize at <console>:21
scala> rdd1 union rdd2
res6: org.apache.spark.rdd.RDD[(Char, Int)] = UnionRDD[28] at union at <console>:26
scala> val result = rdd1 union rdd2
result: org.apache.spark.rdd.RDD[(Char, Int)] = UnionRDD[29] at union at <console>:25

使用collect操作,查看一下执行结果
scala> result.collect

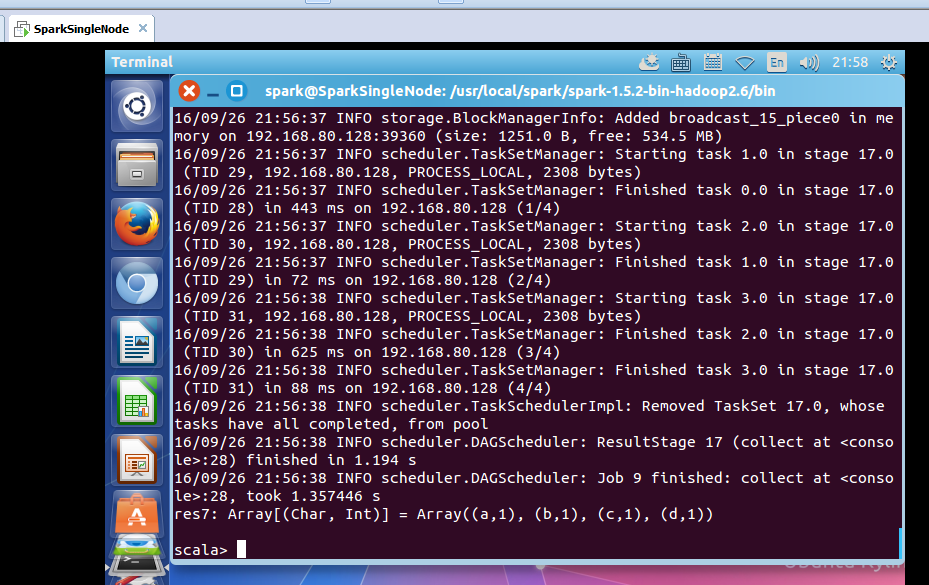
res7: Array[(Char, Int)] = Array((a,1), (b,1), (c,1), (d,1))
5、groupByKey
scala> val wordcount = rdd.flatMap(_.split(' ')).map((_,1)).groupByKey
wordcount: org.apache.spark.rdd.RDD[(String, Iterable[Int])] = ShuffledRDD[32] at groupByKey at <console>:23
scala> wordcount.collect

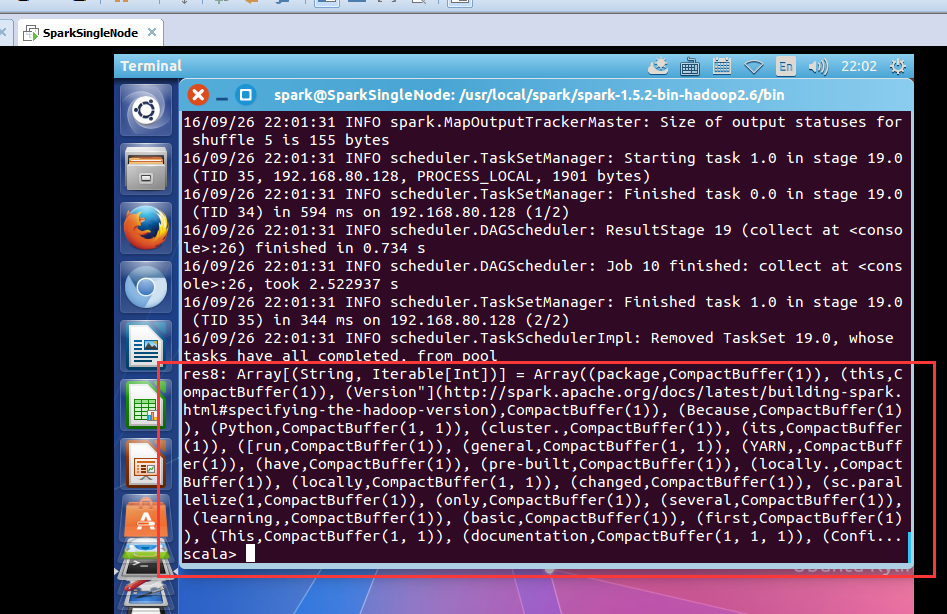
res8: Array[(String, Iterable[Int])] = Array((package,CompactBuffer(1)), (this,CompactBuffer(1)), (Version"](http://spark.apache.org/docs/latest/building-spark.html#specifying-the-hadoop-version),CompactBuffer(1)), (Because,CompactBuffer(1)), (Python,CompactBuffer(1, 1)), (cluster.,CompactBuffer(1)), (its,CompactBuffer(1)), ([run,CompactBuffer(1)), (general,CompactBuffer(1, 1)), (YARN,,CompactBuffer(1)), (have,CompactBuffer(1)), (pre-built,CompactBuffer(1)), (locally.,CompactBuffer(1)), (locally,CompactBuffer(1, 1)), (changed,CompactBuffer(1)), (sc.parallelize(1,CompactBuffer(1)), (only,CompactBuffer(1)), (several,CompactBuffer(1)), (learning,,CompactBuffer(1)), (basic,CompactBuffer(1)), (first,CompactBuffer(1)), (This,CompactBuffer(1, 1)), (documentation,CompactBuffer(1, 1, 1)), (Confi...
scala>
6、join
概念知识,参考
http://www.cnblogs.com/goforward/p/4748128.html
scala> val rdd1 = sc.parallelize(List(('a',1),('a',2),('b',3),('b',4)))
rdd1: org.apache.spark.rdd.RDD[(Char, Int)] = ParallelCollectionRDD[33] at parallelize at <console>:21
scala> val rdd2 = sc.parallelize(List(('a',5),('a',6),('b',7),('b',8)))
rdd2: org.apache.spark.rdd.RDD[(Char, Int)] = ParallelCollectionRDD[34] at parallelize at <console>:21
scala> rdd1 join rdd2
res9: org.apache.spark.rdd.RDD[(Char, (Int, Int))] = MapPartitionsRDD[37] at join at <console>:26
scala> val result = rdd1 join rdd2
result: org.apache.spark.rdd.RDD[(Char, (Int, Int))] = MapPartitionsRDD[40] at join at <console>:25
scala> result.collect
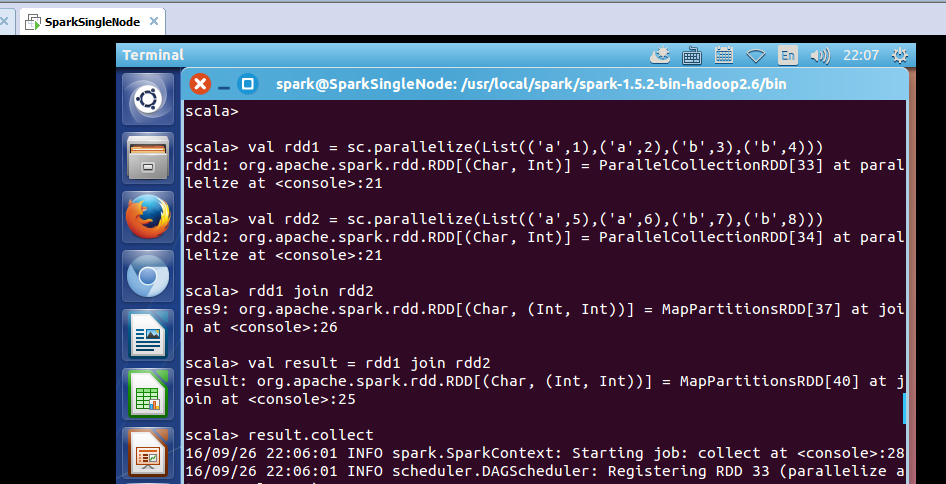

res10: Array[(Char, (Int, Int))] = Array((b,(3,7)), (b,(3,8)), (b,(4,7)), (b,(4,8)), (a,(1,5)), (a,(1,6)), (a,(2,5)), (a,(2,6)))
scala>
可见,join操作,完全是一个笛卡尔积的操作。
7、reduce
reduce本身啊,在RDD操作里,属于一个action类型的操作,会导致job作业的提交和执行。
scala> val rdd = sc.parallelize(List(1,2,3,4,5))
rdd: org.apache.spark.rdd.RDD[Int] = ParallelCollectionRDD[41] at parallelize at <console>:21
scala> rdd.reduce(_+_)

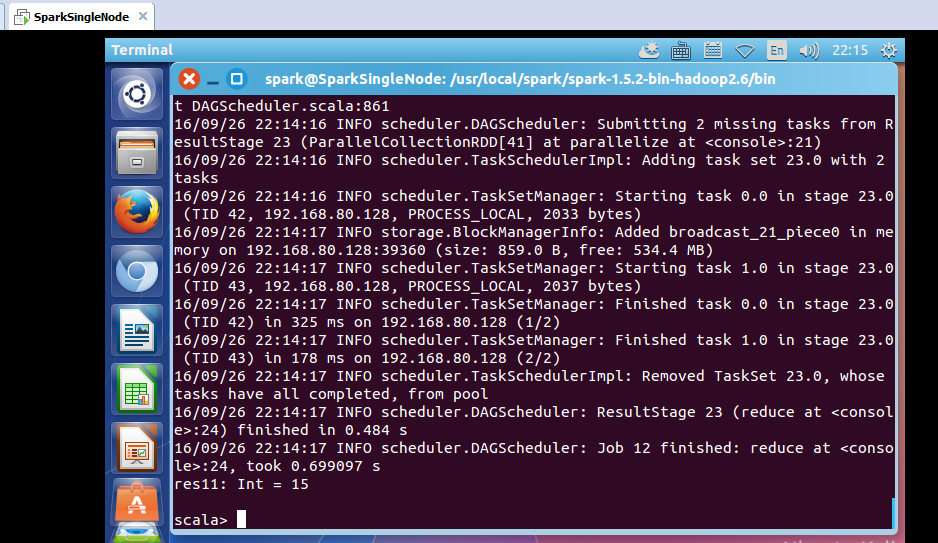
res11: Int = 15
8、lookup
scala> val rdd2 = sc.parallelize(List(('a',5),('a',6),('b',7),('b',8)))
rdd2: org.apache.spark.rdd.RDD[(Char, Int)] = ParallelCollectionRDD[42] at parallelize at <console>:21
scala> rdd2.lookup('a') //返回一个seq, (5, 6) 是把a对应的所有元素的value提出来组成一个seq


res12: Seq[Int] = WrappedArray(5, 6)

Spark RDD/Core 编程 API入门系列之map、filter、textFile、cache、对Job输出结果进行升和降序、union、groupByKey、join、reduce、lookup(一)的更多相关文章
- Spark RDD/Core 编程 API入门系列之简单移动互联网数据(五)
通过对移动互联网数据的分析,了解移动终端在互联网上的行为以及各个应用在互联网上的发展情况等信息. 具体包括对不同的应用使用情况的统计.移动互联网上的日常活跃用户(DAU)和月活跃用户(MAU)的统计, ...
- Spark RDD/Core 编程 API入门系列 之rdd案例(map、filter、flatMap、groupByKey、reduceByKey、join、cogroupy等)(四)
声明: 大数据中,最重要的算子操作是:join !!! 典型的transformation和action val nums = sc.parallelize(1 to 10) //根据集合创建RDD ...
- Spark RDD/Core 编程 API入门系列之动手实战和调试Spark文件操作、动手实战操作搜狗日志文件、搜狗日志文件深入实战(二)
1.动手实战和调试Spark文件操作 这里,我以指定executor-memory参数的方式,启动spark-shell. 启动hadoop集群 spark@SparkSingleNode:/usr/ ...
- Spark RDD/Core 编程 API入门系列 之rdd实战(rdd基本操作实战及transformation和action流程图)(源码)(三)
本博文的主要内容是: 1.rdd基本操作实战 2.transformation和action流程图 3.典型的transformation和action RDD有3种操作: 1. Trandform ...
- Spark SQL 编程API入门系列之SparkSQL的依赖
不多说,直接上干货! 不带Hive支持 <dependency> <groupId>org.apache.spark</groupId> <artifactI ...
- Hadoop MapReduce编程 API入门系列之压缩和计数器(三十)
不多说,直接上代码. Hadoop MapReduce编程 API入门系列之小文件合并(二十九) 生成的结果,作为输入源. 代码 package zhouls.bigdata.myMapReduce. ...
- HBase编程 API入门系列之create(管理端而言)(8)
大家,若是看过我前期的这篇博客的话,则 HBase编程 API入门系列之put(客户端而言)(1) 就知道,在这篇博文里,我是在HBase Shell里创建HBase表的. 这里,我带领大家,学习更高 ...
- HBase编程 API入门系列之delete(客户端而言)(3)
心得,写在前面的话,也许,中间会要多次执行,连接超时,多试试就好了. 前面的基础,如下 HBase编程 API入门系列之put(客户端而言)(1) HBase编程 API入门系列之get(客户端而言) ...
- HBase编程 API入门系列之get(客户端而言)(2)
心得,写在前面的话,也许,中间会要多次执行,连接超时,多试试就好了. 前面是基础,如下 HBase编程 API入门系列之put(客户端而言)(1) package zhouls.bigdata.Hba ...
随机推荐
- 用source code编译安装Xdebug
1. Unpack the tarball: tar -xzf xdebug-2.2.x.tgz. Note that you do not need to unpack the tarball i ...
- varchar(n),nvarchar(n) 长度、性能、及所占空间分析 nvarchar(64) nvarchar(128) nvarchar(256)(转)
varchar(n),nvarchar(n) 中的n怎么解释: nvarchar(n)最多能存n个字符,不区分中英文. varchar(n)最多能存n个字节,一个中文是两个字节. 所占空间: nvar ...
- c语言位运算符
C语言既具有高级语言的特点,又具有低级语言的功能. 所谓位运算是指进行二进制位的运算. C语言提供的位运算: 运算符 含义 & 按位与 | 按位或 ∧ 按位异或 ∽ ...
- CI的面向切面的普通权限验证
第一步:开启CI的钩子配置,此次不多说看CI手册即可. 第二步:在cofig/hooks.php中进行钩子配置,CI手册中有记载 <?php defined('BASEPATH') OR exi ...
- python实现模拟登录【转】
原文网址:http://www.blogjava.net/hongqiang/archive/2012/08/01/384552.html 本文主要用python实现了对网站的模拟登录.通过自己构造p ...
- 【技巧】DataGridView,ListView重新绑定时保持上次滚动位置
(1)DataGridView 今天在项目时遇到一个问题,将DataTable绑定到DataGridView,其中一列为CheckBox列,当我修改该列值时,触发CellValueChanged事件. ...
- iOS9 升级设置
今天升级了iOS9, Xcode7.1 ; 打开之前的工程发现网络请求出错了, 参照UM开发文档, 对info.plist进行了配置如下: 1. 以iOS9 SDK编译的工程会默认以SSL安全协议进行 ...
- Android源码学习之装饰模式应用
首先得了解最基础的装饰器模式 参考 设计模式之八 --- 装饰模式(Decorator) 参考链接:http://blog.csdn.net/cjjky/article/details/7478788 ...
- 深入浅出Z-Stack 2006 OSAL多任务资源分配机制
转自深入浅出Z-Stack 2006 OSAL多任务资源分配机制 一.概述 OSAL (Operating System Abstraction Layer),翻译为"操作系统抽象层&quo ...
- Windows Xp Home Edition 安装IIS组件
问题描述: 在虚拟机(操作系统是Windows Xp Home Edition)中安装Sql Server 2005的时候警告缺少IIS相关组件,控制面板"添加/删除组件"中也没有 ...