Python Scrapy 爬取煎蛋网妹子图实例(一)
前面介绍了爬虫框架的一个实例,那个比较简单,这里在介绍一个实例
爬取 煎蛋网 妹子图,遗憾的是 上周煎蛋网还有妹子图了,但是这周妹子图变成了 随手拍,
不过没关系,我们爬图的目的是为了加强实战应用,管他什么图了先爬下来再说。
言归正传
这个实例,主要是讲将图片爬了下来,保存到本地,这个在上周已经实现了,这周有进一步做了讲图片信息保存到了数据库中。
代码结构
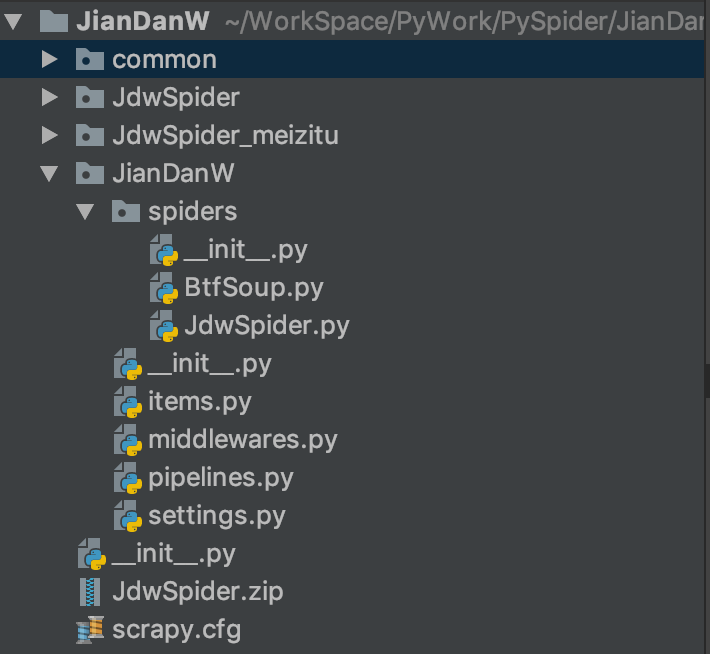
如上图
common 用来存放共代码,如上篇对数据库的操作进行了封装,这里直接就放到了common 文件夹下,方便调用。
紧接着下面两个文件夹是用来 存放爬取的图片的,第一个是 这周爬的 随手拍的图片,第二个是 妹子图的图片。
然后下面就是 爬虫文件了。
一下贴出 对应文件的代码
JdwSpider.py
# -*- coding: utf-8 -*-

import base64

import scrapy

import JianDanW.items as items

from bs4 import BeautifulSoup

class JdwspiderSpider(scrapy.Spider):

    name = 'JdwSpider'

    allowed_domains = ['jandan.net']

    start_urls = ['http://jandan.net/ooxx/']

    # start_urls = ['http://jandan.net/ooxx/page-1#comments']

    def parse(self, response):

        item = items.JiandanwItem()

        # 通过 response.text 获取 html 源文件

        html = response.text

        # 使用 lxml 解析器解析 html 此时 soup 为 html 样式文件。

        soup = BeautifulSoup(html, 'lxml')

        # 查找 html 中的 img-hash 返回 包含 class="img-hash" 的 列表

        tags = soup.select('.img-hash')

        imgUrlList = []

        for tag in tags:

            #  tag  为 <span class="img-hash">Ly93eDQuc2luYWltZy5jbi9tdzYwMC82NmIzZGUxN2d5MWZ4bzZqaXM0aWVqMjFtYTB1MHg2ci5qcGc=</span>

            # img_hash = Ly93eDQuc2luYWltZy5jbi9tdzYwMC82NmIzZGUxN2d5MWZ4bzZqaXM0aWVqMjFtYTB1MHg2ci5qcGc=

            img_hash = tag.text

            # img_hash 进行解密 为 //wx4.sinaimg.cn/mw600/66b3de17gy1fxo6jis4iej21ma0u0x6r.jpg

            img_url = base64.b64decode(img_hash).decode('utf-8')

            # 将结果加载到列表

            imgUrlList.append(img_url)

        # print(img_urls)

        # 将列表复制给item 对应的 image_urls

        item['image_urls'] = imgUrlList

        yield item

        # 获取翻页 下一页 连接

        p_url = response.xpath('//a[@class="previous-comment-page"]//@href').extract_first()

        # 如果存在下一页

        if p_url:

            p_url = str(p_url)

            hurl = 'http:'

            page_url = hurl + p_url

            # 如果存在下一页,回调 parse 函数

            yield scrapy.Request(page_url,callback=self.parse)
items.py
# -*- coding: utf-8 -*-

# Define here the models for your scraped items

#

# See documentation in:

# https://doc.scrapy.org/en/latest/topics/items.html

import scrapy

class JiandanwItem(scrapy.Item):

    # define the fields for your item here like:

    # name = scrapy.Field()

    image_urls = scrapy.Field()#图片的链接
pipelines.py
# -*- coding: utf-8 -*-

# Define your item pipelines here

#

# Don't forget to add your pipeline to the ITEM_PIPELINES setting

# See: https://doc.scrapy.org/en/latest/topics/item-pipeline.html

import os

import urllib

import common.DBHandle as DBHandle

class JiandanwPipeline(object):

    def process_item(self, item, spider):

        # 数据库连接

        host = '127.0.0.1'

        username = 'adil'

        password = 'helloyyj'

        database = 'AdilTest'

        port = 3306

        DbHandle = DBHandle.DataBaseHandle(host, username, password, database, port)

        for image_url in item['image_urls']:

            # 截图图片链接

            list_name = image_url.split('/')

            # 获取图片名称

            file_name = list_name[len(list_name) - 1]  # 图片名称

            # 获取当前路径

            currentPath = os.getcwd()

            # 拼接图片存放路径

            file_path = os.path.join(currentPath,spider.name)

            # 如果图片路径不存在,创建该文件路径

            if not os.path.exists(file_path):

                os.makedirs(file_path)

            # 补全图片路径

            path_name = os.path.join(file_path,file_name)

            # 获取有效的url 因为 image_url = //wx4.sinaimg.cn/mw600/66b3de17gy1fxo6jis4iej21ma0u0x6r.jpg

            image_url = 'http:' + image_url

            # 此处执行 数据库插入,将 图片名称、url 插入到数据库   注意 这里的 values('占位符 一定要用 引号引起来,要不然执行不成功,血的教训')

            sql = "insert into JdwSpider(image_name,image_url) values ('%s','%s')" % (file_name,image_url)

            # 如果不执行插入,可以注释改该行代码

            DbHandle.insertDB(sql)

            # 图片保存

            with open(path_name, 'wb') as file_writer:

                conn = urllib.request.urlopen(image_url)  # 下载图片

                # 保存图片

                file_writer.write(conn.read())

            file_writer.close()

        # 关闭数据库

        DbHandle.closeDb()

        return item
配置 setting.py
# -*- coding: utf-8 -*-

# Scrapy settings for JianDanW project

#

# For simplicity, this file contains only settings considered important or

# commonly used. You can find more settings consulting the documentation:

#

#     https://doc.scrapy.org/en/latest/topics/settings.html

#     https://doc.scrapy.org/en/latest/topics/downloader-middleware.html

#     https://doc.scrapy.org/en/latest/topics/spider-middleware.html

BOT_NAME = 'JianDanW'

SPIDER_MODULES = ['JianDanW.spiders']

NEWSPIDER_MODULE = 'JianDanW.spiders'

# Crawl responsibly by identifying yourself (and your website) on the user-agent

#USER_AGENT = 'JianDanW (+http://www.yourdomain.com)'

# Obey robots.txt rules

ROBOTSTXT_OBEY = True

# Configure maximum concurrent requests performed by Scrapy (default: 16)

#CONCURRENT_REQUESTS = 32

# Configure a delay for requests for the same website (default: 0)

# See https://doc.scrapy.org/en/latest/topics/settings.html#download-delay

# See also autothrottle settings and docs

DOWNLOAD_DELAY = 3

# The download delay setting will honor only one of:

#CONCURRENT_REQUESTS_PER_DOMAIN = 16

#CONCURRENT_REQUESTS_PER_IP = 16

# Disable cookies (enabled by default)

#COOKIES_ENABLED = False

# Disable Telnet Console (enabled by default)

#TELNETCONSOLE_ENABLED = False

# Override the default request headers:

#DEFAULT_REQUEST_HEADERS = {

#   'Accept': 'text/html,application/xhtml+xml,application/xml;q=0.9,*/*;q=0.8',

#   'Accept-Language': 'en',

#}

# Enable or disable spider middlewares

# See https://doc.scrapy.org/en/latest/topics/spider-middleware.html

#SPIDER_MIDDLEWARES = {

#    'JianDanW.middlewares.JiandanwSpiderMiddleware': 543,

#}

# Enable or disable downloader middlewares

# See https://doc.scrapy.org/en/latest/topics/downloader-middleware.html

#DOWNLOADER_MIDDLEWARES = {

#    'JianDanW.middlewares.JiandanwDownloaderMiddleware': 543,

#}

# Enable or disable extensions

# See https://doc.scrapy.org/en/latest/topics/extensions.html

#EXTENSIONS = {

#    'scrapy.extensions.telnet.TelnetConsole': None,

#}

# Configure item pipelines

# See https://doc.scrapy.org/en/latest/topics/item-pipeline.html

ITEM_PIPELINES = {

   'JianDanW.pipelines.JiandanwPipeline': 300,

}

# Enable and configure the AutoThrottle extension (disabled by default)

# See https://doc.scrapy.org/en/latest/topics/autothrottle.html

#AUTOTHROTTLE_ENABLED = True

# The initial download delay

#AUTOTHROTTLE_START_DELAY = 5

# The maximum download delay to be set in case of high latencies

#AUTOTHROTTLE_MAX_DELAY = 60

# The average number of requests Scrapy should be sending in parallel to

# each remote server

#AUTOTHROTTLE_TARGET_CONCURRENCY = 1.0

# Enable showing throttling stats for every response received:

#AUTOTHROTTLE_DEBUG = False

# Enable and configure HTTP caching (disabled by default)

# See https://doc.scrapy.org/en/latest/topics/downloader-middleware.html#httpcache-middleware-settings

#HTTPCACHE_ENABLED = True

#HTTPCACHE_EXPIRATION_SECS = 0

#HTTPCACHE_DIR = 'httpcache'

#HTTPCACHE_IGNORE_HTTP_CODES = []

#HTTPCACHE_STORAGE = 'scrapy.extensions.httpcache.FilesystemCacheStorage'
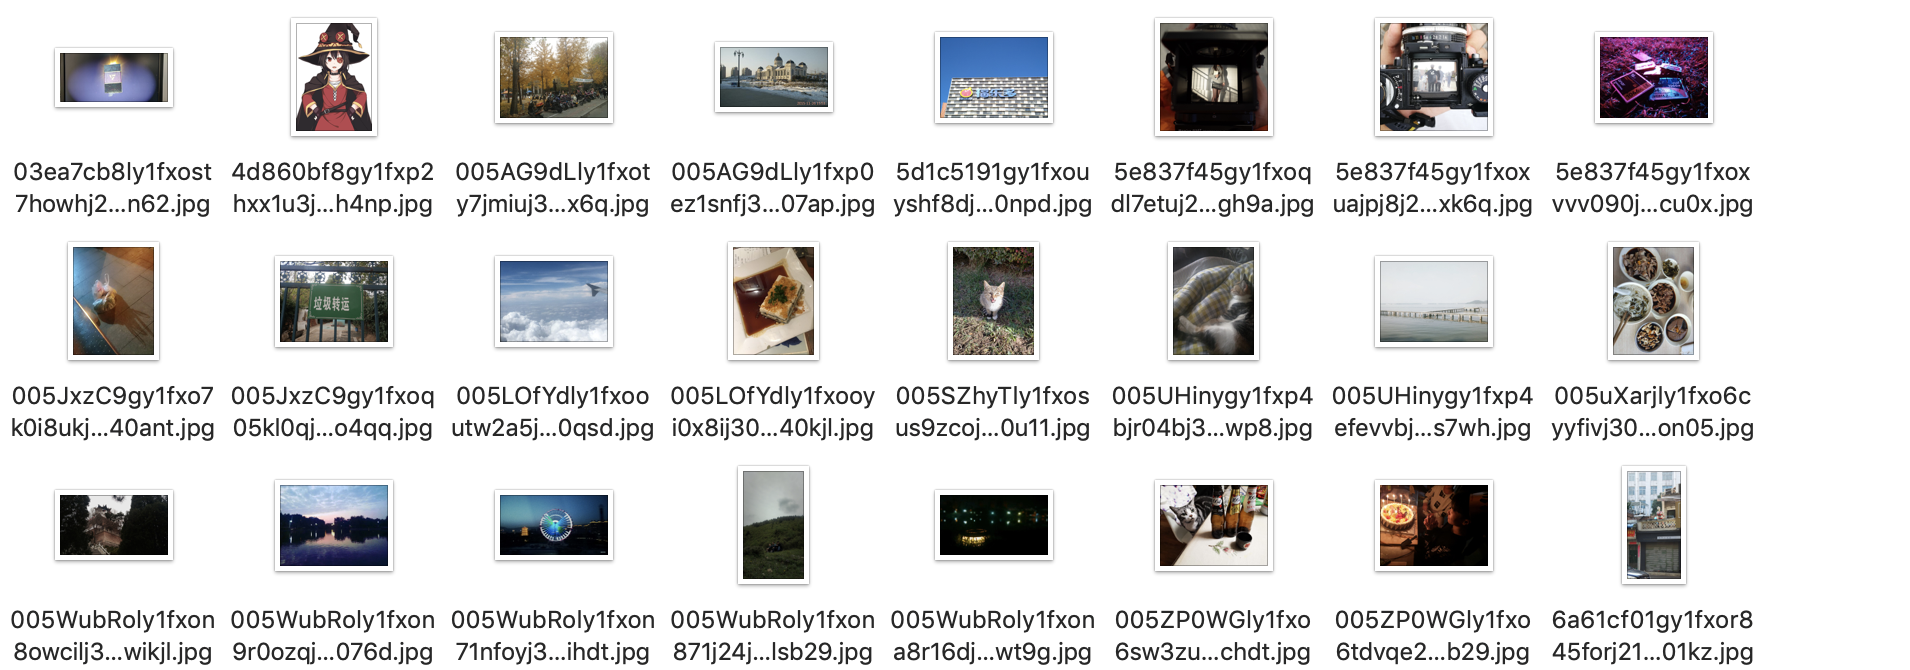
贴上爬虫结果图吧
本地文件
数据库存储信息
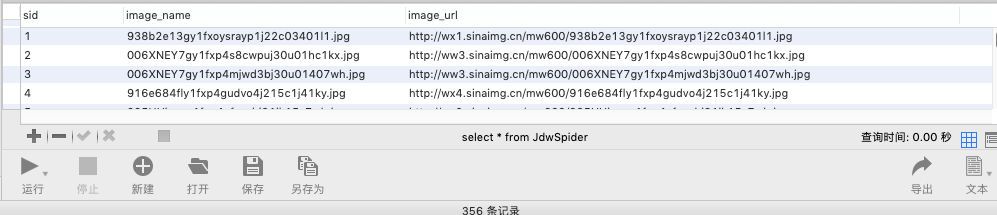
这样,即是 后面本地文件丢失,或是图片入口关闭,也可以通过重新读取数据库信息,重新下载了。
遇到的问题
因为煎蛋网 使用了反爬虫策略,所以导致 常规的爬虫 失败
需要增加 url 解密操作,具体 爬虫代码里有介绍
关于数据库操作的封装请看上篇介绍。
如果还有什么问题,可以评论区内提问,或是QQ 联系。
如果觉得有用,欢迎打赏哦,哈哈哈~
Python Scrapy 爬取煎蛋网妹子图实例(一)的更多相关文章
- Python Scrapy 爬取煎蛋网妹子图实例(二)
上篇已经介绍了 图片的爬取,后来觉得不太好,每次爬取的图片 都在一个文件下,不方便区分,且数据库中没有爬取的时间标识,不方便后续查看 数据时何时爬取的,所以这里进行了局部修改 修改一:修改爬虫执行方式 ...
- python爬虫–爬取煎蛋网妹子图片
前几天刚学了python网络编程,书里没什么实践项目,只好到网上找点东西做. 一直对爬虫很好奇,所以不妨从爬虫先入手吧. Python版本:3.6 这是我看的教程:Python - Jack -Cui ...
- python爬虫爬取煎蛋网妹子图片
import urllib.request import os def url_open(url): req = urllib.request.Request(url) req.add_header( ...
- Python 爬虫 爬取 煎蛋网 图片
今天, 试着爬取了煎蛋网的图片. 用到的包: urllib.request os 分别使用几个函数,来控制下载的图片的页数,获取图片的网页,获取网页页数以及保存图片到本地.过程简单清晰明了 直接上源代 ...
- Python 爬取煎蛋网妹子图片
#!/usr/bin/env python # -*- coding: utf-8 -*- # @Date : 2017-08-24 10:17:28 # @Author : EnderZhou (z ...
- selenium爬取煎蛋网
selenium爬取煎蛋网 直接上代码 from selenium import webdriver from selenium.webdriver.support.ui import WebDriv ...
- python3爬虫爬取煎蛋网妹纸图片(上篇)
其实之前实现过这个功能,是使用selenium模拟浏览器页面点击来完成的,但是效率实际上相对来说较低.本次以解密参数来完成爬取的过程. 首先打开煎蛋网http://jandan.net/ooxx,查看 ...
- scrapy从安装到爬取煎蛋网图片
下载地址:https://www.lfd.uci.edu/~gohlke/pythonlibs/pip install wheelpip install lxmlpip install pyopens ...
- 爬虫实例——爬取煎蛋网OOXX频道(反反爬虫——伪装成浏览器)
煎蛋网在反爬虫方面做了不少工作,无法通过正常的方式爬取,比如用下面这段代码爬取无法得到我们想要的源代码. import requests url = 'http://jandan.net/ooxx' ...
随机推荐
- netstat -ano输出中的ESTABLISHED off
今天,我们性能测试的环境出现个奇怪现象,通过oci direct load回库的进程似乎僵死了,应用端cpu 200%(两个线程在跑,一个是一直在ocidirectload没反应,另外一个是正在sem ...
- c++中的header-only library
不同于在java中,虽然在java中,有些第三方库只是做了桥接的功能,比如slf4j-log4j-api,但是在运行时他们仍然是需要的,所以最多只能说是松耦合做得很好. 但是在c++中,一般我们应用第 ...
- 爬虫的基本操作 requests / BeautifulSoup 的使用
爬虫的基本操作 爬虫基础知识 什么是爬虫? 在最开始,还没有诞生Google和百度等一系列搜索引擎的公司的时候,人们进入一些公司的网站只能通过在浏览器地址栏输入网址的方式访问,如同在很早之前前手机不流 ...
- linux判断文件大小
第一条code ll -s | tail -n +2 | awk '$1 >= 10 {print $1,$10 "容量大于10"} $1 <= 9 {print $1 ...
- opencv学习之路(15)、形态学其他操作(开、闭、顶帽、黑帽、形态学梯度)
一.形态学其他操作(用的不多,如果忘了也可以通过膨胀腐蚀得到相同效果) 1.开运算 2.闭运算 3.形态学梯度 4.顶帽 5.黑帽 #include "opencv2/opencv.hpp& ...
- Django文件存储(二)定制存储系统
要自己写一个存储系统,可以依照以下步骤: 1.写一个继承自django.core.files.storage.Storage的子类. from django.core.files.storage im ...
- 【python39--面向对象组合】
一.组合 定义:当几个对象是水平方向的时候,就应该考虑组合,当对象是纵向的时候用继承,组合就是用一个类把2个平级层次的类放在一起,然后实例化就可以了 #现在定义一个类,叫水池,水池里面有鱼和乌龟cla ...
- POJ - 2421 Constructing Roads 【最小生成树Kruscal】
Constructing Roads Description There are N villages, which are numbered from 1 to N, and you should ...
- LIS|计蒜客2019蓝桥杯省赛 B 组模拟赛(一)
#include <bits/stdc++.h> using namespace std; const int N = 1e5 + 9; int f[N], a[N]; int n; // ...
- Spring Cloud各组件超时总结
Ribbon的超时 全局设置: ribbon: ReadTimeout: 60000 ConnectTimeout: 60000 1 2 3 局部设置: service-id: ribbon: Rea ...