[js高手之路]html5 canvas动画教程 - 边界判断与小球粒子模拟喷泉,散弹效果
备注:本文后面的代码,如果加载了ball.js,那么请使用这篇文章[js高手之路] html5 canvas动画教程 - 匀速运动的ball.js代码.
本文,我们要做点有意思的效果,首先,来一个简单的边界判断,所谓边界判断:就是把物体的运动限定在一个范围内.我们先来一个简单的实例,在canvas上生成一个小球,小球的初始位置是在canvas的正中间,然后通过键盘的上下左右来移动小球的位置,如果小球碰到canvas的左边,那么不能再向左运动,其他方向同理.
要实现这个效果,只需要一个边界判断,即可。
 function checkBorder() {

     if ( ball.x < ball.radius ) { //碰到左边界

         ball.x = ball.radius;

     } else if ( ball.y < ball.radius ) { //碰到上边界

         ball.y = ball.radius;

     } else if ( ball.x > width - ball.radius ) { //碰到右边界

         ball.x = width - ball.radius;

     }else if ( ball.y > height - ball.radius ){

         ball.y = height - ball.radius;

     }

 }
左边界:只要判断小球的圆心x 如果小于小球的半径,那肯定是碰到了左边界,我们就让小球的中心x等于小球的半径。
右边界:只要判断小球的圆心x 如果大于canvas的宽度减去小球的半径,那肯定是碰到了右边界,我们就让小球的中心x等于canvas的宽度减去小球的半径
其他上下边界跟左右是同理。
完整的实例代码:
 <head>

     <meta charset='utf-8' />

     <style>

         #canvas {

             border: 1px dashed #aaa;

         }

     </style>

     <script src="./ball.js"></script>

     <script>

         window.onload = function () {

             var oCanvas = document.querySelector("#canvas"),

                 oGc = oCanvas.getContext('2d'),

                 width = oCanvas.width, height = oCanvas.height,

                 ball = new Ball(width / 2, height / 2);

                 ball.fill( oGc );

             addEventListener("keydown", function (ev) {

                 oGc.clearRect(0, 0, width, height);

                 var oEvent = ev || event;

                 switch (oEvent.keyCode) {

                     case 37:

                         ball.x -= 5;

                         checkBorder();

                         ball.fill(oGc);

                         break;

                     case 39:

                         ball.x += 5;

                         checkBorder();

                         ball.fill(oGc);

                         break;

                     case 38:

                         ball.y -= 5;

                         checkBorder();

                         ball.fill(oGc);

                         break;

                     case 40:

                         ball.y += 5;

                         checkBorder();

                         ball.fill(oGc);

                         break;

                 }

             }, false);

             function checkBorder() {

                 if ( ball.x < ball.radius ) { //碰到左边界

                     ball.x = ball.radius;

                 } else if ( ball.y < ball.radius ) { //碰到上边界

                     ball.y = ball.radius;

                 } else if ( ball.x > width - ball.radius ) { //碰到右边界

                     ball.x = width - ball.radius;

                 }else if ( ball.y > height - ball.radius ){

                     ball.y = height - ball.radius;

                 }

             }

         }

     </script>

 </head>

 <body>

     <canvas id="canvas" width="1200" height="600"></canvas>

 </body>
边界穿透:
如果小球向左运动,且完全超出左边界,我们就让他从右边出来,如果小球向右运动,且完全超出右边界,我们就让他从左边出来。上下方向同理
 <head>

     <meta charset='utf-8' />

     <style>

         #canvas {

             border: 1px dashed #aaa;

         }

     </style>

     <script src="./ball.js"></script>

     <script>

         window.onload = function () {

             var oCanvas = document.querySelector("#canvas"),

                 oGc = oCanvas.getContext('2d'),

                 width = oCanvas.width, height = oCanvas.height,

                 ball = new Ball(width / 2, height / 2);

             ball.fill(oGc);

             addEventListener("keydown", function (ev) {

                 oGc.clearRect(0, 0, width, height);

                 var oEvent = ev || event;

                 switch (oEvent.keyCode) {

                     case 37:

                         ball.x -= 5;

                         checkBorder();

                         ball.fill(oGc);

                         break;

                     case 39:

                         ball.x += 5;

                         checkBorder();

                         ball.fill(oGc);

                         break;

                     case 38:

                         ball.y -= 5;

                         checkBorder();

                         ball.fill(oGc);

                         break;

                     case 40:

                         ball.y += 5;

                         checkBorder();

                         ball.fill(oGc);

                         break;

                 }

             }, false);

             function checkBorder() {

                 if (ball.x < -ball.radius) { //完全超出左边界

                     ball.x = width + ball.radius; //让球从右边出来

                 } else if (ball.y < -ball.radius) { //完全超出上边界

                     ball.y = height + ball.radius;//让球从下面出来

                 } else if (ball.x > width + ball.radius) { //完全超出右边界

                     ball.x = -ball.radius;//让球从左边出来

                 } else if (ball.y > height + ball.radius) {//完全超出下边界

                     ball.y = -ball.radius; //让球从上边出来

                 }

             }

         }

     </script>

 </head>

 <body>

     <canvas id="canvas" width="1200" height="600"></canvas>

 </body>
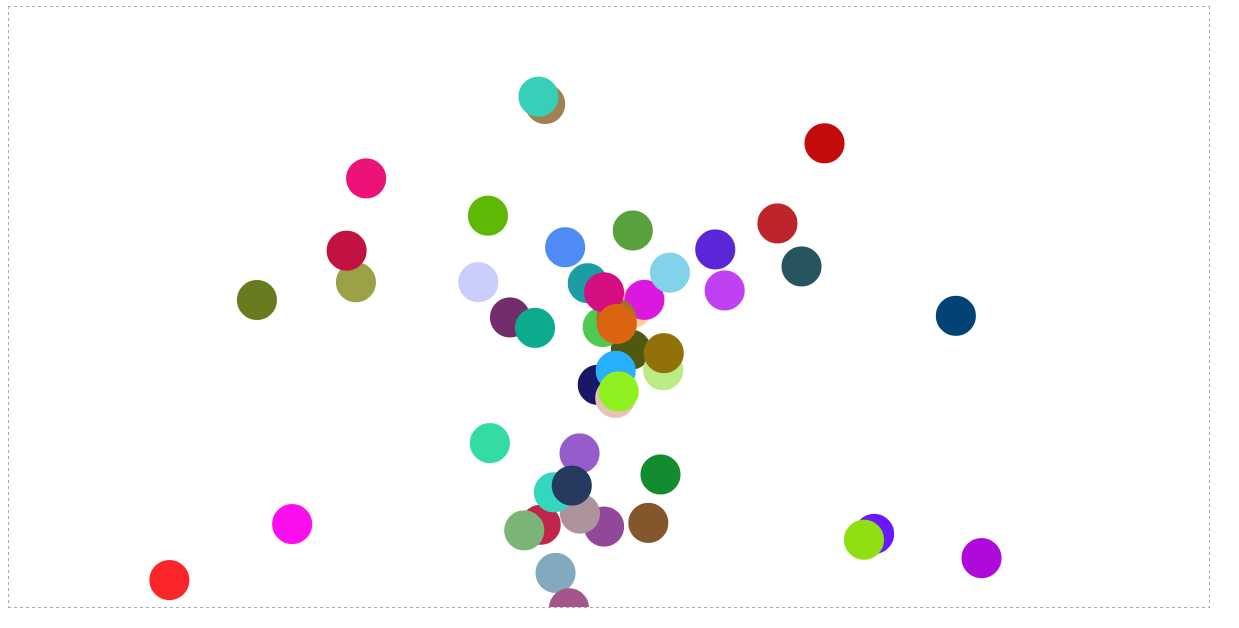
散弹效果:
通过canvas的中心点,不停的向四周发射小球,形成散弹的效果.
我不知道你们有没有这样的误区:不停的向四周发射小球,那是不是要不停的创造小球呢?如果你这样想,程序就算写出来了,肯定会卡死.
其实我们可以只创建,一定数量的小球,比如( 50, 60. ...100 ),然后当这些小球,完全超出的边界的时候,再把这些小球的圆心( x, y )设定到最开始的位置,再次随机x和y方向的速度,就可以达到目的了, 说白了就是,那个完全超出边界的小球,我们让他重新回到最初的地方,只是改变了他的颜色和速度,给人感觉就是那个发射小球的地方源源不断的在发射小球

完整的散弹效果:
 <head>

     <meta charset='utf-8' />

     <style>

         #canvas {

             border: 1px dashed #aaa;

         }

     </style>

     <script src="./ball.js"></script>

     <script>

         window.onload = function () {

             var oCanvas = document.querySelector("#canvas"),

                 oGc = oCanvas.getContext('2d'),

                 width = oCanvas.width, height = oCanvas.height,

                 balls = [], n = 50;

             function getRandColor() {

                 return '#' + ( function( color ){

                     return ( color += '0123456789abcdef' [Math.floor( Math.random() * 16 )] ) && ( color.length == 6 ) ? color : arguments.callee( color );

                 } )( '' );

             }

             for( var i = 0; i < n; i++ ) {

                 var ball = new Ball( width / 2, height / 2, 20, getRandColor() );

                 ball.vx = ( Math.random() * 2 - 1 ) * 5;

                 ball.vy = ( Math.random() * 2 - 1 ) * 5;

                 balls.push( ball );

             }

             (function move(){

                 oGc.clearRect( 0, 0, width, height );

                 balls.forEach( function( ball ){

                     if ( ball.x < -ball.radius

                         || ball.x > width + ball.radius

                         || ball.y < -ball.radius

                         || ball.y > height + ball.radius ) {

                             ball.x = width / 2;

                             ball.y = height / 2;

                             ball.vx = ( Math.random() * 2 - 1 ) * 5;

                             ball.vy = ( Math.random() * 2 - 1 ) * 5;

                     }

                     ball.x += ball.vx;

                     ball.y += ball.vy;

                     ball.fill( oGc );

                 } );

                 requestAnimationFrame( move );

             })();

         }

     </script>

 </head>

 <body>

     <canvas id="canvas" width="1200" height="600"></canvas>

 </body>
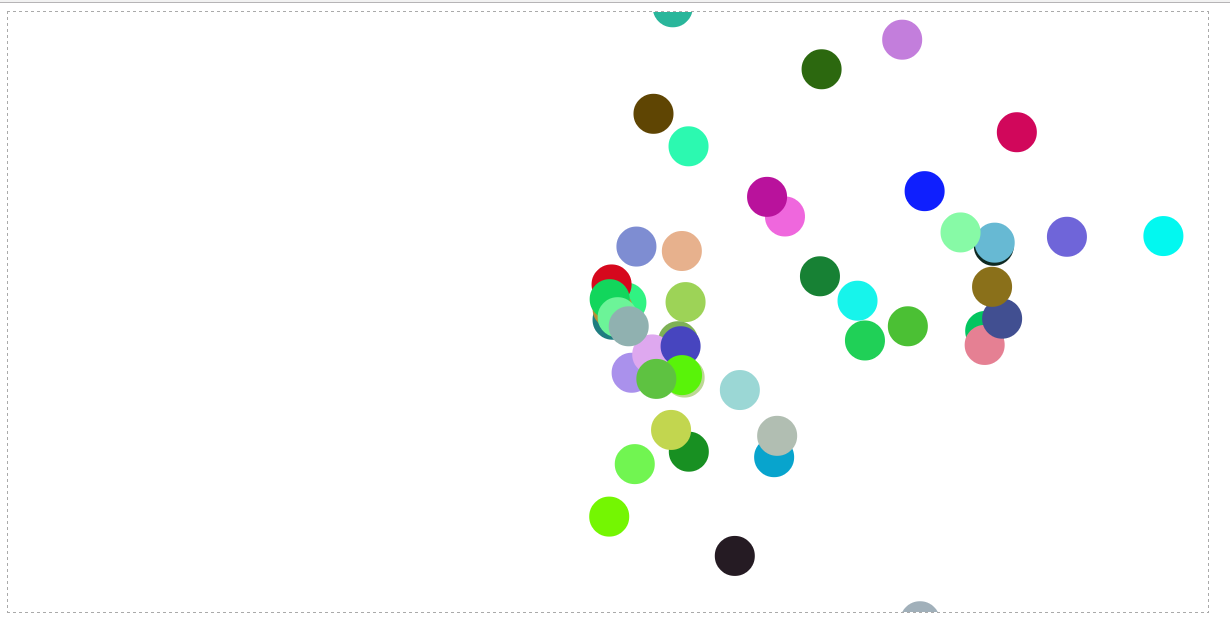
我们可以在之前的基础上,加上重力的影响,实现喷泉的效果
这张图,看着是不是更像喷泉?

 <head>

     <meta charset='utf-8' />

     <style>

         #canvas {

             border: 1px dashed #aaa;

         }

     </style>

     <script src="./ball.js"></script>

     <script>

         window.onload = function () {

             var oCanvas = document.querySelector("#canvas"),

                 oGc = oCanvas.getContext('2d'),

                 width = oCanvas.width, height = oCanvas.height,

                 balls = [], n = 50, gravity = 0.2;

             function getRandColor() {

                 return '#' + (function (color) {

                     return (color += '0123456789abcdef'[Math.floor(Math.random() * 16)]) && (color.length == 6) ? color : arguments.callee(color);

                 })('');

             }

             for (var i = 0; i < n; i++) {

                 var ball = new Ball(width / 2, height / 2, 20, getRandColor());

                 ball.vx = (Math.random() * 2 - 1) * 5;

                 ball.vy = (Math.random() * 2 - 1) * 10;

                 balls.push(ball);

             }

             (function move() {

                 oGc.clearRect(0, 0, width, height);

                 balls.forEach(function (ball) {

                     if (ball.x < -ball.radius

                         || ball.x > width + ball.radius

                         || ball.y < -ball.radius

                         || ball.y > height + ball.radius) {

                         ball.x = width / 2;

                         ball.y = height / 2;

                         ball.vx = (Math.random() * 2 - 1) * 5;

                         ball.vy = (Math.random() * 2 - 1) * 10;

                     }

                     ball.x += ball.vx;

                     ball.y += ball.vy;

                     ball.vy += gravity;

                     ball.fill(oGc);

                 });

                 requestAnimationFrame(move);

             })();

         }

     </script>

 </head>

 <body>

     <canvas id="canvas" width="1200" height="600"></canvas>

 </body>
还可以通过控制小球的vx, vy,就是x方向和y方向的速度,来限制小球朝某一个方向发射,下面的例子,我们只让小球朝着x轴的右边发射
 <head>

     <meta charset='utf-8' />

     <style>

         #canvas {

             border: 1px dashed #aaa;

         }

     </style>

     <script src="./ball.js"></script>

     <script>

         window.onload = function () {

             var oCanvas = document.querySelector("#canvas"),

                 oGc = oCanvas.getContext('2d'),

                 width = oCanvas.width, height = oCanvas.height,

                 balls = [], n = 50;

             function getRandColor() {

                 return '#' + ( function( color ){

                     return ( color += '0123456789abcdef' [Math.floor( Math.random() * 16 )] ) && ( color.length == 6 ) ? color : arguments.callee( color );

                 } )( '' );

             }

             for( var i = 0; i < n; i++ ) {

                 var ball = new Ball( width / 2, height / 2, 20, getRandColor() );

                 ball.vx = Math.abs( ( Math.random() * 2 - 1 ) * 5 );

                 ball.vy = ( Math.random() * 2 - 1 ) * 5;

                 balls.push( ball );

             }

             (function move(){

                 oGc.clearRect( 0, 0, width, height );

                 balls.forEach( function( ball ){

                     if ( ball.x < -ball.radius

                         || ball.x > width + ball.radius

                         || ball.y < -ball.radius

                         || ball.y > height + ball.radius ) {

                             ball.x = width / 2;

                             ball.y = height / 2;

                             ball.vx = Math.abs( ( Math.random() * 2 - 1 ) * 5 );

                             ball.vy = ( Math.random() * 2 - 1 ) * 5;

                     }

                     ball.x += ball.vx;

                     ball.y += ball.vy;

                     ball.fill( oGc );

                 } );

                 requestAnimationFrame( move );

             })();

         }

     </script>

 </head>

 <body>

     <canvas id="canvas" width="1200" height="600"></canvas>

 </body>
[js高手之路]html5 canvas动画教程 - 边界判断与小球粒子模拟喷泉,散弹效果的更多相关文章
- [js高手之路]html5 canvas动画教程 - 边界判断与反弹
备注:本文后面的代码,如果加载了ball.js,那么请使用这篇文章[js高手之路] html5 canvas动画教程 - 匀速运动的ball.js代码. 边界反弹: 当小球碰到canvas的四个方向的 ...
- [js高手之路] html5 canvas动画教程 - 实时获取鼠标的当前坐标
有了前面的canvas基础之后,现在开始就精彩了,后面写的canvas教程都是属于综合应用,前面已经写了常用的canvas基础知识,参考链接如下: [js高手之路] html5 canvas系列教程 ...
- [js高手之路]html5 canvas动画教程 - 下雪效果
利用canvas,实现一个下雪的效果,我们先预览下效果: 我们先分析下这个效果: 1,随机产生雪花 2,雪花的产生不是同时产生,而是有先后顺序的 3,雪花怎么表示 4,怎么源源不断的下雪 5,雪花有大 ...
- [js高手之路]html5 canvas动画教程 - 跟着鼠标移动消失的一堆炫彩小球
综合利用前面所学,实现一个绚丽的小球动画,这个实例用到的知识点,在我的博客全部都有,可以去这里查看所有的canvas教程 <head> <meta charset='utf-8' / ...
- [js高手之路] html5 canvas动画教程 - 匀速运动
匀速运动:指的是物体在一条直线上运动,并且物体在任何相等时间间隔内通过的位移都是相等的.其实就是匀速直线运动,它的特点是加速度为0,从定义可知,在任何相等的时间间隔内,速度大小和方向是相同的. < ...
- [js高手之路]html5 canvas动画教程 - 自己动手做一个类似windows的画图软件
这个绘图工具,我还没有做完,不过已经实现了总架构,以及常见的简易图形绘制功能: 1,可以绘制直线,圆,矩形,正多边形[已完成] 2,填充颜色和描边颜色的选择[已完成] 3,描边和填充功能的选择[已完成 ...
- [js高手之路]html5 canvas动画教程 - 重力、摩擦力、加速、抛物线运动
上节,我们讲了匀速运动,本节分享的运动就更有意思了: 加速运动 重力加速度 抛物线运动 摩擦力 加速运动: <head> <meta charset='utf-8' /> &l ...
- [js高手之路] html5 canvas系列教程 - 状态详解(save与restore)
本文内容与路径([js高手之路] html5 canvas系列教程 - 开始路径beginPath与关闭路径closePath详解)是canvas中比较重要的概念.掌握理解他们是做出复杂canvas动 ...
- [js高手之路] html5 canvas系列教程 - 掌握画直线图形的常用API
我们接着上文[js高手之路] html5 canvase系列教程 - 认识canvas以及基本使用方法继续. 一.直线的绘制 cxt.moveTo( x1, y1 ): 将画笔移动到x1, y1这个点 ...
随机推荐
- UEditor Flash文件上传-crossdomain.xml文件配置
在使用UEditor富文本时,如果客户端的浏览器是低版本浏览器,如IE7.IE8等,UEditor的文件上传方式将会使用flash方式上传而不是html5,而flash在跨域时唯一的限制策略就是cro ...
- 交换基本数据类型的方法swap,并影响到主方法
不知道朋友在哪里看到的问题,qq来问我,题目是:在不修改主方法的前提下使用一个方法交换两个int的值,方法如下: public static void main(String[] args) { In ...
- 解决MVC模式文件下载附件中文名称乱码
解决如下: 进行url编码:Server.UrlPathEncode(file.AttachmentName) return File(file.TempWorkPath, CommonTools.G ...
- Navicat连接oracle数据出现的oci问题
为了用navicat操作数据库,我安装了navicat,安装完后可以连接oracle,mysql,sql service,sqlite,所以这个工具非常好用. 但是在连接数据库的时候报错了:" ...
- MPLS VPN随堂笔记2
深入理解ospf 理解MPLS VPN 中对OSPF 层次化设计的补充 supper backbone area 2:理解MPLS VPN 中OSPF 的区域设计概念 3:理解MPLS VPN 中OS ...
- 201521123007《Java程序设计》第10周学习总结
1. 本周学习总结 1.1 以你喜欢的方式(思维导图或其他)归纳总结异常与多线程相关内容. 补充上周异常 异常堆栈追踪:获得异常发生的根源 创建自己的异常 自定义异常类不是由Java系统监测到的异常, ...
- 201521123028 《Java程序设计》第10周学习总结
1. 本周学习总结 异常方面,主要是调试的相关内容,断点的使用,常用快捷键(F5(step into) F6(step over,跳过),F7 (step return,跳出)). 多线程: ①.进程 ...
- 如何在分布式环境中同步solr索引库和缓存信息
天气依旧很好,主要是凉快.老习惯,我在北京向各位问好. 搜索无处不在,相信各位每天都免不了与它的亲密接触,那么我想你确实有必要来了解一下它们,就上周在公司实现的一个小需求来给各位分享一下:如何在分布式 ...
- 生成/etc/shadow文件中的密码
shadow文件的格式就不说了.就说说它的第二列--密码列. 通常,passwd直接为用户指定密码就ok了.但在某些情况下,要为待创建的用户事先指定密码,还要求是加密后的密码,例如kickstart文 ...
- 代码的完整性:打印1到最大的n位数
输入数字n,按顺序打印出从1到最大的n位十进制数. 比如,输入3,则打印出1,2,3,.....,一直到最大的3位数即999. 全排列打印 public class Main { public sta ...