关于Quartz 2D绘图的简单使用
Quartz 2D是一个二维图形绘制引擎,支持iOS环境和Mac OS X环境,Quartz 2D的API可以实现许多功能,如:基于路径的绘图、透明度、阴影、颜色管理、反锯齿、PDF文档生成和PDF元数据访问等等.
Quartz 2D的API是Core Graphics框架的一部分,因此其中的很多数据类型和方法都是以CG开头的.
ViewController.m 文件:
- (void)viewDidLoad {

    [super viewDidLoad];

    MyView *view = [[MyView alloc] initWithFrame:CGRectMake(0, 120, 375, 300)];

    [self.view addSubview:view];

}
MyView.m 文件:
绘制图片
@implementation MyView

- (void)drawRect:(CGRect)rect {

    // Drawing code

    // 1.使用绘制的方法显示图片

    UIImage *image = [UIImage imageNamed:@"1.png"];

    // 2.把图片绘制到视图上

    [image drawInRect:self.bounds];

}

@end
图形上下文(Graphics Context)-----绘制目标,画布
Graphics Context是一个数据类型(CGContextRef),封装了 Quartz 绘制图像到输出设备的信息.输出设备可以是PDF文件丶Bitmap或者显示在窗口上.Quartz中所有的对象都是绘制到一个Graphics Context中!
在iOS应用程序中,如果要在屏幕上进行绘制,需要定义一个UIView类,并实现它的drawRect:方法.视图的drawRect方法在视图显示在屏幕上及它的内容需要更新时被调用.在调用自定义的drawRect:方法后,视图对象自动配置绘图环境,以便能立即执行绘图操作
Quartz 2D 中默认的坐标系统是: 原点(0,0)在左下角.
沿着X轴从左向右坐标值增大,沿着Y轴从下到上坐标值增大
- (void)drawRect:(CGRect)rect

{

    // 1.绘制图片

    UIImage *image = [UIImage imageNamed:@"1.png"];

    // 2.

//    [image drawInRect:rect];

    // 01 获取画布对象

    CGContextRef context = UIGraphicsGetCurrentContext();

    // 坐标变换

    CGContextRotateCTM(context, M_PI);

    CGContextScaleCTM(context, -1, 1);

    CGContextTranslateCTM(context, 0, -self.frame.size.height);

    // 02 绘制图片

    CGContextDrawImage(context, rect, image.CGImage);

}

@end
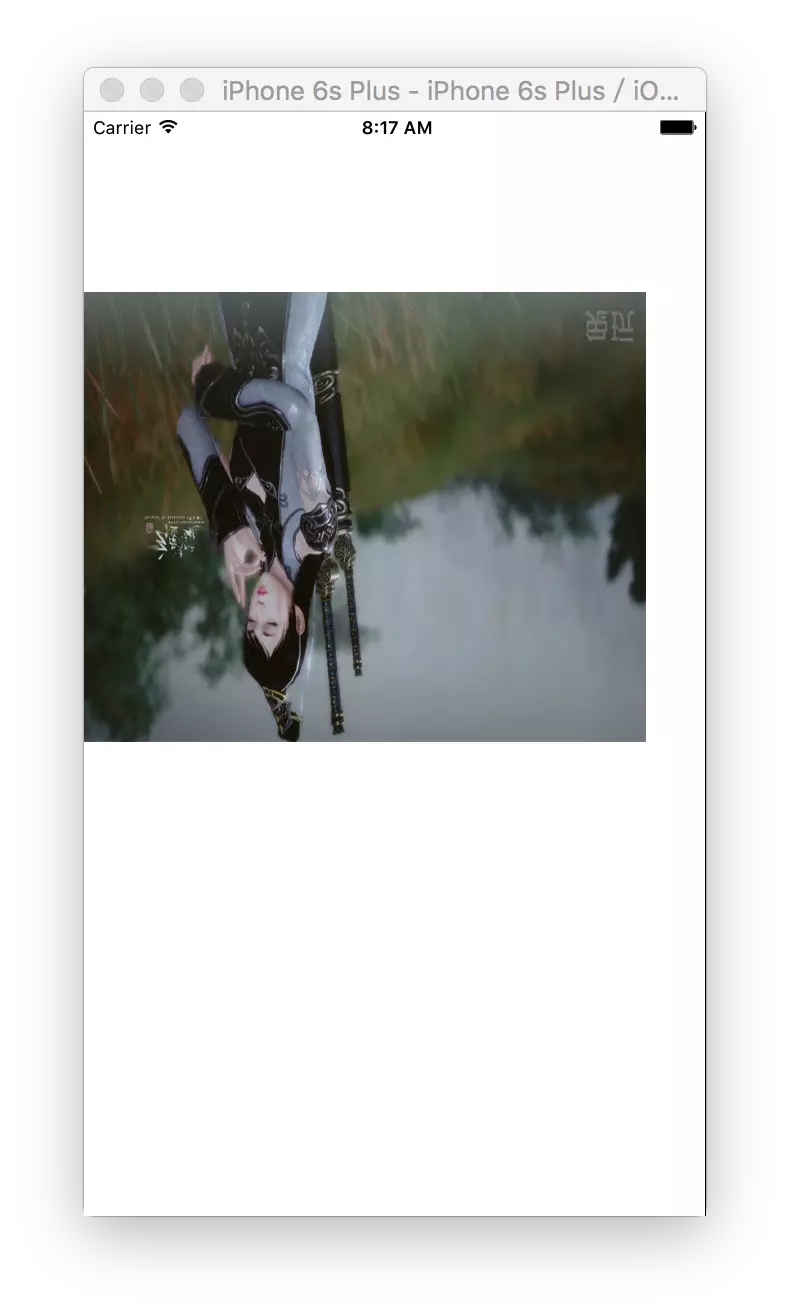
不做任何操作绘制出来的图片:
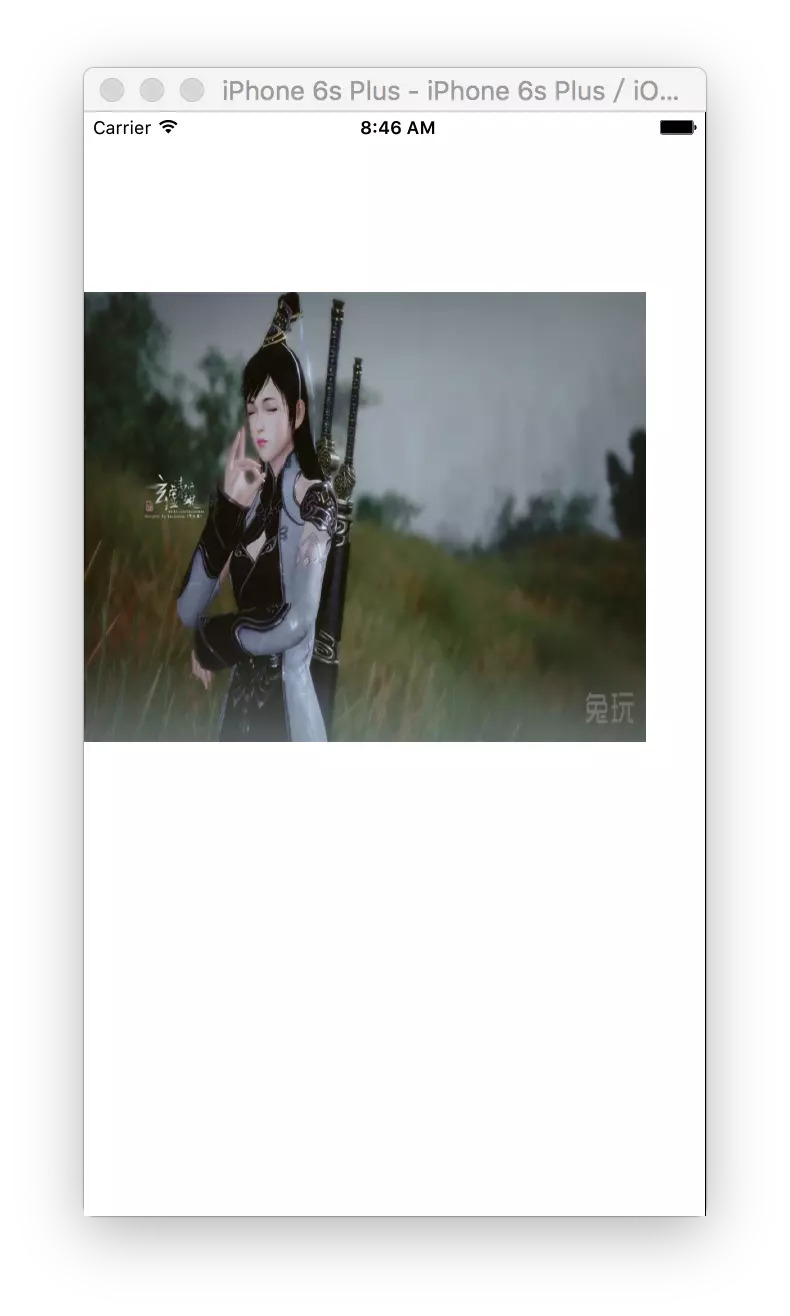
旋转之后的效果:
自定义Label
- (instancetype)initWithFrame:(CGRect)frame

{

    self = [super initWithFrame:frame];

    if (self) {

        // 1.初始化设置属性的值

        _font = [UIFont systemFontOfSize:16];

        _textColor = [UIColor blackColor];

        _backgroundColor = [UIColor whiteColor];

//        _textAlignment = NSTextAlignmentLeft;

      }

      return self;

}

- (void)setText:(NSString *)text

{

    if (_text != text) {

        _text = text;

      }

      [self setNeedsDisplay];

}

- (void)setTextColor:(UIColor *)textColor

{

    if (_textColor != textColor) {

        _textColor = textColor;

      }

      [self setNeedsDisplay];

}

- (void)setBackgroundColor:(UIColor *)backgroundColor

{

    if (_backgroundColor != backgroundColor) {

        _backgroundColor = backgroundColor;

      }

      [self setNeedsDisplay];

}

// 字体属性配置key注视Attributes--http://www.cnblogs.com/qingche/p/3574995.html

- (void)drawRect:(CGRect)rect {

    // Drawing code

    // 1.绘制文本

    // 设置字体颜色

    [_textColor setFill];

    NSDictionary *dic = @{

                          NSFontAttributeName : _font,

                          NSForegroundColorAttributeName : _textColor,

                          NSBackgroundColorAttributeName : _backgroundColor

                          };

    [_text drawInRect:rect withAttributes:dic];

}
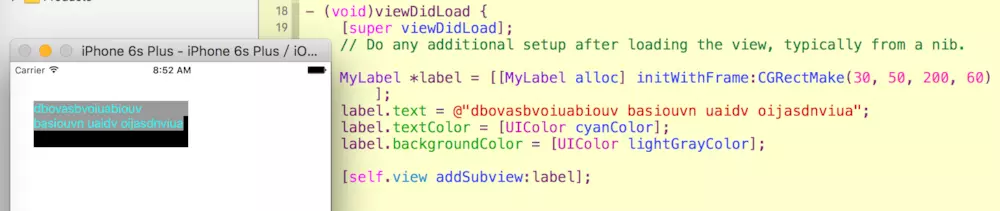
效果图:
绘制图形Demo
@implementation MyView
- (void)drawRect:(CGRect)rect
{
// 1.绘制一条直线
// [self drawZLine];
// 2.绘制一个矩形
// [self drawRect];
// 3.绘制一个圆形
// [self drawArc];
// 4.绘制贝塞尔曲线
[self drawQLine];
}
// 4.绘制贝塞尔曲线
- (void)drawQLine
{
// 1.获取画布对象
CGContextRef context = UIGraphicsGetCurrentContext();
// 2.设置画笔
CGContextSetStrokeColorWithColor(context, [UIColor redColor].CGColor);
CGContextSetLineWidth(context, 2);
// 3.设置画笔的起始点
CGContextMoveToPoint(context, 10, 200);
// 4.开始添加曲线路径
CGContextAddCurveToPoint(context, 30, 50, 175 - 30, 50, 175 - 10, 200);
// 5.开始绘制
CGContextDrawPath(context, kCGPathStroke);
}
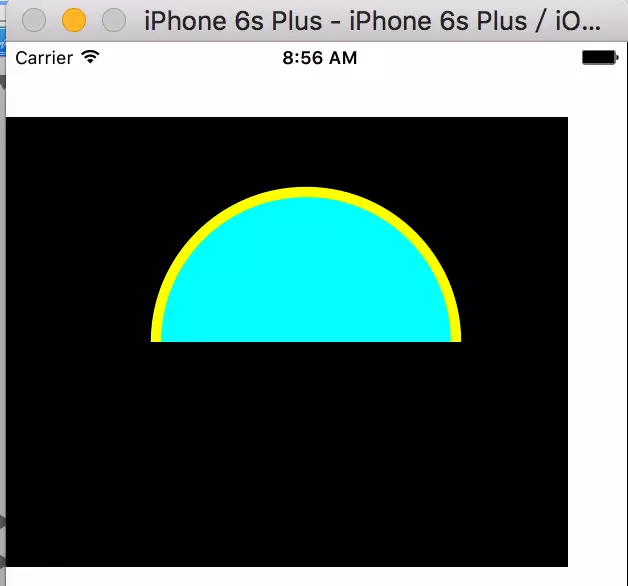
// 3.绘制一个圆形
- (void)drawArc
{
// 1.获取画布
CGContextRef context = UIGraphicsGetCurrentContext();
// 2.设置画笔
CGContextSetStrokeColorWithColor(context, [UIColor orangeColor].CGColor);
CGContextSetLineWidth(context, 4);
// 3.设置填充颜色
CGContextSetFillColorWithColor(context, [UIColor yellowColor].CGColor);
// 4.绘制圆形路径
CGContextAddArc(context, 100, 100, 50, 0, 2*M_PI, 0);
// 5.开始绘制
CGContextDrawPath(context, kCGPathFillStroke);
}
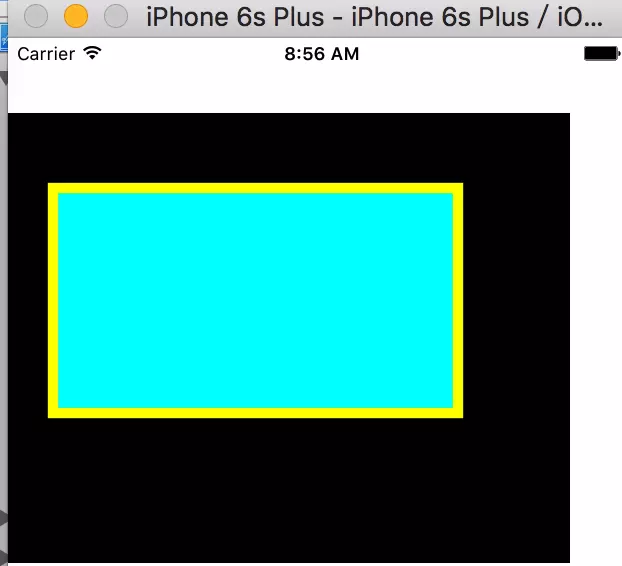
// 2.绘制一个矩形
- (void)drawRect
{
// 1.获取画布
CGContextRef context = UIGraphicsGetCurrentContext();
// 2.设置画笔
CGContextSetStrokeColorWithColor(context, [UIColor redColor].CGColor);
CGContextSetLineWidth(context, 2);
// 3.设置矩形路径
CGContextAddRect(context, CGRectMake(10, 20, 100, 100));
// 4.开始绘制
CGContextDrawPath(context, kCGPathStroke);
}
// 1.绘制一条直线
- (void)drawZLine
{
// 1.获取当前视图的绘制画布
CGContextRef context = UIGraphicsGetCurrentContext();
// 2.设置画笔的颜色
CGContextSetStrokeColorWithColor(context, [UIColor redColor].CGColor);
// 3.设置画笔的宽度
CGContextSetLineWidth(context, 5);
// 4.设置话题的七点位置
CGContextMoveToPoint(context, 20, 20);
// 5.让画笔移动指定位置绘制出一条线
CGContextAddLineToPoint(context, 220, 20);
CGContextAddLineToPoint(context, 20, 50);
CGContextAddLineToPoint(context, 20, 20);
// 设置填充的颜色
CGContextSetFillColorWithColor(context, [UIColor greenColor].CGColor);
// 6.开始绘制
// kCGPathFillStroke 枚举类型,指定绘制视图颜色填充的方式
CGContextDrawPath(context, kCGPathFillStroke);
}
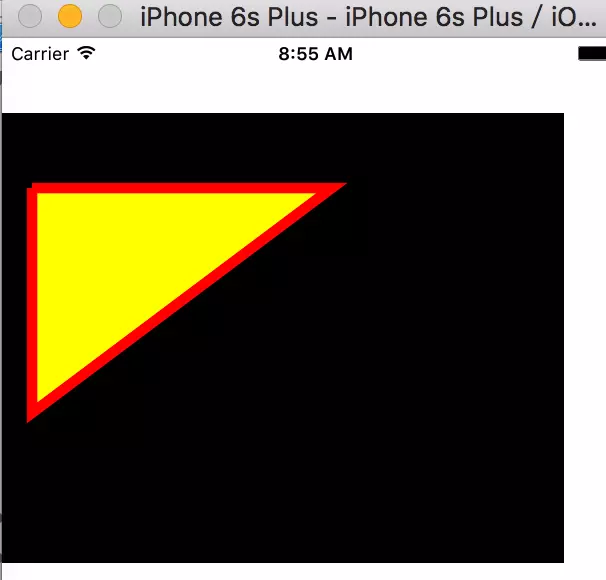
效果图如下:
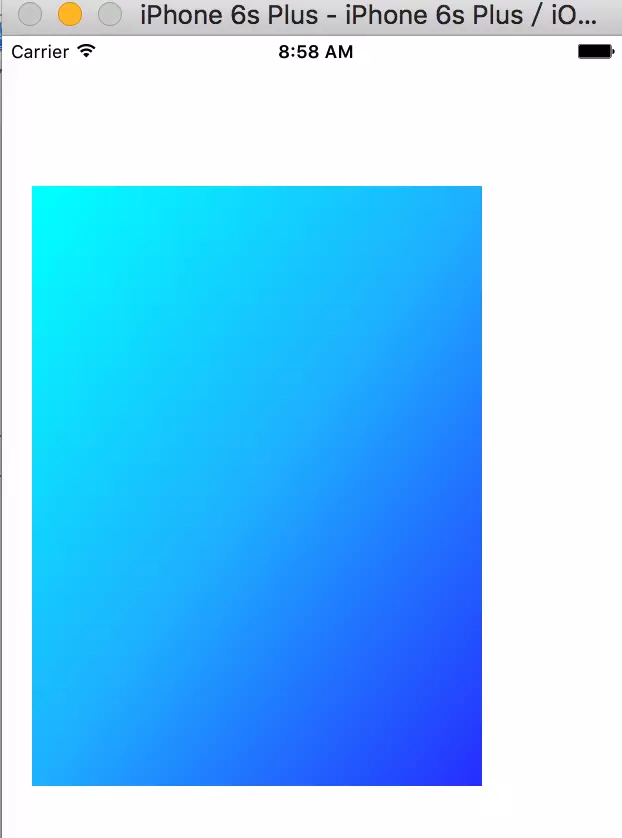
颜色渐变Demo
- (void)viewDidLoad {

      [super viewDidLoad];

      //颜色渐变

      CAGradientLayer *gradient = [CAGradientLayer layer];

      gradient.frame = CGRectMake(20, 100, 300, 400);

      NSArray *colors = @[

                         (id)[UIColor cyanColor].CGColor,

                         (id)[UIColor colorWithRed:0.170 green:0.752 blue:1.000 alpha:1.000].CGColor,

                         (id)[UIColor colorWithRed:0.211 green:0.332 blue:1.000 alpha:1.000].CGColor

                         ];

      gradient.colors = colors;

      gradient.startPoint=CGPointMake(0, 0);

      gradient.endPoint=CGPointMake(1, 1);

      [self.view.layer insertSublayer:gradient atIndex:0];

}
效果图如下:
在平时的开发中使用Quartz 2D来绘图会有意想不到的效果。
关于Quartz 2D绘图的简单使用的更多相关文章
- Quartz 2d绘图
今天看了一下Quartz 2D绘图,我只想说:不要把绘图和动画那些东西当做一个很复杂的东西,其实只要你认真看还是可以理解的.他们并不难.啰嗦了几句,现在直接进入正题: 前提是我们必须新建一个singl ...
- iOS基础 - Quartz 2D绘图的基本步骤
一.使用Quartz 2D绘图的基本步骤 1) 获取上下文context(绘制图形的地方) 2) 设置路径(路径是用来描述形状的) 3) 将路径添加到上下文 4) 设置上下文属性(设置颜色,线宽, ...
- iOS基础 - Quartz 2D绘图
一.Quartz 2D Quartz 2D是一个二维图形绘制引擎,支持iOS环境和Mac OS X环境. Quartz 2D以PDF的规范为基础的图形库,用来绘制二维文字和图形,允许相同的绘图指令在任 ...
- Core Graphics框架 利用Quartz 2D绘图
首先,什么是Core Graphics和Quartz 2D? Core Graphics:是基于Quartz 2D绘图引擎的一个C语言的API绘图框架.它也是iOS开发中最基本的框架(Framewor ...
- 1.1 Quartz 2D 绘图
本文并非最终版本,如有更新或更正会第一时间置顶,联系方式详见文末 如果觉得本文内容过长,请前往本人 “简书” Quartz2D 绘图主要步骤: 1. 获取[图形上下文]对象 —— (拿到草稿纸 ...
- iOS - Quartz 2D 二维绘图
1.Quartz 2D 简介 Quartz 2D 属于 Core Graphics(所以大多数相关方法的都是以 CG 开头),是 iOS/Mac OSX 提供的在内核之上的强大的 2D 绘图引擎,并且 ...
- iOS_Quartz 2D绘图
目 录: 一.基础知识掌握 二.Quartz 2D绘图基础:CGContextRef实现简单地绘制图形 三.CGContextRef实现文字.图片.基于路径的图形绘制 四.在内存中绘制位图 五.添加 ...
- iOS - Quartz 2D 贝塞尔曲线
1.贝塞尔曲线 贝塞尔曲线(Bézier curve),又称贝兹曲线或贝济埃曲线,是应用于二维图形应用程序的数学曲线.一般的矢量图形软件通过它来精确画出曲线,贝兹曲线由线段与节点组成,节点是可拖动的支 ...
- Quartz 2D(常用API函数、绘制图形、点线模式)
Quzrtz 2D 绘图的核心 API 是 CGContextRef ,它专门用于绘制各种图形. 绘制图形关键是两步: 1.获取 CGContextRef ; 2.调用 CGContextRef 的方 ...
随机推荐
- 记录code修改
package com.hesheng.myapplication; import android.content.Context;import android.graphics.Bitmap;imp ...
- anroid之异步不如异步
executeOnExecutor(AsyncTask.THREAD_POOL_EXECUTOR) 使用自定义的CorePoolSize为7的Executor(Executors.newFixedTh ...
- Php 性能参数优化 及 Iptables 防火墙限制用户访问平率
Php-Fpm.Conf 文件配置优化 [global] pid = run/php-fpm.pid process_control_timeout=5 [www] listen.allowed_cl ...
- Jenkins安装 CentOS 7上安装Jenkins
CentOS 7上安装Jenkins Jenkins 安装 只安装不介绍 步骤1:更新CentOS 7 Linux系统管理员的最佳做法之一是使系统保持最新.安装最新的稳定包,然后重新启动. 1 2 ...
- Redis 4.0+安装及配置
系统环境:CentOS 7.3 官方下载最新版:https://redis.io/download:或直接终端下载解析安装: $ wget http://download.redis.io/relea ...
- mongodb 备份、还原、导入、导出
mongodump备份数据库 常用的备份命令格式 mongodump -h IP --port 端口 -u 用户名 -p 密码 -d 数据库 -o 文件存在路径 如果想导出所有数据库,可以去掉-d - ...
- 轮播图3D效果--roundabout(兼容IE8)升级版
<!DOCTYPE html> <html> <head lang="en"> <meta charset="UTF-8&quo ...
- jemter 使用if控制器,选择需要的内容
背景:需要根据人员传入的变量,来选择运行的环境,调用不同的参数,进行拼接,使用到if控制器 取到的数据,调用的就是test1的数据
- hdu-5475 An easy problem---线段树+取模
题目链接: http://acm.hdu.edu.cn/showproblem.php?pid=5475 题目大意: 给X赋初值1,然后给Q个操作,每个操作对应一个整数M: 如果操作是1则将X乘以对应 ...
- 从数据库反向生成django的models
有办法实现django 数据库反向生成models的方法吗?答案是肯定的. 1. 配置 settings.py 中的数据库配置部分 DATABASES = { 'default': { 'ENGINE ...