照着官网来安装openstack pike之创建并启动instance
有了之前组件(keystone、glance、nova、neutron)的安装后,那么就可以在命令行创建并启动instance了
照着官网来安装openstack pike之environment设置
照着官网来安装openstack pike之keystone安装
照着官网来安装openstack pike之glance安装
照着官网来安装openstack pike之neutron安装
创建并启动实例需要进行如下操作:
# source admin-openrc
# openstack network create --share --external --provider-physical-network provider --provider-network-type flat provider
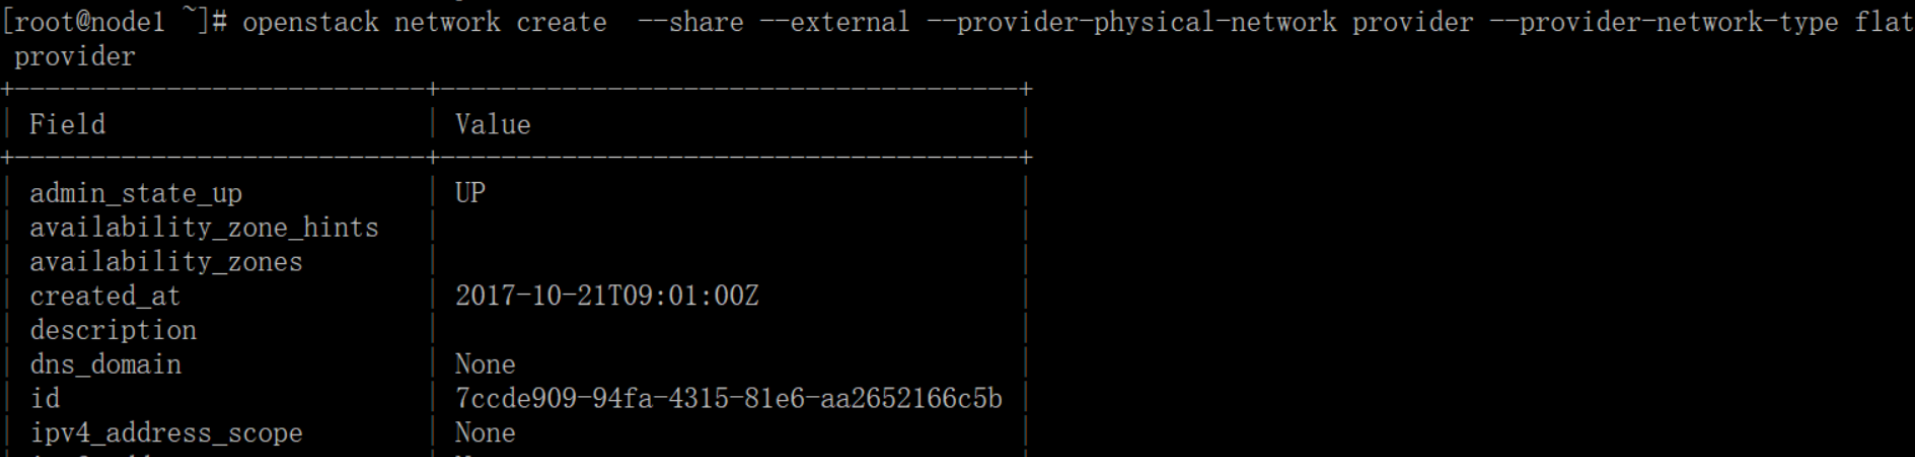
The --share option allows all projects to use the virtual network.
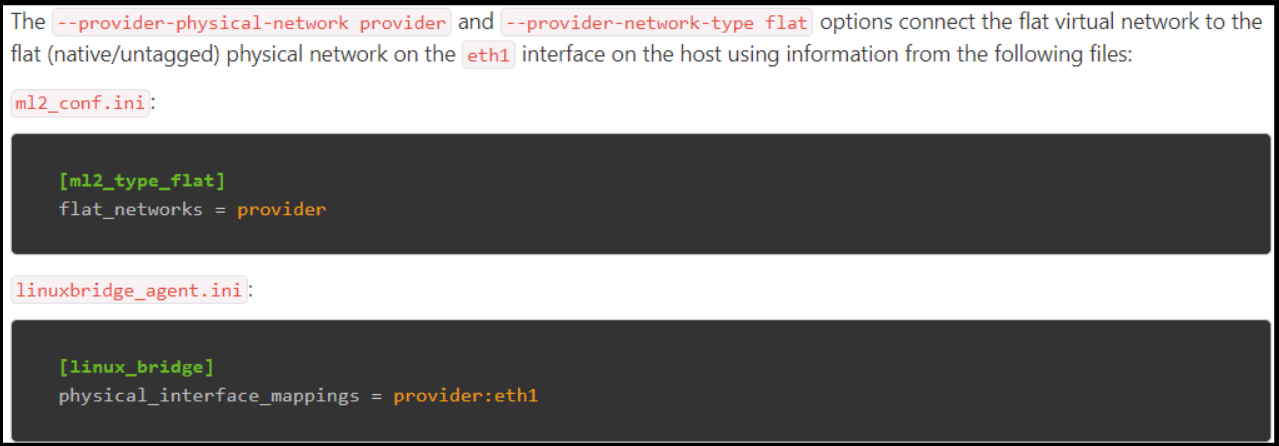
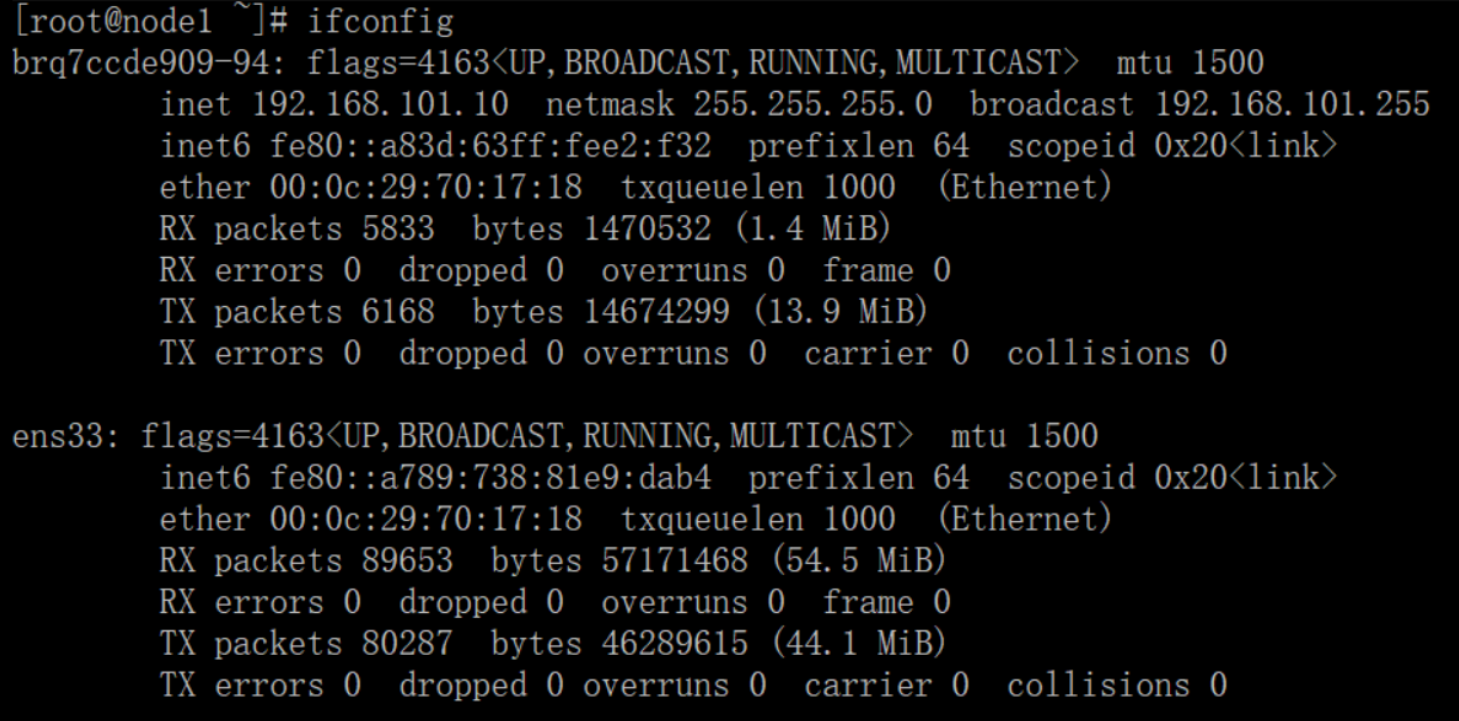
由于此次搭建的环境的本地网卡设备名
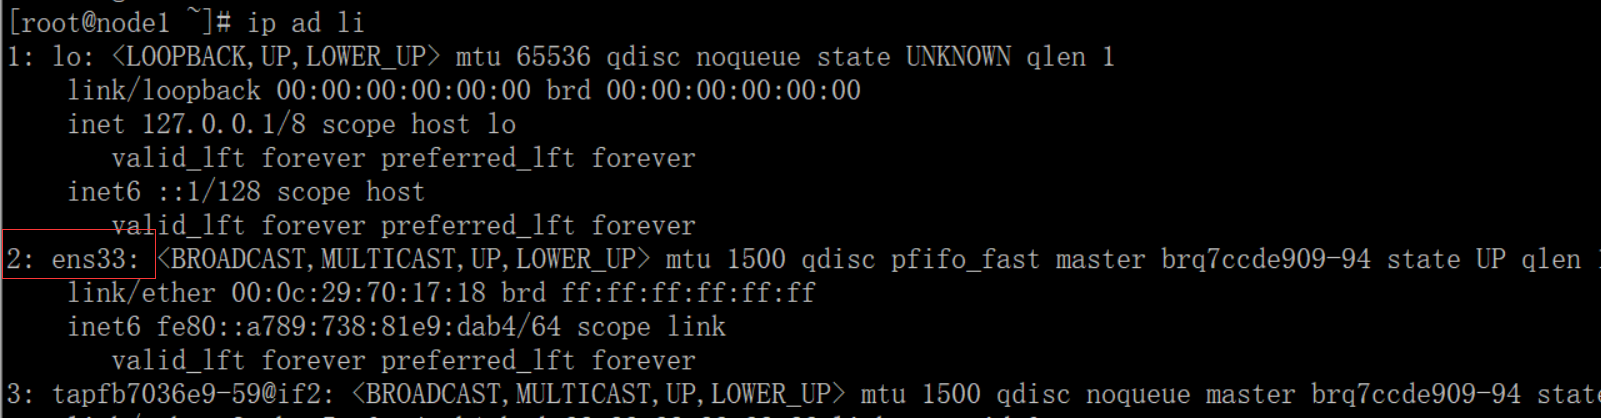
所以这里配置将eth1改为ens33
# openstack subnet create --network provider --allocation-pool start=192.168.101.100,end=192.168.101.200 --dns-nameserver 192.168.101.2 --gateway 192.168.101.2 --subnet-range 192.168.101.0/ provider

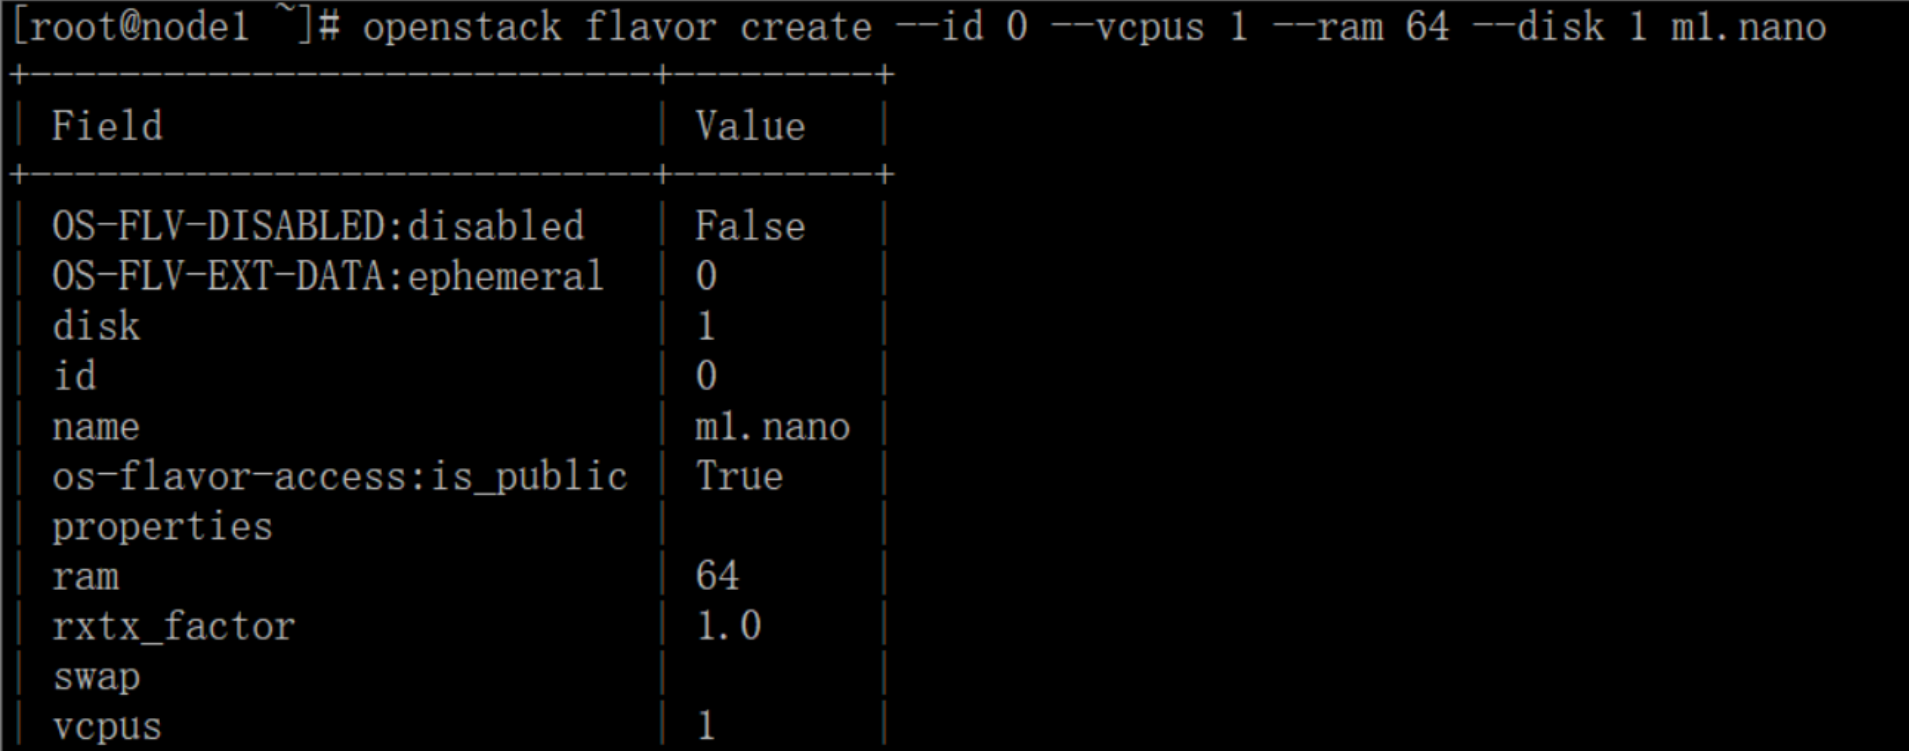
Create m1.nano flavor:
# openstack flavor create --id --vcpus --ram --disk m1.nano
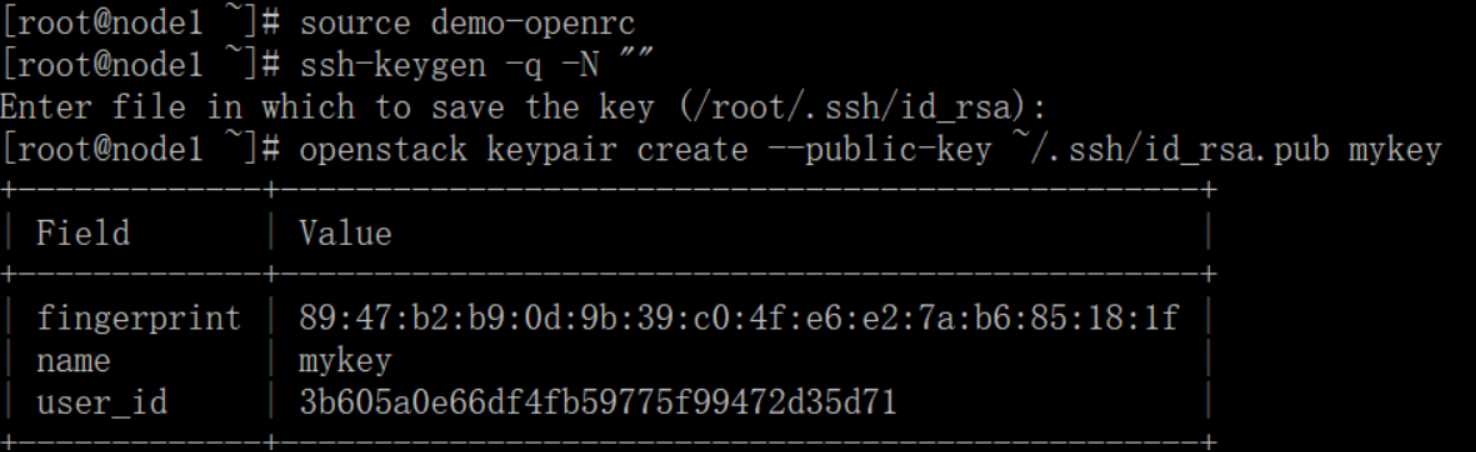
# source demo-openrc
# ssh-keygen -q -N ""

# openstack keypair create --public-key ~/.ssh/id_rsa.pub mykey
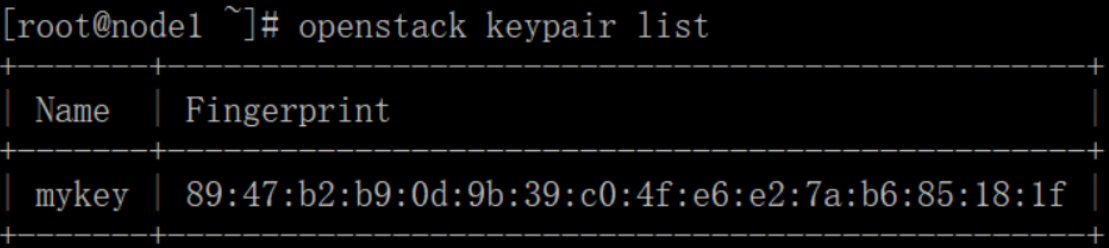
# openstack keypair list
# openstack security group rule create --proto icmp default

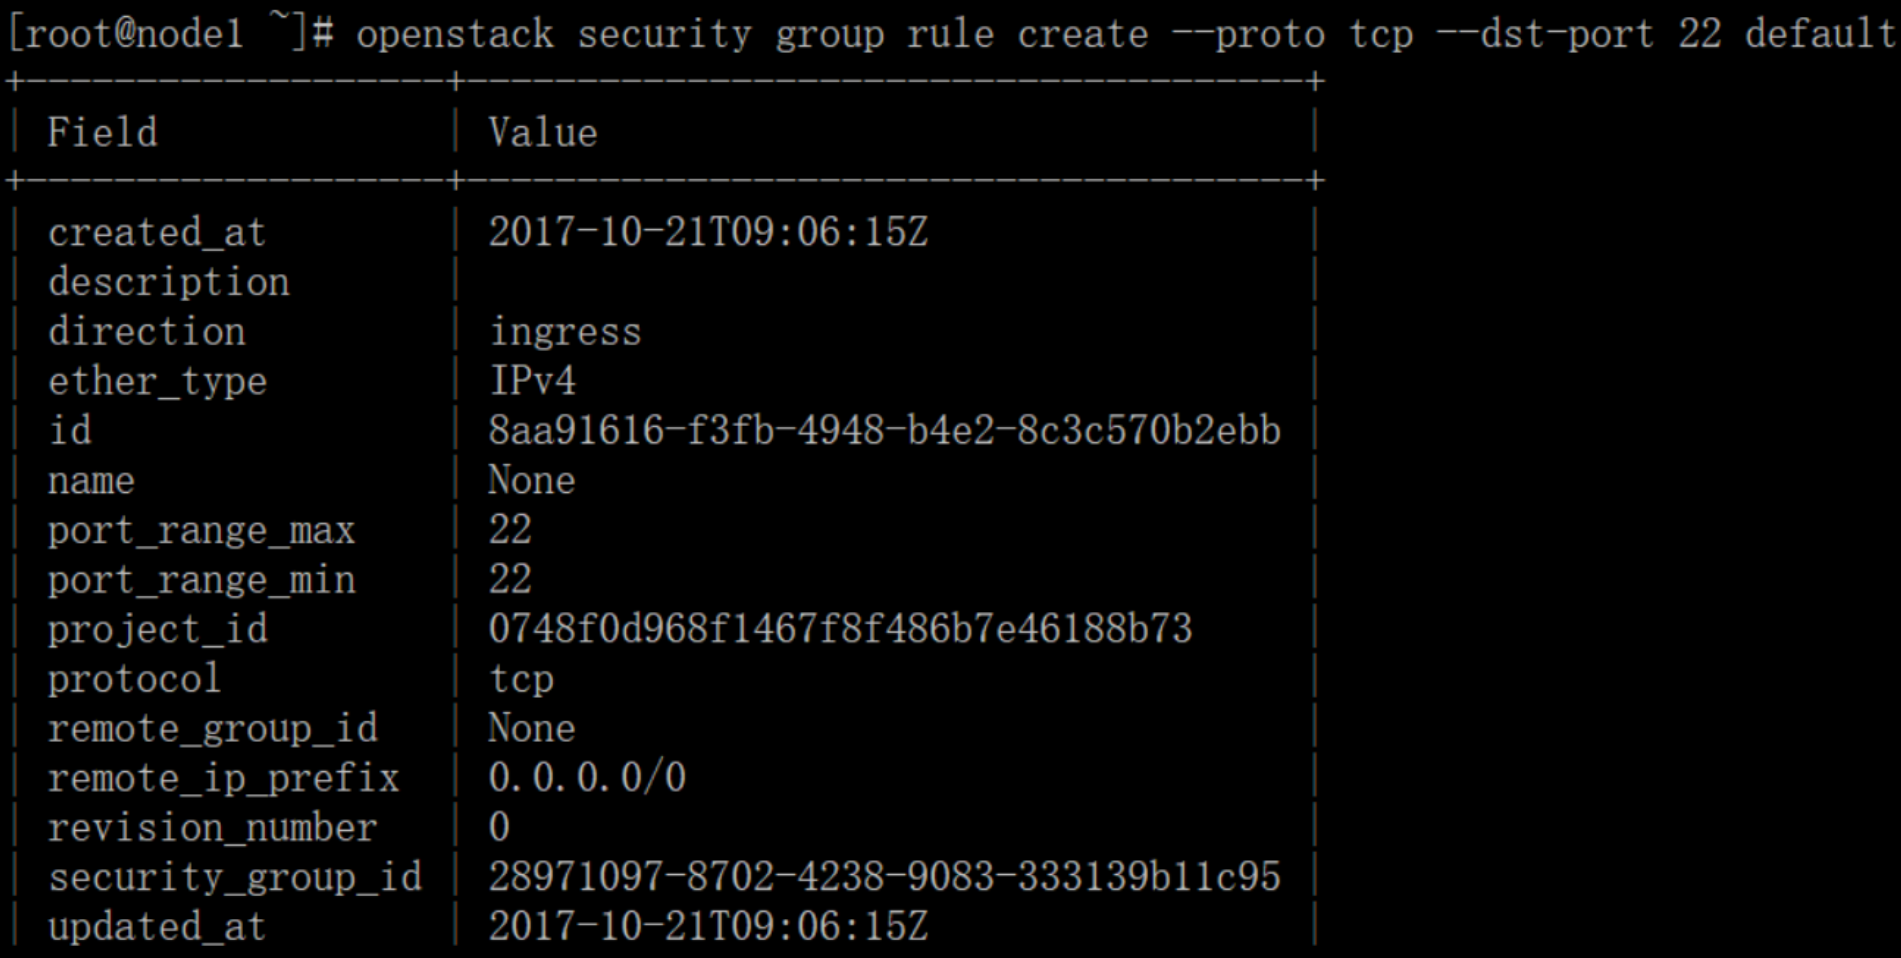
# openstack security group rule create --proto tcp --dst-port default
# source demo-openrc
# openstack flavor list

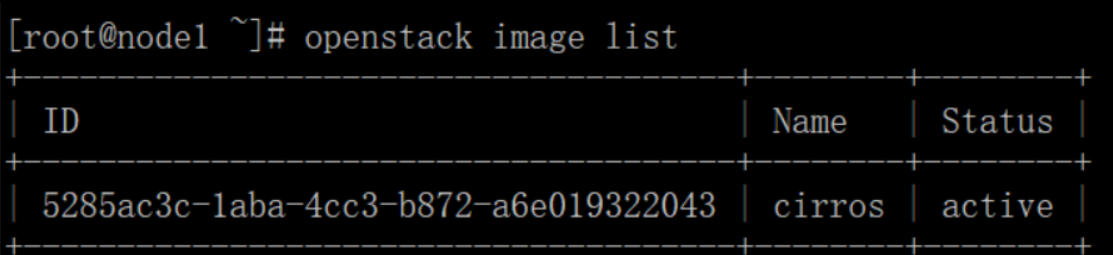
# openstack image list
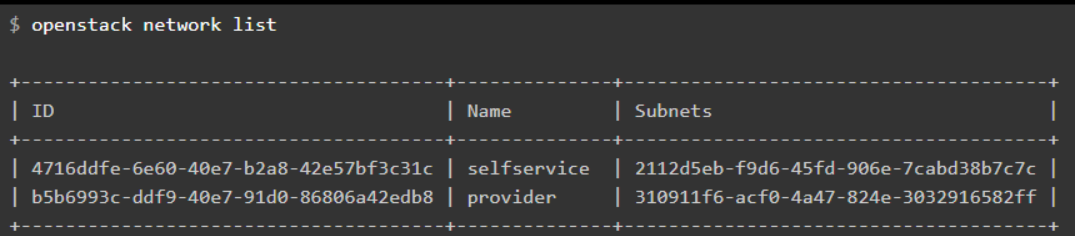
# openstack network list

由于选择的网络为provider networks所以这里显示为上面,如果选择的option 2则为:
# openstack security group list

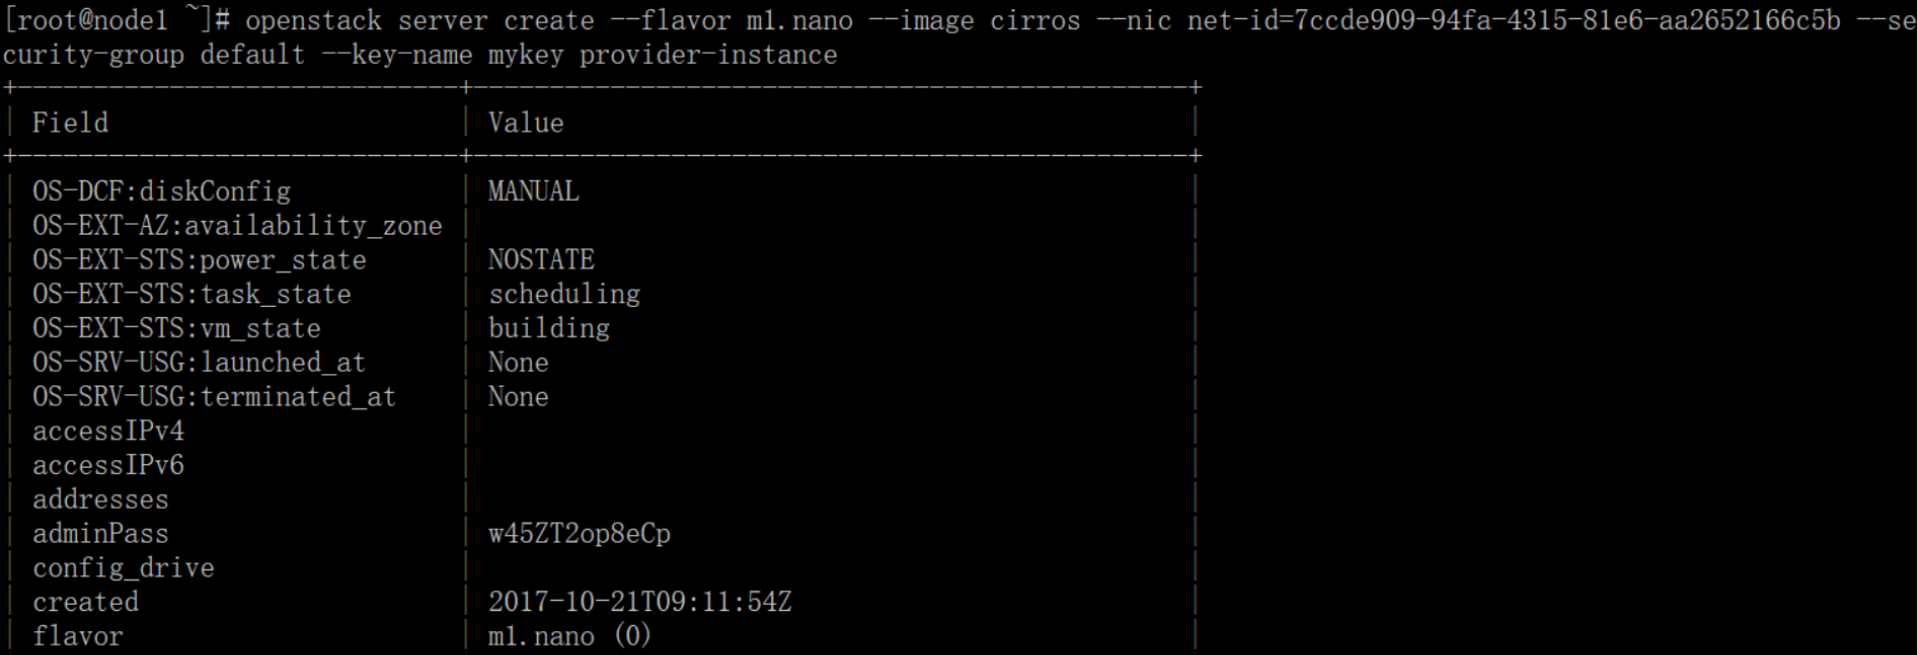
# openstack server create --flavor m1.nano --image cirros --nic net-id=PROVIDER_NET_ID --security-group default --key-name mykey provider-instance
# openstack server create --flavor m1.nano --image cirros --nic net-id=7ccde909-94fa--81e6-aa2652166c5b --security-group default --key-name mykey provider-instance
Check the status of your instance:
# openstack server list

# openstack console url show provider-instance(后面是实例名称)

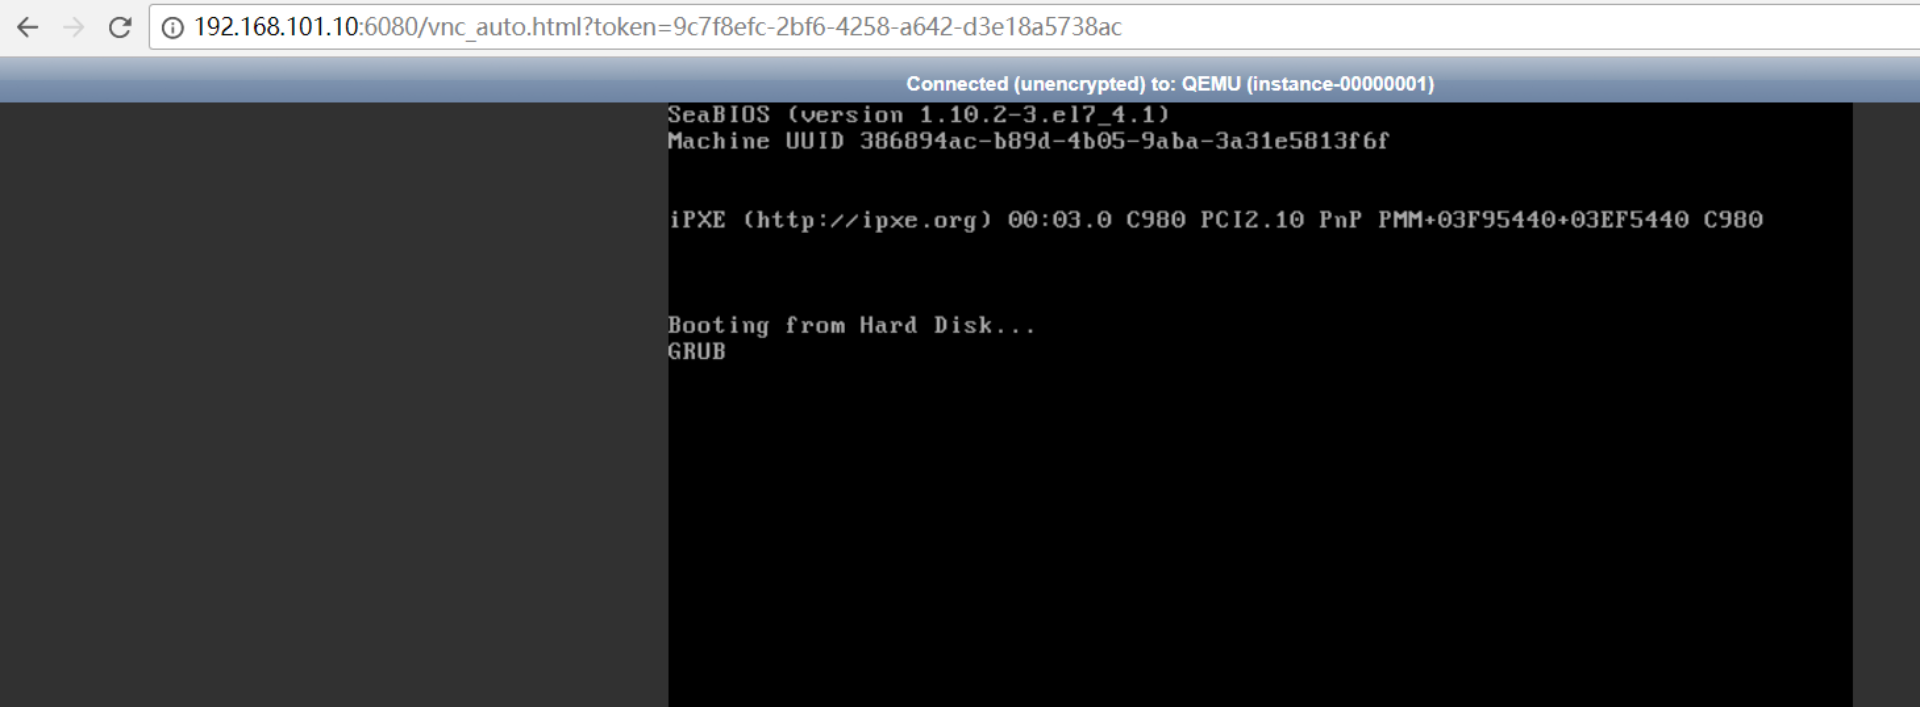
一直在grub这里卡住了,解决办法:
[libvirt]

virt_type = qemu

cpu_mode = none
# systemctl restart libvirtd.service openstack-nova-compute.service
# systemctl status openstack-nova-api.service openstack-nova-consoleauth.service openstack-nova-scheduler.service openstack-nova-conductor.service openstack-nova-novncproxy.service
# source demo-openrc

# openstack server create --flavor m1.nano --image cirros001 --nic net-id=7ccde909-94fa--81e6-aa2652166c5b --security-group default --key-name mykey instance002
# openstack server list

# openstack console url show instance002
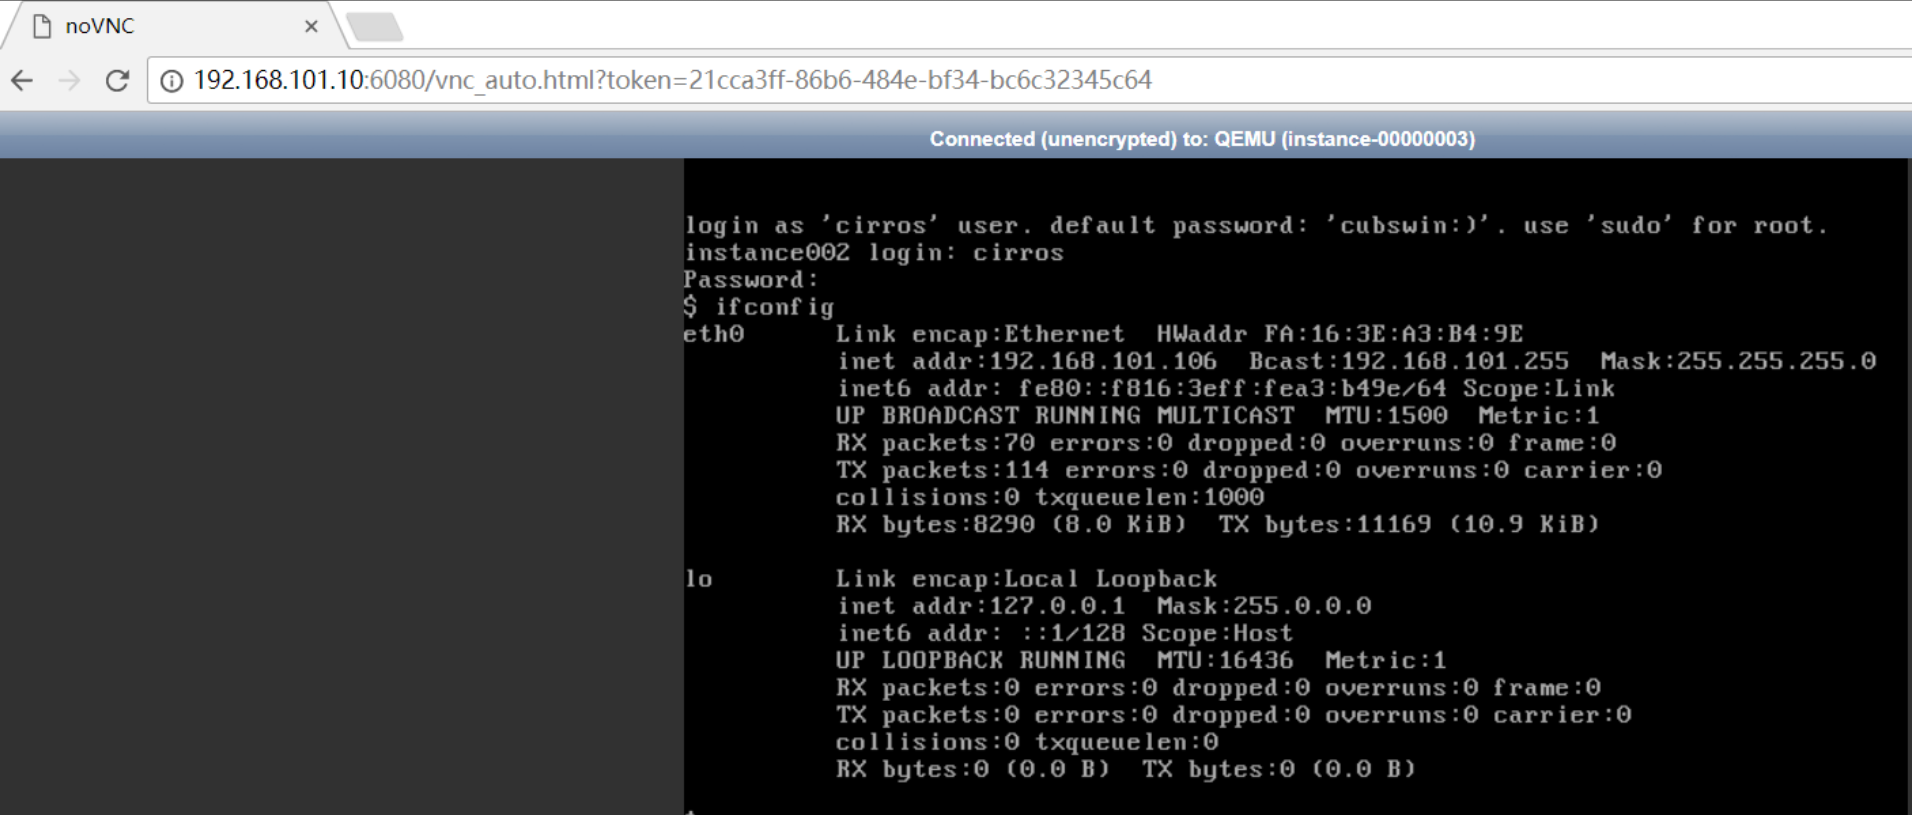
这里的虚拟机id和控制节点上面的openstack server list显示的虚拟机id一致
grep 'ERROR' /var/log/nova/*

grep 'ERROR' /var/log/neutron/*

grep 'ERROR' /var/log/glance/*

grep 'ERROR' /var/log/keystone/*
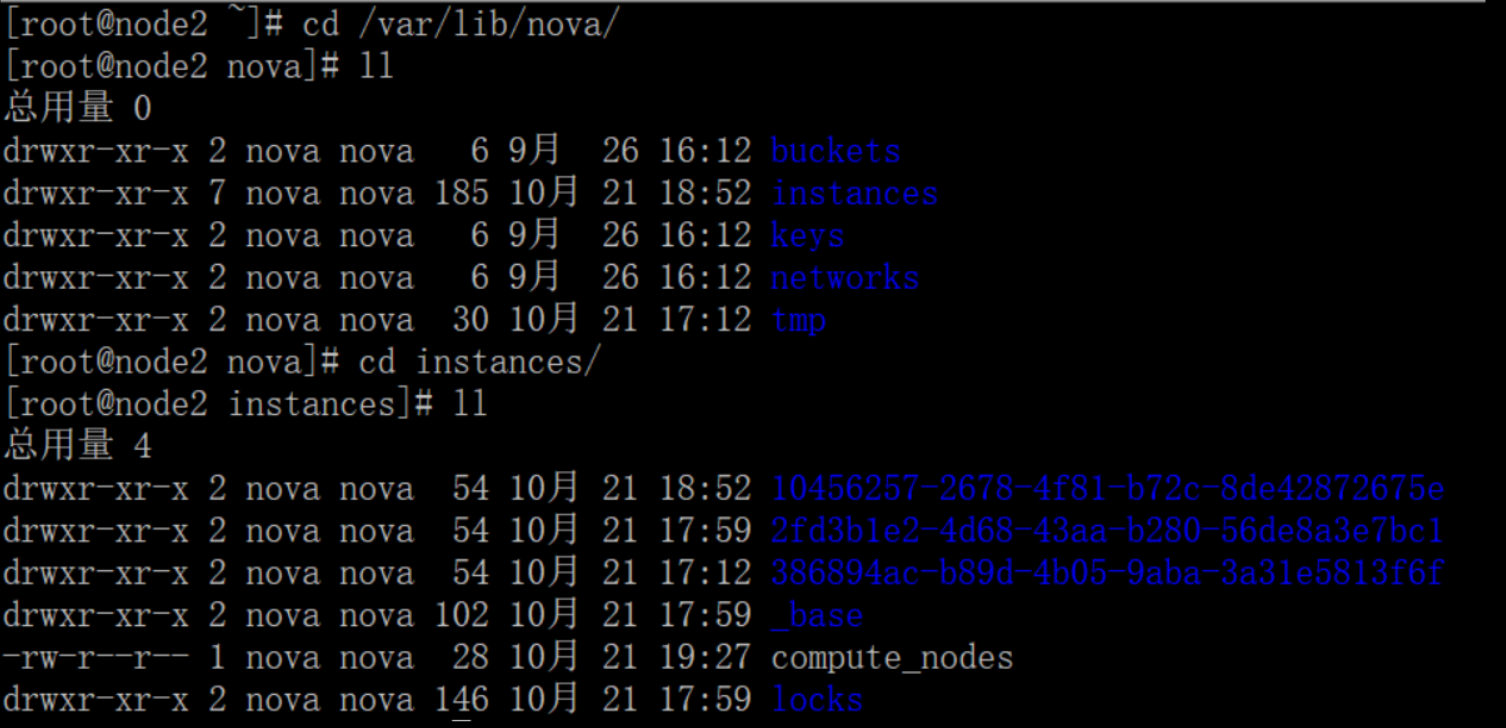
查看节点instance:后面又创建了虚拟机
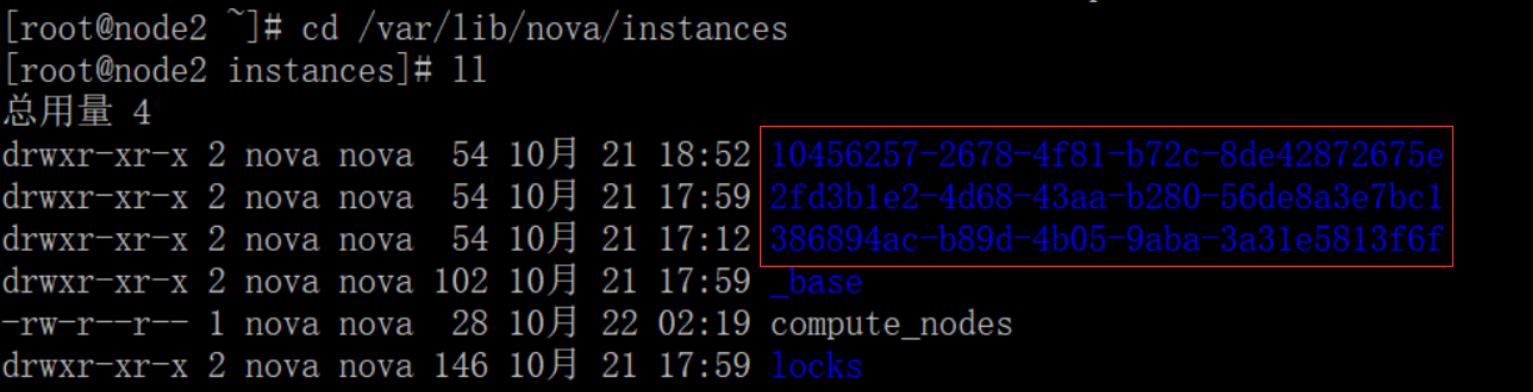
[root@node2 instances]# cd --4f81-b72c-8de42872675e/

[root@node2 --4f81-b72c-8de42872675e]# ll

总用量

-rw-------  root root    10月  : console.log

-rw-r--r--  qemu qemu  10月  : disk

-rw-r--r--  nova nova       10月  : disk.info
- console.log 控制台日志
- disk 虚拟磁盘
- disk.info 虚拟磁盘信息

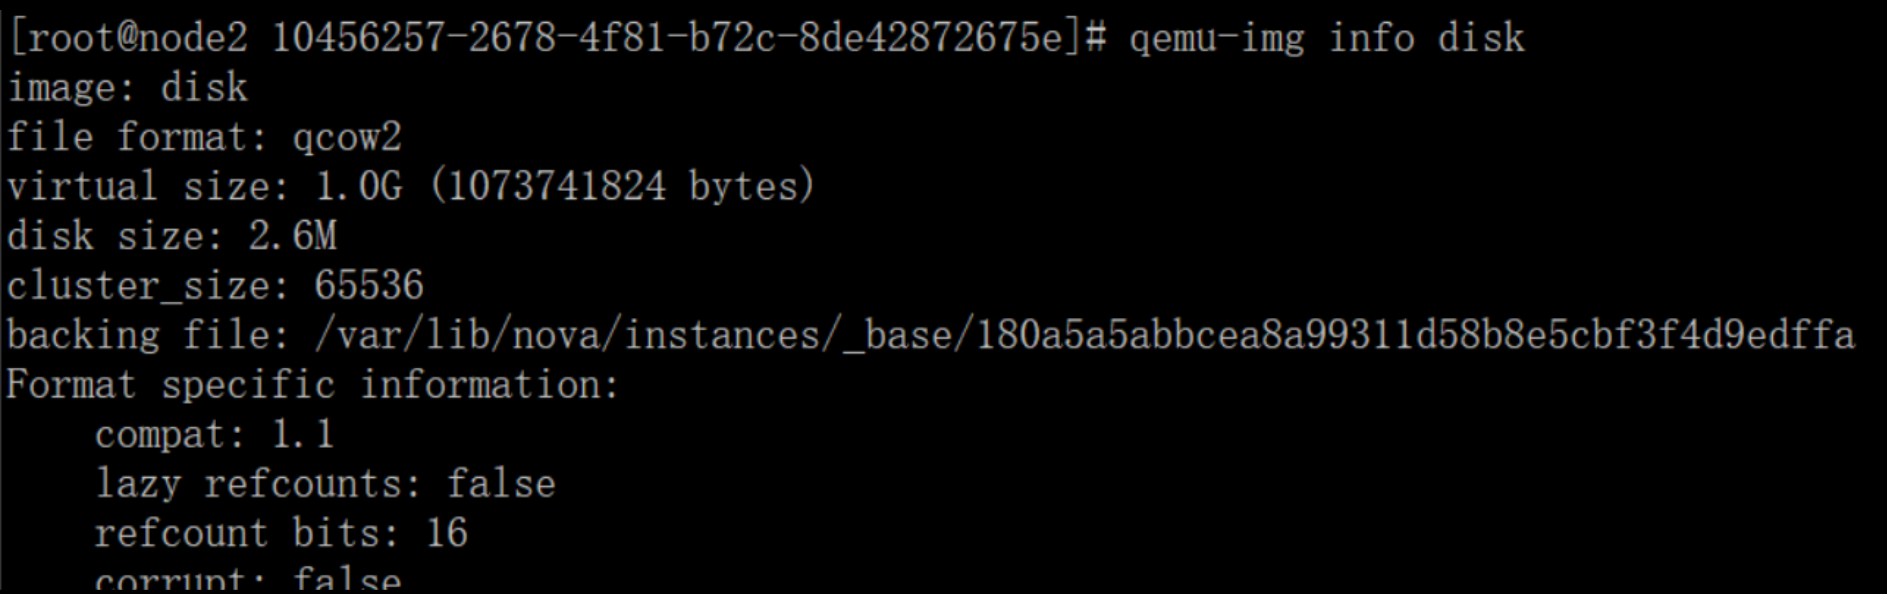
[root@node2 --4f81-b72c-8de42872675e]# ls -lh

总用量 2.7M

-rw-------  root root  38K 10月  : console.log

-rw-r--r--  qemu qemu 2.7M 10月  : disk

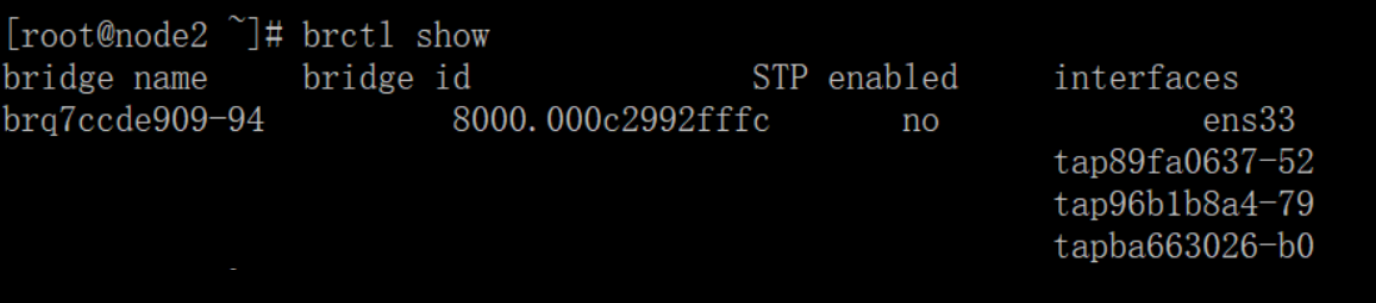
ip netns exec qdhcp-7ccde909-94fa--81e6-aa2652166c5b ip ad li
可以在域名空间执行一些命令

可以看出来多了几个ip
- 云主机如何从dhcp获取这些信息?

照着官网来安装openstack pike之创建并启动instance的更多相关文章
- 照着官网来安装openstack pike之environment设置
安装openstack前的准备环境: 两个centos7系统的环境:192.168.101.10 node1,192.168.101.11 node2 控制节点node1,计算节点node2 1.统一 ...
- 照着官网来安装openstack pike之neutron安装
neutron组件安装分为控制节点和计算节点,还是先从控制节点安装 1.前提条件,数据库为nova创建库和账户密码来连接数据库 # mysql -u root -p MariaDB [(none)]& ...
- 照着官网来安装openstack pike之keystone安装
openstack基础环境安装完成后,现在开启安装keystone服务(在控制节点上执行下面所有操作) 1.为keystone创建数据库 mysql -u root -p MariaDB [(none ...
- 照着官网来安装openstack pike之安装dashboard
上文提到了利用命令行下使用openstack的命令来创建虚拟机,这里选择安装dashboard来安装基于web界面的openstack平台 利用dashboard界面来创建虚拟机 dashboard这 ...
- 照着官网来安装openstack pike之nova安装
nova组件安装分为控制节点和计算节点,还是先从控制节点安装 1.前提条件,数据库为nova创建库和账户密码来连接数据库 # mysql -u root -p MariaDB [(none)]> ...
- 照着官网来安装openstack pike之glance安装
镜像服务image service(glance)的安装还是在控制节点上进行: 1.前提条件,数据库为glance创建库和账户密码来连接数据库 # mysql -u root -p MariaDB [ ...
- go语言,golang学习笔记1 官网下载安装,中文社区,开发工具LiteIDE
go语言,golang学习笔记1 官网下载安装,中文社区,开发工具LiteIDE Go语言是谷歌2009发布的专门针对多处理器系统应用程序的编程进行了优化,使用Go编译的程序可以媲美C或C++代码的速 ...
- PyCharm 2017 官网 下载 安装 设置 配置 (主题 字体 字号) 使用 入门 教程
一.安装 Python 3.6 首先,要安装好 Python 3.6.如果你还没有安装,可以参考咪博士之前的教程 Python 3.6.3 官网 下载 安装 测试 入门教程 (windows) 二.官 ...
- Centos 7 官网下载安装mysql server 5.6
Centos 7 官网下载安装 mysql server # wget http://dev.mysql.com/get/mysql-community-release-el7-5.noarch.rp ...
随机推荐
- android-修改TextView中部分文字的颜色
:
- java中Object转换成int或String类型方法
转载: http://www.cnblogs.com/1020182600HENG/p/6137206.html Object obj = getObject(); if(obj instanceof ...
- [Android Tips] 26. Multiple Maven repositories in Gradle
来自 https://gradleproject.wordpress.com/2013/02/14/multiple-maven-repositories-in-gradle/ This DOESN' ...
- Maven 构建Spring-Boot工程报错
Execution default of goal org.springframework.boot:spring-boot-maven-plugin:1.5.6.RELEASE:repackage ...
- 170317、到底什么时候该使用MQ?
一.缘起 一切脱离业务的架构设计与新技术引入都是耍流氓. 引入一个技术之前,首先应该解答的问题是,这个技术解决什么问题. 就像微服务分层架构之前,应该首先回答,为什么要引入微服务,微服务究竟解决什么问 ...
- 装饰器模式(Decorator)
一.装饰模式介绍 装饰模式(decorator):表示动态的给一个对象添加一些新的功能(利用子类继承父类也可以实现),但是比生成子类方式更灵活. 也叫装饰者模式或者装饰器模式 例如:我们每个人身上穿的 ...
- 给NavigationBar设置颜色
传统的设置 ) { [[UINavigationBar appearance] setBarTintColor:[UIColor redColor]]; } else { [[UINavigation ...
- 品友互动大数据平台的技术演化 https://www.sohu.com/a/191202836_99982360
品友互动大数据平台的技术演化
- 排序算法review<1>--直接插入排序
简单插入排序的基本思想:对于原待排序记录中的第i(1<=i<=n-1)个元素Ki,保证其前面的i个元素已经是有序的,要在这前i个元素(K0--Ki-1)中找到合适的位置将第i个元素插入,具 ...
- 使用python的logging模块(转)
一.从一个使用场景开始 开发一个日志系统, 既要把日志输出到控制台, 还要写入日志文件 import logging # 创建一个logger logger = logging.getLogger(' ...