Android作业0930
1.使用ListView和Adapter实现购物商城
Android 布局文件
<?xml version="1.0" encoding="utf-8"?>

<androidx.constraintlayout.widget.ConstraintLayout xmlns:android="http://schemas.android.com/apk/res/android"

    xmlns:app="http://schemas.android.com/apk/res-auto"

    xmlns:tools="http://schemas.android.com/tools"

    android:layout_width="match_parent"

    android:layout_height="match_parent"

    tools:context=".MainActivity">

<LinearLayout

    android:layout_width="match_parent"

    android:layout_height="match_parent">

    <ListView

        android:id="@+id/lv1"

        android:layout_width="wrap_content"

        android:layout_height="wrap_content">

    </ListView>

</LinearLayout>

</androidx.constraintlayout.widget.ConstraintLayout>
<?xml version="1.0" encoding="utf-8"?>

<LinearLayout xmlns:android="http://schemas.android.com/apk/res/android"

    android:orientation="horizontal" android:layout_width="match_parent"

    android:layout_height="match_parent">

    <ImageView

        android:id="@+id/iv"

        android:layout_width="170dp"

        android:layout_height="150dp"

        >

    </ImageView>

    <TextView

        android:id="@+id/tv1"

        android:layout_width="wrap_content"

        android:layout_height="wrap_content"

        android:layout_margin="50dp"

        android:text="111">

    </TextView>

    <TextView

        android:id="@+id/tv2"

        android:layout_width="wrap_content"

        android:layout_height="wrap_content"

        android:layout_marginTop="100dp"

        android:layout_marginLeft="-75dp"

        android:text="222">

    </TextView>

</LinearLayout>
java类(三个)
package com.example.myhomework3; import androidx.appcompat.app.AppCompatActivity; import android.os.Bundle;
import android.widget.ListView; import java.util.ArrayList;
import java.util.List; public class MainActivity extends AppCompatActivity { private List<shopping> shoppingList = new ArrayList<shopping>();
@Override
protected void onCreate(Bundle savedInstanceState) {
super.onCreate(savedInstanceState);
setContentView(R.layout.activity_main);
initShopping();
shoppingAdapter shoppingAdapter = new shoppingAdapter(MainActivity.this,R.layout.item,shoppingList);
ListView listView = findViewById(R.id.lv1);
listView.setAdapter(shoppingAdapter);
} private void initShopping(){
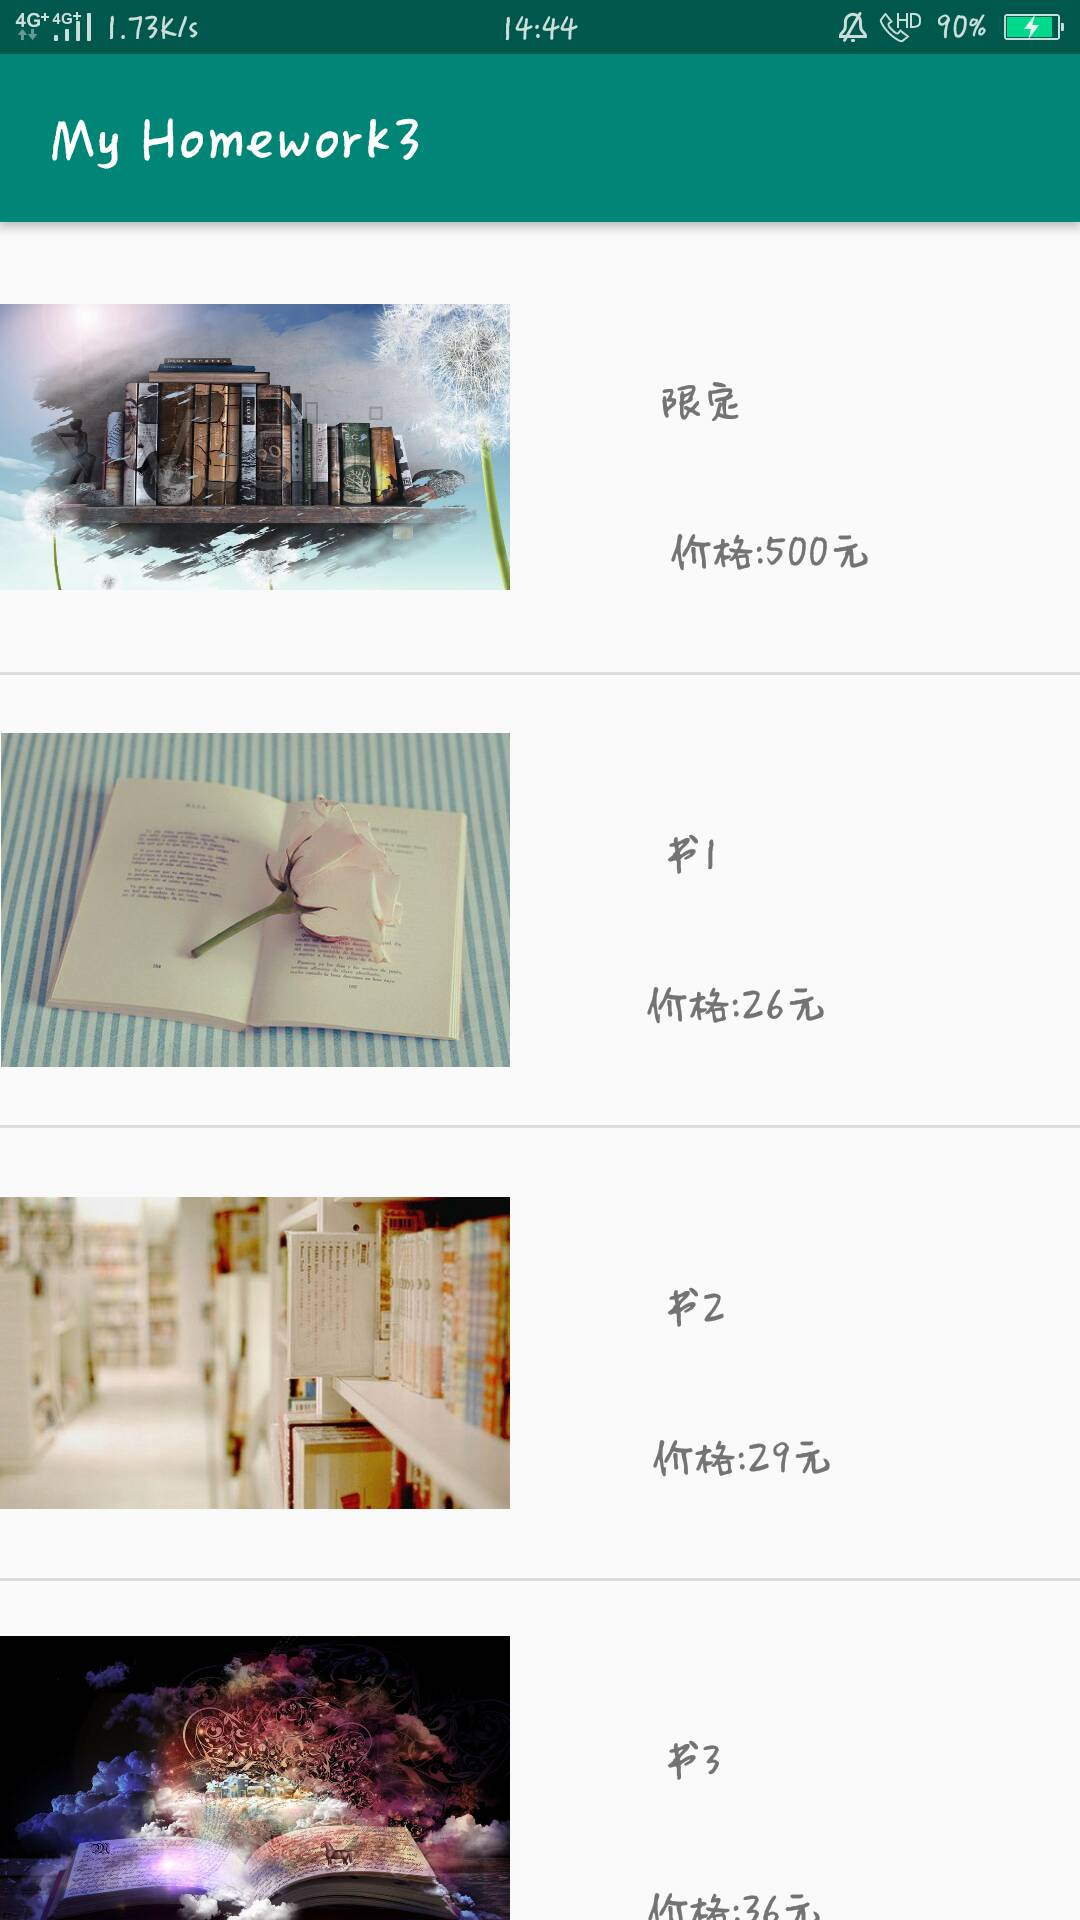
shopping book = new shopping("限定","价格:500元",R.drawable.book);
shoppingList.add(book); shopping book1 = new shopping("书1","价格:26元",R.drawable.book1);
shoppingList.add(book1); shopping book2 = new shopping("书2","价格:29元",R.drawable.book2);
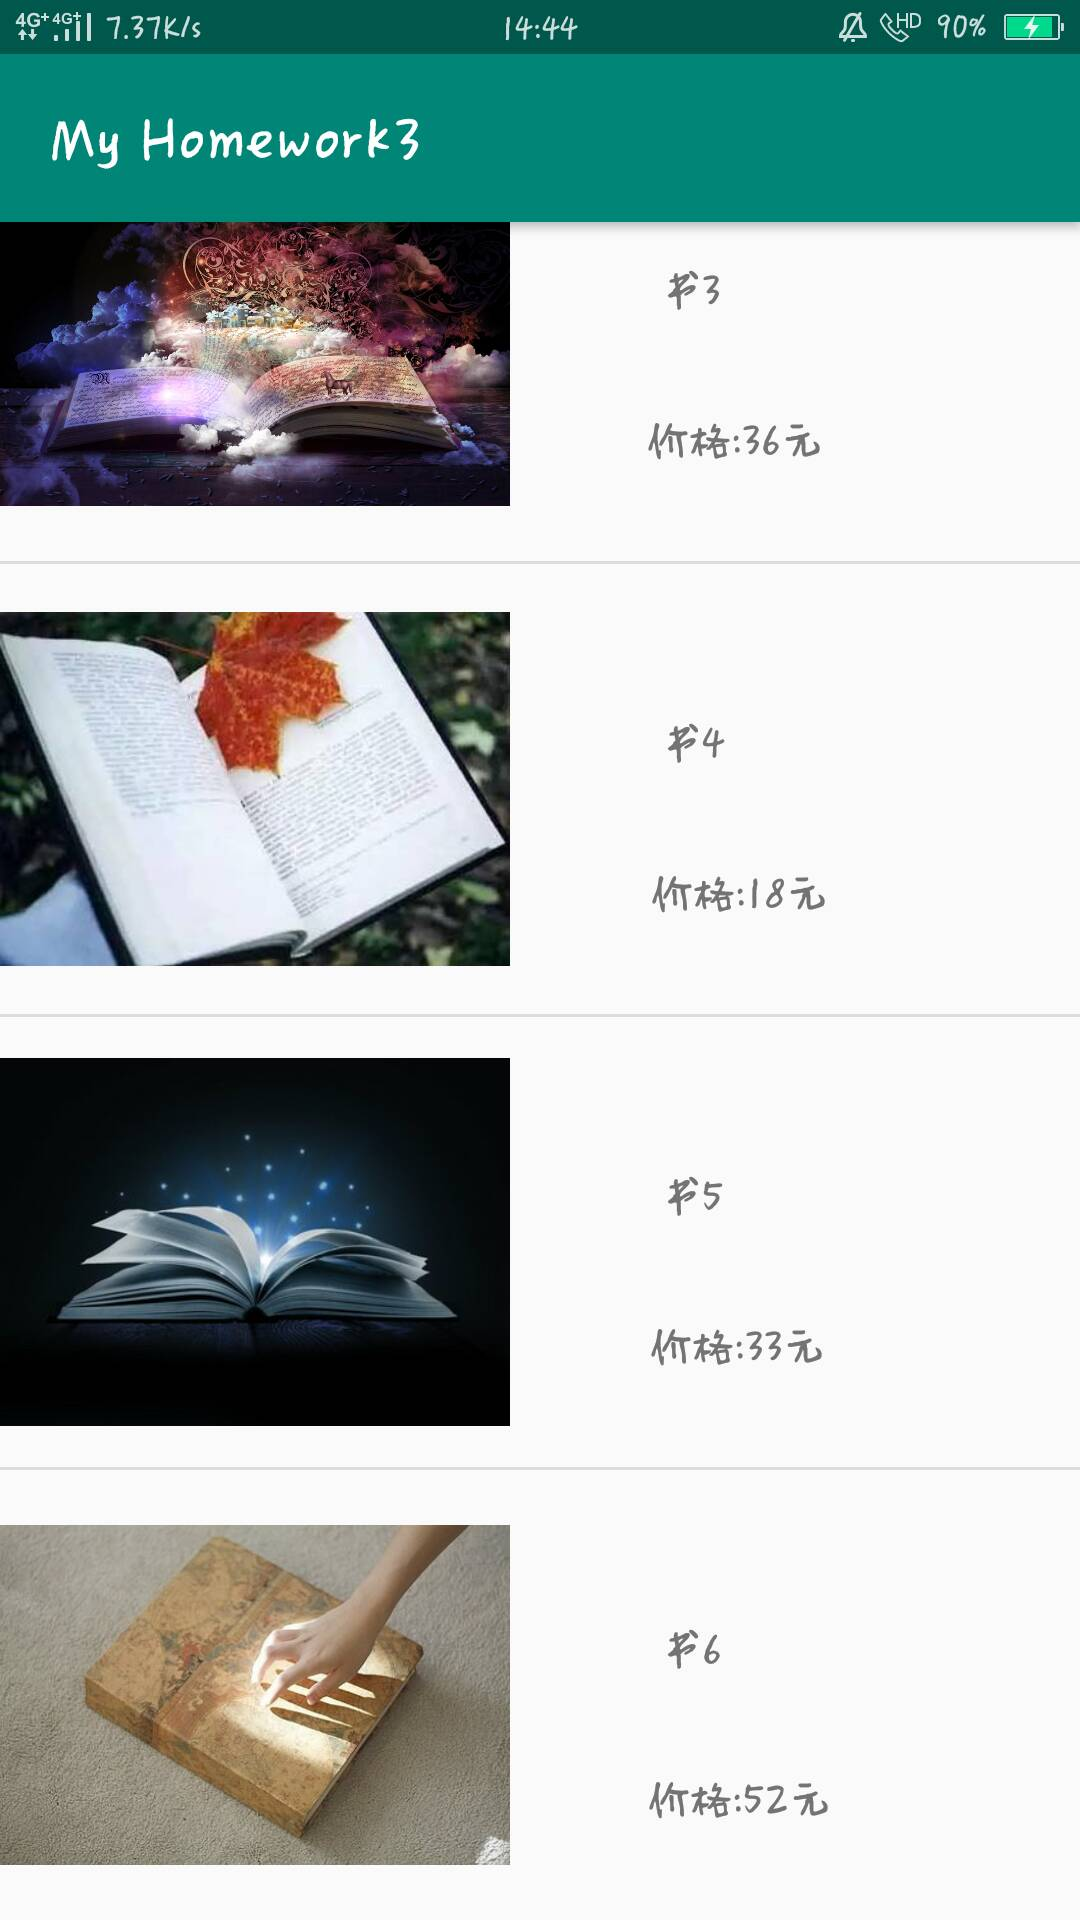
shoppingList.add(book2); shopping book3 = new shopping("书3","价格:36元",R.drawable.book3);
shoppingList.add(book3); shopping book4 = new shopping("书4","价格:18元",R.drawable.book4);
shoppingList.add(book4); shopping book5 = new shopping("书5","价格:33元",R.drawable.book5);
shoppingList.add(book5); shopping book6 = new shopping("书6","价格:52元",R.drawable.book6);
shoppingList.add(book6);
}
}
package com.example.myhomework3;

import android.content.Context;

import android.view.LayoutInflater;

import android.view.View;

import android.view.ViewGroup;

import android.widget.ArrayAdapter;

import android.widget.ImageView;

import android.widget.TextView;

import java.util.List;

public class shoppingAdapter extends ArrayAdapter {

    private final int resourceId;

    public shoppingAdapter(Context context, int textViewResourceId, List<shopping> objects){

        super(context,textViewResourceId,objects);

        resourceId = textViewResourceId;

    }

    @Override

    public View getView(int position, View convertView, ViewGroup viewGroup){

        shopping shopping = (com.example.myhomework3.shopping)getItem(position);

        View view = LayoutInflater.from(getContext()).inflate(resourceId,null);

        ImageView imageView = view.findViewById(R.id.iv);

        TextView textView1 = view.findViewById(R.id.tv1);

        TextView textView2 = view.findViewById(R.id.tv2);

        imageView.setImageResource(shopping.getImageId());

        textView1.setText(shopping.getName());

        textView2.setText(shopping.getPrice());

        return view;

    }
package com.example.myhomework3;

public class shopping {

    private String name;

    private String price;

    private int imageId;

    public shopping(String name, String price, int imageId) {

        this.name = name;

        this.price = price;

        this.imageId = imageId;

    }

    public String getName() {

        return name;

    }

    public void setName(String name) {

        this.name = name;

    }

    public String getPrice() {

        return price;

    }

    public void setPrice(String price) {

        this.price = price;

    }

    public int getImageId() {

        return imageId;

    }

    public void setImageId(int imageId) {

        this.imageId = imageId;

    }

}
Android作业0930的更多相关文章
- Android作业分组与选题
期末大作业 序号 题目 组员分工 完成度 1 基于安卓系统的游戏开发 2 设计一个安卓手机小游戏 3 Android平台应用——音乐播放器设计 4 基于Android技术的个人博客 5 电子阅读器 6 ...
- 简单计算器 安卓 Android 作业
Android老师布置的课程作业——简单计算器 功能要求实现四则运算,参考界面见下图: 首先给各位老铁提供apk安装包以及项目压缩包,略表诚意~ github地址:https://github.com ...
- Android作业list
作业1. 请在自己的电脑上完成Android的安装与配置,并完成Hello Android项目.上交自己与项目的合照,将照片传至QQ群中. ------------------------------ ...
- Android作业
一.设置跑马灯功能 使用滚动字幕显示标题“请选择你喜欢哪种花” <?xml version="1.0" encoding="utf-8"?>&l ...
- Android作业 0923
计算器小应用 package com.example.myhomework2; import androidx.appcompat.app.AppCompatActivity; import andr ...
- Android作业10/07
1.多个Activity界面实现数据的传递 <?xml version="1.0" encoding="utf-8"?> <androidx. ...
- 错误提示”void is an invalid type for the variable“
今晚做android作业,出现错误提示:void is an invalid type for the variable, invalid:无效的 variable:变量,在网上找了一下后知道是 方 ...
- Android——手机内部文件存储(作业)
作业:把用户的注册信息存储到文件里,登录成功后读出并显示出来 activity_practice2的layout文件: <?xml version="1.0" encodin ...
- Android——SharedPreferences存储(作业)
作业:制作一个登录界面,以SP方式存储用户名.用户下次登录时自动显示上次填写的用户名 layout文件: <?xml version="1.0" encoding=" ...
随机推荐
- 以Winsows Service方式运行JupyterLab
有数据分析,数据挖掘,以及机器学习和深度学习实践经验的读者应该会对Jupyter Notebook这一工具十分熟悉,而JupyterLab是它的升级版本,其提供了更具扩展性,更加可定制化的功能选项. ...
- 洛谷P3817 小A的糖果 贪心思想
一直觉得洛谷的背景故事很....直接题解吧 #include <bits/stdc++.h> //万能头文件 using namespace std; int a[100002]; // ...
- js区别对象和数组的三种方法
var arr = {}||[]; 区分arr是数组还是对象 1.arr.constructor ...
- oeasy 教您玩转linux010101查看内核uname
linux([?l?n?ks]) 是什么????? 咱们这次讲点什么呢?这次咱们讲讲这个 linux([?l?n?ks]),什么是 linux([?l?n?ks])呢?这linux([?l?n?ks] ...
- 【Java/DateTime】用当前日期时间与确定日期时间比较,大于则执行某动作
代码: package logbackCfg; import java.text.ParseException; import java.text.SimpleDateFormat; import j ...
- window下dos命令
引用 Windows下DOS命令 显示当前目录所有文件 dir 创建文件夹 md test 创建文件 cd>a.txt 删除文件 del a.txt 删除文件夹 rd test 在某磁盘打开不同 ...
- python应用 曲线拟合 01
双指数函数 待拟合曲线为 y(x) = bepx + ceqx import matplotlib.pyplot as plt x = ([0.05, 0.1, 0.15, 0.2, 0.25, 0. ...
- 如何入门Pytorch之四:搭建神经网络训练MNIST
上一节我们学习了Pytorch优化网络的基本方法,本节我们将以MNIST数据集为例,通过搭建一个完整的神经网络,来加深对Pytorch的理解. 一.数据集 MNIST是一个非常经典的数据集,下载链接: ...
- Appium自动化Android环境搭建
前言: 本系列教程用于个人经验记录,用于他人借鉴,提供一定参考价值.经常会有一种感觉,工具或技术在某一阶段使用比较熟练,过一段时间就可能会遗忘,俗话说好记性不如烂笔头,以此记录. appium简介 ...
- 微信小程序常用样式
1.设置全局字体样式app.wxss: text{ font-family:MicroSoft yahei; } 2.设置弹性盒子模型: .container{ /*弹性模型*/ display:fl ...