React Native商城项目实战09 - 个人中心自定义cell
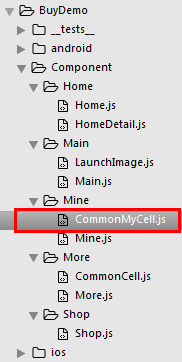
1.新建组件CommonMyCell.js
/**

 * 个人中心自定义cell

 */

import React, { Component } from 'react';

import {

    AppRegistry,

    StyleSheet,

    Text,

    View,

    Image,

    TouchableOpacity,

    Platform,

} from 'react-native';

// ES5

var MyCell = React.createClass({

    getDefaultProps(){

        return{

            leftIconName:'',    // cell左侧图标

            leftTitle:'',   // cell左侧标题

            rightIconName:'',   //  cell右侧图标

            rightTitle:'',  // cell右侧标题

        }

    },

    render() {

        return (

            <TouchableOpacity onPress={()=>{alert('点击了')}}>

                <View style={styles.container}>

                    <View style={styles.leftViewStyle}>

                        <Image source={{uri:this.props.leftIconName}} style={styles.leftImgStyle} />

                        <Text style={styles.leftTitleStyle}>{this.props.leftTitle}</Text>

                    </View>

                    <View style={styles.rightViewStyle}>

                        {this.rightSubView()}

                    </View>

                </View>

            </TouchableOpacity>

        );

    },

    // cell右侧子视图

    rightSubView(){

        return(

            <View style={{flexDirection:'row',alignItems:'center'}}>

                {this.renderRightContent()}

                <Image source={{uri:'icon_cell_rightArrow'}} style={{width:8, height:13, marginRight:8, marginLeft:5}} />

            </View>

        )

    },

    // cell右侧具体内容

    renderRightContent(){

        if(this.props.rightIconName.length == 0){   // 不返回图片

            return(

                <Text style={{color:'gray'}}>{this.props.rightTitle}</Text>

            )

        }else{

            <Image source={{uri:this.props.rightIconName}} style={{width:24, height:13}} />

        }

    },

});

const styles = StyleSheet.create({

    container: {

        // 主轴的方向

        flexDirection:'row',

        // 主轴的对齐方式

        justifyContent:'space-between',

        // 背景颜色

        backgroundColor:'white',

        // 垂直居中

        alignItems:'center',

        // 高度

        height:Platform.OS == 'ios' ? 40 : 36,

        // 下边框

        borderBottomColor:'#e8e8e8',

        borderBottomWidth:0.5

    },

    leftViewStyle:{

        // 主轴的方向

        flexDirection:'row',

        // 侧轴居中

        alignItems:'center',

        // 左外边距

        marginLeft:8

    },

    rightViewStyle:{

    },

    leftImgStyle:{ // 左边的图片

        width:24,

        height:24,

        marginRight:6,

        // 圆角

        borderRadius:12

    },

    leftTitleStyle:{

        fontSize:16

    }

});

// 输出

module.exports = MyCell;
2.Mine.js里如何使用?
/**
* 我的
*/
import React, { Component } from 'react';
import {
AppRegistry,
StyleSheet,
Text,
View,
ScrollView
} from 'react-native'; /*======导入外部组件类======*/
var MyCell = require('./CommonMyCell'); // ES5
var Mine = React.createClass({
render() {
return (
<ScrollView>
<View style={{marginTop:20}}>
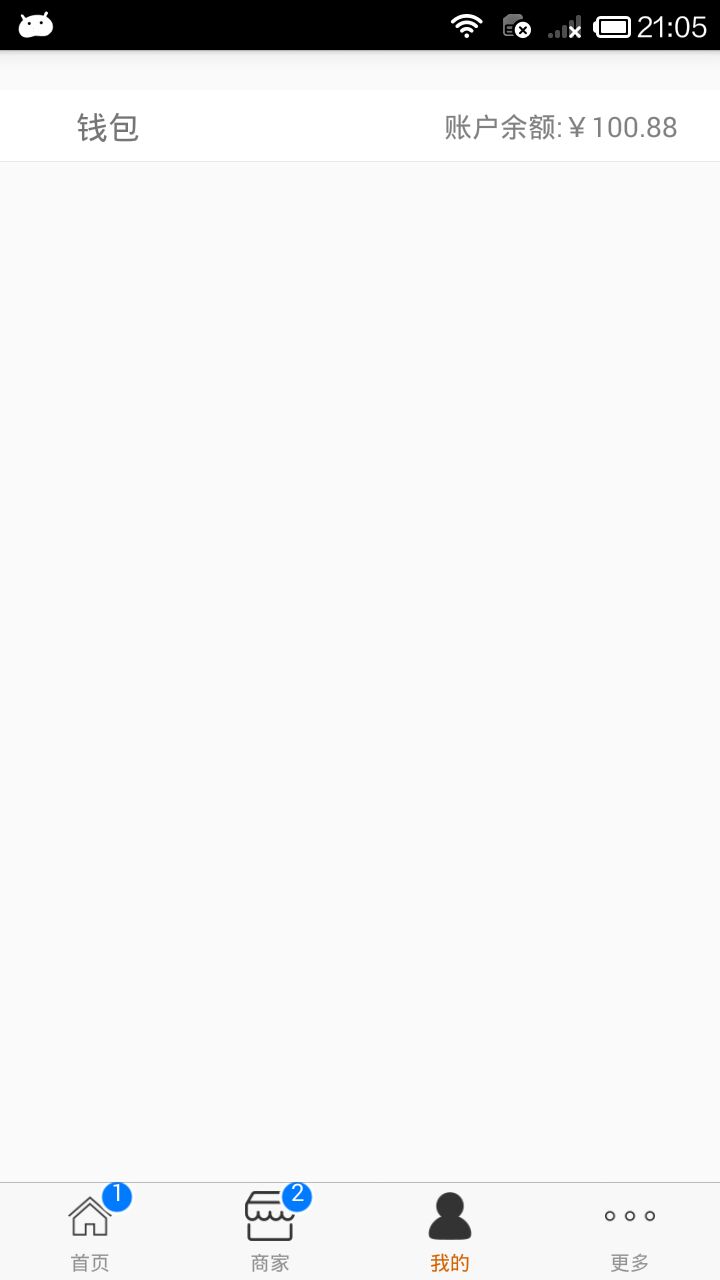
<MyCell
leftIconName="draft"
leftTitle="钱包"
rightTitle="账户余额:¥100.88"
/>
</View>
</ScrollView>
);
}
}); const styles = StyleSheet.create({ }); // 输出
module.exports = Mine;
3.效果图
React Native商城项目实战09 - 个人中心自定义cell的更多相关文章
- React Native商城项目实战11 - 个人中心头部内容
1.创建MineHeaderView.js /** * 个人中心头部内容 */ import React, { Component } from 'react'; import { AppRegist ...
- React Native商城项目实战10 - 个人中心中间内容设置
1.新建一个MineMiddleView.js,专门用于构建中间的内容 /** * 个人中心中间内容设置 */ import React, { Component } from 'react'; im ...
- React Native商城项目实战08 - 设置“More”界面cell
1.自定义可复用的cell More/CommonCell.js: /** * 自定义可复用的cell */ import React, { Component } from 'react'; imp ...
- React Native商城项目实战04 - 封装TabNavigator.Item的创建
1.Main.js /** * 主页面 */ import React, { Component } from 'react'; import { StyleSheet, Text, View, Im ...
- React Native商城项目实战02 - 主要框架部分(tabBar)
1.安装插件,cd到项目根目录下执行: $ npm i react-native-tab-navigator --save 2.主框架文件Main.js /** * 主页面 */ import Rea ...
- React Native商城项目实战01 - 初始化设置
1.创建项目 $ react-native init BuyDemo 2.导入图片资源 安卓:把文件夹放到/android/app/src/main/res/目录下,如图: iOS: Xcode打开工 ...
- React Native商城项目实战07 - 设置“More”界面导航条
1.More/More.js /** * 更多 */ import React, { Component } from 'react'; import { AppRegistry, StyleShee ...
- React Native商城项目实战05 - 设置首页的导航条
1.Home.js /** * 首页 */ import React, { Component } from 'react'; import { AppRegistry, StyleSheet, Te ...
- React Native商城项目实战06 - 设置安卓中的启动页
1.Main 目录下新建LaunchImage.js: /** * 启动页 */ import React, { Component } from 'react'; import { AppRegis ...
随机推荐
- ThinkPHP视图css和js加上版本号防止缓存
前台模块中,我的所有控制器都继承BaseController,虽然ThinkPHP中我们提供了两个配置项 'TMPL_CACHE_ON' => false,// 禁止模板编译缓存 'HTML_C ...
- jQuery中$()可以有两个参数
jQuery(expression, [context]) 返回值:jQuery 概述 这个函数接收一个包含 CSS 选择器的字符串,然后用这个字符串去匹配一组元素. jQuery 的核心功能都是通过 ...
- myeclipse2014下卸载,安装maven插件。
转自:https://blog.csdn.net/gaoshang10/article/details/21177893 一.卸载方法: 点击Help->About Myeclipse Ente ...
- CentOS6.4运维知识点1
系统的基础优化 1. 修改yum源(CentOS6.4 Mini) wget http://mirrors.163.com/.help/CentOS6-Base-163.repo cd /etc/yu ...
- AtCoder Regular Contest 092 Two Sequences AtCoder - 3943 (二进制+二分)
Problem Statement You are given two integer sequences, each of length N: a1,…,aN and b1,…,bN. There ...
- Selenium 2 & WebDriver &多线程 并发
我用的是Selenium2,至于它的背景和历史就不赘述了.Selenium2也叫WebDriver.下面讲个例子,用WebDriver+java来写个自动化测试的程序.(如果能用firefox去测试的 ...
- oozie与hue整合 执行WC案例报错: 连接10020端口被拒绝
Call From hdp-05/192.168.230.15 to hdp-01:10020 failed on connection exception: java.net.ConnectExce ...
- java术语(PO/POJO/VO/BO/QO/DAO/DTO)
一.概念理解 这些概念用于描述对象的类型:由于java是面向对象的语言:程序的世界就是各个对象之间的"交互":在交互的工程中会存在多个层次,每个层次中所拥有(关注)的内容都是不 ...
- 【洛谷P2398】GCD SUM
题目大意:求 \[\sum\limits_{i=1}^n\sum\limits_{j=1}^ngcd(i,j)\] 题解: 最重要的一步变换在于. \[\sum\limits_{k=1}^n k \s ...
- vue单页面项目中解决安卓4.4版本不兼容的问题
1.cnpm安装 cnpm i babel-polyfill --save cnpm i es6-promise --save 2.main.js引入 import ‘babel-polyfill‘ ...