Web从入门到放弃<1>
HTML大法:
<01>
<!DOCTYPE html>

<html lang="en">

<head>

    <meta charset="UTF-8">

    <title>HoudiniVFX</title>

</head>

<body>

<h1>第一个标题</h1>

<h2>第二个标题</h2>

<h3>第三个标题</h3>

<p>段落test</p>

<p>段落是由p开始的</p>

</body>

</html>

<02>style基础和跳转
<!DOCTYPE html>
<html lang="en"> <!-- this header define -->
<head>
<meta charset="UTF-8">
<title>a02</title>
</head> <!-- this is horizon line-->
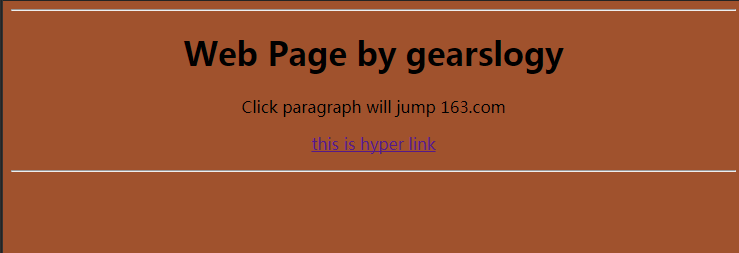
<hr/> <body bgcolor="#a0522d">
<h1 align="center">Web Page by gearslogy</h1>
<p align="center"> Click paragraph will jump 163.com </p>
<a href="http://www.163.com">
<p align="center">this is hyper link</p>
</a> <!-- this is horizon line-->
<hr/> </body>
</html>
<03>文本换行
<!DOCTYPE html>

<html lang="en">

<head>

    <meta charset="UTF-8">

    <title>HTML change new line</title>

</head>

<body>

<!-- "this is new horizon line" -->

<hr/>

<!-- use <br/>  to change new line-->

<p align="center">this is<br/> a paragraph </p>

</body>

</html>
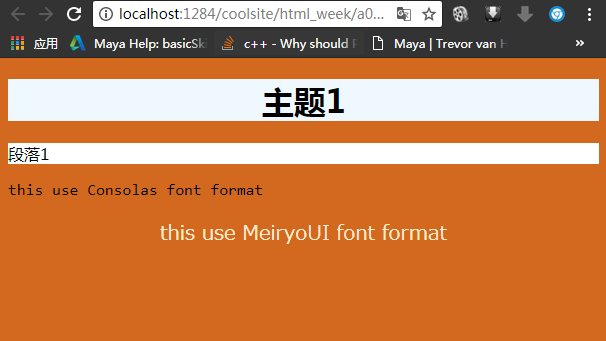
<04>style基础,字体,对齐,颜色
<!DOCTYPE html>

<html lang="en">

<head>

    <meta charset="UTF-8">

    <title>StyleTest</title>

</head>

<body style="background-color: chocolate">

<h1 style="background-color: aliceblue;text-align: center">主题1</h1>

<p style="background: white">段落1</p>

<p style="font-family:Consolas"> this use Consolas font format</p>

<p style="font-family:Meiryo UI;color: blanchedalmond;font-size:20px;text-align: center">this use MeiryoUI font format</p>

</body>

</html>
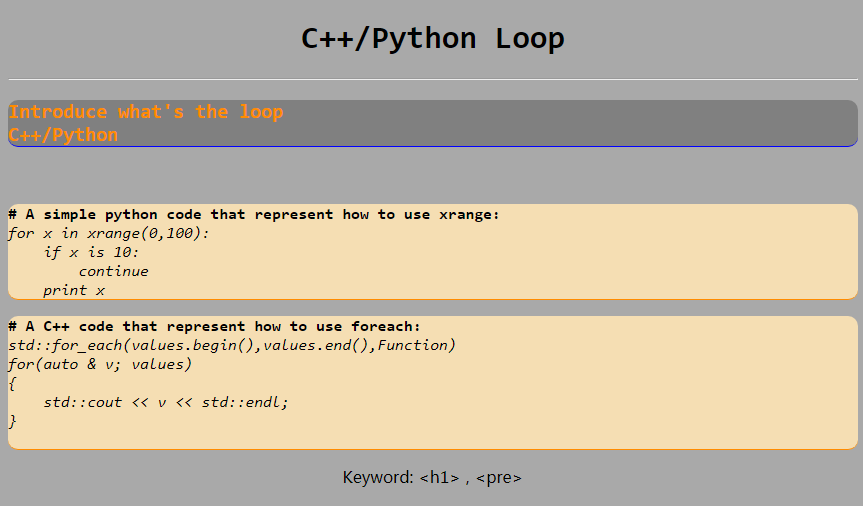
<05> <pre></pre> , <b></b>
傻逼转义符:
< 是<
>是>
&是&
<!DOCTYPE html>
<html lang="en">
<head>
<meta charset="UTF-8">
<title>TextFormat</title>
</head>
<body style="background-color: darkgray"> <h1 style="text-align: center;font-family: Consolas;"> <b>C++/Python Loop</b> </h1>
<hr/> <!-- Introduce Header-->
<pre style="background-color: gray;
color: darkorange;border-bottom-width: 1px;
border-radius: 10px;
border-bottom-color: blue;
border-bottom-style:double;
font-family:Consolas;
font-size: 20px;">
<b>Introduce what's the loop
C++/Python</b>
</pre> <!-- two blank lines-->
<br/> <!-- Python Content-->
<pre style="background-color: wheat;color:black;
border-bottom-style: double;border-bottom-width: 1px;
border-bottom-color: darkorange;font-family: Consolas;
border-radius: 10px;">
<strong># A simple python code that represent how to use xrange:</strong>
<i>for x in xrange(0,100):
if x is 10:
continue
print x</i>
</pre> <!-- C++ Content-->
<pre style="background-color: wheat;color:black;
border-bottom-style: double;border-bottom-width: 1px;
border-bottom-color: darkorange;
font-family: Consolas;
border-radius: 10px;">
<strong># A C++ code that represent how to use foreach:</strong>
<i>std::for_each(values.begin(),values.end(),Function)</i>
<i>for(auto & v; values)
{
std::cout << v << std::endl;
}
</i>
</pre> <p style="text-align: center"> Keyword: <h1> , <pre> </p> </body>
</html>
========================== ========================== 分界线 必须牛逼 ========================== ========================== ========================== ==========================
Django:
django/flask 选那个,网络上各有各的说法,先搞搞重重的django
<1>BASIC:
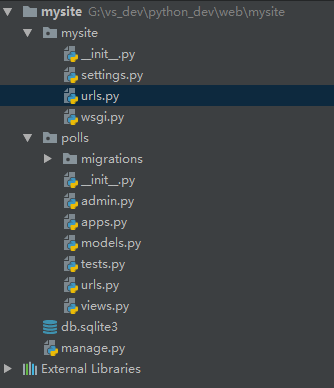
django-admin startproject mysite 开始工程
python manage.py runserver 开启服务
python manage.py runserver 8080 指定8080端口
python manage.py startapp polls 创建一个polls app
修改polls/views :
# -*- coding: utf-8 -*-
from __future__ import unicode_literals
from django.shortcuts import render
from django.http import HttpResponse
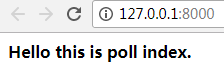
def index(request):
return HttpResponse("<b>Hello this is poll index.<b/>")
# Create your views here.
修改polls/urls.py 没有这个文件可以新建:
from django.conf.urls import url, include

from . import views

urlpatterns = [

    url('', views.index, name='index'),

]
修改mysite里面的urls.py,这里面我设置了127.0.0.1:8000 和 127.0.0.1:8000/polls都指向 polls里的app的url
from django.conf.urls import url, include

from django.contrib import admin

urlpatterns = [

    url(r'^admin/', admin.site.urls),

    url(r'^polls/', include('polls.urls')),

    url(r'^', include('polls.urls'))  # main

]
所以结果:127.0.0.1:8000
所以结果:127.0.0.1:8000/polls

遇到的问题:django官网是这样写:

更新Model:
python manage.py makemigrations polls 生成polls数据库
python manage.py sqlmigrate polls 0001 查看数据库代码创建
python manage.py migrate 提交到数据库中
python manage.py shell
python manage.py createsuperuser 创建超级用户
交互式python manage.py shell
控制数据库
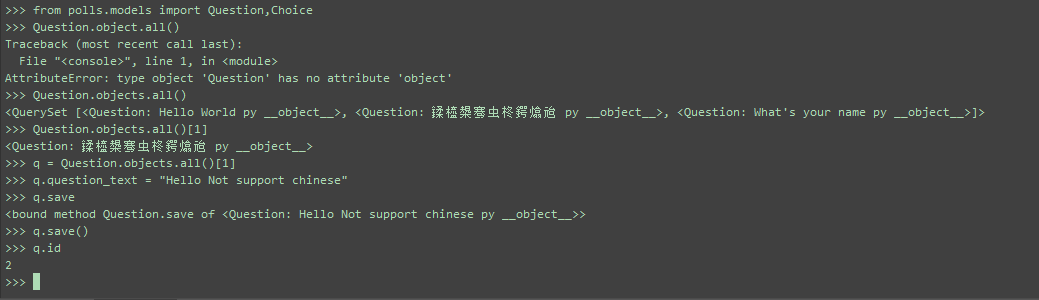
>>from polls.models import Question,Choice
>>Question.objects.all() #列出数据库,但是展示以Python 形式展示!
>>from django.utils import timezone
>>q = Question(question_text="What's new?", pub_date=timezone.now())
>>q.save() #直接保存到 数据库中
>>q.id #列出当前的ID
>>q.question_text = "What's up?"
>>q.save()
退出交互式:如果想再次更改这个"What's up的呢?"
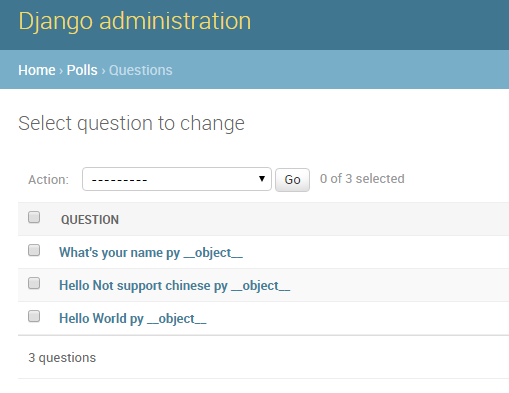
添加__str__方法,让返回的类对象能看到类代表的数据库
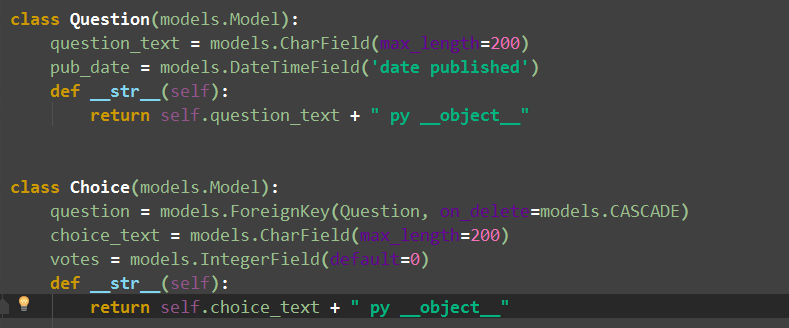
# 这里更改了第二个数据,因为暂时没处理中文:
要在admin显示数据库:首先在每个app中的admin.py 写入
from .models import Question
admin.site.register(Question)
admin后台显示:
-----------------------------------------------------------------------------------------------------------------------------------------------------------------------------------
urlpatterns的设计:
我现在用的1.11版本。然后发现了并不支持django2.0传参方法:
现在要做这样的事情:
<1>http://127.0.0.1:8000/polls/
<2>http://127.0.0.1:8000/polls/1/
<3>http://127.0.0.1:8000/polls/4/results/
<4>http://127.0.0.1:8000/polls/4/vote/
其中
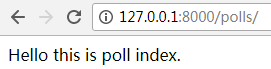
<1>已经被我们定义好了,在polls/views.py添加了
from django.http import HttpResponse

def index(request):

    return HttpResponse("Hello this is poll index.")
然后在polls/urls.py里
urlpatterns = [

    #/polls/

    url(r'', views.index, name='index')]
那么这个设计其实是有问题,至少在当前的django1.11问题。
比如我现在输入http://127.0.0.1:8000/polls/ ,没问题。网页显示:
问题来了:
http://127.0.0.1:8000/polls/1 也是这样子.
http://127.0.0.1:8000/polls/1/1 也是这样子.
http://127.0.0.1:8000/polls/1/vote 也是这样子.
解决方法 主要是正则的概念:修改polls/urls.py:
urlpatterns = [

    #/polls/

    url(r'^$', views.index, name='index'),]
其他的解决用全部代码说明:
/polls/views.py
from django.shortcuts import render

from django.http import HttpResponse

def index(request):

    return HttpResponse("Hello this is poll index.")

#/polls/1

def detail(request, question_id):

    return HttpResponse("You're looking at question %s." % question_id)

#/polls/1/results/

def results(request, question_id):

    response = "You're looking at the results of question %s."

    return HttpResponse(response % question_id)

#/polls/1/vote/

def vote(request, question_id):

    return HttpResponse("You're voting on question %s." % question_id)
/polls/urls.py
from django.conf.urls import url, include

from . import views

urlpatterns = [

    #/polls/

    url(r'^$', views.index, name='index'),

    #/polls/1

    #url(r'^(\d+)/$',views.detail,name='detail'),

    url(r'^([0-9]+)/$',views.detail,name='detail'),

    #/polls/1/results/

    url(r'^(\d+)/results/$',views.results,name='results'),

    #/polls/1/vote/

    url('^(\d+)/vote/$',views.vote,name='vote')

]
接下来实现整数数字相加(参考https://code.ziqiangxuetang.com/django/django-views-urls2.html):

polls/views.py增加
#/polls/1/2/

def add(request,a,b):

    c = int(a) + int(b)

    return HttpResponse('<h1 style="background-color:darkgray;border-radius:10px;">The add result is %s.</h1>' % c)
polls/urls.py增加:
url(r'^([0-9]+)/([0-9]+)/$',views.add,name='add'),
Web从入门到放弃<1>的更多相关文章
- Web从入门到放弃<8>
Ref: Cameron D. - HTML5, JavaScript and jQuery (Programmer to Programmer) - 2015 http://www.runoob.c ...
- Web从入门到放弃<7>
从这章开始读<javascript高级程序设计> <1>typeof 返回字符串 / 类型 未定义:undefined 布尔:boolean 字符串:string 数值:num ...
- Web从入门到放弃<5>
<1> CSS_DOM 1,structural layer 2,presentation layer 3,behavior layer style也是一个属性 <!DOCTYPE ...
- Web从入门到放弃<6>
<1> Canvas. 1,灰度图: js: function showAsGray() { var imgNode = document.getElementById('img'); ...
- Web从入门到放弃<4>
1,插入 如下html: <!DOCTYPE html> <html lang="en"> <head> <meta charset=&q ...
- Web从入门到放弃<3>
UI简单的美化全部来源于Bootstrap 知识来自<javascript dom编程艺术第二版> <1> 点击列表 页面不跳转图片刷新: 主要点: href如何点击完如何不 ...
- Web从入门到放弃<2>
<添加debug-toolbar> django现在1.11是必须这么做: pip install django-debug-toolbar 设置1: INSTALLED_APPS = [ ...
- 后端API入门到放弃指北
后端API入门学习指北 了解一下一下概念. RESTful API标准] 所有的API都遵循[RESTful API标准]. 建议大家都简单了解一下HTTP协议和RESTful API相关资料. 阮一 ...
- OpenStack从入门到放弃
OpenStack从入门到放弃 目录: 为何选择云计算/云计算之前遇到的问题 什么是云计算 云服务模式 云应用形式 传统应用与云感知应用 openstack及其相关组件介绍 flat/vlan/gre ...
随机推荐
- 强大的 10款 Mac 思维导图和流程图软件推荐
本文首发于[风云社区 SCOEE],想了解更多mac软件相关内容,可到[风云社区 SCOEE] 今天和大家分享思维导图和流程图工具,思维导图软件可以说应用非常的广,无论是设计工作.开发工作.管理工作都 ...
- qemu与libvirt编译与安装
qemu与libvirt编译与安装 一 .qemu编译前准备 以下链接为的本次编译环境为前提继续进行. http://www.cnblogs.com/grglym/p/7891253.html 1.安 ...
- 1042. Shuffling Machine (20)
Shuffling is a procedure used to randomize a deck of playing cards. Because standard shuffling techn ...
- shipyard 管理swarm集群(附etcd发现服务方法)
docker swarm集群 第一步:安装swarm集群 192.168.132.131----->(manger1,node) 192.168.132.132----->(manger2 ...
- MySql笔记二:命令简介
从笔记二开始讲解一些简单的命令,这些我在SQL Server里面都讲过了,什么主键,约束啥的数据库这些都是相通的,所以MySql这里,不讲,粗略过一遍. 使用命令框登录MySql mysql -u r ...
- Redis之Transactions(事物)
你问我Redis支不支持事物?告诉你,Redis对事物的支持是部分支持(对比关系型数据库,没有强一致性) 定义:一个队列.一次性.顺序的.排他性的执行一系列命令 常用命令: DISCARD 取消事物, ...
- spring整合ActiveMq
spring整合ActiveMq: 1:依赖的jar包: 2:spring-activemq.xml 的配置: 代码: <?xml version="1.0" enco ...
- docker 系列 - 容器数据持久化和数据共享
docker 主要有两种数据存储形式, 一种是storage driver(也叫做 Graph driver), 另一种是 volume driver. stroage driver主要是存储那些无状 ...
- vertica系列:时间相关函数
-- * 注意: 本文的SQL是在 2017-09-14 测试的. 所以如果取当前日期, 结果为 2017-09-14* ------------------------------ 相关数据类型 - ...
- C#中转换函数Convert、Parse、TryParse、(int) 的区别
Convert.Parse.TryParse.(int) 三个函数都是将值转换成整数,但是四者之间各有异同,开发人员可以根据情况选用最合适的.以下解释均经过高人验证,希望对大家有所帮助. 1 (int ...