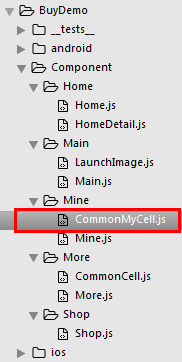
React Native商城项目实战09 - 个人中心自定义cell
1.新建组件CommonMyCell.js
/**

 * 个人中心自定义cell

 */

import React, { Component } from 'react';

import {

    AppRegistry,

    StyleSheet,

    Text,

    View,

    Image,

    TouchableOpacity,

    Platform,

} from 'react-native';

// ES5

var MyCell = React.createClass({

    getDefaultProps(){

        return{

            leftIconName:'',    // cell左侧图标

            leftTitle:'',   // cell左侧标题

            rightIconName:'',   //  cell右侧图标

            rightTitle:'',  // cell右侧标题

        }

    },

    render() {

        return (

            <TouchableOpacity onPress={()=>{alert('点击了')}}>

                <View style={styles.container}>

                    <View style={styles.leftViewStyle}>

                        <Image source={{uri:this.props.leftIconName}} style={styles.leftImgStyle} />

                        <Text style={styles.leftTitleStyle}>{this.props.leftTitle}</Text>

                    </View>

                    <View style={styles.rightViewStyle}>

                        {this.rightSubView()}

                    </View>

                </View>

            </TouchableOpacity>

        );

    },

    // cell右侧子视图

    rightSubView(){

        return(

            <View style={{flexDirection:'row',alignItems:'center'}}>

                {this.renderRightContent()}

                <Image source={{uri:'icon_cell_rightArrow'}} style={{width:8, height:13, marginRight:8, marginLeft:5}} />

            </View>

        )

    },

    // cell右侧具体内容

    renderRightContent(){

        if(this.props.rightIconName.length == 0){   // 不返回图片

            return(

                <Text style={{color:'gray'}}>{this.props.rightTitle}</Text>

            )

        }else{

            <Image source={{uri:this.props.rightIconName}} style={{width:24, height:13}} />

        }

    },

});

const styles = StyleSheet.create({

    container: {

        // 主轴的方向

        flexDirection:'row',

        // 主轴的对齐方式

        justifyContent:'space-between',

        // 背景颜色

        backgroundColor:'white',

        // 垂直居中

        alignItems:'center',

        // 高度

        height:Platform.OS == 'ios' ? 40 : 36,

        // 下边框

        borderBottomColor:'#e8e8e8',

        borderBottomWidth:0.5

    },

    leftViewStyle:{

        // 主轴的方向

        flexDirection:'row',

        // 侧轴居中

        alignItems:'center',

        // 左外边距

        marginLeft:8

    },

    rightViewStyle:{

    },

    leftImgStyle:{ // 左边的图片

        width:24,

        height:24,

        marginRight:6,

        // 圆角

        borderRadius:12

    },

    leftTitleStyle:{

        fontSize:16

    }

});

// 输出

module.exports = MyCell;
2.Mine.js里如何使用?
/**
* 我的
*/
import React, { Component } from 'react';
import {
AppRegistry,
StyleSheet,
Text,
View,
ScrollView
} from 'react-native'; /*======导入外部组件类======*/
var MyCell = require('./CommonMyCell'); // ES5
var Mine = React.createClass({
render() {
return (
<ScrollView>
<View style={{marginTop:20}}>
<MyCell
leftIconName="draft"
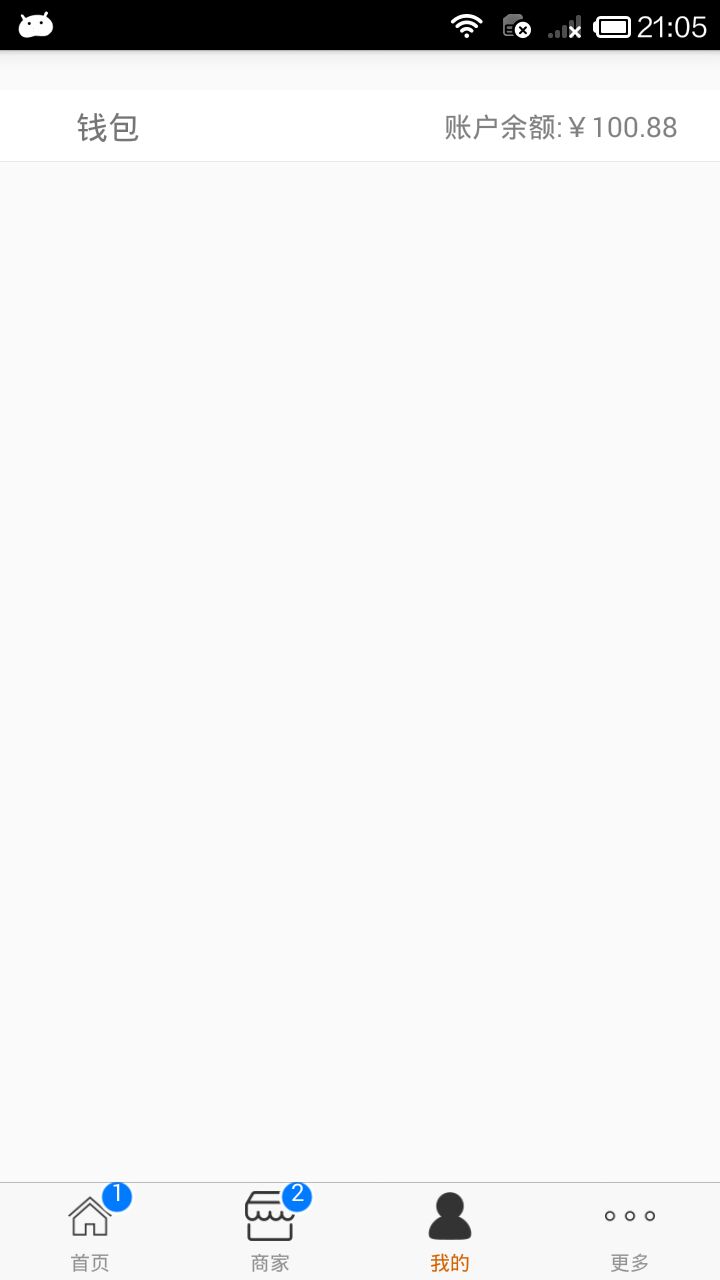
leftTitle="钱包"
rightTitle="账户余额:¥100.88"
/>
</View>
</ScrollView>
);
}
}); const styles = StyleSheet.create({ }); // 输出
module.exports = Mine;
3.效果图
React Native商城项目实战09 - 个人中心自定义cell的更多相关文章
- React Native商城项目实战11 - 个人中心头部内容
1.创建MineHeaderView.js /** * 个人中心头部内容 */ import React, { Component } from 'react'; import { AppRegist ...
- React Native商城项目实战10 - 个人中心中间内容设置
1.新建一个MineMiddleView.js,专门用于构建中间的内容 /** * 个人中心中间内容设置 */ import React, { Component } from 'react'; im ...
- React Native商城项目实战08 - 设置“More”界面cell
1.自定义可复用的cell More/CommonCell.js: /** * 自定义可复用的cell */ import React, { Component } from 'react'; imp ...
- React Native商城项目实战04 - 封装TabNavigator.Item的创建
1.Main.js /** * 主页面 */ import React, { Component } from 'react'; import { StyleSheet, Text, View, Im ...
- React Native商城项目实战02 - 主要框架部分(tabBar)
1.安装插件,cd到项目根目录下执行: $ npm i react-native-tab-navigator --save 2.主框架文件Main.js /** * 主页面 */ import Rea ...
- React Native商城项目实战01 - 初始化设置
1.创建项目 $ react-native init BuyDemo 2.导入图片资源 安卓:把文件夹放到/android/app/src/main/res/目录下,如图: iOS: Xcode打开工 ...
- React Native商城项目实战07 - 设置“More”界面导航条
1.More/More.js /** * 更多 */ import React, { Component } from 'react'; import { AppRegistry, StyleShee ...
- React Native商城项目实战05 - 设置首页的导航条
1.Home.js /** * 首页 */ import React, { Component } from 'react'; import { AppRegistry, StyleSheet, Te ...
- React Native商城项目实战06 - 设置安卓中的启动页
1.Main 目录下新建LaunchImage.js: /** * 启动页 */ import React, { Component } from 'react'; import { AppRegis ...
随机推荐
- Charles的app抓包配置和抓包节点为unknown、乱码、手机无法上网等问题的处理
关于手机端抓包配置Charles的一些配置,并且解决,请求存在unknown和内容为乱码的问题 关于请求节点为unknown.内容为乱码和手机端无法访问网络其实都是手机端证书配置问题导致,有的配置后还 ...
- Java 线程池 8 大拒绝策略,面试必问!
前言 谈到java的线程池最熟悉的莫过于ExecutorService接口了,jdk1.5新增的java.util.concurrent包下的这个api,大大的简化了多线程代码的开发.而不论你用Fix ...
- [ERROR] Plugin org.apache.maven.plugins:maven-clean-plugin:2.5 or one of its dependencies could not be resolved: Cannot access nexus-aliyun (http://maven.aliyun.com/nexus/content/groups/public) in off
这个错误是将work offline打勾引起的. 这个是离线工作模式,相当于断网,远程的jar会拉不下来.
- Kotlin学习(5)类型系统
可空性(避免空指针异常) /* *这个函数的参数代表传入一个String类型变量的实例,这代表它不可以为空 */ fun a(str:String){ println(str) } //这样调用a() ...
- Rtools的安装
long long ago,我在http://cran.r-project.org/bin/windows/Rtools/ 下载到了Rtools30.exe……这是一个神奇的工具…… 我Rto ...
- linux capalibities
linux进程能力管理 安装能力查看工具集 yum install libcap-ng-utils 主要包含以下工具 [root@thatsit ~]# rpm -ql libcap-ng-utils ...
- web框架-(四)Django进阶之数据库对象关系映射
Django ORM基本配置 到目前为止,当我们的程序涉及到数据库相关操作时,我们一般都会这么搞: 创建数据库,设计表结构和字段 使用 MySQLdb 来连接数据库,并编写数据访问层代码 业务逻辑层去 ...
- AtCoder Beginner Contest 088 C Takahashi's Information
Problem Statement We have a 3×3 grid. A number ci,j is written in the square (i,j), where (i,j) deno ...
- libboost_regex 备份用时
libboost_regex-vc100-mt-s-1_57.lib //生成数据
- python:实例属性和类属性
由于Python是动态语言,根据类创建的实例可以任意绑定属性. 给实例绑定属性的方法是通过实例变量,或者通过self变量: class Student(object): def __init__(se ...